-
Notifications
You must be signed in to change notification settings - Fork 8
Installation
In this installation instruction, we will assume you will deploy the solution to the google cloud. It is possible as well to run it yourself or with another cloud provider, however no wiki instructions how to do so are available at this time.
There are two ways to download bunq2IFTTT, as with any github project:
- Go to the Releases page
- Go to the newest release, and then under assets download 'Source code (zip)'
- Extract the ZIP file in a convenient location
Note: alternatively, you can also download a zip file using the 'Clone or download' button on the Main page
- If you have git installed, use the following command:
git clone git@github.com:woudt/bunq2ifttt.git
This will create a bunq2ifttt directory. The output should look something like:
Cloning into 'bunq2ifttt'...
remote: Enumerating objects: 48, done.
remote: Counting objects: 100% (48/48), done.
remote: Compressing objects: 100% (31/31), done.
remote: Total 366 (delta 24), reused 32 (delta 17), pack-reused 318R                                          B | 8.35 MiB/s
Receiving objects: 100% (366/366), 13.25 MiB | 8.56 MiB/s, done.
Resolving deltas: 100% (143/143), done.
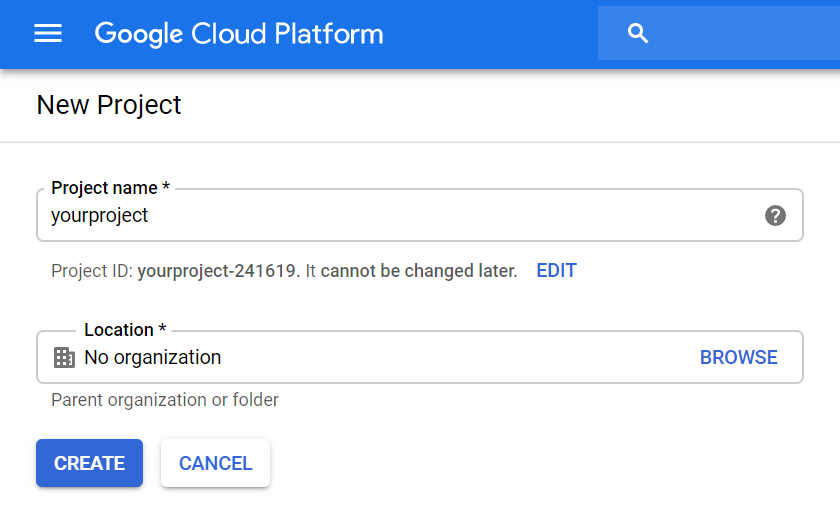
To create a project, go to the following page and click on 'Create project': https://console.cloud.google.com/cloud-resource-manager
Choose any project name you like, but keep in mind that if the project name already exists, your project id - which will be used e.g. in the URL of your installation - will have six random digits appended to it.

Please download and install the google cloud SDK for your platform from: https://cloud.google.com/sdk/
The 'google init' command should run if you select the default options during installation, otherwise you can also run it manually:
gcloud init
This command first lets you login to your google account, and then let's you select a project. Choose the project you created in the previous step.
Next, you need to create an App Engine application for your project. This is done through the following command:
gcloud app create --region europe-west2
This should give an output similar to:
You are creating an app for project [your-project-id].
WARNING: Creating an App Engine application for a project is irreversible and the region
cannot be changed. More information about regions is at
<https://cloud.google.com/appengine/docs/locations>.

Creating App Engine application in project [your-project-id] and region [europe-west2]....done.
Success! The app is now created. Please use `gcloud app deploy` to deploy your first app.
Then to deploy the app, using the following two commands from within the bunq2ifttt directory that you created during download in step 1:
gcloud app deploy app
gcloud app deploy app/cron.yaml
(Don't forget the second line, this cleans up the database periodically)
The output should look something like:
(env) C:\Users\yourname\projects\bunq2iftttt>gcloud app deploy app
Services to deploy:

descriptor:      [C:\Users\yourname\projects\bunq2ifttt\app\app.yaml]
source:          [C:\Users\yourname\projects\bunq2ifttt\app]
target project:  [your-project-id]
target service:  [default]
target version:  [20190524t214247]
target url:      [https://your-project-id.appspot.com]

Do you want to continue (Y/n)?  y

Beginning deployment of service [default]...
#============================================================#
#= Uploading 15 files to Google Cloud Storage               =#
#============================================================#
File upload done.
Updating service [default]...done.
Setting traffic split for service [default]...done.
Deployed service [default] to [https://your-project-id.appspot.com]

You can stream logs from the command line by running:
  $ gcloud app logs tail -s default

To view your application in the web browser run:
  $ gcloud app browse

(env) C:\Users\yourname\projects\bunq2ifttt>gcloud app deploy app/cron.yaml
Configurations to update:

descriptor:      [C:\Users\yourname\projects\bunq2ifttt\app\cron.yaml]
type:            [cron jobs]
target project:  [your-project-id]

Do you want to continue (Y/n)?  y

Updating config [cron]...done.

Cron jobs have been updated.

Visit the Cloud Platform Console Task Queues page to view your queues and cron jobs.
https://console.cloud.google.com/appengine/taskqueues/cron?project=your-project-id
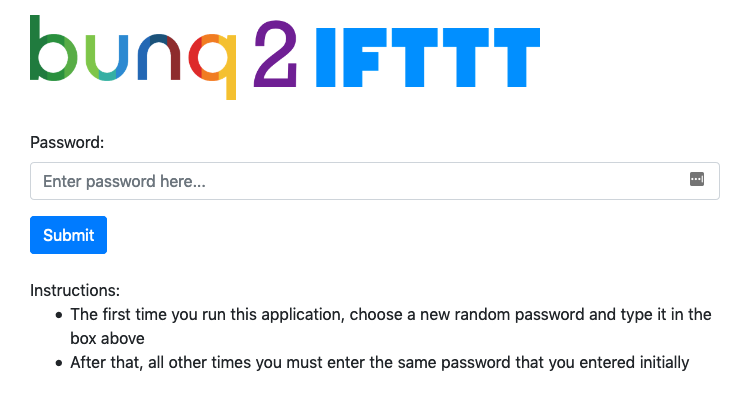
Finally, to check if it is working, go to https://your-project-id.appspot.com (replacing 'your-project-id' with the one you chose when you created the project)
The result should look something like:
