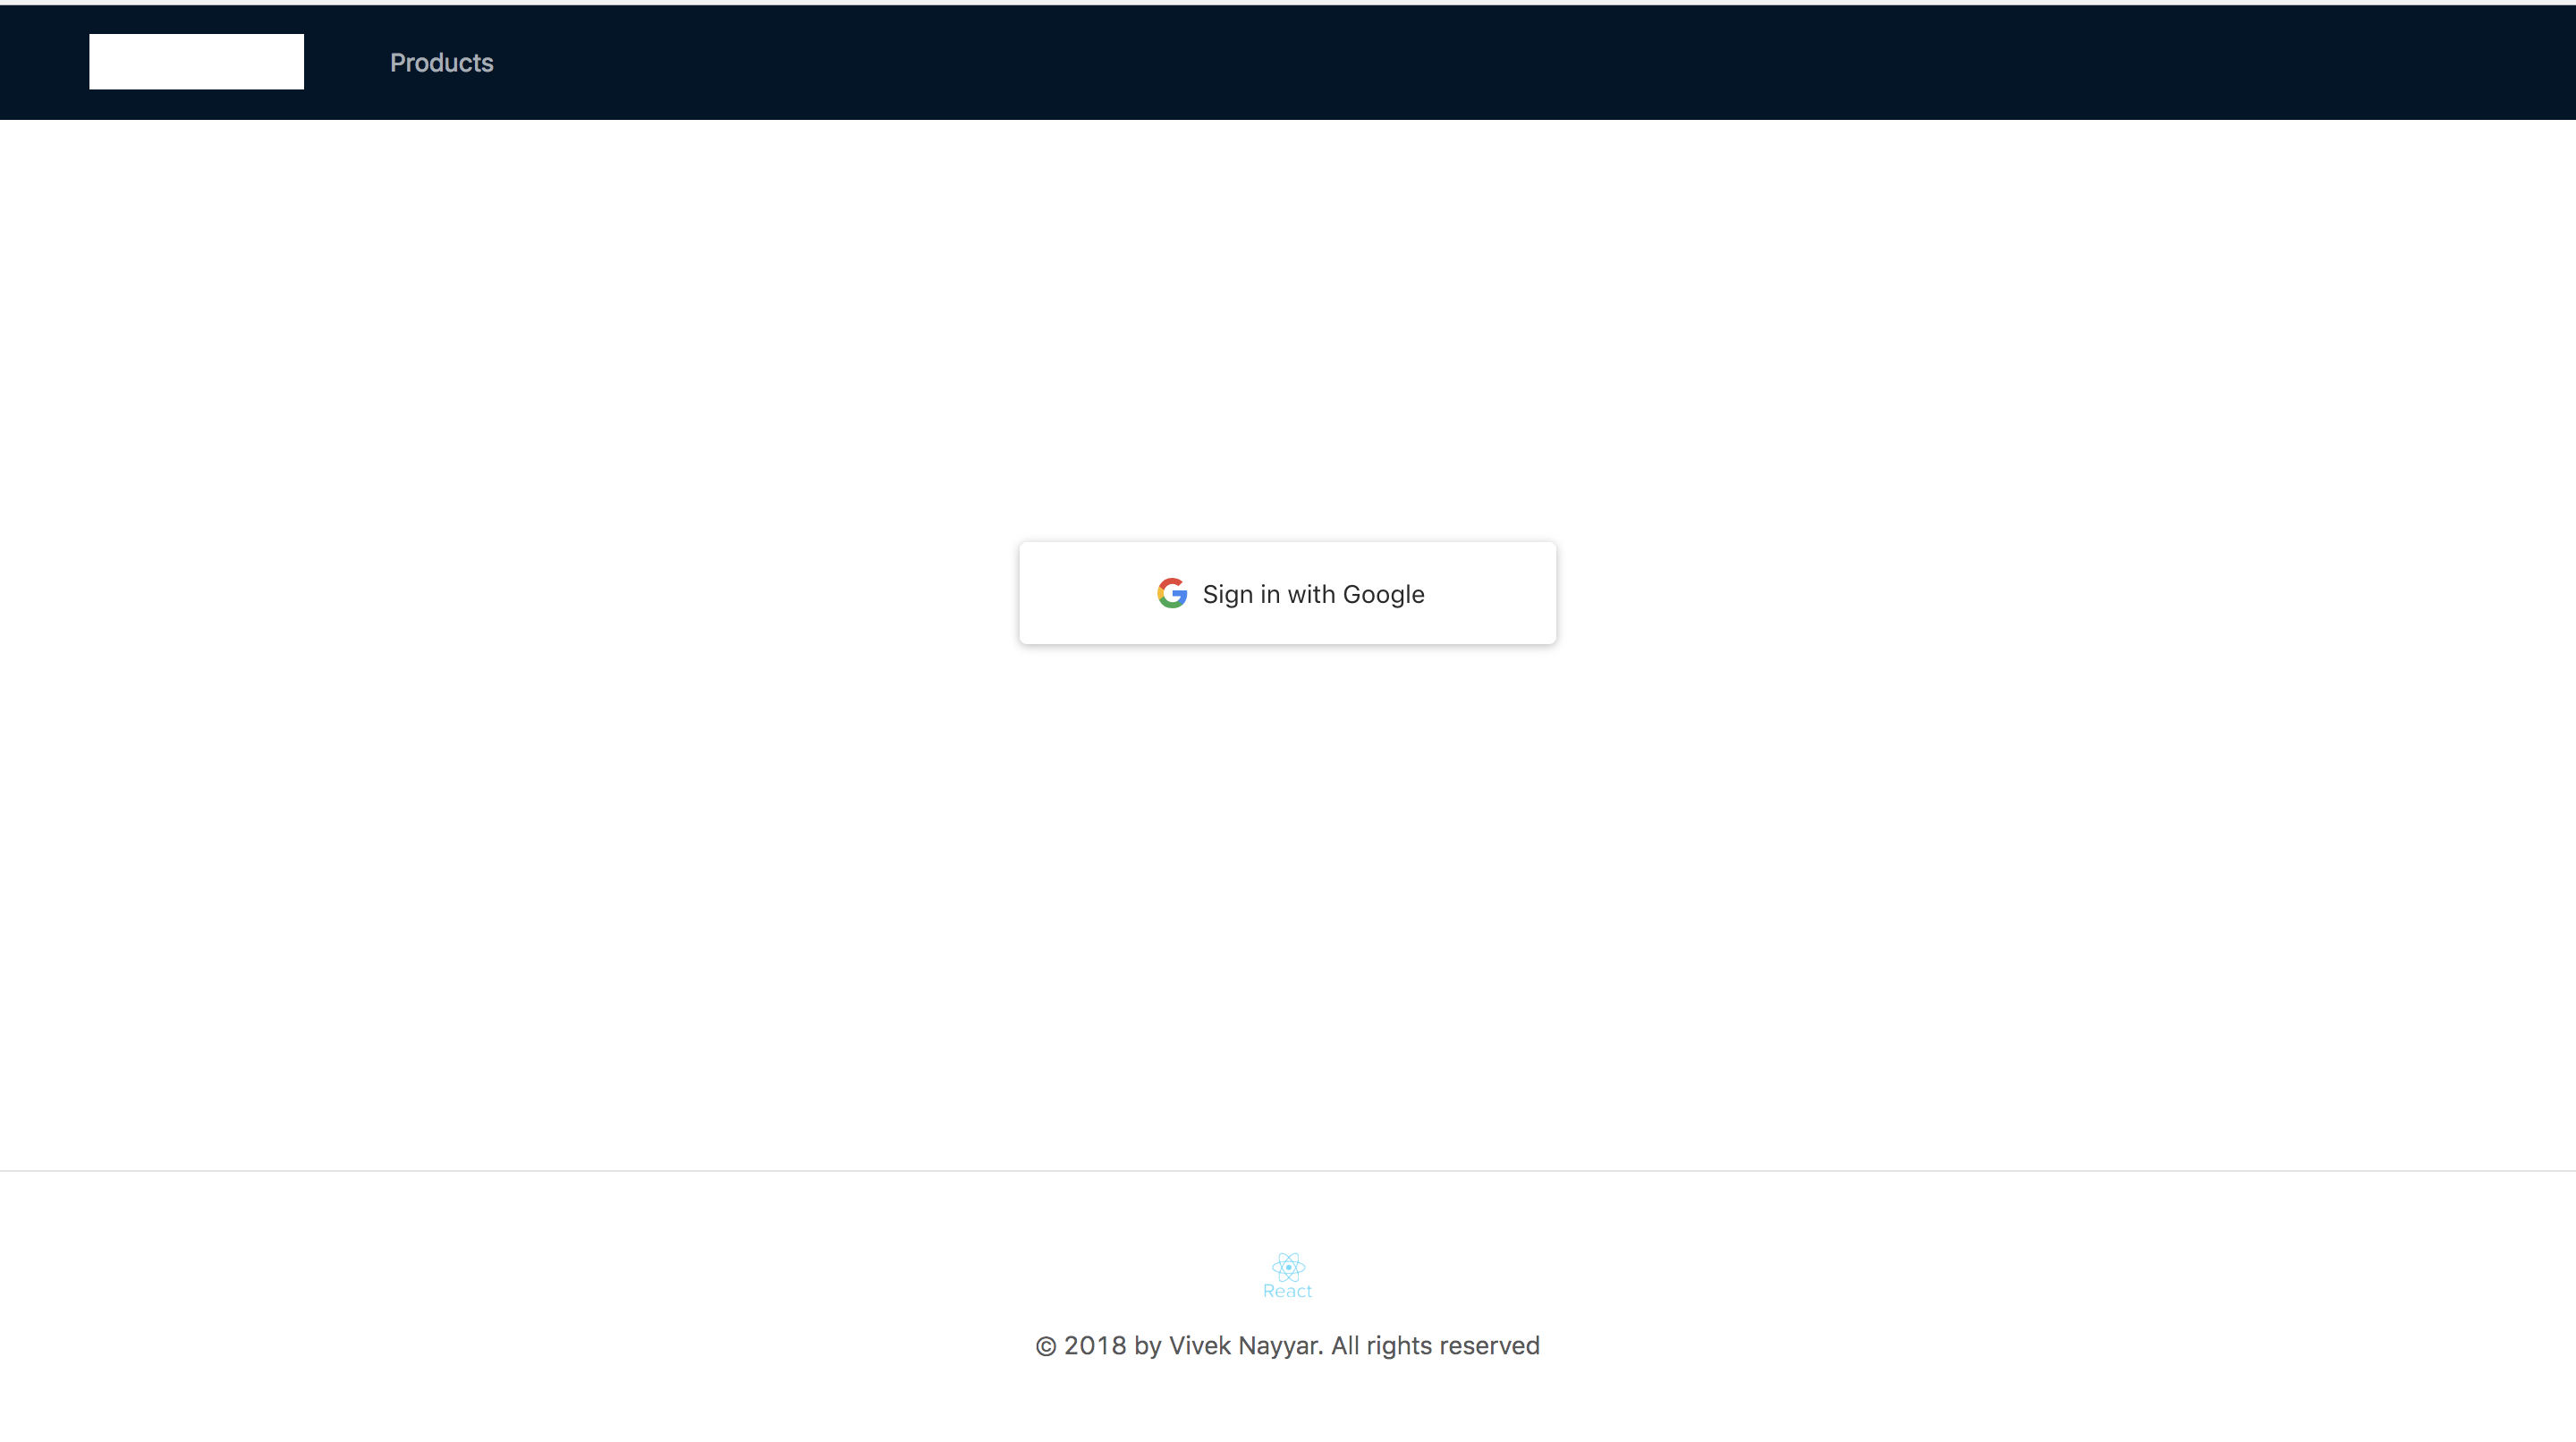
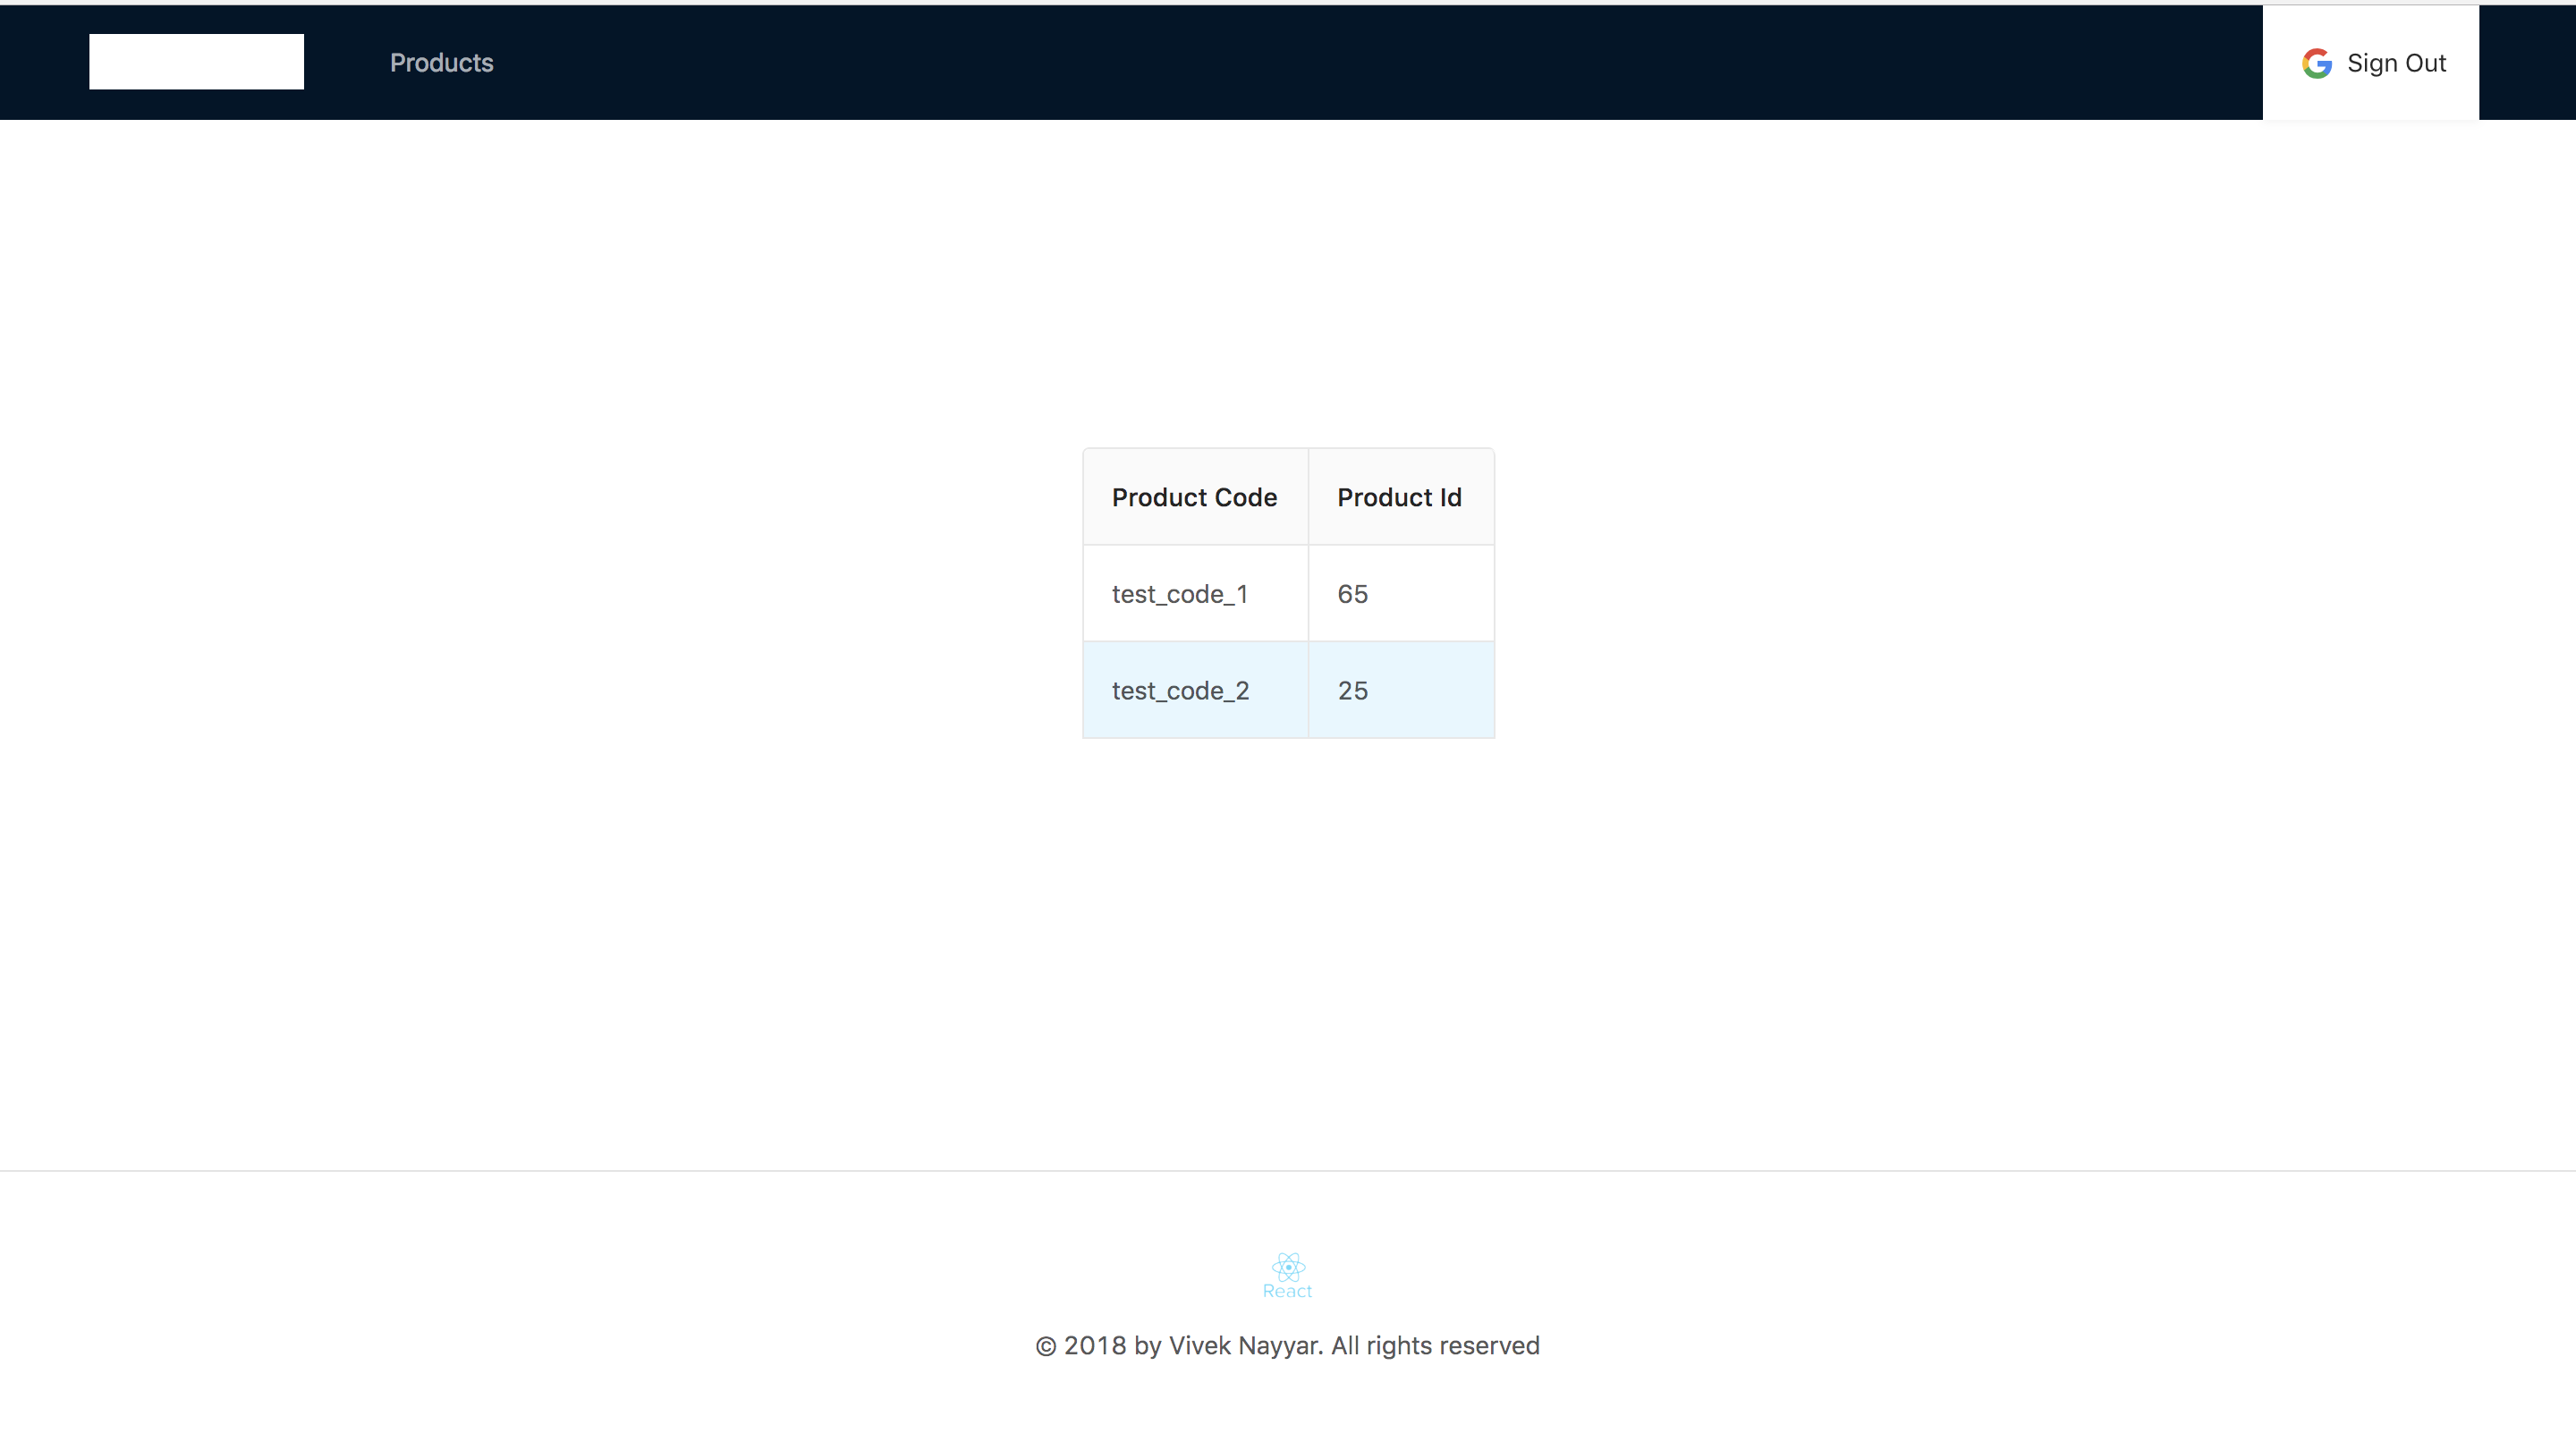
- This repo holds the entire front end code base for React Express Boilerplate.The code is written in React 16, with node express server to act as a proxy layer between back-end and front-end.
- We are using passport for google authentication http://www.passportjs.org/docs/google/
- We are using ant design for styling our page https://ant.design/
- This repo was bootstrapped with CRA(CREATE-REACT-APP) and has been ejected.
- For styling we are using normal css with flex box
- Test cases are written in Jest and snapshot tests in Enzyme
- Requirements
- Installation
- Running the Project
- Project Structure
- Routing
- Development Tools
- Building for Production
- node
^8.11.3 - yarn
^1.7.0or npm^3.10.10
After confirming that your environment meets the above requirements, you can start this project by following the steps mentioned below:-
$ git clone https://github.com/vivek12345/react-express-boilerplate.git
$ cd react-express-boilerplate
When that's done, install the project dependencies. It is recommended that you use Yarn for deterministic dependency management, but npm install will suffice.
$ yarn install # Install project dependencies (or `npm install`)After completing the installation step, you're ready to start the project! When you are running this project for the first time, you need to follow these steps:-
Since the project relies on a lot of environment variables, one needs to create a copy of the properties_sample.env file inside config folder and save as properties.env
# For development environment

$ cp env/properties.sample.env env/properties.env # Make a properties.env file from properties.sample.env
Make changes in it according to the environment variables you need, we use dotenv which will read all environment variables from properties.env and set them on process.env
Step 1: Go to the developer console: https://console.developers.google.com/
Step 2: Look up ‘oauth credentials’ in the search bar, and click the single option that pops up.
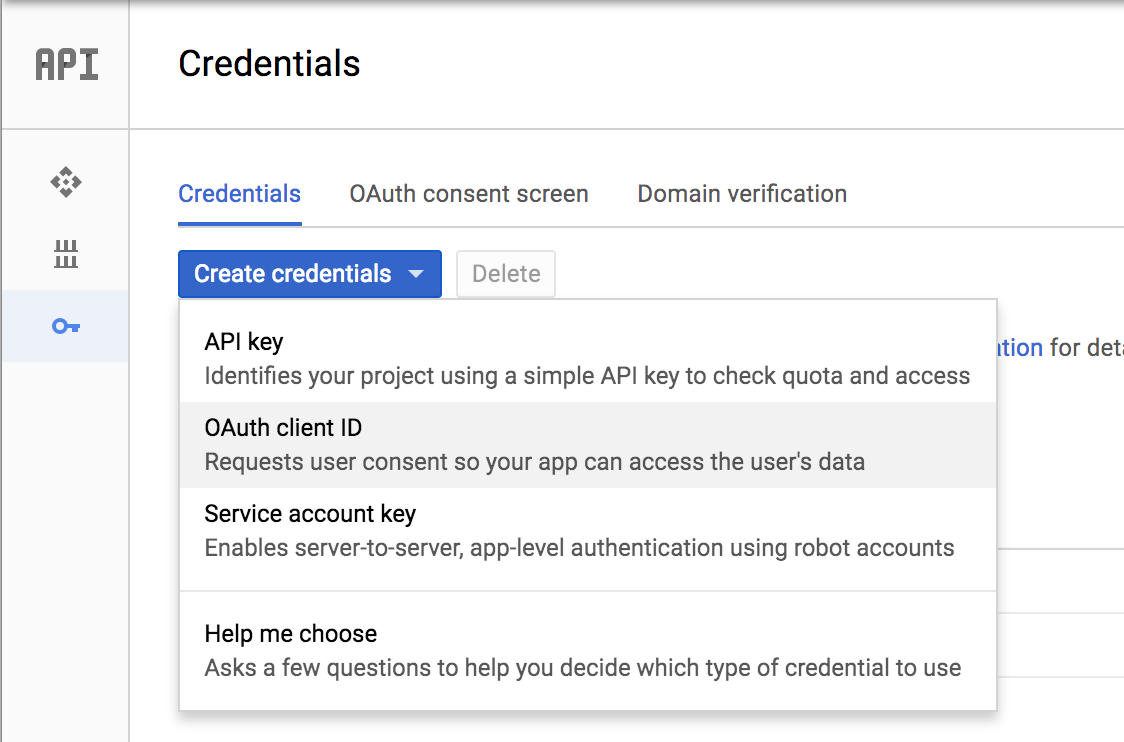
Step 3: Try to find the ‘Create credentials’ button. If you find it, go ahead and click on it. Choose ‘Oauth Client Id’ (figure 1).
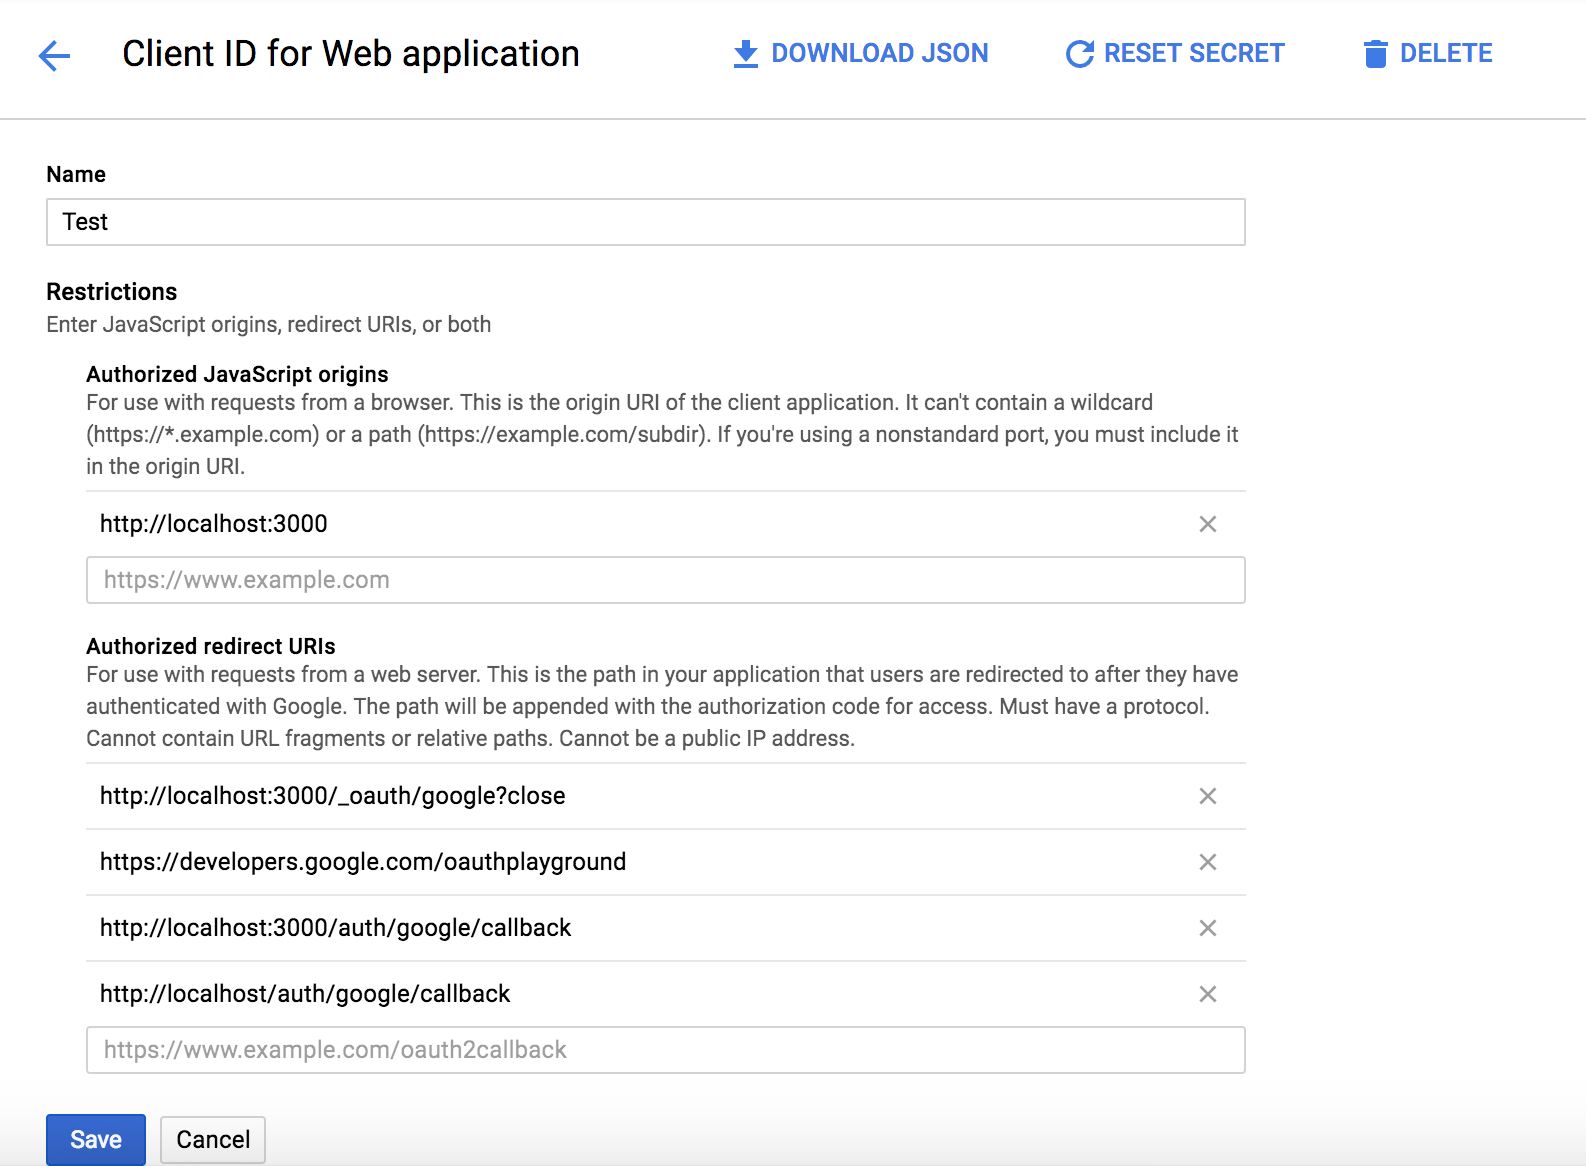
For application type, choose web application. Authorized origins and redirect URLs are a bit confusing, so I’ve just copy pasted a bunch of different options (figure 2) that have worked for me in the past. For production settings, you’ll probably want to be a bit more specific.
Step 4: Click save, and copy down the Client Id and Client Secret values that are hiding somewhere on the same page.
Step 5:
- Replace your
DASHBOARD_APP_GOOGLE_CLIENT_IDwith your own gmail client id in your properties.env file - Replace your
GOOGLE_CLIENT_SECRETwith your own gmail client secret in your properties.env file
# For development environment

$ yarn dev:build-client # Build the client bundles (or `npm run dev:build-client`)
$ yarn dev:server # Runs the nodemon server to start express server (or `npm run dev:server`)
$ yarn dev # Run the client build and server in watch mode and start the nodemon server(all in parallel) (or `npm run dev`)
# For development environment

$ yarn start # In production we would just run this command to start our node or pm2 servert

While developing, you will probably rely mostly on `yarn start`; however, there are additional scripts at your disposal:

|`yarn <script>`                                |Description|
|-----------------------------------------------|-----------|
|`yarn start`                                   |Starts node app at `localhost:8000` by default|
|`yarn dev`                                     |Starts client build and nodemon server in parallel|
|`yarn dev:build-client`                        |Runs webpack in watch mode and serves react app at `localhost:3000`|
|`yarn dev:server`                              |Runs nodemon server at localhost:3000 for express app|
|`yarn build`                                   |Builds the app in production mode and serves files from build folder|
|`yarn lint-staged`                             |Runs prettier and eslint fixes|
|`yarn build:staging`                           |Builds the app in staging mode and serves files from build folder|
|`yarn eslint:fix` |Runs all eslint fixes|The project structure using CRA directory structure where folders are grouped into containers and components and since we are using redux, we do have actions, reducers, selectors, hocs, store and helpers. This structure is only meant to serve as a guide, it is by no means prescriptive. That said, it aims to represent generally accepted guidelines and patterns for building scalable applications. To understand what goes inside components and what inside containers, please check out this component-state-vs-redux-store by Vivek Nayyar.
├── build                                           # All production ready files with minified JS, html and css files
├── client                                          # All react related code will go here
│   ├── config                                      # All CRA related config goes here including paths, environment variables and │jest config goes here
│   ├── public                                      # Static public assets used while in dev mode
│   ├── scripts                                     # All webpack related code
│   │   ├── build.js                                # Script for making production bundle
│   │   ├── start.js                                # Script for development mode
│   │   ├── test.js                                 # Script for test mode
│   ├── src                                         # Client Application source code
│   │   ├── helpers                                 # All api helpers, utils, local storage, analytics and config helpers go inside this folder
│   │   ├── components                              # Global Reusable Components
│   │   │   ├── ComponentName                       # Component Name Folder and every component will have a index.js and css file
│   │   │   │   ├── index.js                        # Main file which exports the component
│   │   │   │	├── ComponentName.js                # Main component code
│   │   │   │	├── ComponentName.css               # Styling for the component
│   │   ├── pages                                   # Global Reusable Components
│   │   │   ├── PageName                            # Component Name Folder and every component will have a index.js and css file
│   │   │   │   ├── index.js                        # Main file which exports the component
│   │   │   │	├── PageName.js                     # Main component code
│   │   │   │	├── PageName.css                    # Styling for the component
│   │   ├── assets                                  # Any images, fonts and icons which need to be cache bursted go here
│   │   ├── index.js                                # Application bootstrap and rendering
│   │   ├── constants                               # Folder for constants file
│   │   ├── Routes.js                               # All application client side routes using react-router
├── env                                             # All environment variables to be configured from here
│   ├── properties.sample.env                       # Sample file for setting up environment vars
├── server                                          # Express application that provides webpack middleware
│   ├── controllers                                 # All route controlling logic will go here for example authentication controller
│   ├── middleware                                  # Middleware for checking JWT token in every api call
│   ├── models                                      # Schema for mongo db documents
│   ├── router                                      # Main express route handlers
│   │   ├── BaseRouter.js                           # Base routes which the other routers extend
│   │   ├── Router.js                               # Express router for server side rendering the react app
│   │   ├── ApiRouter.js                            # API router for all back end api calls
│   ├── constants.js                                # All server needed constants can be found here
│   ├── index.js                                    # Entry point for the node js server
├── webpack                                         # All front end and back end webpack config will go here
│   ├── webpack.config.dev.js                       # webpack file for dev environment
│   ├── webpack.config.prod.js                      # webpack file for prod environment
│   ├── webpackDevServer.config.dev.js              # webpack dev server for dev work
├── .babelrc                                        # Babel file for es6 and react code transpilation
├── .gitignore                                      # The name says it all
├── .eslintrc.js                                    # This file maintains all end points of the back end routes
├── .prettierrc                                     # Prettier config
├── package.json                                    # All npm dependencies can be found here
├── README.md                                       # Readme file for the whole app
├── yarn.lock                                       # Yarn lock file for locking the dependency versions
We use react-router route definitions
See the project structure section for more information.
-
We use
prettierfor code formatting.Here is the link to downlod the same.Prettier -
Make sure you are using vscode and your vscode user_settings has the following code:-
{
    "editor.fontSize": 12,
    "editor.formatOnPaste": true,
    "editor.formatOnSave": true,
    "prettier.eslintIntegration": true,
}- Deployment will always happen from the
releasebranch on production. - Any production related environment variables need to be configured on env/properties.env.Take a copy of sample and edit values for prod environment
- ci folder has a docker script to deploy all the code in a docker instance
- yarn build will built the production build
- yarn start will start the node server or pm2 server( which ever we chose to go with)


