This is a 'frozen' version of the official Gausian Splatting repository.
This is a Windows only implementation
- Install Miniconda (we are using Pyhton 3.10 version) Make it easy on yourself and automatically add the PATH environment variable.

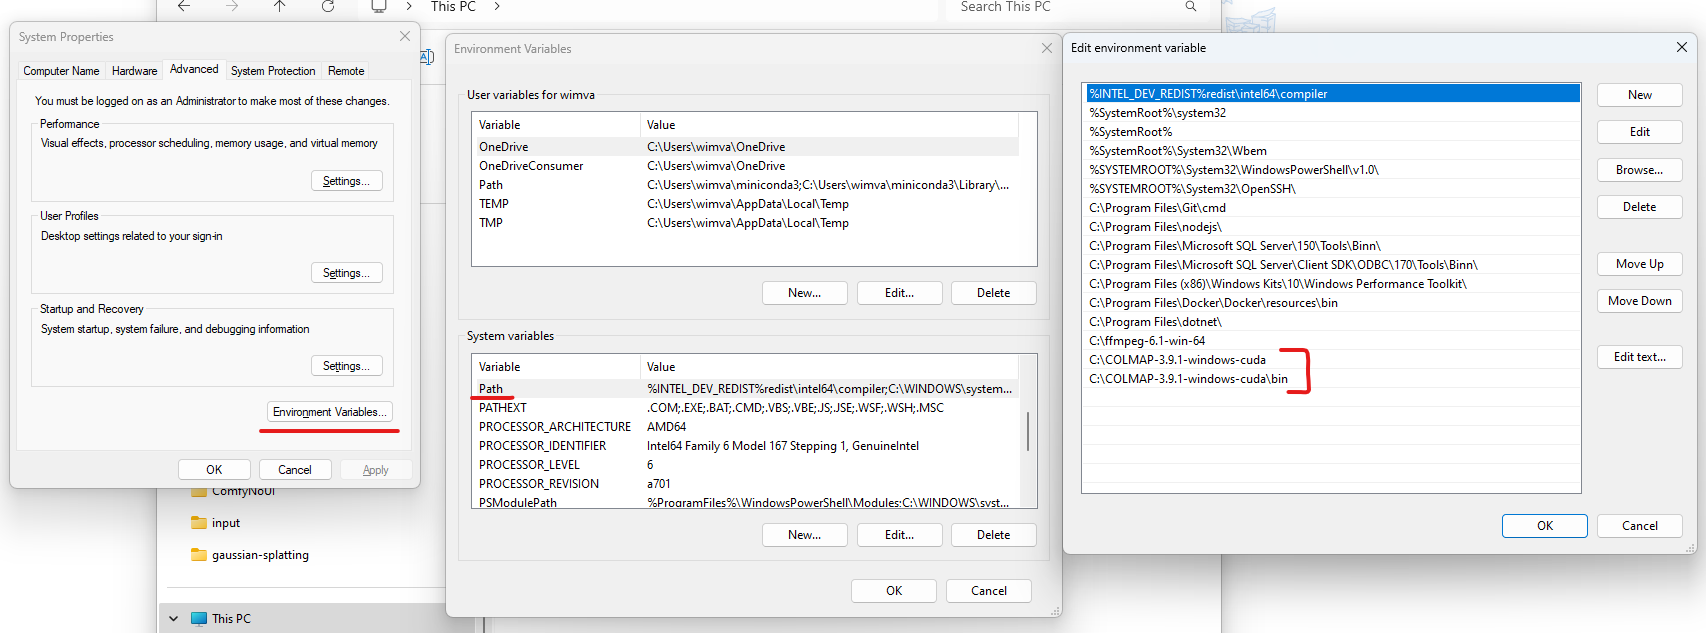
- Install Colmap and set the environment variables. We are using CUDA version 3.9.1
Now setup the Python environment. Use the Command Line tool and to be safe make sure you are in the location of the project. This can take a while.
conda env create -f environment.yml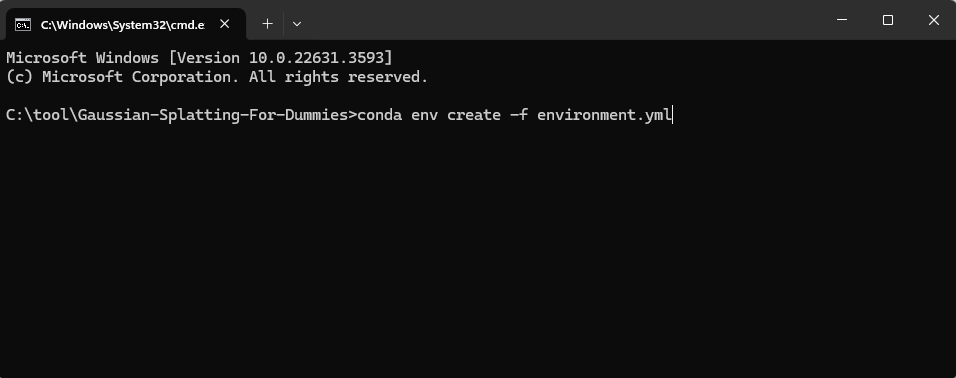
now activate the conda environment
conda activate toolofna-gaussian_splatting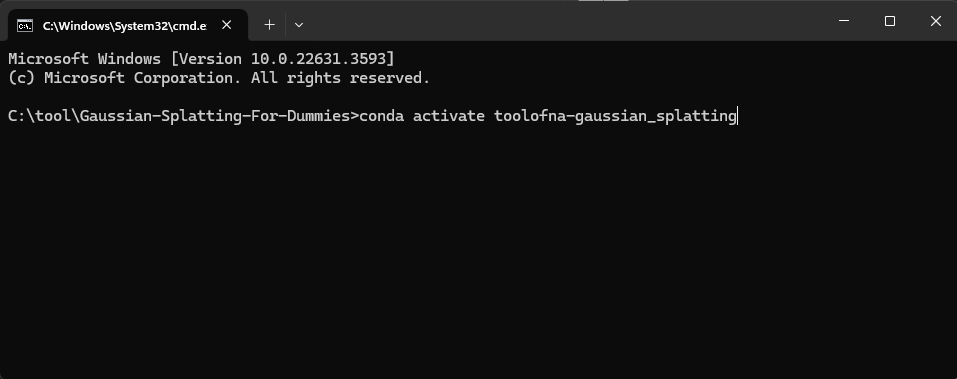
With the conda environment activated we now have two install two extra submodules.
The diff-gaussian-rasterization is actually where the magick happens...
pip install ./submodules/diff-gaussian-rasterizationpip install ./submodules/simple-knnWe have created 2 scripts to prepare your data.
The easiest way to assemble data is taking frames from a video or using photos from your scene or object. We advise especially to run the images script - 1a_export_images.py - even if you already have images ready. We noticed that orientation data coming from images taken with a phone can influence the Guassian Splat the wrong way.
Open one of the provided scripts - 1a_export_images.py or 1b_export_video.py, either for images or video and adjust the source and destination target paths.

Now run the script and you see your images will be created in the output folder you specified.
python 1a_export_images.pyor
python 1b_export_video.pyMake sure that before creating your Gaussian Splat your images are in a folder called 'input'
<location>
|---input
    |---<image 0>
    |---<image 1>
    |---...
Creating a Gaussian Splat is a two step process. First we use COLMAP to create a pointcloud and camera calibration from your source images. Then the output data of the COLMAP is then used to create the actual Gaussian Splat.
Make sure you are in the project root folder and run the following script.
location is the folder of your images at the position of where 'input' resides. So do not include 'input' in the location variable.
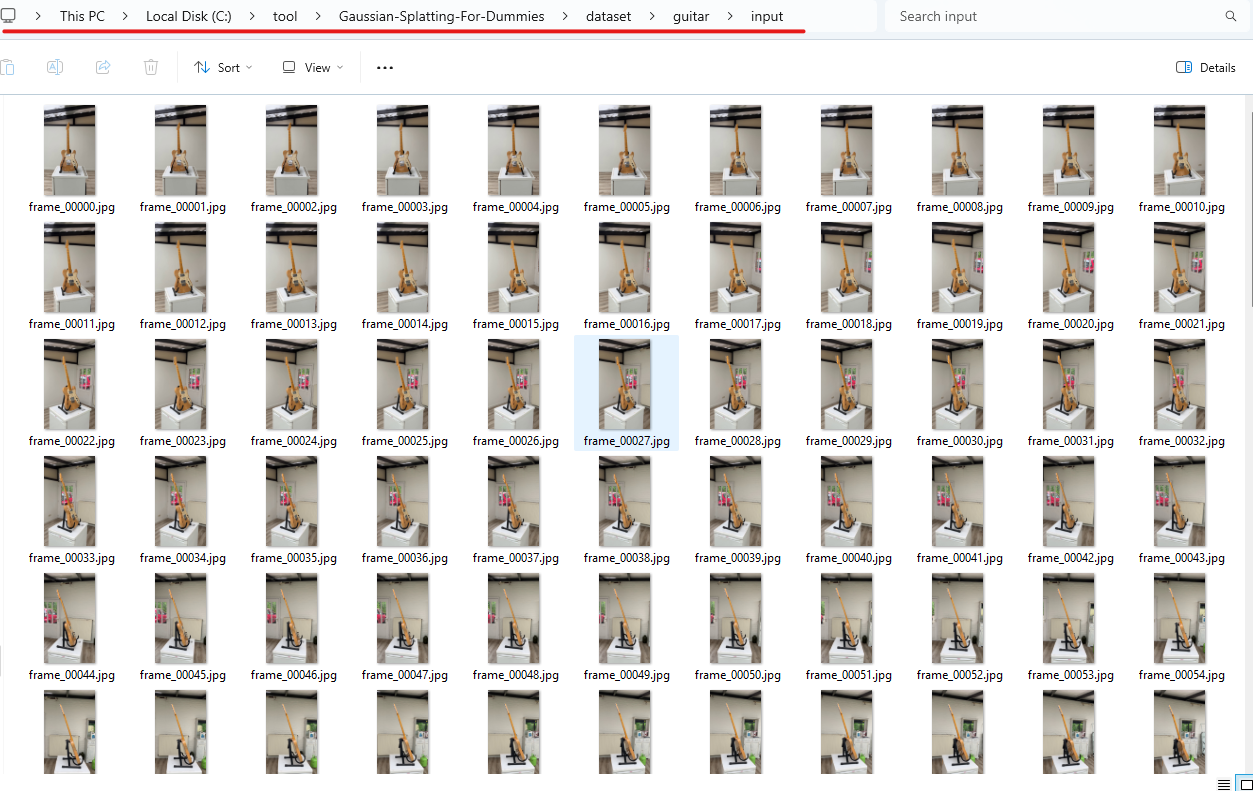
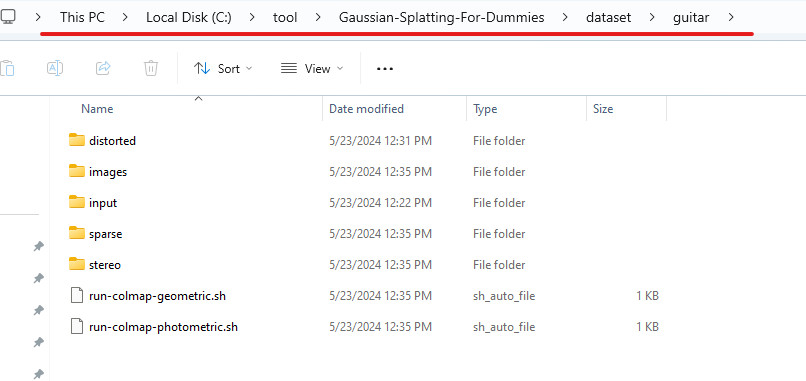
python convert.py -s <location>For example if this is where you have your input images/dataset stored
|---Gaussian-Splatting-For-Dummies
    |---dataset
        |---guitar
            |---input
                |---<image 1>
                |---<image 2>
                |---...
Make sure you are in the root of the project, then the location is: ./dataset/guitar
Also make sure the conda environment is active.

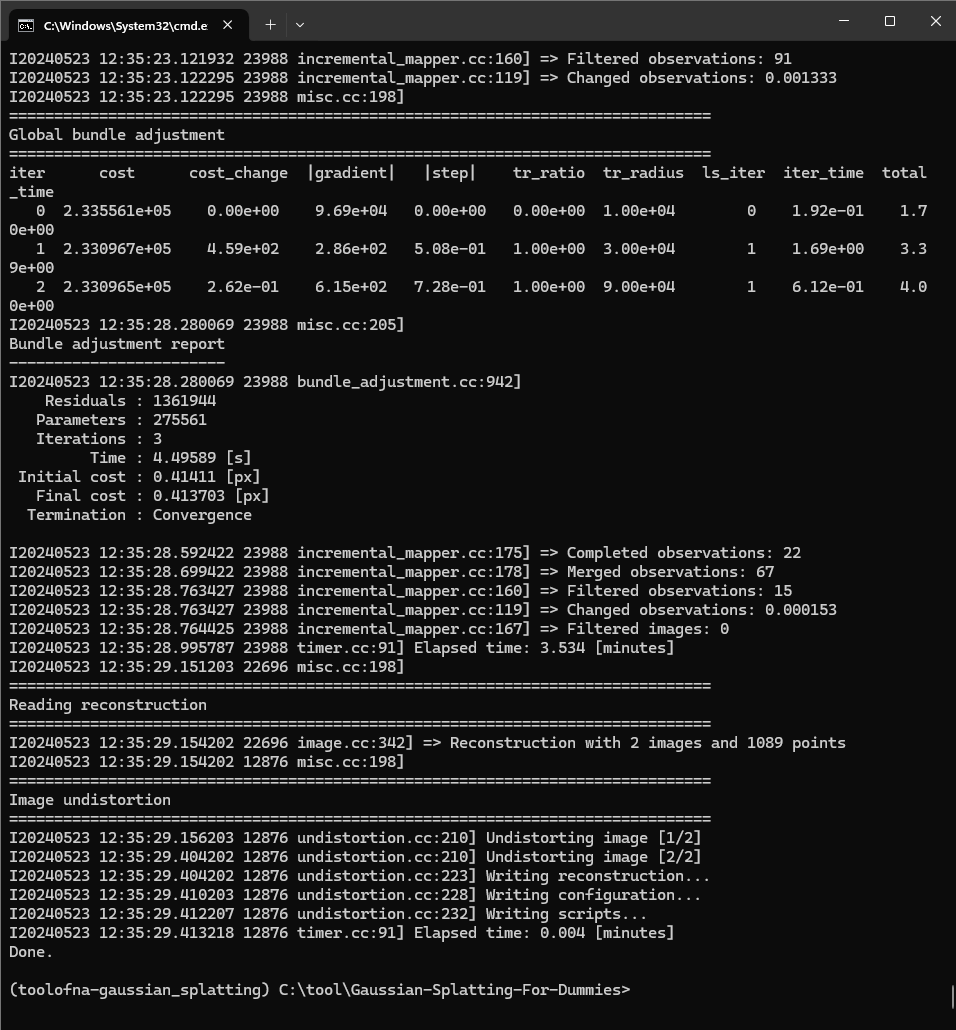
When everything goes well the result should look something like this
And you should see a bunch of new folders next to your input folder
Now we will use this data to create the actual Gaussian Splat
Now we will use the train script to create the actual splat.
python train.py -s <path to COLMAP>The path to COLMAP is actually the same folder you used for the COLMAP generation.