If you've application in android, ios & web platforms and want to automate with single code base? This framework is for you.
This is a generic Page Object Model which solves all your automation needs with single codebase.
We often tend to create different test frameworks for different platforms and it's very difficult for anyone to serve all platform needs in one test automation framework.
OneFramework solves all your needs. You just give the locator and leave the rest to OneFramework.
- Features
- Libraries Used
- Prerequisites Installations
- Appium Setup
- How This Framework Works
- How To Run Tests
- How To See Allure Result Report
- Image Comparison Output
- Pending Tasks
- How To Contribute?
- Easy to automate any type of application
- Cross platform(mobile & web) support with single codebase
- Page Object Model
- TestNG integration
- Image Comparison
- Allure Reporting
- Robust in nature
- Many configurations
- Appium
- Selenium WebDriver
- Java
- TestNG
- Gradle
- WebDriverManager
- AShot
- Allure Report
JAVA 1.8- Install Java and set the JAVA_HOME path on your machine.Node & NPM- Download & install node fromhttps://nodejs.org/en/download/.Gradle- Install Gradle.Android- Install Android Studio & set ANDROID_HOME path.
- Downloading the Android SDK
- Download the Android SDK tools such as
- Build tools
- Platform tools
- Android Emulator
- Intel HAXM installer etc.....
- Create an emulator device from AVD manager
iOS- Install XCode on your machine & download required iPhone/iPad simulators.Allure Report- Install Allure Report library on your machine. Please follow below link to install it on MAC.
Similarly install allure-report installer on your respective machine. https://docs.qameta.io/allure/#_installing_a_commandline
Note: If you want to run only on WEB, you don't need anything except JAVA.
Mentioned installations Node, Android & iOS are for mobile app automation & Rest like Gradle & Allure are for framework level
Install Appium
$ sudo npm install -g appium@1.9.1 --unsafe-perm=true --allow-root
Appium Doctor- which is used to see if the appium setup is correctly done or not. Run it and fix the issues as per that.
 $ sudo npm install -g appium-doctor --unsafe-perm=true --allow-root
 $ appium-doctor
This framework is built in Page Object Model style using TestNG framework.
We have "testng.xml" file which has tests for each and every platform in cross browser/device testing fashion.
- Create your tests
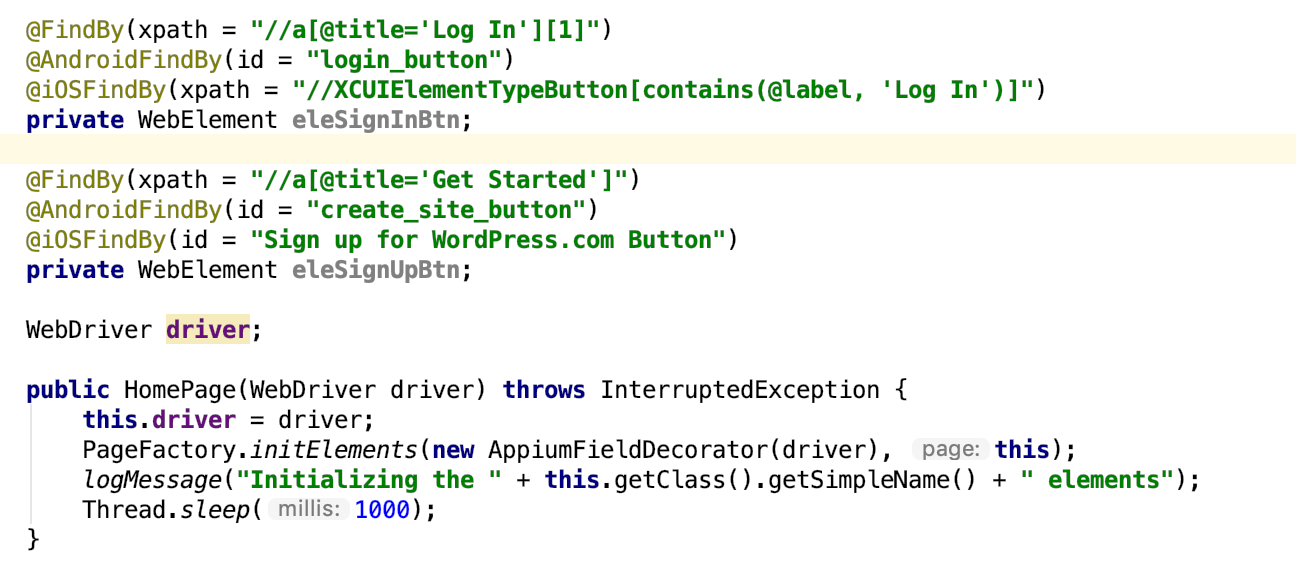
- Create your Page Object class w.r.t test that you have written, if not created already (Take the reference from org.oneframework.pageObjects).
For e.g, SignIn button locators for web, ios & android set as shown below.
- If web app, Set web app URL in BaseTest
- Clone the repo.
https://github.com/srinu-kodi/OneFramework.git - Build the JAR and run it.
$ gradle clean build
$ java -jar build/libs/Automation-1.0-SNAPSHOT.jar capture
$ java -jar build/libs/Automation-1.0-SNAPSHOT.jar compare
Note:capture & compare are the image capture and compare modes.
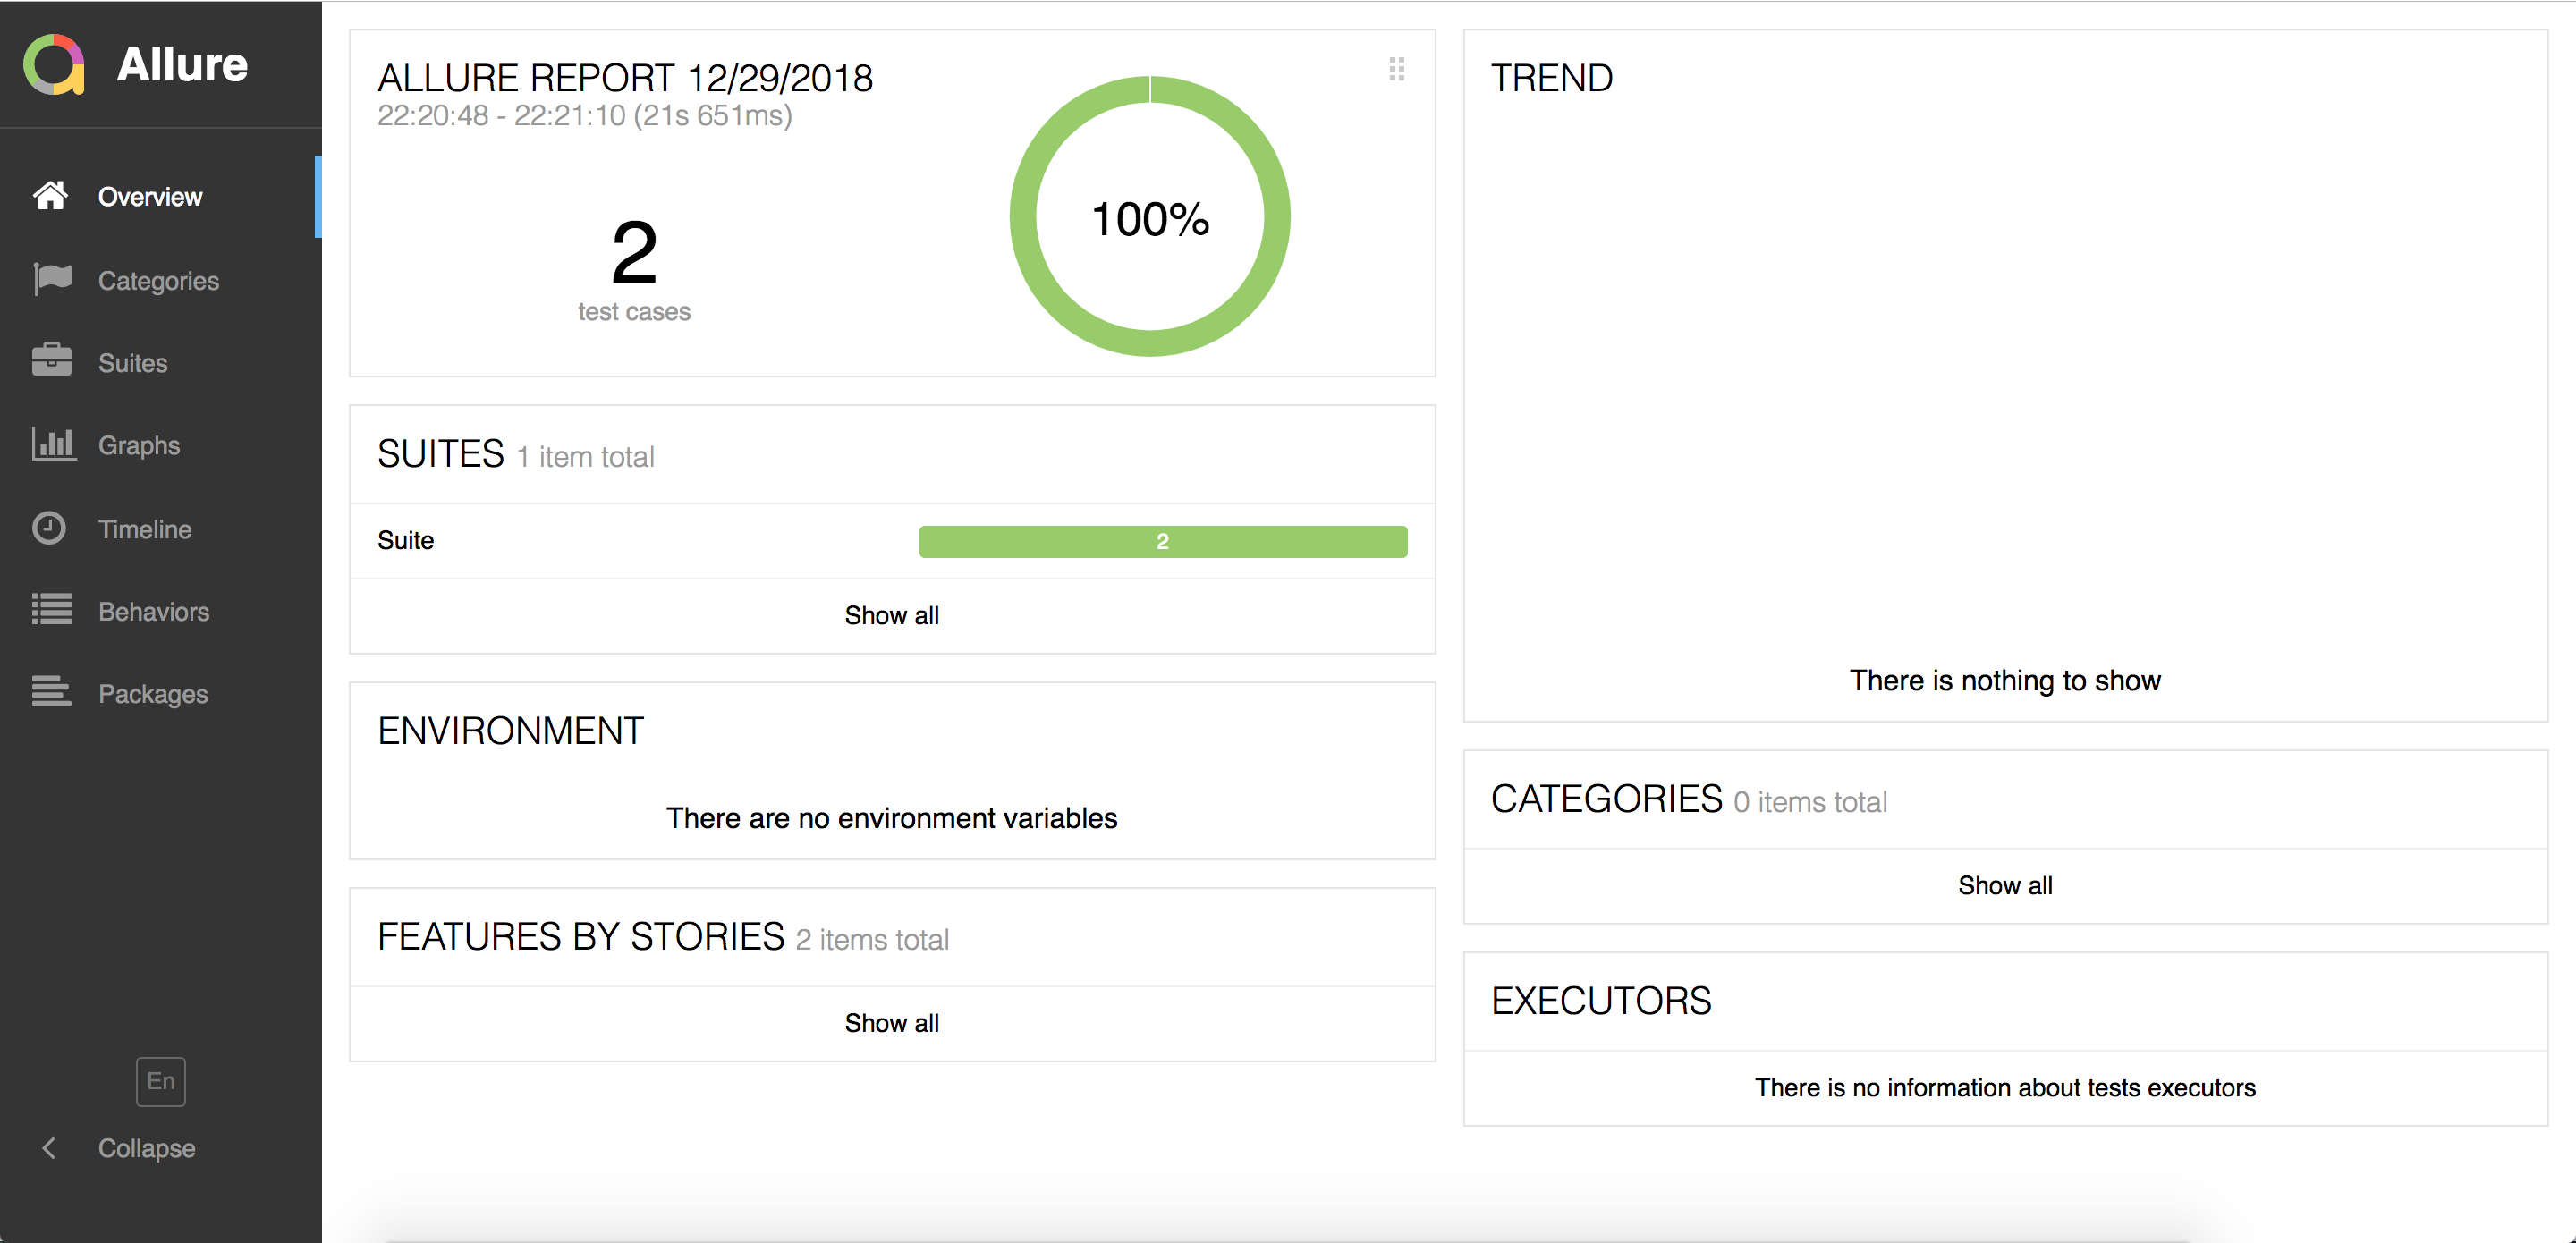
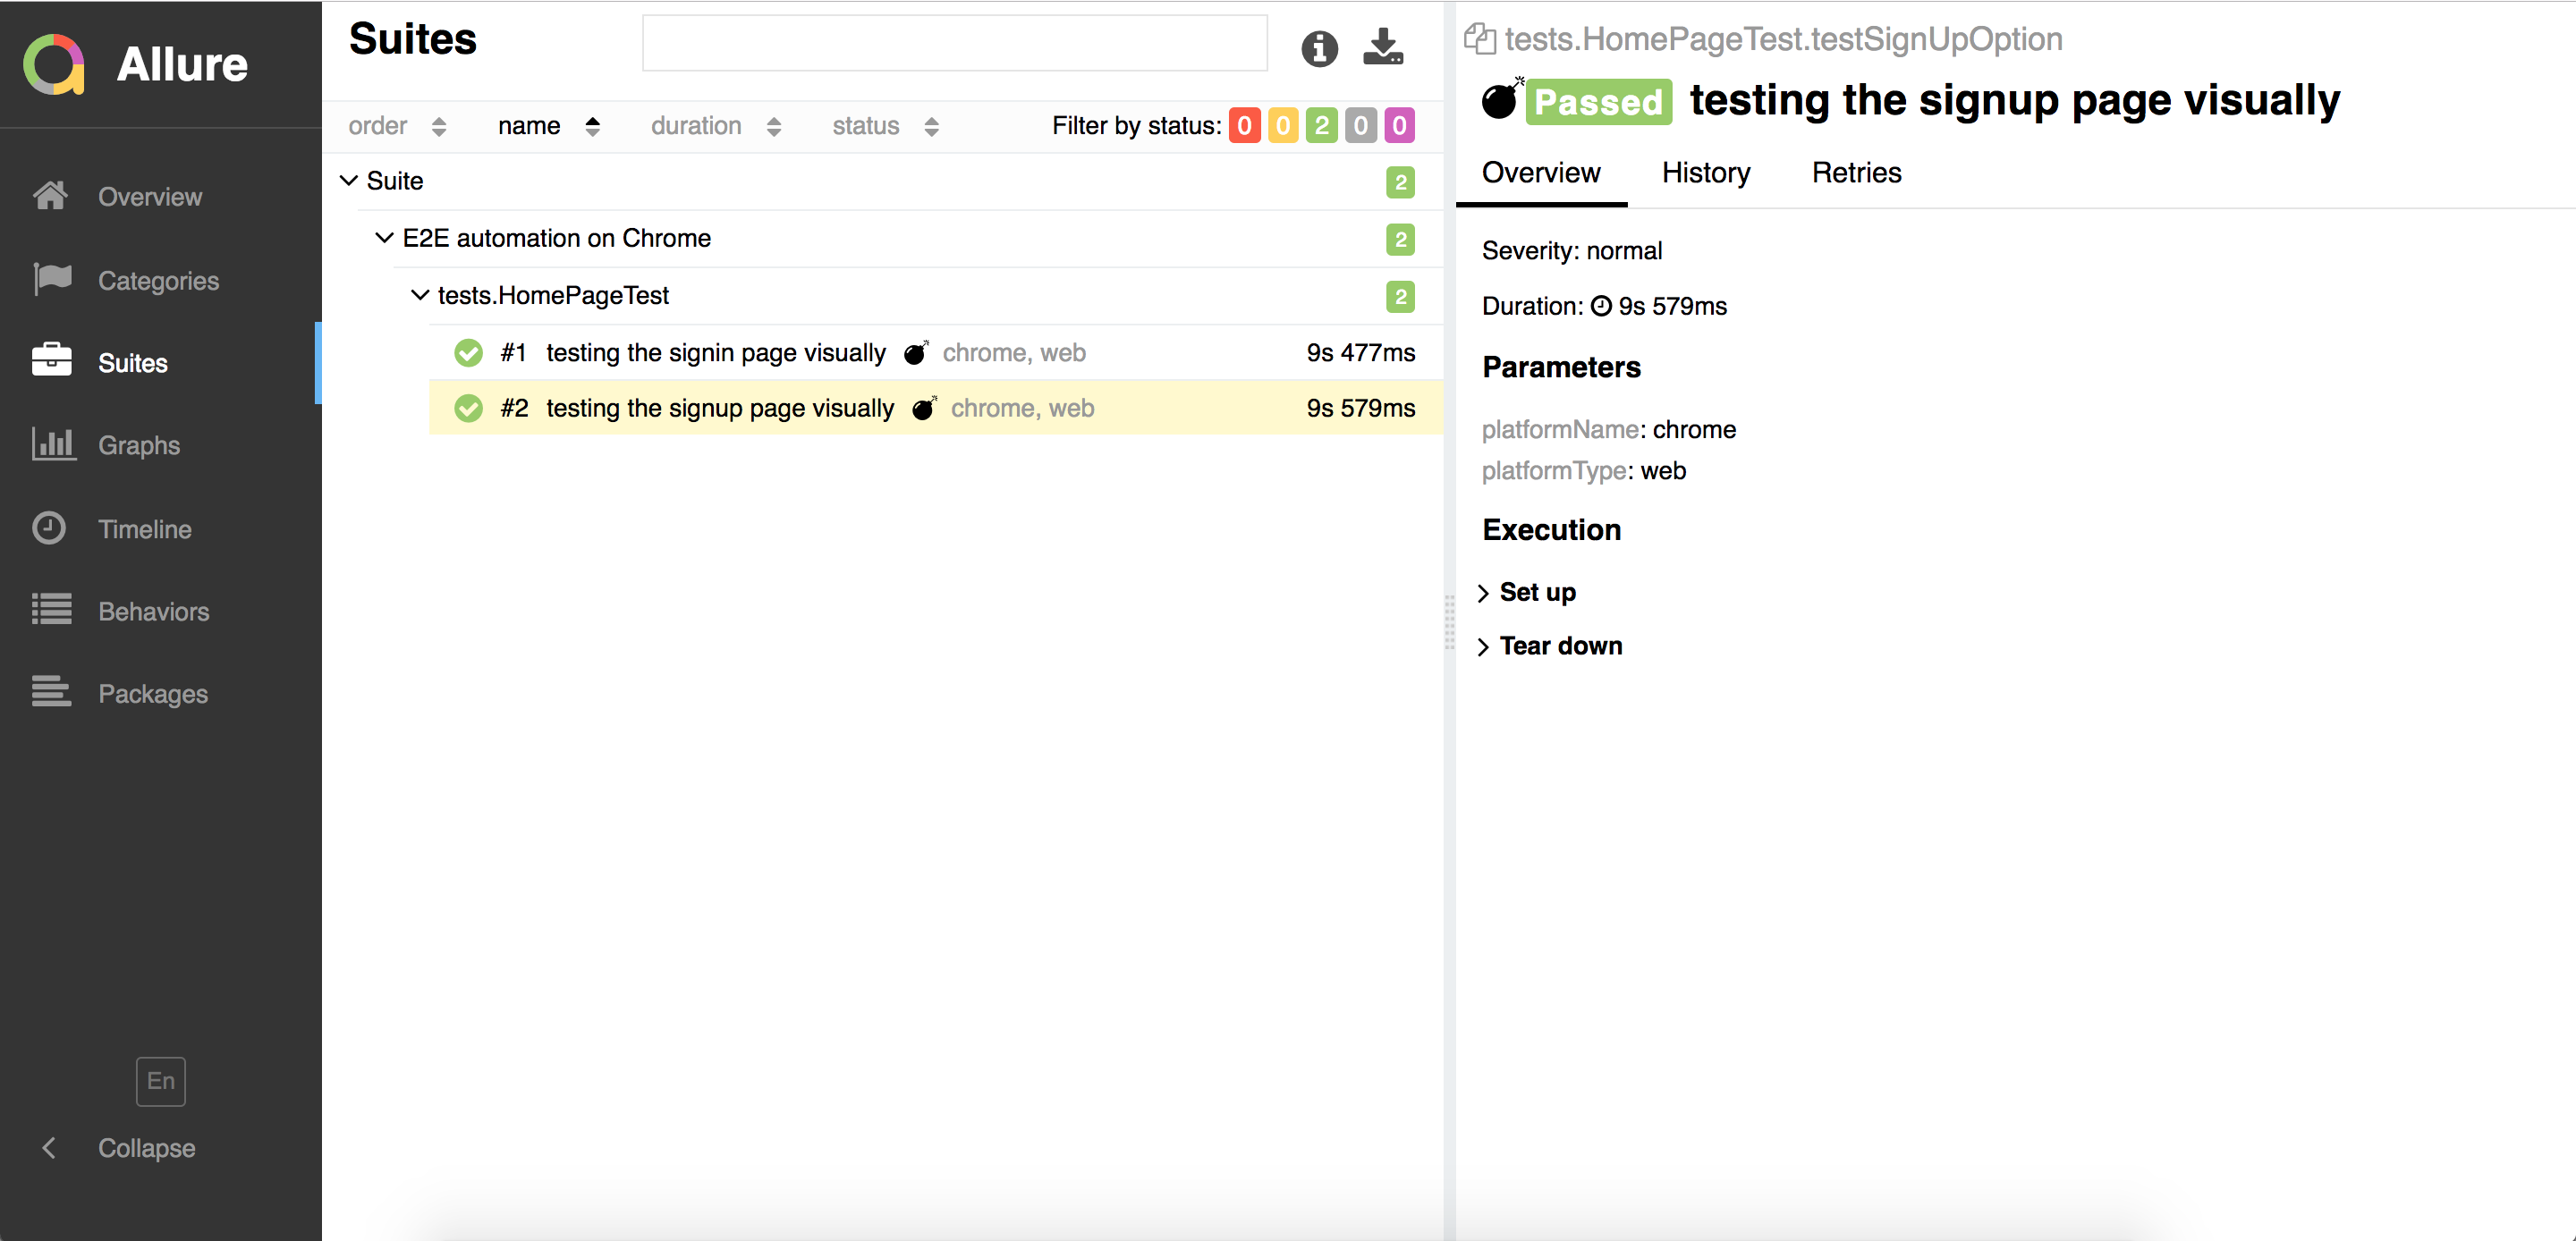
Once test execution is complete, allure-results directory gets generated. I assume you have already installed allure on your machine. If not, install it. If yes, run below command to see the report.
$ allure serve <allure-results path>
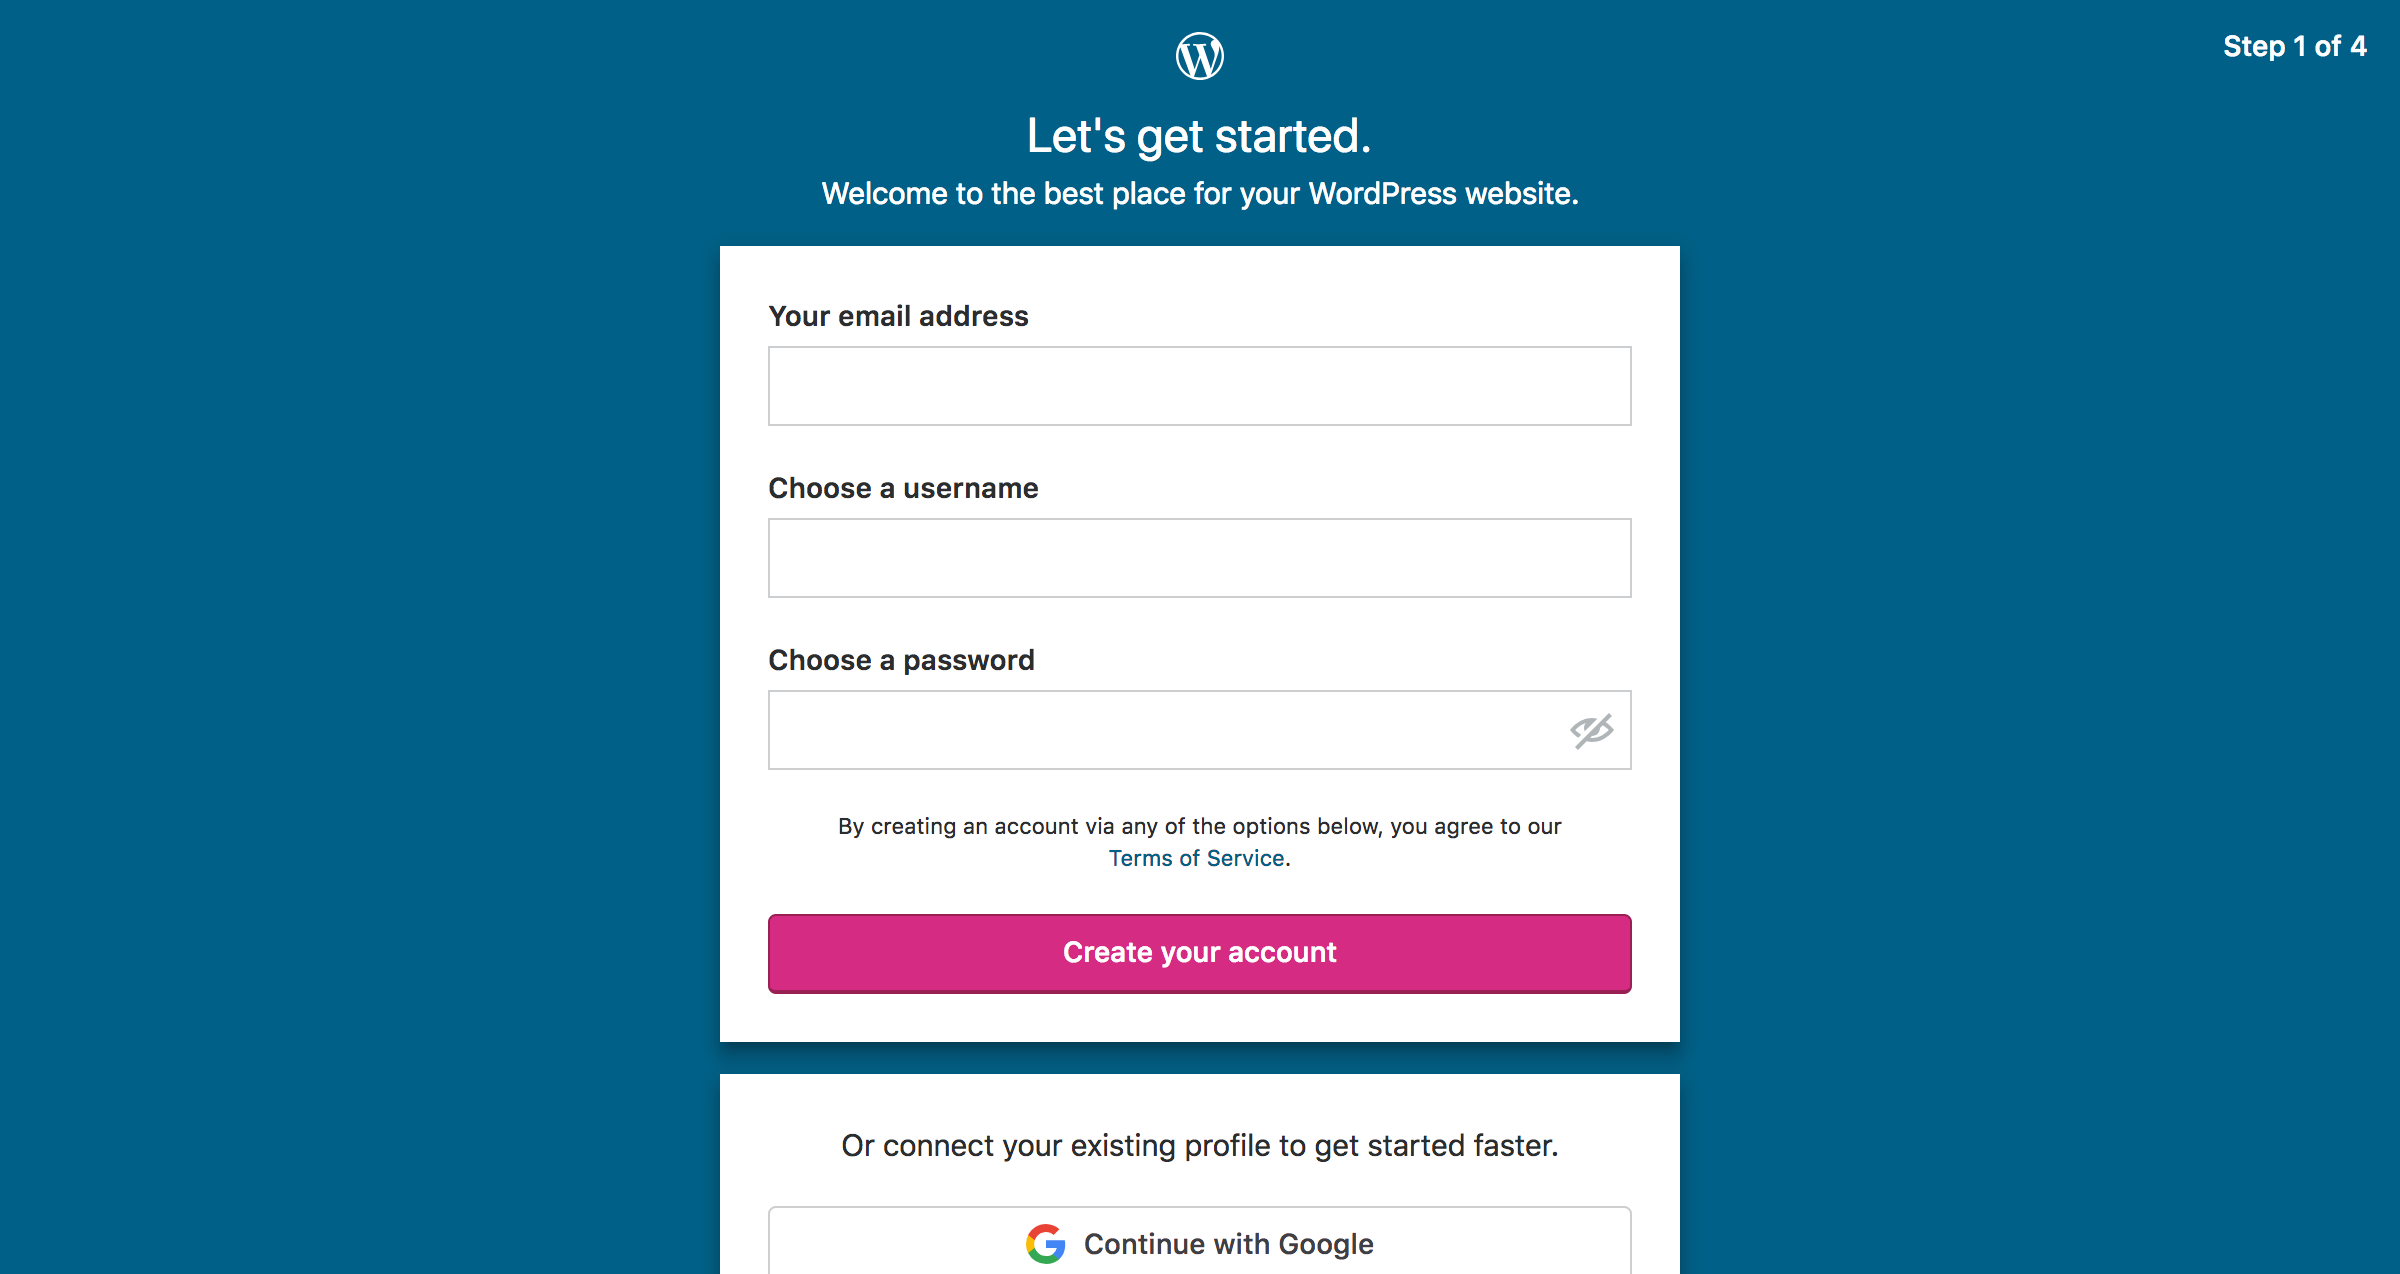
Once image comparison is complete, all the images w.r.t platforms are published into local baselineImages directory at root level. Now go to specific directory and get the image comparison resulted images.
difference image is created only when there is a difference in actual vs expected images. Below is the sample output.
- Image masking on certain co-ordinates
- Parallel test execution
- Integration with CI i.e. Jenkins (or) Travis (or) Circle CI (or) Go
- Recording of test execution
Moreover I will incorporate if anything pops up in mind, going forward.
- Raise a PR, if you already add any new feature or fix any issues in this framework.
- Raise an issue, if you face any code related issues(genuine ones) with this framework.
