Node library to manually control a custom Selenoid video recorder
This library contains a node api to a interact with a custom Selenoid video recorder, as well as methods that easily plugs into a few Webdriver.io test hooks for easy setup.
This makes it possible to run many test suites in one go and still make separate recordings of each test case.
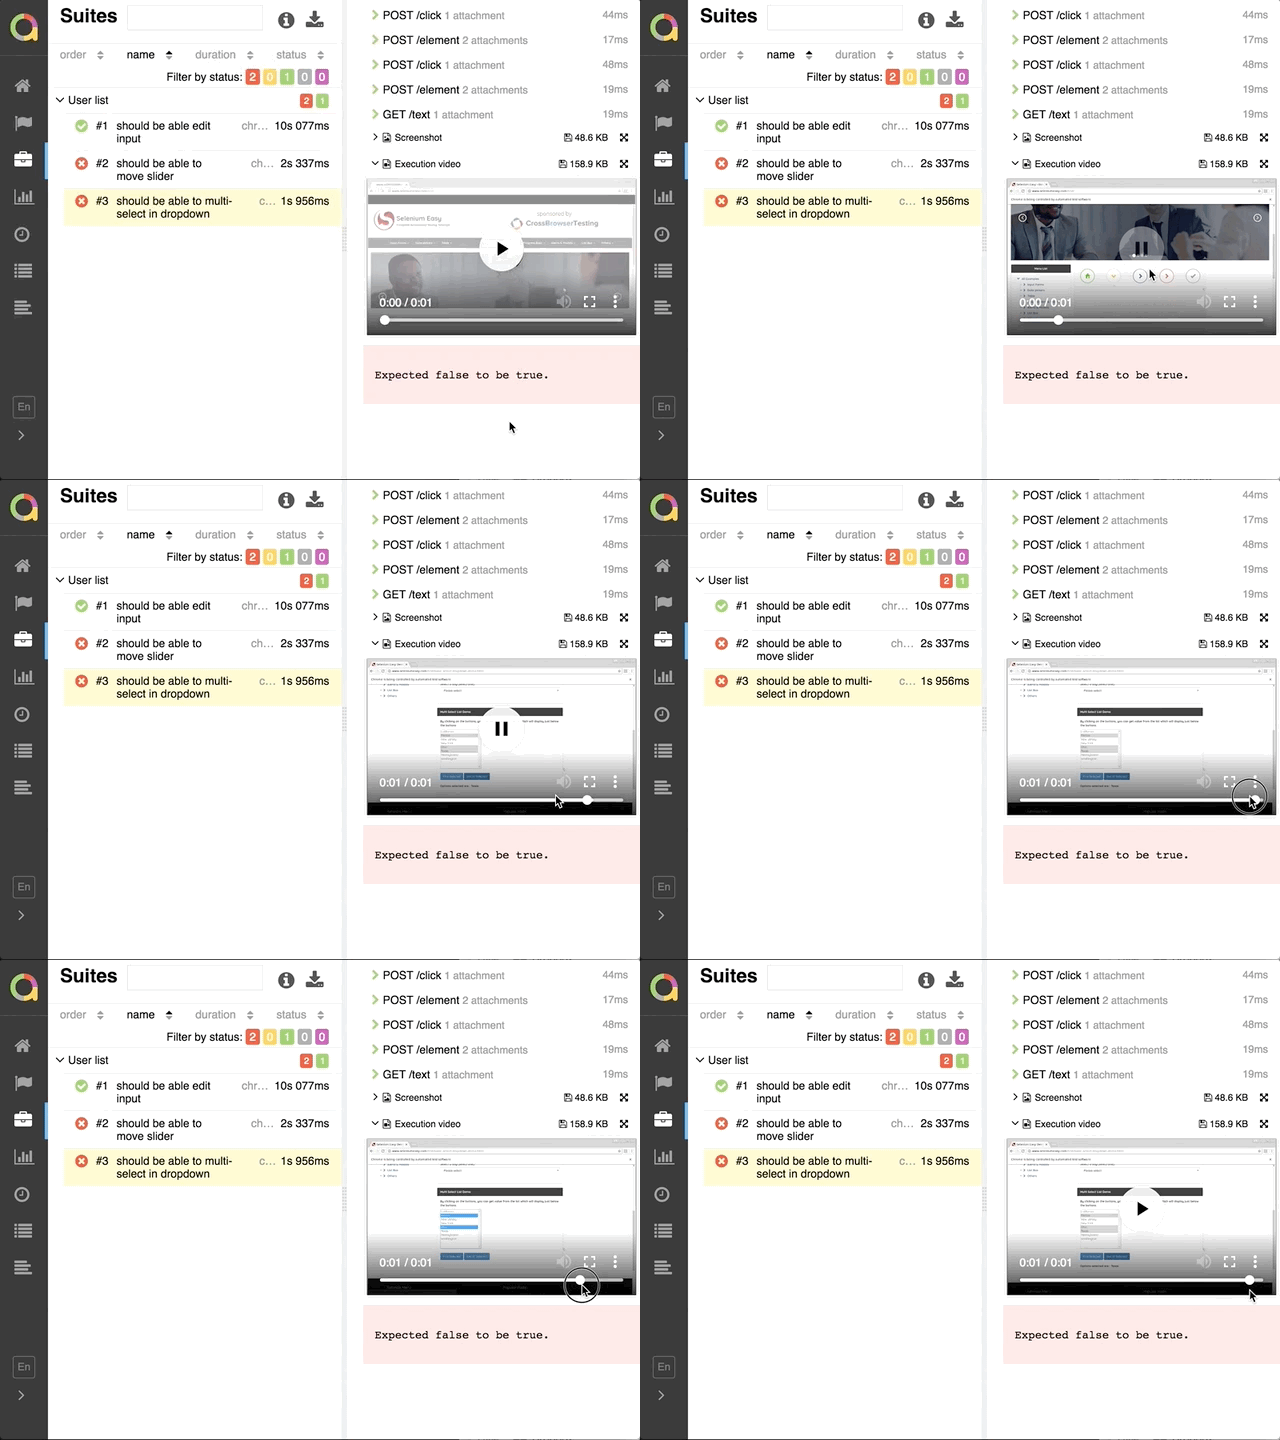
There is also easy integration with Allure reports to make them pretty:
Explore the allure example here: allure-example-report-with-video
- Install Node >= v8: How to install node
- Install Docker: How to install docker
- Pull the manual video recorder docker image
docker image pull presidenten/selenoid-manual-video-recorder curl -s https://aerokube.com/cm/bash | bash- Start selenoid with custom manual video recorder
cm selenoid start --vnc --tmpfs 128 --args "-video-recorder-image presidenten/selenoid-manual-video-recorder"- Make a Webdriver.io project How to get started with Webdriver.io
- To run the demo, make sure prerequisites 1-4 are in place, then:
  git clone https://github.com/presidenten/selenoid-video-api.git
  cd selenoid-video-api

  # Install project dependencies
  npm install

  # Install demo dependencies
  cd demo
npm install- Run tests
npm run test --silent- Generate allure report (optional):
npm run allureThen navigate to from http://localhost:8080/index.html, click on a failing test and check Execution Video in test body
- Videos are moved to the output dir and the report dir as report attachments The library assumes that the selenoid config dir is default (~/.aerokube)
 ~/github/selenium-video-api/demo/e2e/results$ ls
  User-list-should-be-able-to-move-slider-chrome-2018-06-03--10-29.mp4
  User-list-should-be-able-to-move-slider-chrome-2018-06-03--10-29.png
  User-list-should-be-able-to-multi-select-in-dropdown-chrome-2018-06-03--10-29.mp4
User-list-should-be-able-to-multi-select-in-dropdown-chrome-2018-06-03--10-29.png-
Add this module to your test repo
npm install selenoid-video-api
-
Check the example config to see how to use this module: wdio.conf.js
(Ofcourse
const selenoidVideoApi = require('../index.js');from row 1 in the example needs to be changed to:const selenoidVideoApi = require('selenium-video-api');)- If you want awesome Allure reports, also check
Custom settingssection on how to configure the Allure reporter and make sure to install it as wellnpm install wdio-allure-reporter
- If you want awesome Allure reports, also check
selenoidVideoApi.getWdioHooks accepts the following config, with these defaults:
  getWdioHooks({
    usingAllure = false,
    saveAllVideos = false,
    waitForVNCTime = 2000,
    videoMinTime = 500,
})tbd
Normally when using linking docker containers, a one way connection is specified with environment variables set in one machine so it can reach the other.
To be able to start/stop the recorder, we need a way to trigger the recorder from the browser. But it is linked to the recorder for vnc, so the browser has no knowledge of the recorder container.
This is my solution:
- Have a middle man (this library) read
envfrom each video recorder and make a map of the recorders name, ip and its corresponding browser ip - Have each spawned browser figure out its ip inside selenium during runtime
- Have an api to trigger commands in the recorder containers, which accepts browser ip to decide which container to run commands in
-
Docker integrations: video.js
-
Webdriver.io integration: wdio.conf.js
