Nano Bots: AI-powered bots that can be easily shared as a single file, designed to support multiple providers such as Cohere Command, Google Gemini, Maritaca AI MariTalk, Mistral AI, Ollama, OpenAI ChatGPT, and others, with support for calling tools (functions).
Enhance your productivity and workflow by bringing the power of Artificial Intelligence to your code editor!
You can install Nano Bots directly from the Visual Studio Code Marketplace via this link or by searching for it within the editor.
Alternatively, you can choose to install it manually:
- Download the most recent
.vsixfile from Releases. - Open VS Code and navigate to the Extensions view by clicking on "View" -> "Extensions" (or press Ctrl+Shift+X).
- In the top right-hand corner of the Extensions window, click on the "..." menu and select "Install from VSIX..."
- Choose the
.vsixfile you downloaded in step 1.
Once completed, the extension will be successfully installed and available for use in VS Code.
By default, access to the public Nano Bots API is available. However, it only provides a default Cartridge and may sometimes be slow or unavailable due to rate limits. This is common when many users around the world intensely use the API simultaneously.
To obtain the best performance and the opportunity to develop and personalize your own Cartridges, it is recommended that you use your own provider credentials to run your instance of the API locally. This approach will provide a superior and customized experience, in contrast to the convenient yet limited experience provided by the public API.
To connect your extension to your own local Nano Bots API, start a local instance using nano-bots-api. Please note that the local API still relies on external providers, which has its own policies regarding security and privacy. However, if you choose to use Ollama with open source Models, you can ensure that everything is kept local and remains completely private.
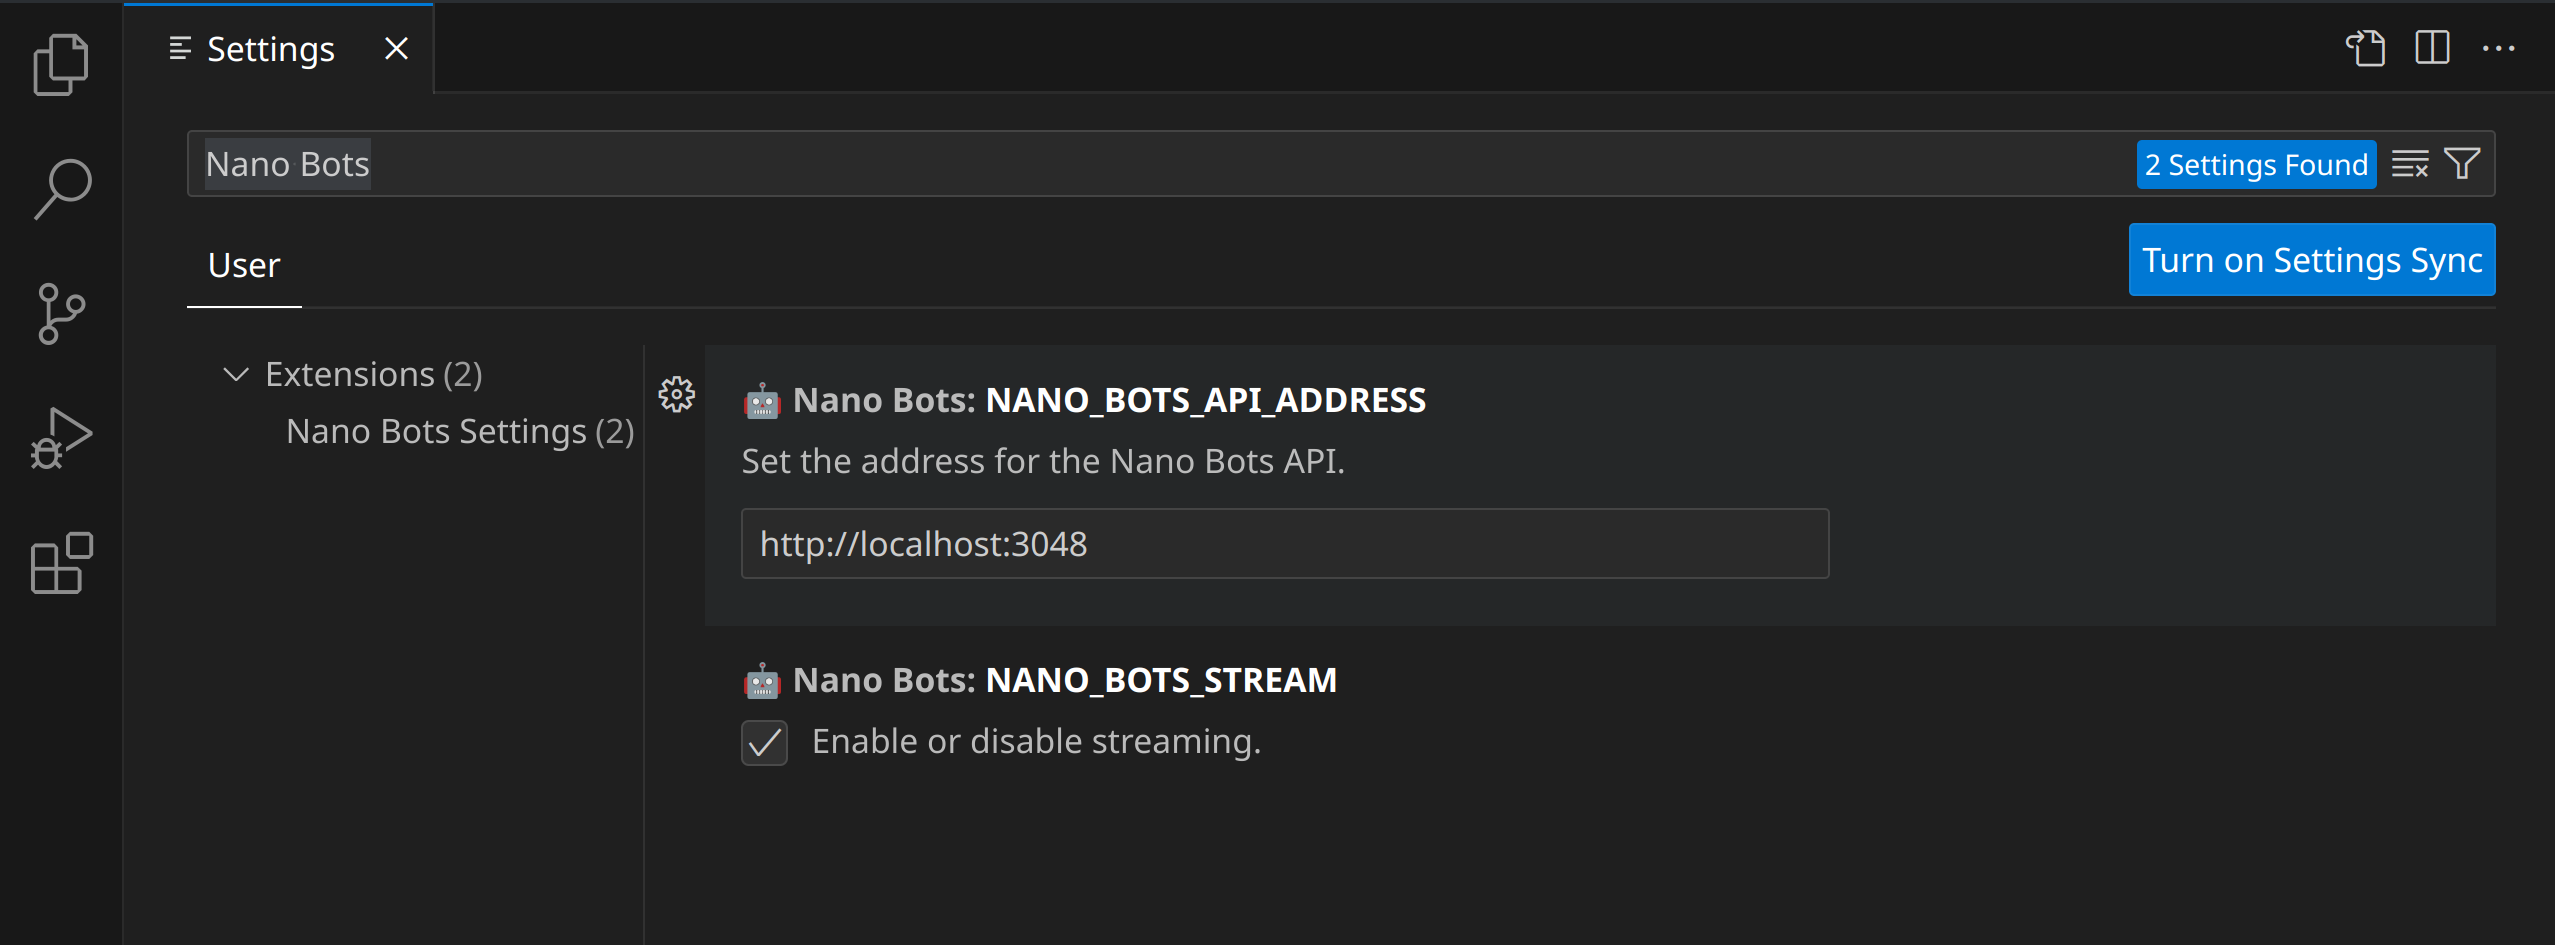
Once you have access to the Nano Bots API, you can navigate to "File" -> "Preferences" -> "Settings". Then, search for Nano Bots and configure the following settings:
NANO_BOTS_API_ADDRESS:http://localhost:3048NANO_BOTS_STREAM:trueNANO_BOTS_END_USER:anonymous(your-name)
After installation, you will have the following commands available in the command pallet:
The Prompt command works like a traditional chat, allowing you to ask a question and receive an answer from the Nano Bot.
Example:
  Prompt: write a hello world in Ruby

Nano Bot: puts "Hello, world!"
prompt.mp4
The Apply command works on a text selection. You select a piece of text and ask the Nano Bot to perform an action.
Example:
Selected Text: How are you doing?
       Prompt: translate to french

     Nano Bot: Comment allez-vous ?
apply.mp4
The Evaluate command sends your currently selected text to a Nano Bot without any additional instructions.
Example:
Selected Text: Hi!

     Nano Bot: Hello! How can I assist you today?
evaluate.mp4
To interrupt a streaming response or stop waiting for a complete response, you can use the "Stop" command in the command palette. This is useful if you realize that the bot's answer is not what you were expecting from your request.
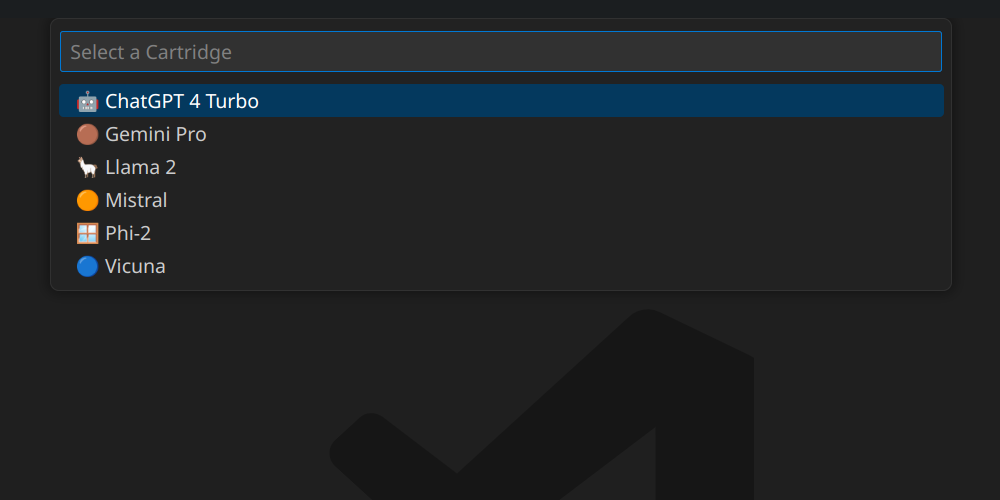
When executing any of the commands mentioned earlier, a prompt will appear asking you to select a Cartridge. The default Cartridge is the standard chat interaction. However, you can create your own Cartridges which will automatically appear in the command palette.
For further details on Cartridges, please refer to the Nano Bots specification. You can find it here.
cartridge.mp4
You can explore the Nano Bots Marketplace to discover new cartridges that can help you.
You can override the default cartridge by creating your own with the name default.yml:
---
meta:
  symbol: 🤖
  name: Default
  author: Your Name
  version: 1.0.0
  license: CC0-1.0
  description: A helpful assistant.

provider:
  id: openai
  credentials:
    address: ENV/OPENAI_API_ADDRESS
    access-token: ENV/OPENAI_API_KEY
  settings:
    user: ENV/NANO_BOTS_END_USER
model: gpt-3.5-turboTo add your own shortcuts, navigate to "File" > "Preferences" > "Keyboard Shortcuts". There are no default shortcuts, but we suggest the following shortcuts for your convenience:
[
  {
    "key": "ctrl+b ctrl+p",
    "command": "nano-bots.prompt",
    "args": {
      "state": "-",
      "mode": "add"
    }
  },
  {
    "key": "ctrl+b ctrl+l",
    "command": "nano-bots.apply",
    "args": {
      "state": "-",
      "mode": "replace",
      "prefix": "",
      "format": "[prompt]: [input]"
    }
  },
  {
    "key": "ctrl+b ctrl+b",
    "command": "nano-bots.evaluate",
    "args": {
      "state": "-",
      "mode": "replace"
    }
  },
  {
    "key": "ctrl+b ctrl+k",
    "command": "nano-bots.stop"
  }
]The action keyword refers to the available commands.
The mode refers to how the answer will be delivered when a text is selected. add will add the answer after the selected text, while replace will replace it with the answer.
When add is defined, you may also want to add a prefix:
{
  "key": "ctrl+b ctrl+l",
  "command": "nano-bots.apply",
  "args": {
      "state": "-", "mode": "add", "prefix": "\n",
      "format": "[prompt]: [input]" }
},
When using the apply command, it is possible to customize the prompt by including a format keyword:
Selected Text: How are you doing?
       Prompt: translate to french
{
  "format": "[prompt]: [input]"
}
Will produce the prompt:
translate to french: How are you doing?
If you prefer to skip the prompt for selecting a Cartridge when using those commands, you can define the desired cartridge beforehand:
{
  "key": "ctrl+b ctrl+b",
  "command": "nano-bots.evaluate",
  "args": { "state": "-", "mode": "replace", "cartridge": "-" }
}
The - represents the default Cartridge. You can replace it with any other available Cartridge in your system.
If you want to define a straightforward command that does not require any user input or consideration, you can accomplish this by using:
{
  "key": "ctrl+b ctrl+p",
  "command": "nano-bots.prompt",
  "args": { "state": "-", "mode": "add", "cartridge": "-", "input": "Hello!" }
}
If you wish to define a command that applies to your current selection without requiring any additional input, you can use:
{
  "key": "ctrl+b ctrl+b",
  "command": "nano-bots.evaluate",
  "args": { "state": "-", "mode": "replace", "cartridge": "-" }
}
{
"key": "ctrl+b ctrl+l",
"command": "nano-bots.apply",
"args": {
"state": "-",
"mode": "replace",
"cartridge": "-",
"input": "translate to en-us"
}
}All interactions with Nano Bots are stateless by default. However, if you wish to preserve the history of interactions, you can use a state key:
{
  "key": "ctrl+b ctrl+p",
  "command": "nano-bots.prompt",
  "args": {
    "state": "0470dfa445f1f11b5eb9b3089c5943c8",
    "mode": "add"
  }
}
Each cartridge will maintain its own isolated state. Please refer to the specification for further information on state management.
Clone the repository using the command:
git clone https://github.com/icebaker/vscode-nano-bots.git
Navigate to the vscode-nano-bots folder and open it in Visual Studio Code using the command vscode .. Press F5 to launch the extension.
For more information on extension development, refer to the Your First Extension page.
npm run format
npm run lint
npm run test

vsce package
