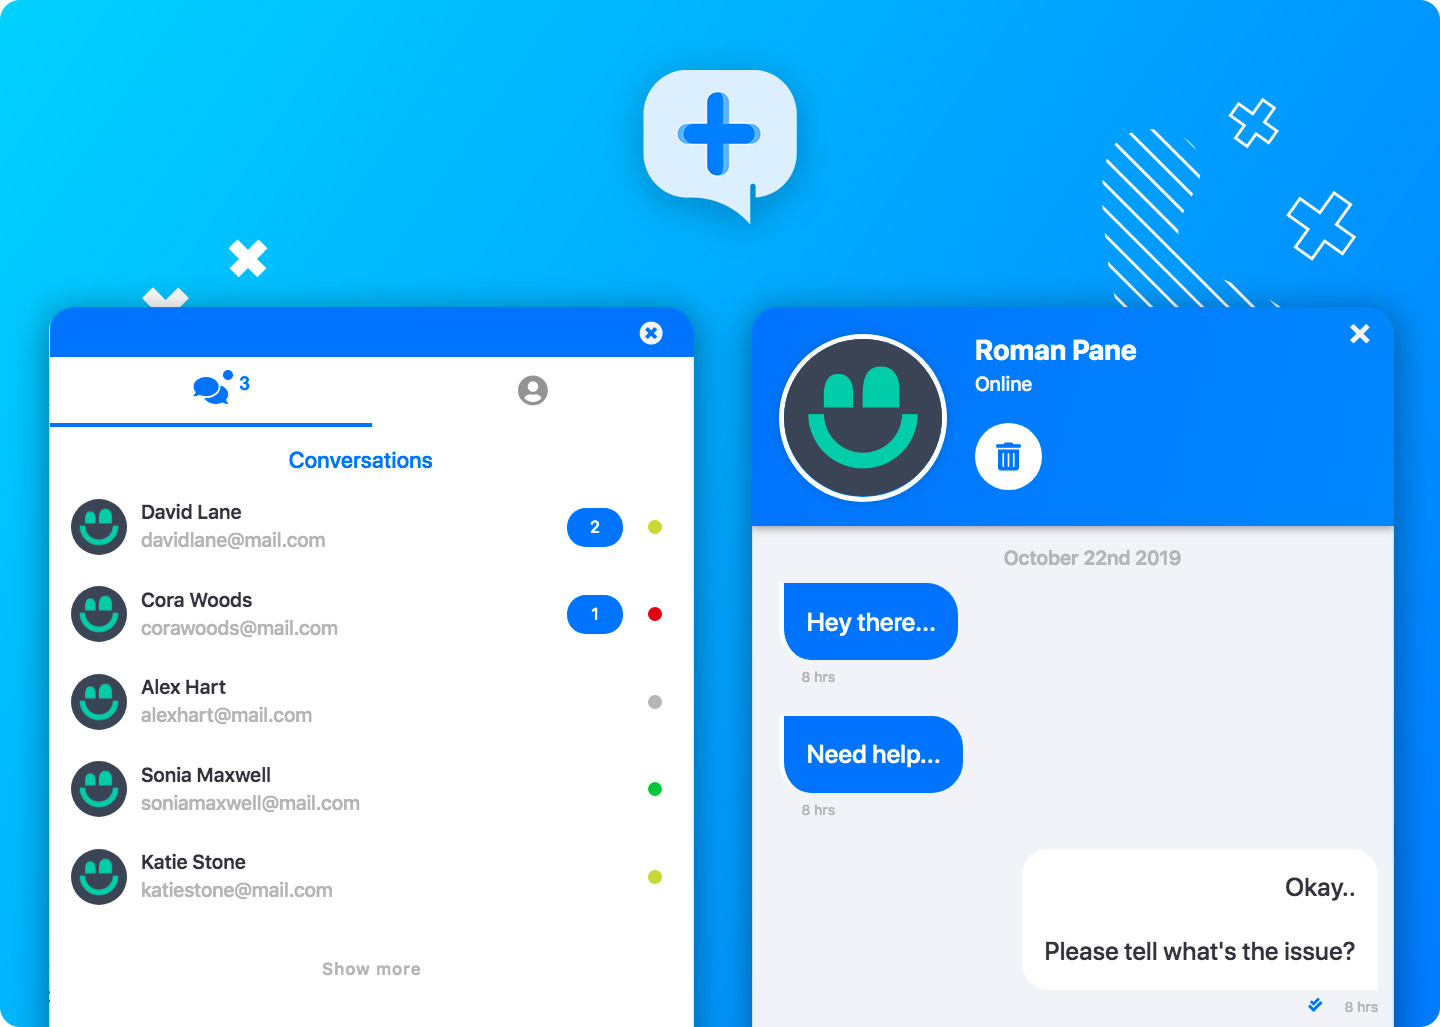
Welcome to AddChat Laravel Lite.
AddChat is a new chatting friend of Laravel. It's a standalone Chat widget that uses the website's existing users base, and let website users chat with each other.
You get full source-code, hence AddChat lives and runs on your server/hosting including database. And therefore, you get complete privacy over your data. Either you're a big corporate sector or a small business. AddChat is for everyone.
Read the documentation live - AddChat Laravel Lite Docs
Live Preview - AddChat Laravel Lite
Here's a complete video tutorial guide for getting started quickly AddChat Laravel Academy ✌️
Addchat Lite is a chat widget that you can integrate into an existing or a fresh Laravel website. AddChat works like a standalone widget and fulfills all your business-related needs like -
- User-to-user chatting
- Live real-time chatting (without page refresh)
- Internal notification system (saves Pusher monthly subscription fees)
- Customer support ( Pro)
- Multi-user groups ( Pro)
and a lot more features available in AddChat Pro ⚡️
Some of the key highlights, why you would like to go with AddChat!
- Save monthly subscription bills (pay once use forever)
- No Confidential Data leak
- Complete Privacy
- Easy to install & update
- Use existing users database
- Multi-purpose, use it as Helpdesk, Customer support, User-to-user chatting and much more...
AddChat never modifies your existing database tables or records. And it never breaks down any of your website functionality.
AddChat is fully tested and ready to be used in production websites.
AddChat is very light, high performance, scalable and secure.
-
AddChat front-end built with VueJs, which is purely API based web-app.
-
AddChat back-end (API) built with Laravel
- AddChat Laravel version is a Laravel package, hence, can be installed via Composer in an existing or a fresh Laravel website.
AddChat is designed in CSS Flexbox and Sass. Let's see what's so special about CSS Flexbox and why we used it.
-
AddChat is a CSS Framework Independent. Means, no matter in which CSS Framework your website is in, it neither affects the website CSS nor gets affected by it.
or any other...
-
AddChat CSS is completely encapsulated (wrapped in AddChat wrapper with
#addchat-bot .c-prefix).-
Hence, it never override your website CSS nor inherits from it.
-
AddChat UI is extra-responsive. Optimized for extra-small devices to large 4K desktops -
- Small phones
- Android Phones
- iPhones
- iPad & iPad Pro
- Small-Medium Size Laptops
- Large Desktops
-
-
We've used the popular NPM package
auto-prefixerto make the AddChat UI design same across all types of browsers e.gChrome, Firefox, Safari, Edgeetc
AddChat is compatible with all languages and timezones. AddChat auto adapts and adjust regional settings according to your website's default timezone and language. Please refer to the Language section for more info about adding a new language in AddChat Laravel
AddChat never breaks any of your website functionality, even if something went wrong with AddChat, there are
fallback modesfor every worst-case scenario.
This is AddChat Lite version documentation
AddChat Lite is open-source, free to use. Lite version has got limited features & functionality.
AddChat Pro Version comes with Commercial license. Pro version is fully loaded with a lot of useful and exciting features.
-
AddChat Laravel Pro
AddChat can be installed via composer. Smooth... 🍻
Here's a complete video tutorial guide for getting started quickly AddChat Laravel Academy ✌️
- Laravel version 5.5 / 5.6 / 5.7 / 5.8 / 6.x / 7.x / 8.x
- Make sure to install AddChat package on a Fresh or Existing Laravel application.
- We also assume that you've setup the database.
- If you're running MySql version older than < 5.7 then disable strict mode in Laravel
config/database.php'strict' => false
-
If installing AddChat on an existing Laravel application and you already have Auth system then skip this step
If installing on a Fresh Laravel application then run
For Laravel 5.5 to 5.8
php artisan make:auth

php artisan migrate
For Laravel 6.x
composer require laravel/ui --dev php artisan ui vue --auth npm install && npm run dev php artisan migrate -
Install AddChat via Composer
composer require classiebit/addchat-laravel -
Run AddChat install command
php artisan addchat:install
-
Open the common layout file, mostly the common layout file is the file which contains the HTML & BODY tags.
-
Copy AddChat CSS code and paste it right before closing </head> tag
<!-- 1. Addchat css -->
<link href="<?php echo asset('assets/addchat/css/addchat.min.css') ?>" rel="stylesheet">
-
Copy AddChat Widget code and paste it right after opening <body> tag
<!-- 2. AddChat widget -->
<div id="addchat_app"
    data-baseurl="<?php echo url('') ?>"
    data-csrfname="<?php echo 'X-CSRF-Token' ?>"
    data-csrftoken="<?php echo csrf_token() ?>"
></div>
-
Copy AddChat JS code and paste it right before closing </body> tag
<!-- 3. AddChat JS -->
<!-- Modern browsers -->
<script type="module" src="<?php echo asset('assets/addchat/js/addchat.min.js') ?>"></script>
<!-- Fallback support for Older browsers -->
<script nomodule src="<?php echo asset('assets/addchat/js/addchat-legacy.min.js') ?>"></script>
{warning} Please replace <php ?> tag by {{}} curly brackets.
<head> <!-- **** your site other content **** --> <!-- 1. Addchat css --> <link href="<?php echo asset('assets/addchat/css/addchat.min.css') ?>" rel="stylesheet"> </head> <body> <!-- 2. AddChat widget --> <div id="addchat_app" data-baseurl="<?php echo url('') ?>" data-csrfname="<?php echo 'X-CSRF-Token' ?>" data-csrftoken="<?php echo csrf_token() ?>" ></div> <!-- **** your site other content **** --> <!-- 3. AddChat JS --> <!-- Modern browsers --> <script type="module" src="<?php echo asset('assets/addchat/js/addchat.min.js') ?>"></script> <!-- Fallback support for Older browsers --> <script nomodule src="<?php echo asset('assets/addchat/js/addchat-legacy.min.js') ?>"></script> </body> -
For Info, the
php artisan addchat:installpublishes AddChat assets to your applicationpublic/assetsdirectory
addchat.min.jsfor modern browsers &addchat-legacy.min.jsfor older browsers. These will be used switched by the browsers automatically on the basis ontype="module"&nomodule, you need to nothing.
Setup finishes here, now heads-up straight to Settings docs
