
Automated TypeScript project management.
Fork of aegir specializing on TypeScript projects. Thanks Protocol Labs for all the work!
Warning: this project is still in quite active transition phase to support TypeScript. Things might break, please report them!
The project structure when using this is quite strict, to ease replication and configuration overhead.
All source code should be placed under src, with the main entry point being src/index.ts.
All test files should be placed under test. Individual test files should end in .spec.ts and setup files for the node and the browser should be test/node.ts and test/browser.ts respectively.
Your package.json should have the following entries and should pass tasegir lint-package-json.
{
  "main": "src/index.ts",
  "files": [
    "src",
    "dist",
    "lib",
    "types"
  ],

  "scripts": {
    "compile": "tasegir compile",
    "compile:watch": "tasegir compile -- --watch",
    "types-check": "tasegir types-check",
    "exec": "tasegir run",
    "lint": "tasegir lint",
    "release": "tasegir release",
    "build": "tasegir build",
    "test": "tasegir test",
    "test:node": "tasegir test --target node",
    "test:browser": "tasegir test --target browser"
  }
}To bring you its many benefits, tasegir requires
TypeScript is supported using tsc (for compilation), ts-node (for execution) and babel/preset-typescript (for browser bundling).
As TypeScript needs to be compiled to run, there are several options how to do that based on your flow.
- It can be compiled using
compiletask, which produces JavaScript files inlibfolder. - If you want just do an type analysis you can run
types-checktask. - If you want to execute some TS file, you can use
runtask to execute specific file.
It is possible to overload the default configuration of most tools that tasegir integrates. You can do so by creating
a .tasegir.js file in the root of the project. It has to export an object with this schema:
module.exports = {
  bundlesize: {}, // bundleSize config
  webpack: {}, // webpack.config.js content
  karma: {}, // karma.conf.js content
  hooks: {}, // See Tests -> Hooks
  lint: {
    files: [] // Globby list of paths to lint
  },
  depCheck: {
    files: [], // Globby list of paths to check allowing overriding the default setting
    ignore: [] // Array of modules to ignore, '*' is supported for globbing. Overrides the default setting.
  },
  tsconfig: { compilerOptions: {...} }, // Place for tsconfig.json configuration, only compilerOptions are used though.
  entry: utils.fromRoot('src', 'index.ts'), // Entry point
}You can use global configuration for some aspects of tasegir. Similalrly to local configuration it is file .tasegir.js
placed in your home folder (eq. ~/.tasegir.js). This location can be customized using TASEGIR_CONFIG env. variable.
module.exports = {
    release: {
        ghtoken: 'token'
    }
}
Currently only supported option is release.ghtoken. It is used for configuration Github Token needed for creating releases using tasegir release command.
It has following possible values:
functionreturningPromise<string>with ghtokenstringstarting withshell:prefix. In such case remaining of the string will be executed as shell command and itsstdoutused as the token.stringnot starting withshell:. The string will be used as the token.
If you use an IDE that has support for the tools used, you can point your IDE towards the proper configuration files.
./node_modules/tasegir/src/config/eslintrc.jsfor ESlint./node_modules/tasegir/src/config/tsconfig.jsonfor TypeScript
Compile task will compile all TypeScript files in /src folder into /lib folder. It performs type checking as well.
You can watch for changes passing --watch flag like: tasegir compile -- --watch.
If you need to run just specific file (for example web server/CLI command) you can use the tasegir run <file> [args...] task.
It is executed using ts-node
This task also support --watch parameter (tasegir run --watch <file> [args...]) which will automatically reload
modified files. It uses ts-node-dev package for it.
If you need to debug some script you can use node's --inspect and --inspect-brk flags.
Linting happens in three phases:
- Linting of package.json using npm-package-json-lint
- Checking version number of all dependencies (normal, dev, peer, optional and bundled)
- Code linting
Code linting uses eslint, standard, typescript-eslint with some custom rules to enforce some more strictness.
You can run it using
$ tasegir lint
$ tasegir lint-package-jsonWhen you want to perform just a type check without TypeScript compilation you can run tasegir types-check. This step is also part of the CI pipeline.
Dependency check parses code and check if all dependencies used in code are declared in package.json and also vice versa
if all dependencies declared in package.json are actually used in the code.
It is quite common to have dependencies that are not used directly in the code in such a case use the tasegir's config
file capabilities to ignore out these modules.
You can run it using
$ tasegir testThere are also browser and node specific tasks
$ tasegir test --target node
$ tasegir test --target browser
$ tasegir test --target webworkerYou can specify hooks that are run before/after the tests. Definition of the hooks is done using Configuration and the hooks property.
It has following syntax:
module.exports = {
  hooks: {
    node: {
      pre: () => {},
      post: () => {},
    },
    browser: {
      pre: () => {},
      post: () => {},
    },
  }
}Loading fixture files in node and the browser can be painful, that's why tasegir provides
a method to do this. For it to work you have to put your fixtures in the folder test/fixtures, and then
// test/awesome.spec.js
const loadFixture = require('tasegir/fixtures')

const myFixture = loadFixture('test/fixtures/largefixture')
The path to the fixture is relative to the module root.
If you write a module which is to be consumed by other modules tests you need to pass in a third parameter such that the server is able to serve the correct files.
For example
// awesome-tests module
const loadFixture = require('tasegir/fixtures')

const myFixture = loadFixture('test/fixtures/coolfixture', 'awesome-tests')
// tests for module using the awesome-tests
require('awesome-tests')// .tasegir.js file in the module using the awesome-tests module
'use strict'
module.exports = {
karma: {
files: [{
pattern: 'node_modules/awesome-tests/test/fixtures/**/*',
watched: false,
served: true,
included: false
}]
}
}The tests are automatically ran with test coverage support and basic text reporting. If you don't want to ran
tests with test coverage you can pass --no-coverage flag to the tasegir test command. The coverage is currently supported
only on node target.
If you want to specify some other nyc reporter to be used use --reporter flag.
$ tasegir test -t node --reporter html && open coverage/index.htmlTo auto publish coverage reports from Travis to Codecov use this in
your .travis.yml file.
script: npx tasegir test -t node --reporter lcovonly -- --bail
after_success: npx codecovYou can run it using
$ tasegir buildThis will build a browser ready version into dist, so after publishing the results will be available under
https://unpkg.com/<module-name>/dist/index.js
https://unpkg.com/<module-name>/dist/index.min.js
Specifying a custom entry file for Webpack
By default, tasegir uses src/index.js as the entry file for Webpack. If you want to modify this value use entry field in tasegir configuration as mentioned in Configuration:
module.exports = {
  entry: "src/browser-index.js",
}
Webpack will use the specified file as the entry point and output it to dist/<filename>, eg. dist/browser-index.js.
Pass the --analyze option to have Webpack generate a stats.json file for the bundle and save it in the project root (see https://webpack.js.org/api/stats/). e.g.
tasegir build --analyze- Run linting
- Run tests
- Build everything
- Compile everything in
/srcto/lib - Bump the version in
package.json - Generate a changelog based on the git log
- Commit the version change &
CHANGELOG.md - Create a git tag
- Run
git pushtoorigin/master - Publish a release to Github releases
- Generate documentation and push to github
- Publish to npm
# Major release
$ tasegir release --type major
# Minor relase
$ tasegir release --type minor
# Patch release
$ tasegir release

# Major prerelease (1.0.0 -> 2.0.0-rc.0)
$ tasegir release --type premajor --preid rc --dist-tag next
# Minor prerelease (1.0.0 -> 1.1.0-rc.0)
$ tasegir release --type preminor --preid rc --dist-tag next
# Patch prerelease (1.0.0 -> 1.0.1-rc.0)
$ tasegir release --type prepatch --preid rc --dist-tag next

# Increment prerelease (1.1.0-rc.0 -> 1.1.0-rc.1)
$ tasegir release --type prerelease --preid rc --dist-tag next
This requires Github Token to be available.
You can also specify the same targets as for test.
If no CHANGELOG.md is present, one is generated the first time a release is done.
You can skip all changelog generation and the github release by passing
in --no-changelog.
If you want no documentation generation you can pass --no-docs to the release task to disable documentation builds.
Performing a release involves creating new commits and tags and then pushing them back to the repository you are releasing from.
In order to do this you should create a GitHub personal access token.
The only access scope it needs is public_repo.
There are several options how you can store it and/or pass it to tasegir:
- Pass it using
--ghtokenparameter oftasegir releasecommand. Do this only in "private" mode of your shell, otherwise token will be stored in your shell's history files and retrievable by potentially malicious programs. - Pass it using
TASEGIR_GHTOKENenv. variable. Same warning applies here as in previous option. - If
tasegirwon't find any token using methods in this list, it will prompt for you to enter it. - Using global configuration setting
release.ghtokenproperty. See global configuration for more info.
Recommendation: If security is your priority I recommend you to encrypt the token using PGP like gpg --encrypt --recipient {YOUR_KEY_ID} ~/.ghtoken
which results in encrypted ~/.ghtoken.gpg, you can then remove the original file. Then in global configuration
use shell:gpg -q --decrypt ~/.ghtoken.gpg to automatically decrypt it using PGP every time it is needed.
Be aware that by storing it as TASEGIR_GHTOKEN env. variable in ~/.profile or similar you will make it available to any program that runs on your computer.
You can use tasegir docs to generate documentation. This uses documentation.js with the theme clean-documentation-theme.
To publish the documentation automatically to the gh-pages branch you can run
$ tasegir docs --publishCreate a file named .travis.yml with the following content:
language: node_js
cache: npm
stages:
  - check
  - test
  - cov

node_js:
  - '12'
  - '10'

os:
  - linux
  - osx
  - windows

script: npx tasegir test -t node --reporter lcovonly -- --bail
after_success: npx codecov

jobs:
  include:
    - stage: check
      script:
        - npx tasegir commitlint --travis
        - npx tasegir dep-check
        - npm run lint

    - stage: test
      name: chrome
      addons:
        chrome: stable
      script: npx tasegir test -t browser -t webworker

    - stage: test
      name: firefox
      addons:
        firefox: latest
      script: npx tasegir test -t browser -t webworker -- --browsers FirefoxHeadless

    - stage: test
      name: electron-main
      os: osx
      script:
        - npx tasegir test -t electron-main --bail

    - stage: test
      name: electron-renderer
      os: osx
      script:
        - npx tasegir test -t electron-renderer --bail

notifications:
  email: false
To add a CI badge to your README use :
[](https://travis-ci.com/<path_to_your_repo>)Travis does commit linting prior any tests run. The commit's schema is based on Conventional Commits and commitlint implementation.
The support commit types are: build, chore, ci, docs, feat, fix, improvement, perf, refactor, revert, style, test
If you get something like this
 Clean the caches for that repo/branch and restart.
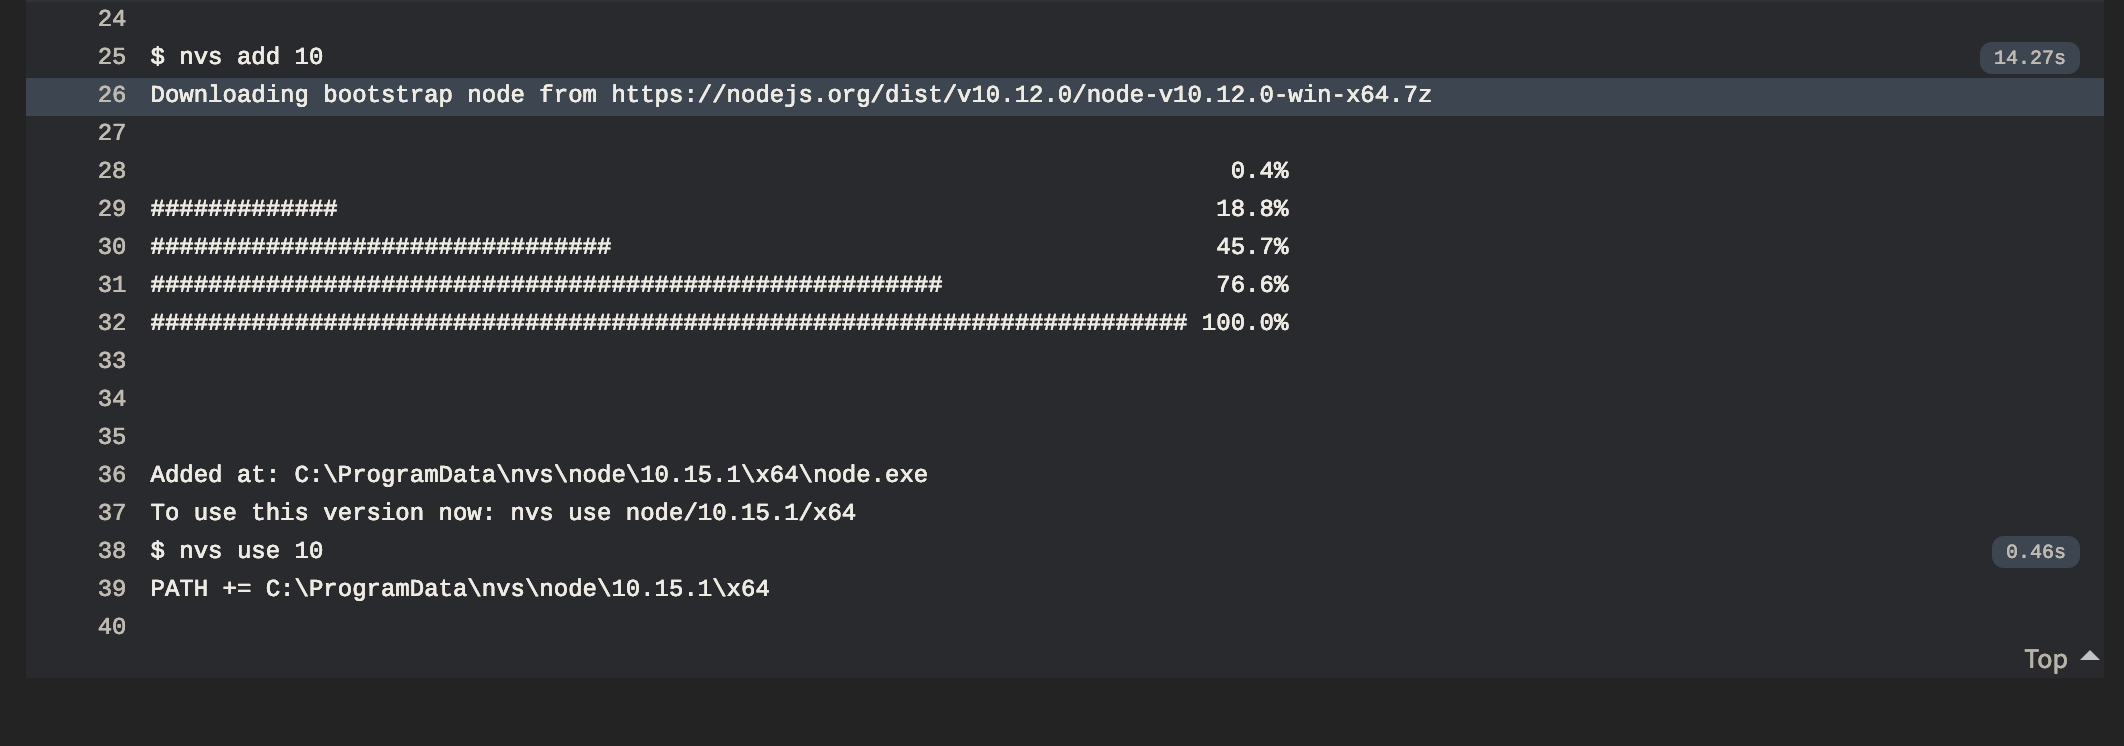
If your build stops in the nvs add 10 step you probably have secrets (ENV vars) in your Travis config and Windows doesn't work with secrets. You must delete all the secrets to make it works.

add the following
matrix:
  fast_finish: true
  allow_failures:
    - os: windows
before this line https://github.com/libp2p/js-libp2p/blob/master/.travis.yml#L14
MIT