1、项目整体基于ts开发,使用react-navigation6作为路由管理,使用axios作为网络请求库
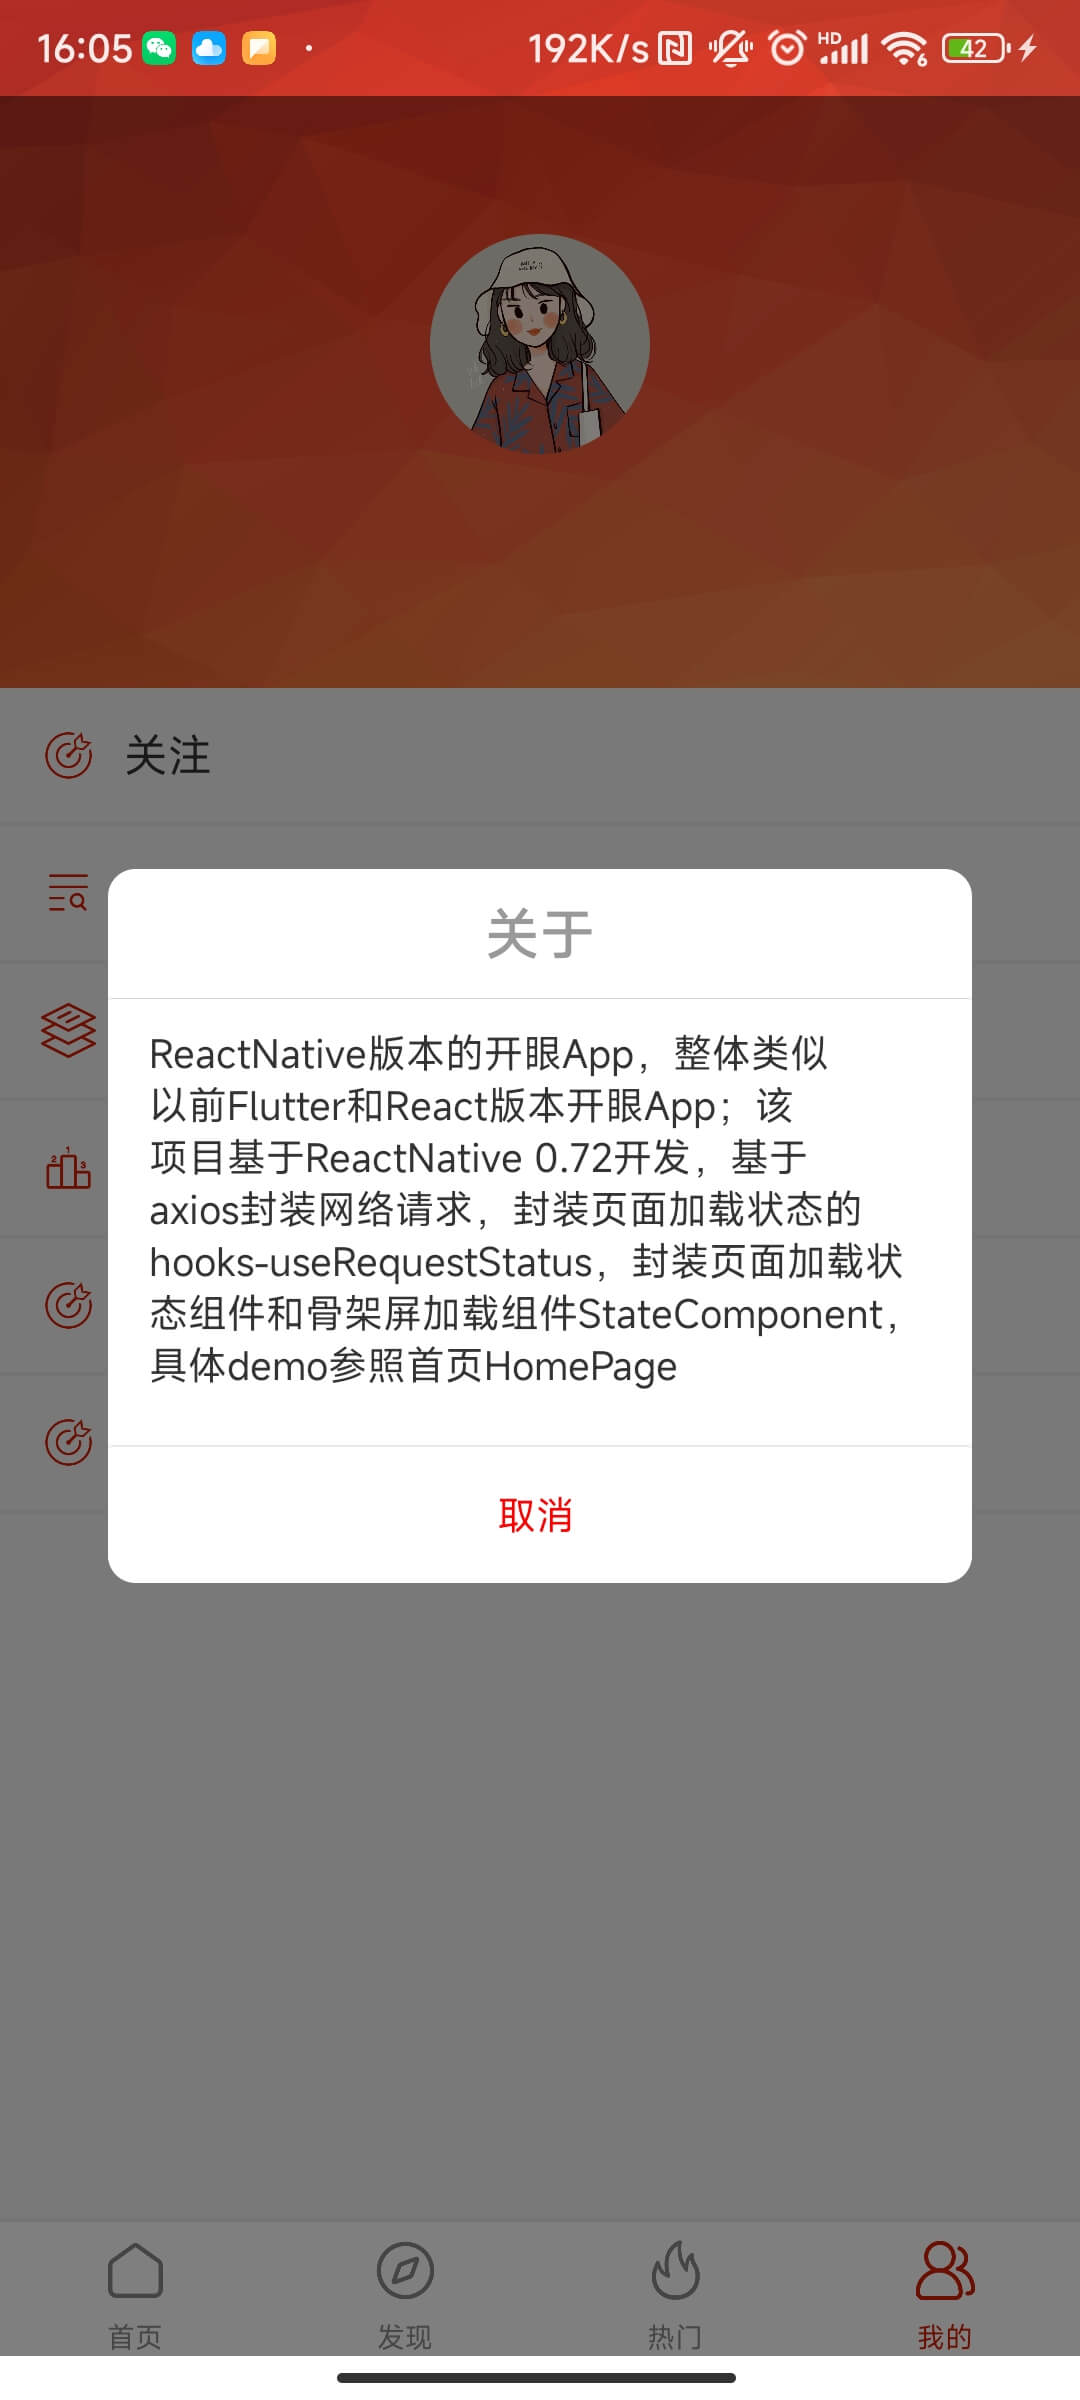
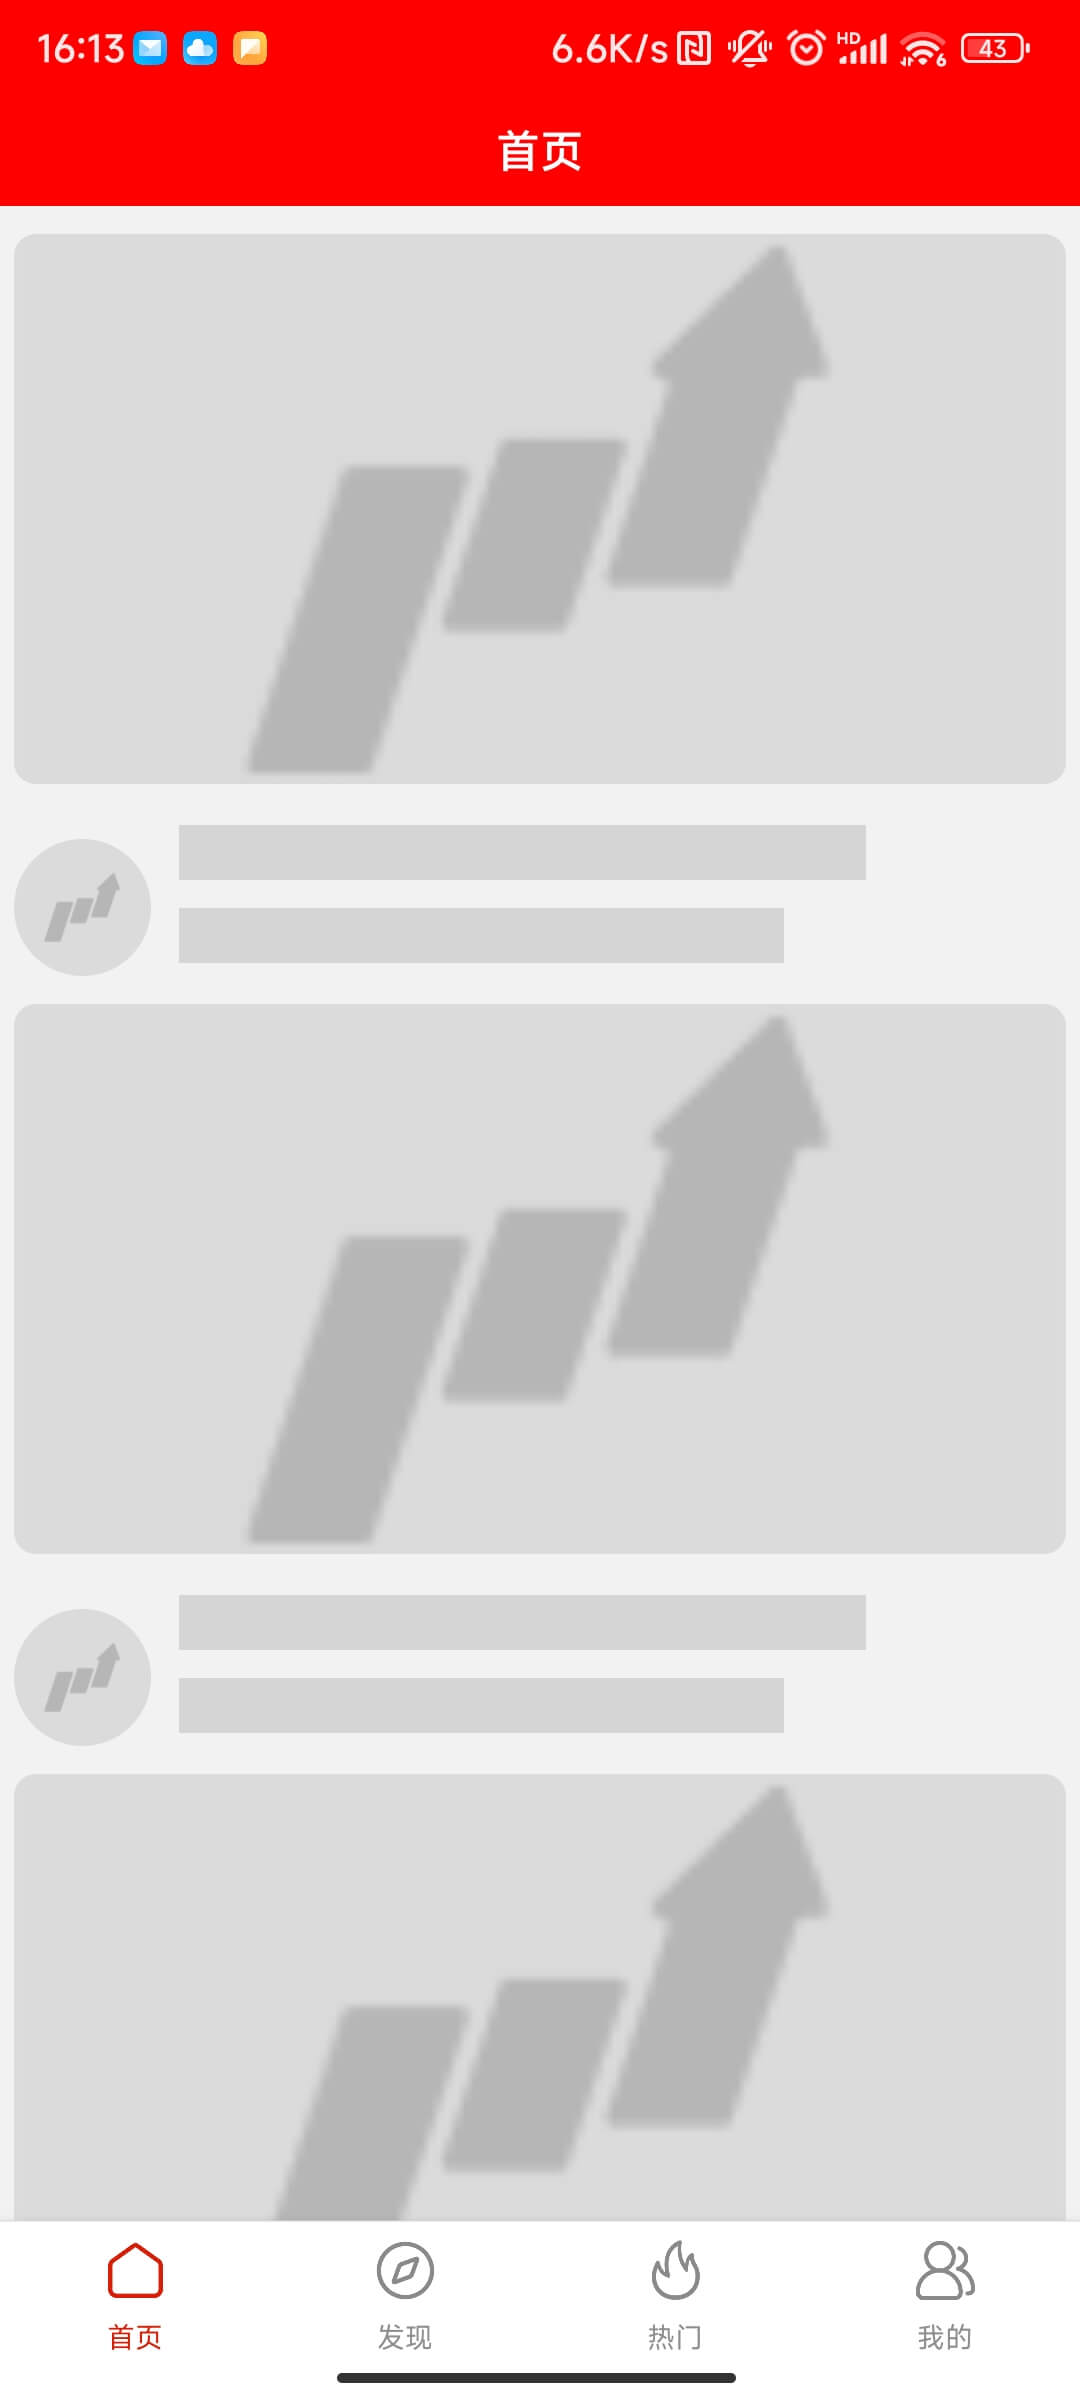
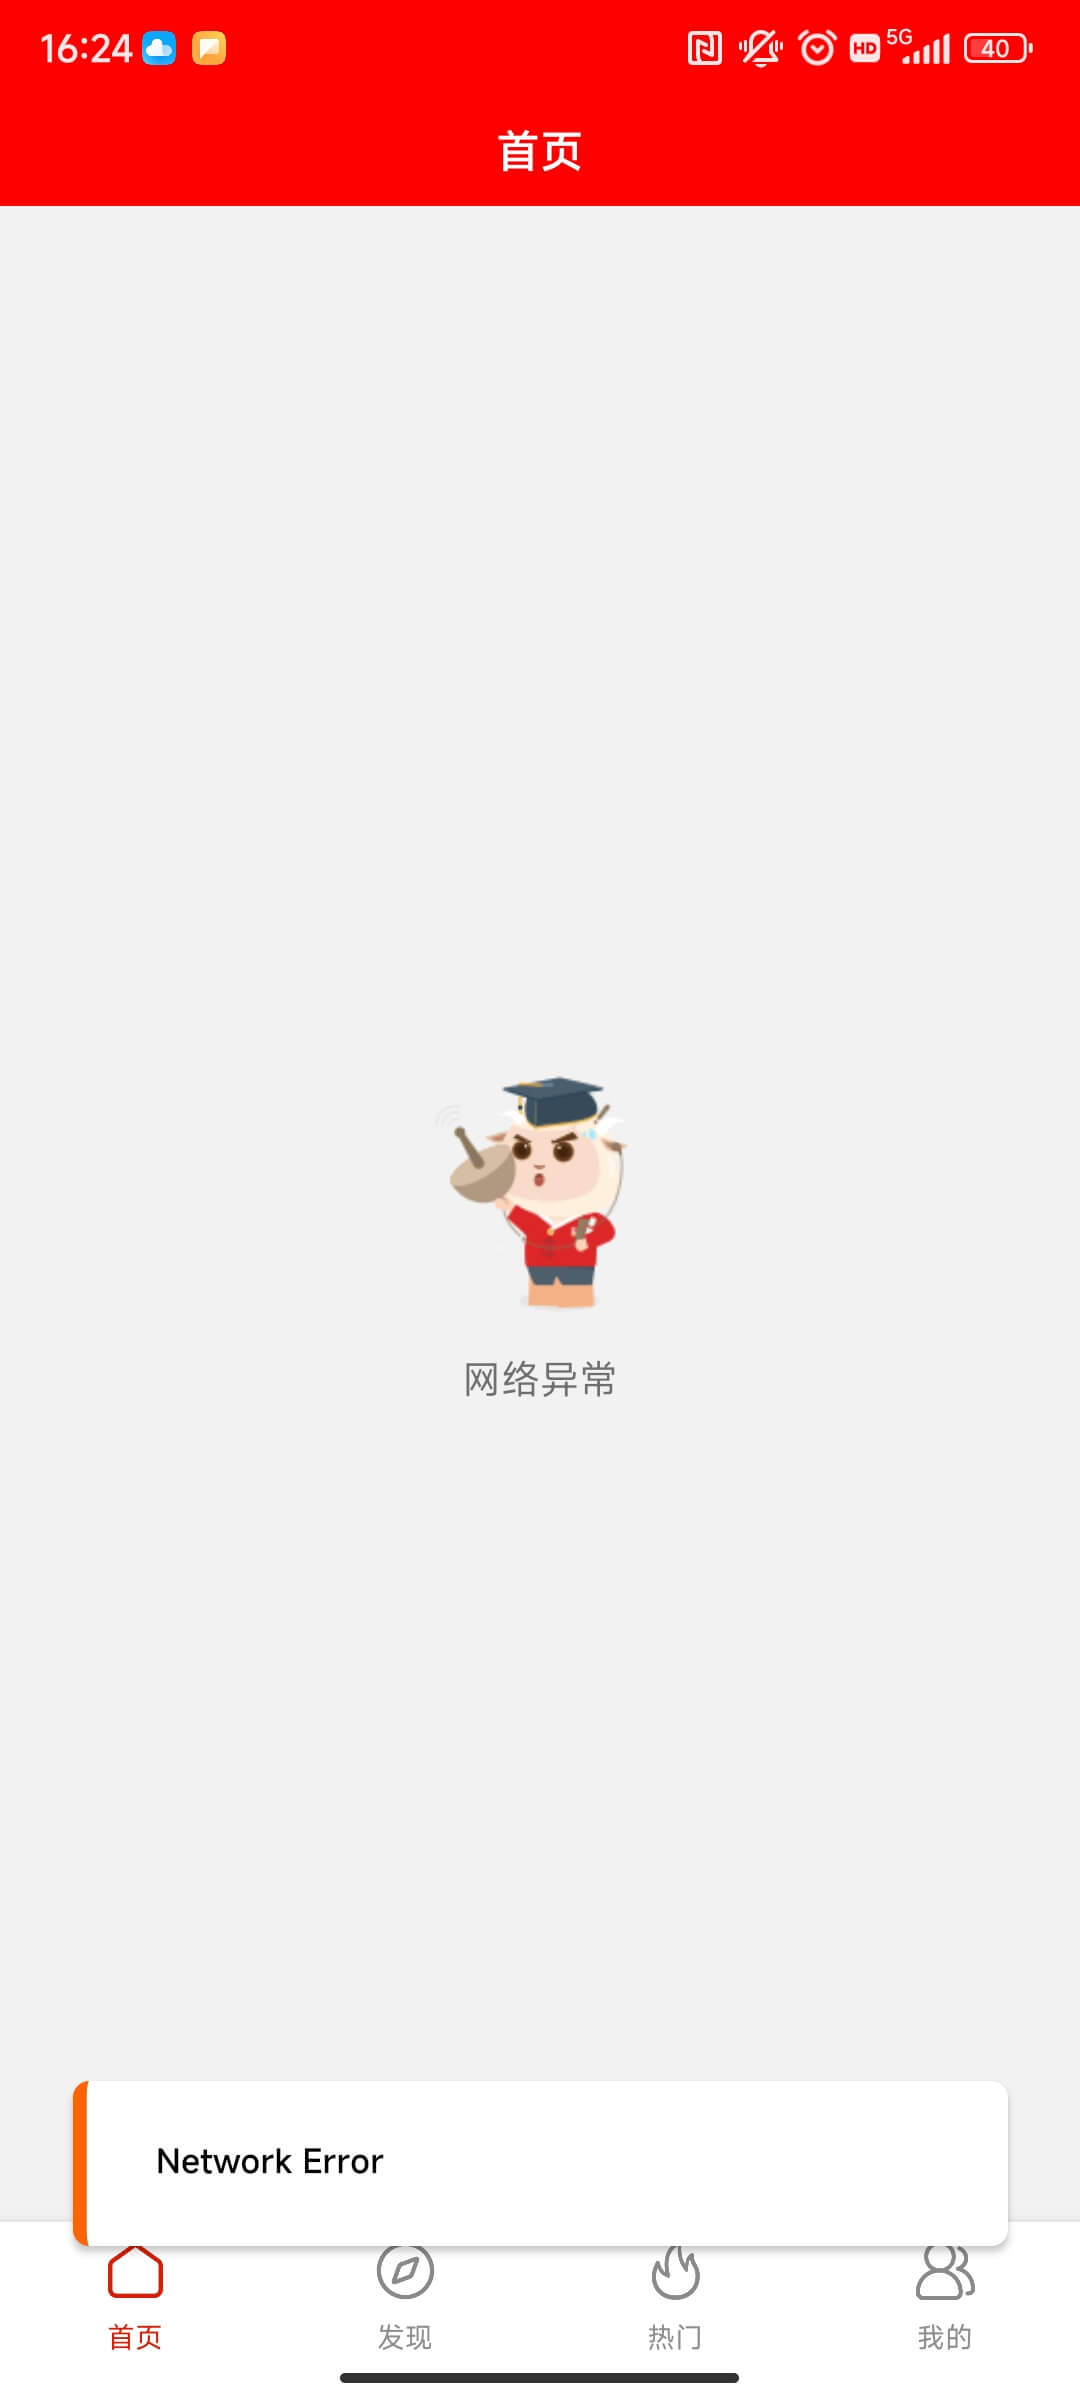
2、基于axios+hooks(useRequestStatus)封装页面通用状态(加载中、加载失败、网络错误、空数据、加载成功)
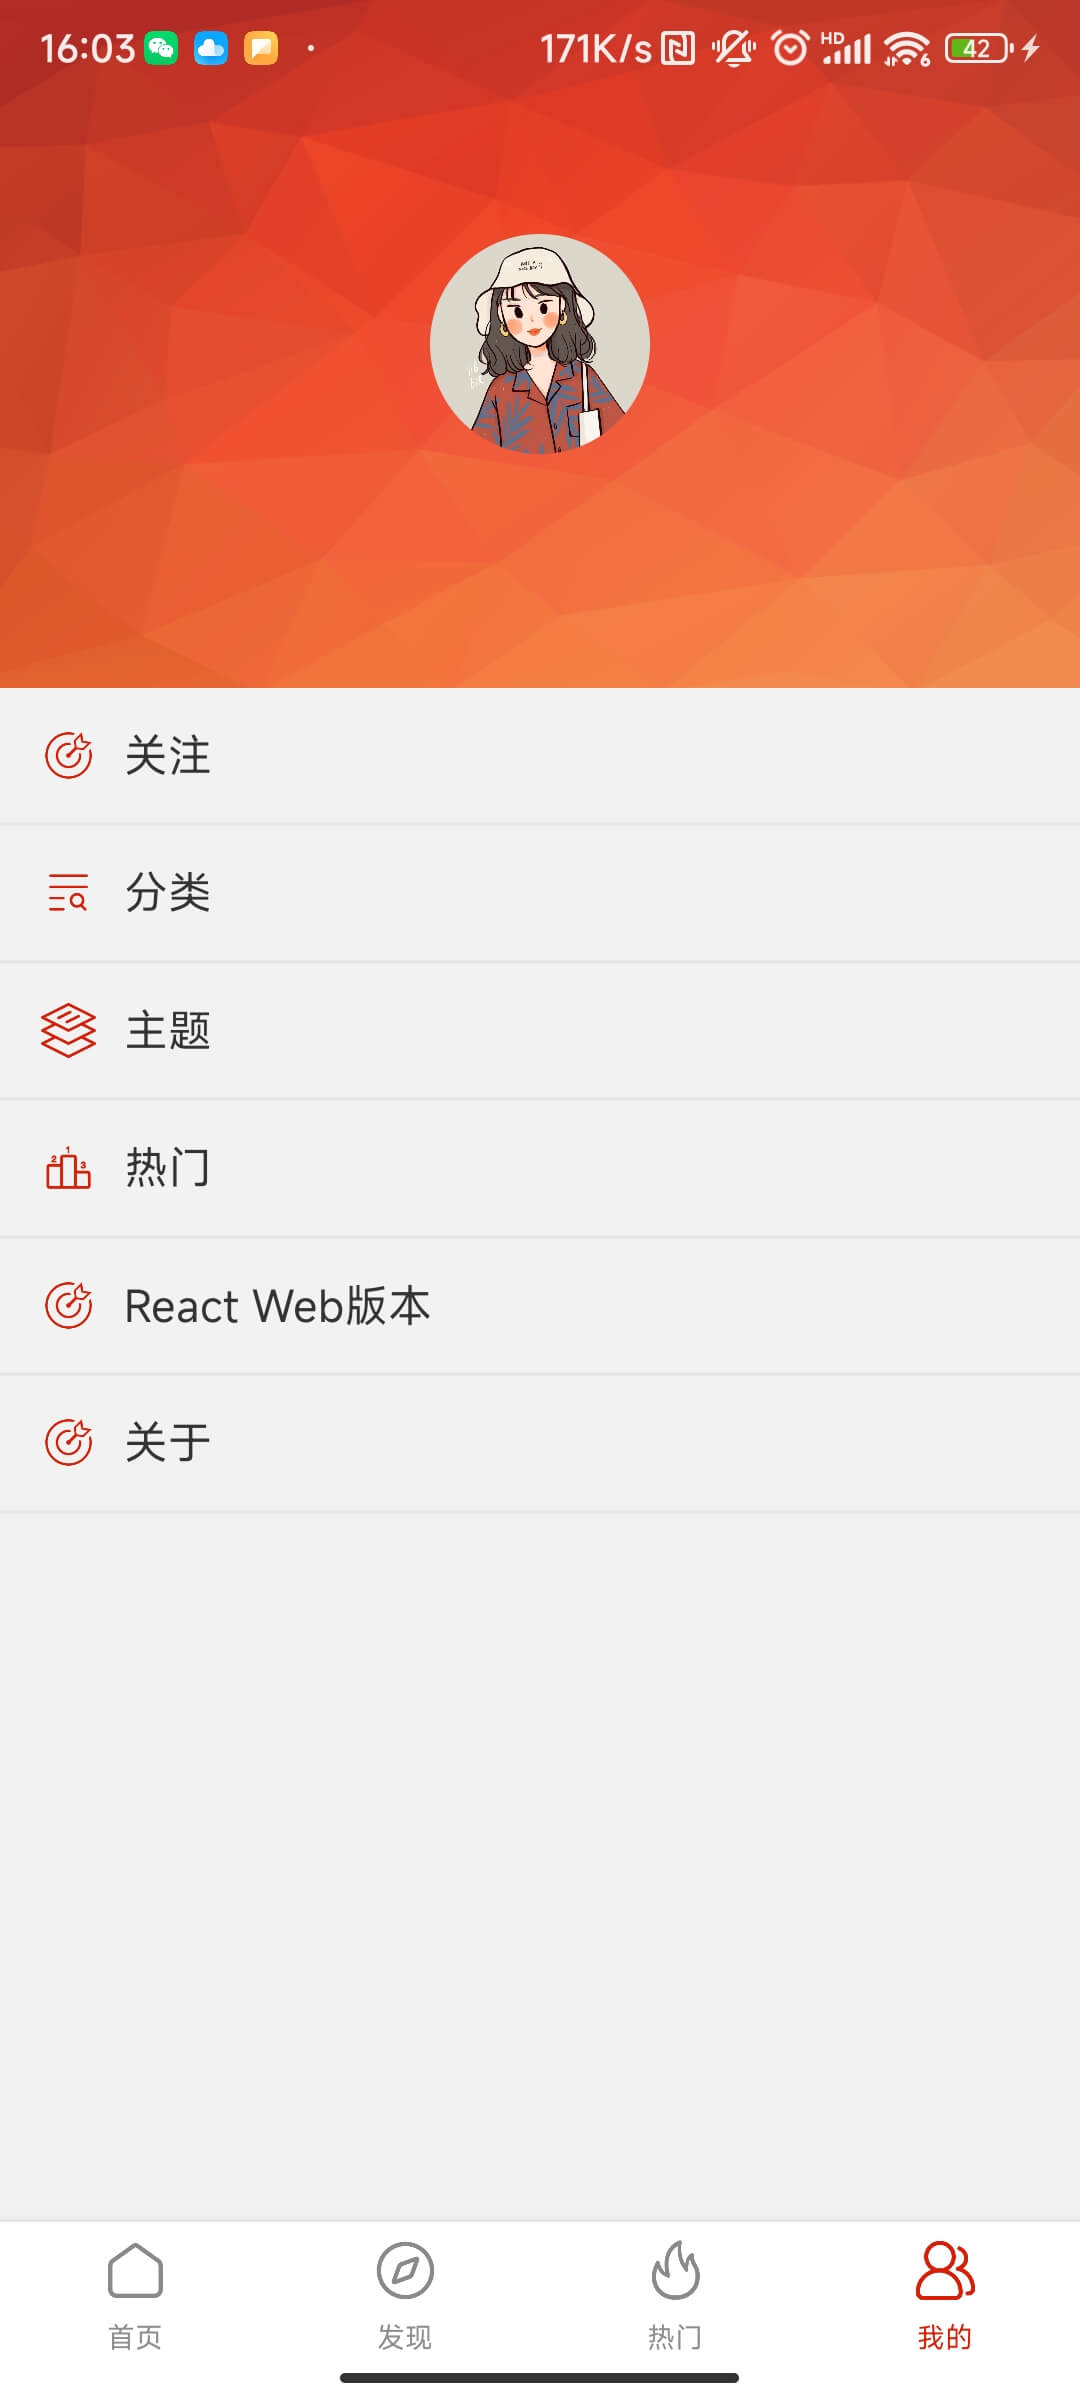
3、封装StateComponent组件,用来处理页面通用状态和骨架屏展示-具体参照homePage demo运用
4、视频播放以及视频列表播放功能
5、页面路由基本使用和封装
6、封装图片加载组件,支持图片加载占位功能
鸿蒙Harmony版本的开眼App链接(ArkTs+ArkUI+API9):https://github.com/WinWang/HarmoneyOpenEye
Flutter版本开眼App链接(getx+retrofit+dio+jsonserialize+自定义控件demo):https://github.com/WinWang/open_eye
Flutter版本的音乐播放App链接(getx+retrofit+dio):https://github.com/WinWang/music_listener
React版本的开眼App链接(React18+React-Vant+Mobx+axios):https://github.com/WinWang/react-oepn-eye
Vue2版本WanAndroid项目链接(Vue2+vuex+vant+axios):https://github.com/WinWang/Vue-WanAndroid
Vue3版本WanAndroid链接(vue3+typeScript+pinia+vant+vite):https://github.com/WinWang/Vue3-wanAndroid
Android组件化项目ReadingGallery链接(jetpack+kotlin+koin+couroutine):https://github.com/WinWang/ReadingGallery
Android组件化项目初始化工具ApplicationInit链接(gradle-plugin+注解APT+ASM)
:https://github.com/WinWang/ApplicationInit

下载链接 https://www.xcxwo.com/gW5fpw


This is a new React Native project, bootstrapped
using @react-native-community/cli.
Note: Make sure you have completed the React Native - Environment Setup instructions till "Creating a new application" step, before proceeding.
First, you will need to start Metro, the JavaScript bundler that ships with React Native.
To start Metro, run the following command from the root of your React Native project:
# using npm
npm start

# OR using Yarn
yarn startLet Metro Bundler run in its own terminal. Open a new terminal from the root of your React Native project. Run the following command to start your Android or iOS app:
# using npm
npm run android

# OR using Yarn
yarn android# using npm
npm run ios
# OR using Yarn
yarn iosIf everything is set up correctly, you should see your new app running in your Android Emulator or iOS Simulator shortly provided you have set up your emulator/simulator correctly.
This is one way to run your app — you can also run it directly from within Android Studio and Xcode respectively.
Now that you have successfully run the app, let's modify it.
-
Open
App.tsxin your text editor of choice and edit some lines. -
For Android: Press the R key twice or select "Reload" from the Developer Menu (Ctrl
- M (on Window and Linux) or Cmd ⌘ + M (on macOS)) to see your changes!
For iOS: Hit Cmd ⌘ + R in your iOS Simulator to reload the app and see your changes!
You've successfully run and modified your React Native App. 🥳
- If you want to add this new React Native code to an existing application, check out the Integration guide.
- If you're curious to learn more about React Native, check out the Introduction to React Native.
If you can't get this to work, see the Troubleshooting page.
To learn more about React Native, take a look at the following resources:
- React Native Website - learn more about React Native.
- Getting Started - an overview of React Native and how setup your environment.
- Learn the Basics - a guided tour of the React Native basics.
- Blog - read the latest official React Native Blog posts.
@facebook/react-native- the Open Source; GitHub repository for React Native.