-
Notifications
You must be signed in to change notification settings - Fork 5
RecordData
This chapter explains how to record new data as training-set or test-set.
- The caffe framework from this repository is build and installed correctly.
- TORCS is installed and running as explained here. ToDo: Add link to Torcs setup description
For an easy start, a couple of environment variables can be defined:
-
DEEPDRIVING_CAFFE_PATHmust contain the path to the caffe-installation.
export DEEPDRIVING_CAFFE_PATH=<path-to-installation>
-
Please start TORCS before starting the application, since otherwise it cannot attach to the TORCS shared memory. A description how to install and configure TORCS is provided here. ToDo: Add link to TORCS description
-
Run the recording script from the caffe-repository:
- Note: The first parameter must be the path to the (new) database. If this database already exists, the new frames will be added to the end of the database. Otherwise a new database is created.
cd <repository-path>/torcs
./torcs_record.sh <path-to-database>
- You should see a window which shows a semantic situation description (lanes, position of host car, distance to traffic cars) and the corresponding frame from the game.
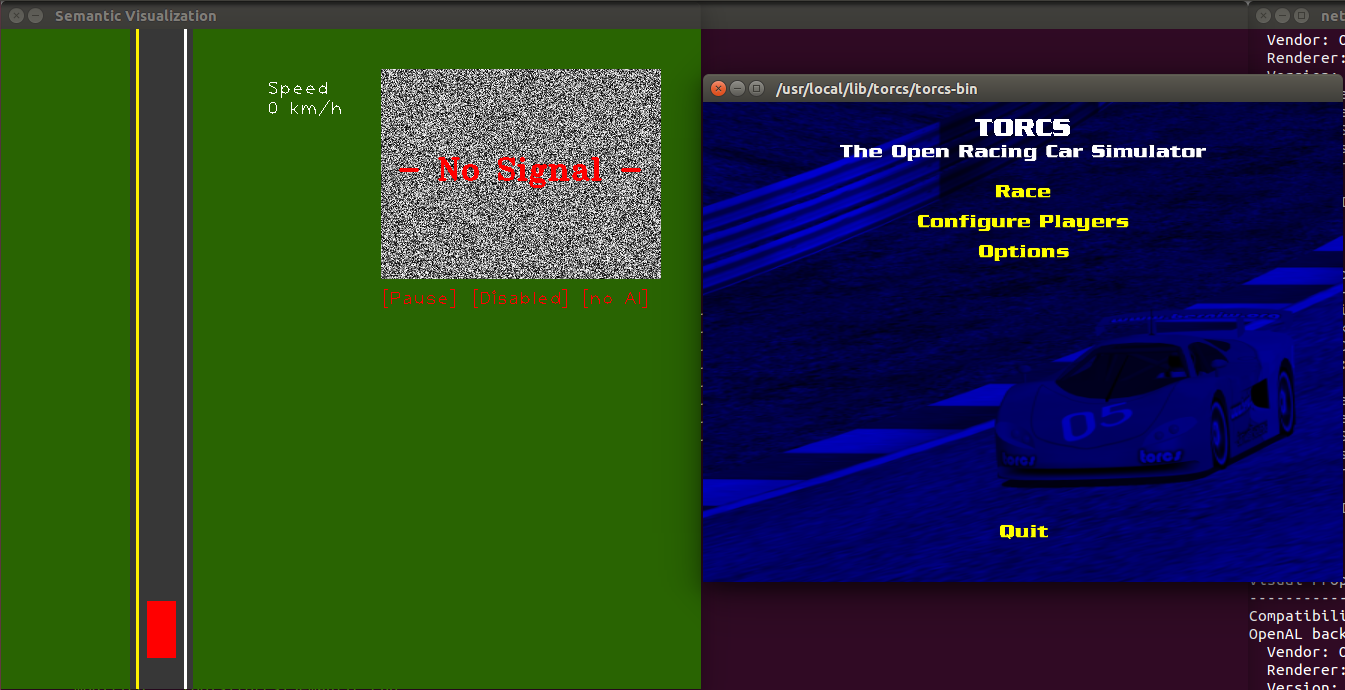
- Select "Race" in TORCS
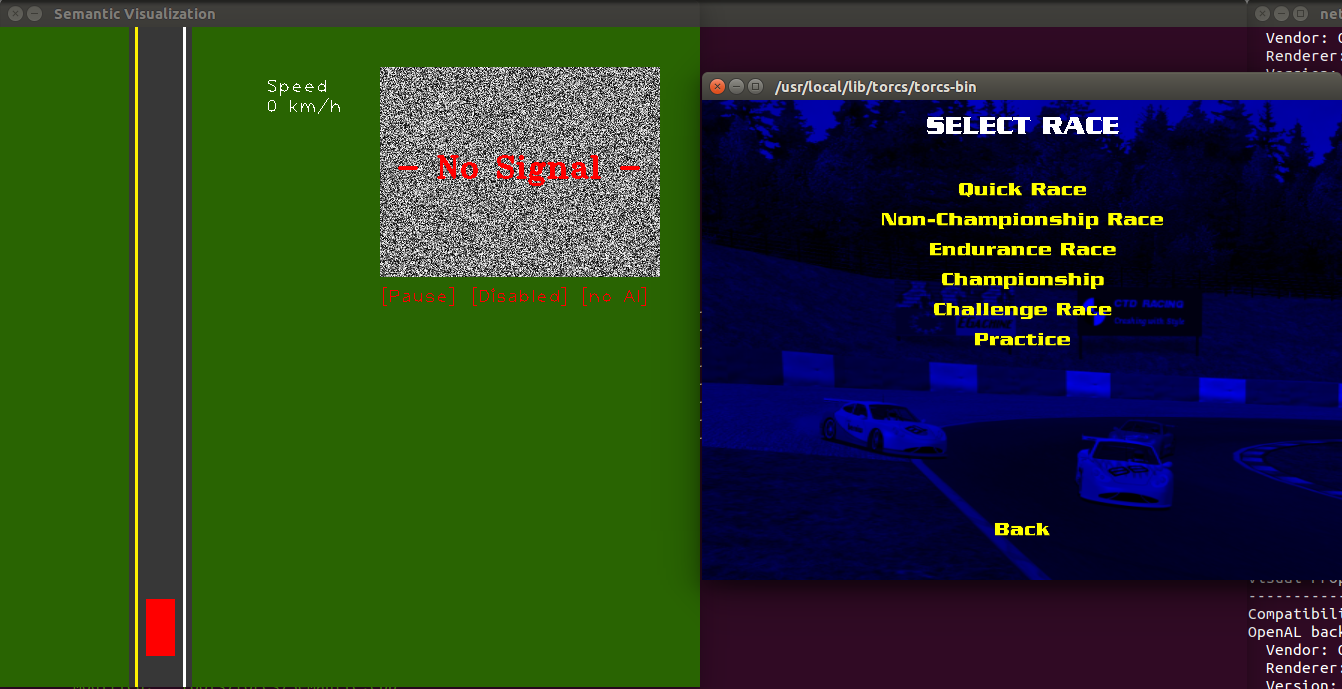
- Select "Quick Race" in TORCS
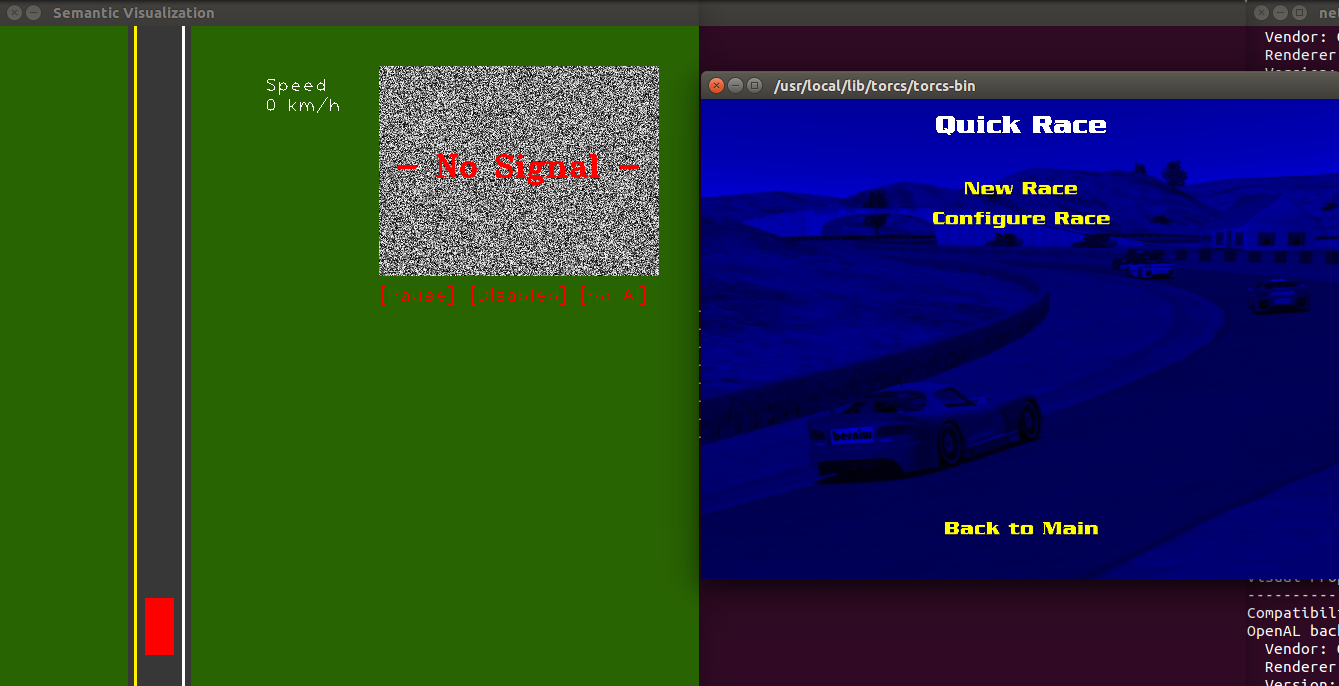
- Select "Configure Race" in TORCS (you can skip all configure steps, if you have configured TORCS before)
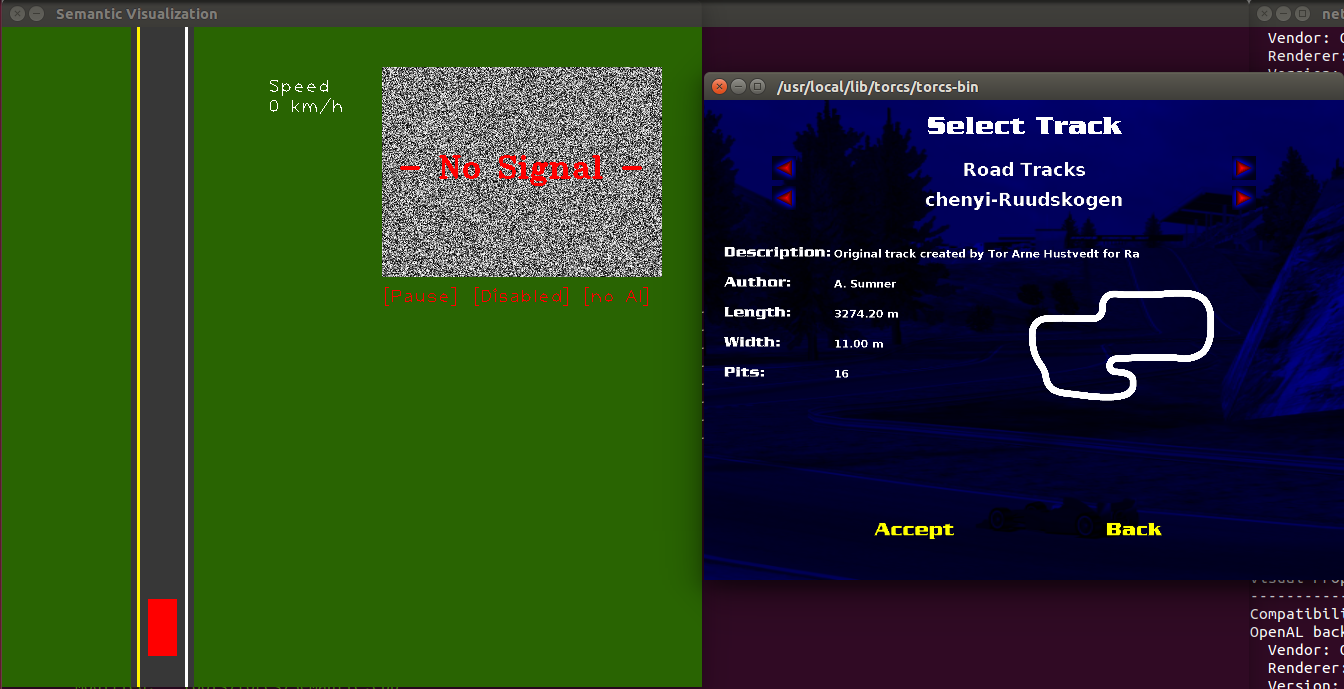
- Select as track type "Road Track" and the track you want to use. For tracks with US lane configuration, you have to use the chenyi tracks of the DeepDriving project. For example "chenyhi-E-Track 6" for 3 lanes. Press "Accept".
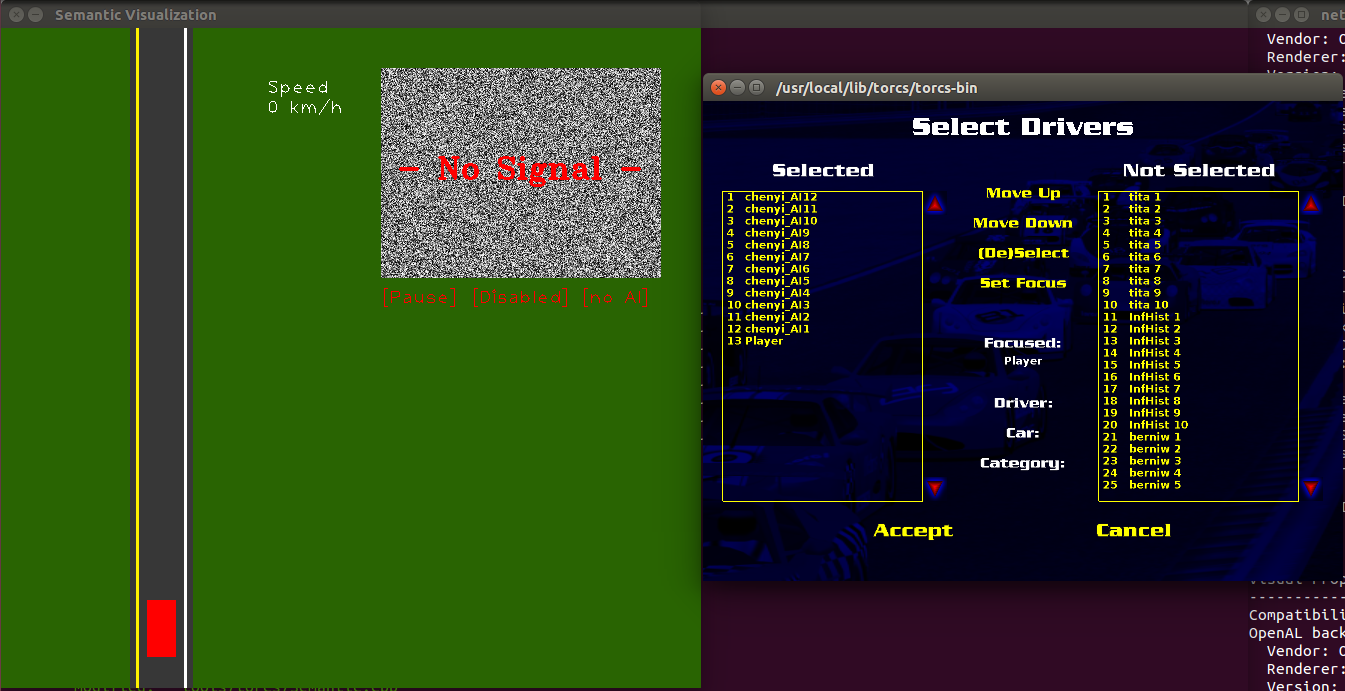
- Now select all "chenyi_AI" cars. The car "chenyi_AI12" must be the first one and "chenyi_AI1" must be the last robot car. The 13th car should be "Player" which is controlled by the player. Do not add the car "chenyi"! Press "Accept".
-
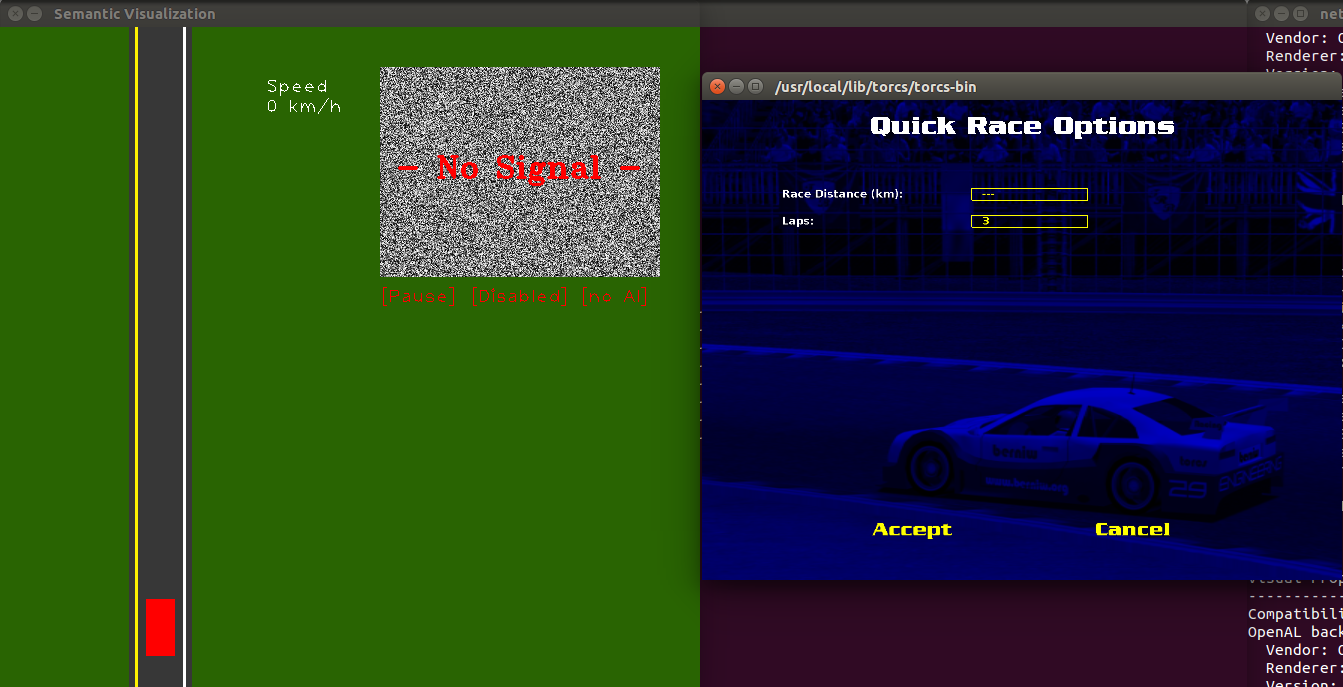
Define the win condition (or just keep the default values) and press "Accept".
-
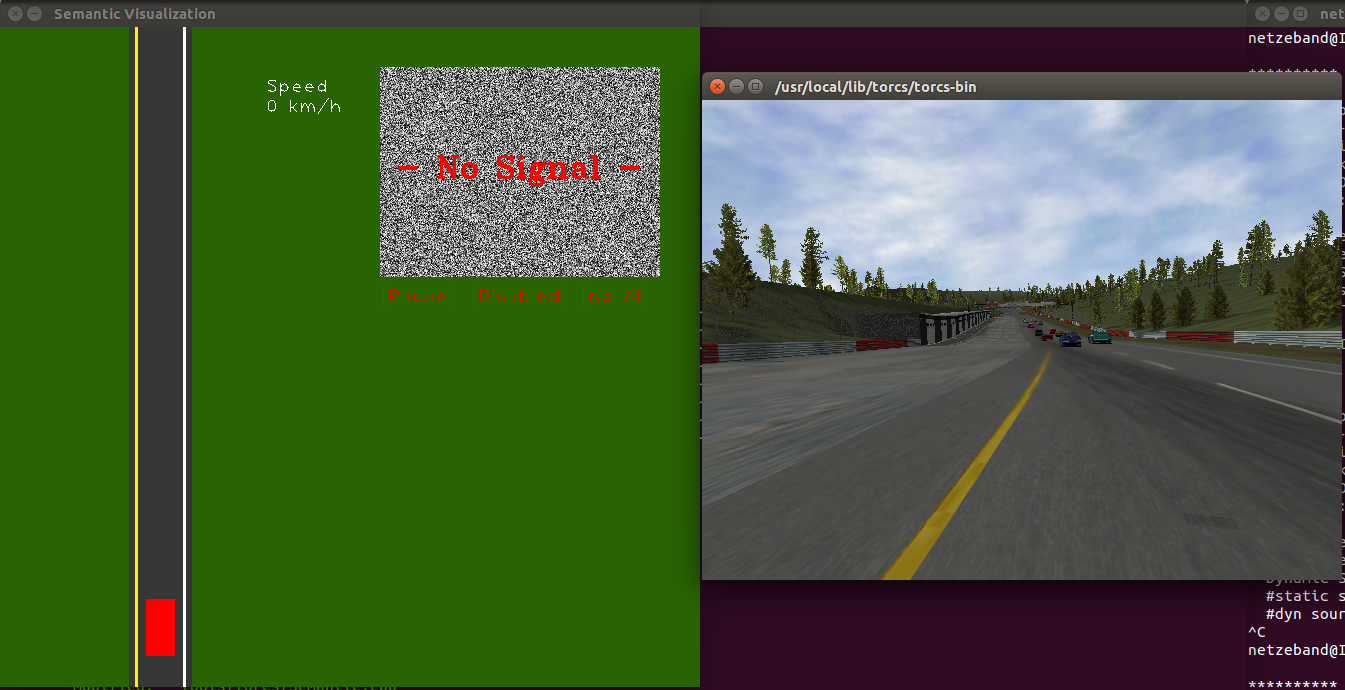
Press "New Race".
-
After the start of the race, press '1' to '6', '9' and 'M' (maybe several times) to disable all HUD elements. Press F2 to switch to the first person view. Sometimes you have to select the player car with 'Page-Up'.
-
Afterwards, select the Semantic Visualization window (the window with the green background) and press "p" to enable data communication between TORCS and the Caffe application.
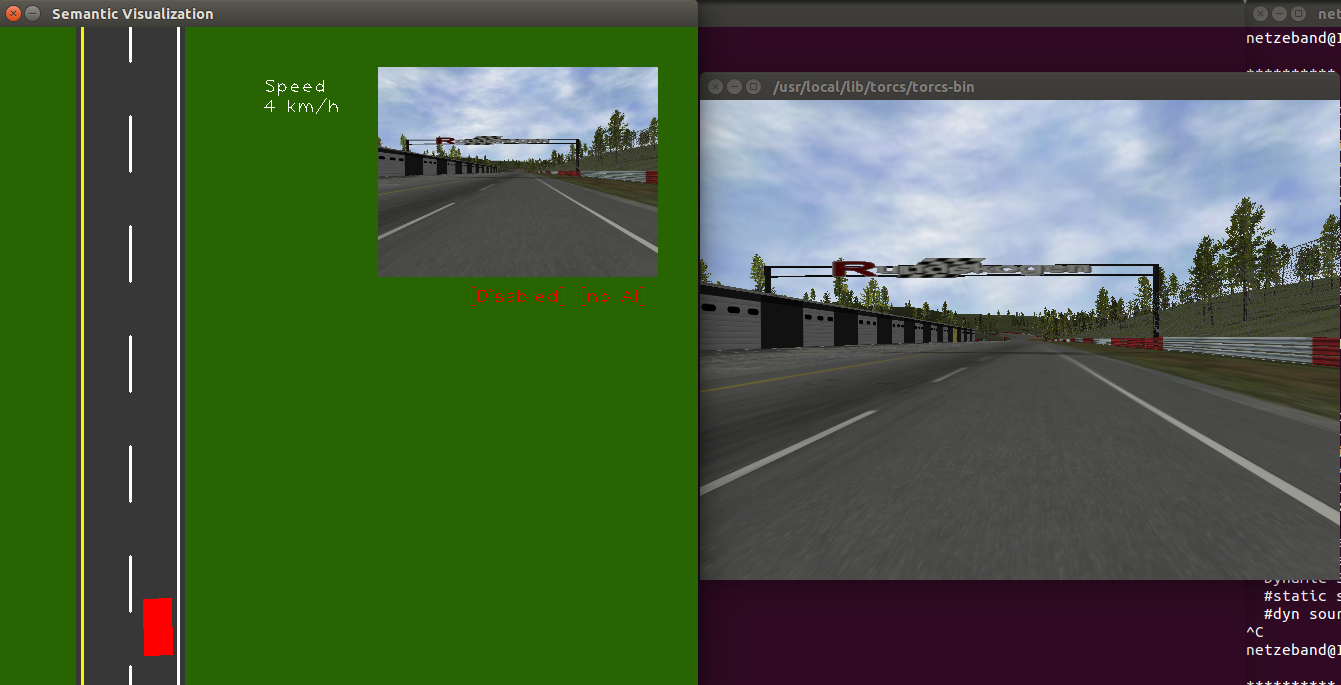
- To start recording, press "r" at the semantic window. Now the movement of the Player car is recorded into the database.
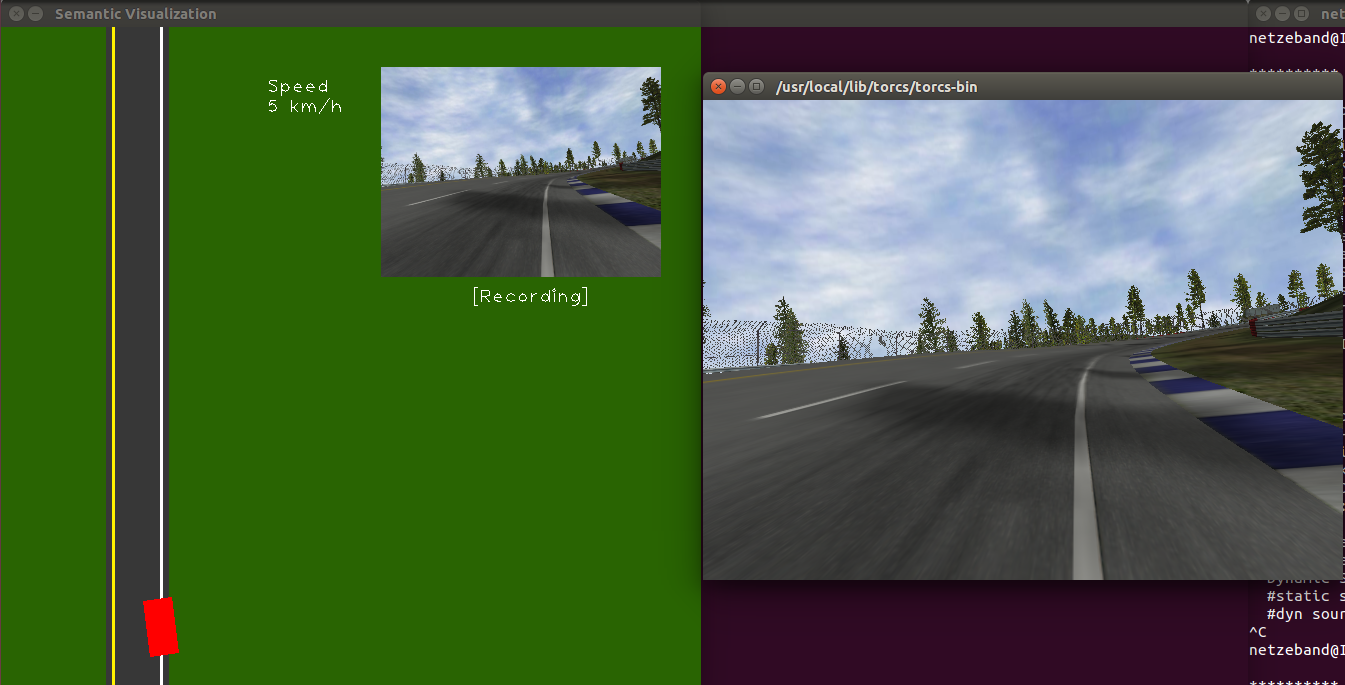
- The following shortcuts are possible:
-
p: Enable or disable PAUSE mode. -
r: Enable or disable recording. -
ESC: Close application and store all recorded Frames into the database.
-
-
As second parameter you can provide a number of frames to the script. In this case the recording stops automatically, if the specified number of frames are collected.
-
Example: This will collect 1000 Frames
cd <repository-path>/torcs
./torcs_record.sh <path-to-database> 1000