

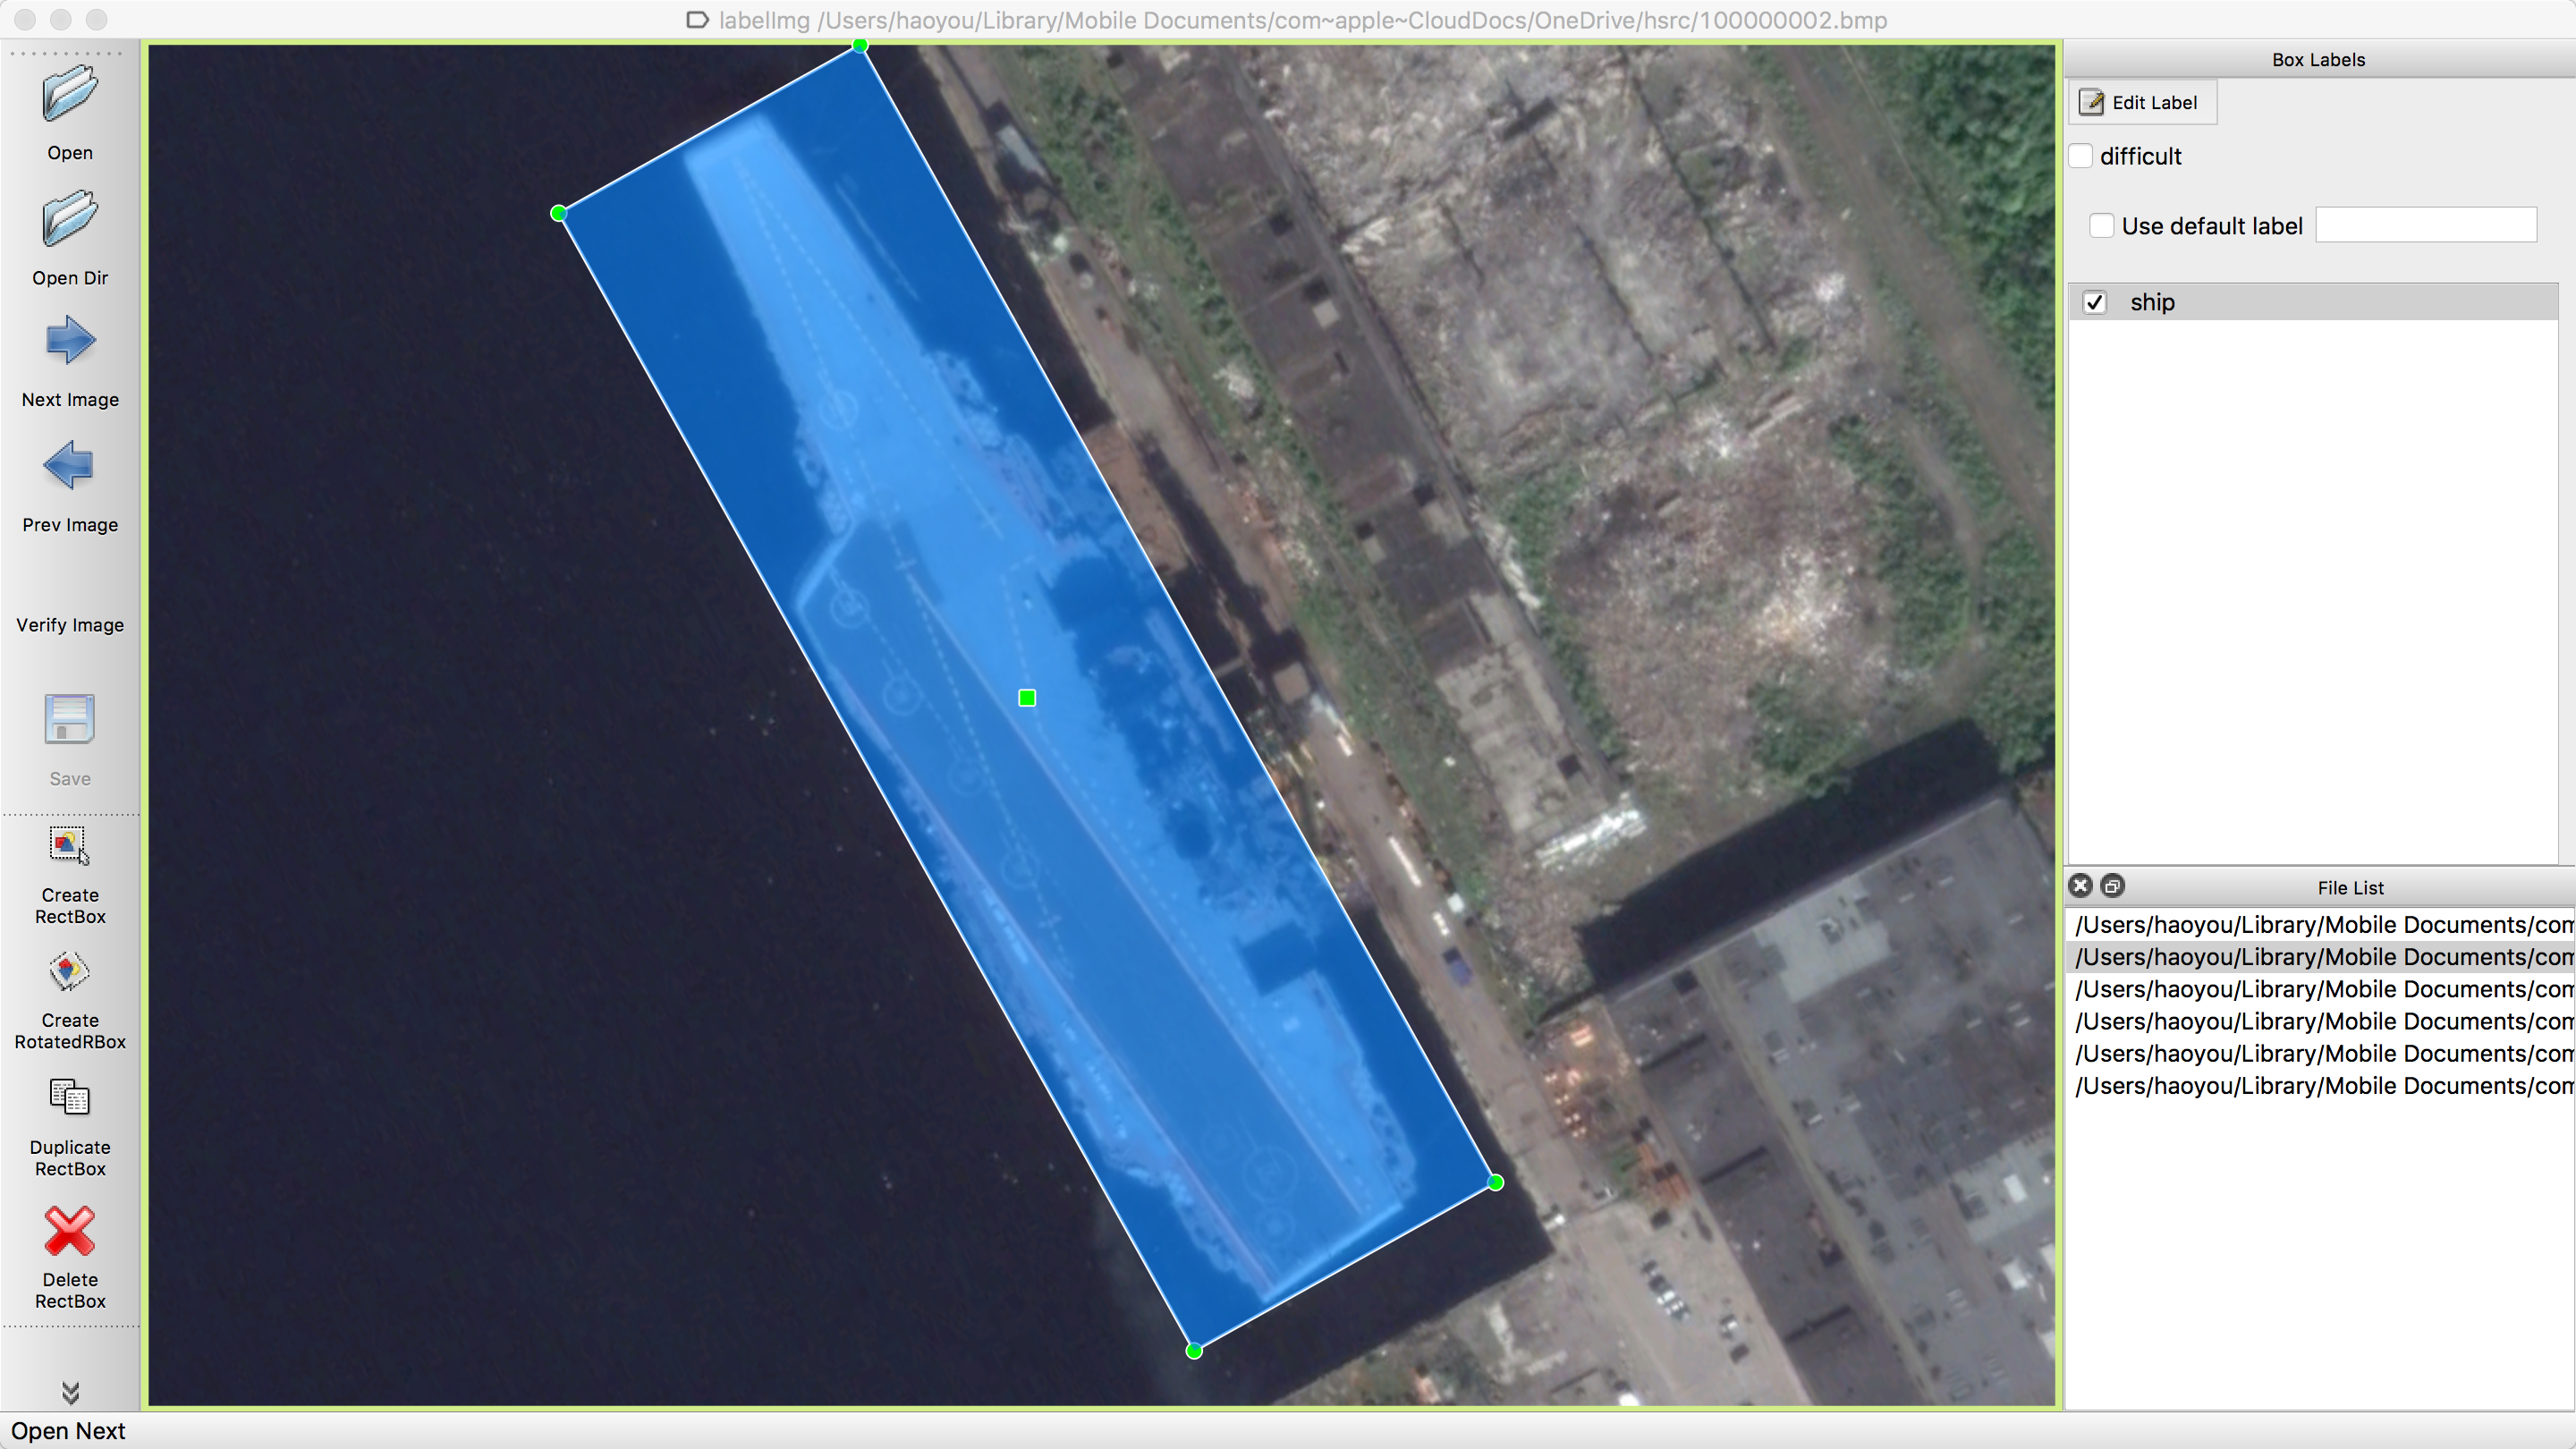
This has been further modified from roLabelImg to display angle in range of -90 to 90 degree in accordance to labeling from CEPDOF (http://vip.bu.edu/projects/vsns/cossy/datasets/cepdof/)
The original version 'labelImg''s link is here<https://github.com/tzutalin/labelImg>.
It is written in Python and uses Qt for its graphical interface.
Watch a demo by author cgvict
Annotations are saved as XML files almost like PASCAL VOC format, the format used by ImageNet.
<annotation verified="yes">
  <folder>hsrc</folder>
  <filename>100000001</filename>
  <path>/Users/haoyou/Library/Mobile Documents/com~apple~CloudDocs/OneDrive/hsrc/100000001.bmp</path>
  <source>
    <database>Unknown</database>
  </source>
  <size>
    <width>1166</width>
    <height>753</height>
    <depth>3</depth>
  </size>
  <segmented>0</segmented>
  <object>
    <type>bndbox</type>
    <name>ship</name>
    <pose>Unspecified</pose>
    <truncated>0</truncated>
    <difficult>0</difficult>
    <bndbox>
      <xmin>178</xmin>
      <ymin>246</ymin>
      <xmax>974</xmax>
      <ymax>504</ymax>
    </bndbox>
  </object>
  <object>
    <type>robndbox</type>
    <name>ship</name>
    <pose>Unspecified</pose>
    <truncated>0</truncated>
    <difficult>0</difficult>
    <robndbox>
      <cx>580.7887</cx>
      <cy>343.2913</cy>
      <w>775.0449</w>
      <h>170.2159</h>
      <angle>2.889813</angle>
    </robndbox>
  </object>
</annotation>
- Windows & Linux
- OS X. Binaries for OS X are not yet available. Help would be appreciated. At present, it must be built from source.
Linux/Ubuntu/Mac requires at least Python 2.6 and has been tested with PyQt 4.8.
sudo apt-get install pyqt5-dev-tools
sudo pip3 install -r requirements/requirements-linux-python3.txt
make qt5py3
python3 roLabelImg.py
python3 roLabelImg.py [IMAGE_PATH] [PRE-DEFINED CLASS FILE]
brew install qt  # Install qt-5.x.x by Homebrew
brew install libxml2

or using pip

pip3 install pyqt5 lxml # Install qt and lxml by pip

make qt5py3
python3 roLabelImg.py
python3 roLabelImg.py [IMAGE_PATH] [PRE-DEFINED CLASS FILE]
Install Python, PyQt5 and install lxml.
Open cmd and go to the labelImg directory
pyrcc4 -o lib/resources.py resources.qrc
For pyqt5, pyrcc5 -o libs/resources.py resources.qrc
python roLabelImg.py
python roLabelImg.py [IMAGE_PATH] [PRE-DEFINED CLASS FILE]
conda install pyqt=5
conda install -c anaconda lxml
pyrcc5 -o libs/resources.py resources.qrc
python roLabelImg.py
python roLabelImg.py [IMAGE_PATH] [PRE-DEFINED CLASS FILE]
- Build and launch using the instructions above.
- Click 'Change default saved annotation folder' in Menu/File
- Click 'Open Dir'
- Click 'Create RotBndBox'
- Click and release left mouse to select a region to annotate the rect box, Click
- You can use right mouse to drag the rect box to copy or move it
The annotation will be saved to the folder you specify.
You can refer to the below hotkeys to speed up your workflow.
You can edit the data/predefined_classes.txt to load pre-defined classes
| Ctrl + u | Load all of the images from a directory |
| Ctrl + r | Change the default annotation target dir |
| Ctrl + s | Save |
| Ctrl + d | Copy the current label and rect box |
| Space | Flag the current image as verified |
| w | Create a rect box |
| e | Create a Rotated rect box |
| d | Next image |
| a | Previous image |
| r | Hidden/Show Rotated Rect boxes |
| n | Hidden/Show Normal Rect boxes |
| del | Delete the selected rect box |
| Ctrl++ | Zoom in |
| Ctrl-- | Zoom out |
| ↑→↓← | Keyboard arrows to move selected rect box |
| zxcv | Keyboard to rotate selected rect box |
Send a pull request
- ImageNet Utils to download image, create a label text for machine learning, etc
- Docker hub to run it