ArduinoStrike is a program designed to control the recoil of weapons in Counter-Strike 2 using Arduino Leonardo or any other compatible board. This tool simulates mouse movements for recoil control, implements rapid fire for semi-automatic weapons and adds bunny hop functionality. The software does not interact with the game client in any way, which makes it difficult to be detected by anti-cheat.
| Feature | Description |
|---|---|
| Bhop | Automatically jumps while holding spacebar, improving movement speed. |
| ColorBot | Detects color changes when aiming and fires instantly without delay. |
| RapidFire | Increases the fire rate of semi-automatic weapons for faster shooting. |
| FastReload | Speeds up reloading in certain situations, allowing faster combat readiness. |
| AutoAccept | Automatically accepts match requests when the button appears on the screen. |
| RecoilControl | Reduces recoil by simulating controlled mouse movements for better accuracy. |
- Note: To enable the bhop feature, enter the command
bind mwheeldown +jumpin the game console. - Important: ArduinoStrike does not require a USB Host Shield - the board connects to a PC via USB and works as an HID device.
- Software: Arduino IDE or PlatformIO, Counter-Strike 2
- Hardware: Arduino Leonardo (or compatible board with native USB HID support)
For testing purposes, you can run ArduinoStrike without connecting an Arduino device using the dry run mode:
ArduinoStrike.exe --dry-run
# or
ArduinoStrike.exe -d
In dry run mode:
- No Arduino connection is established
- All messages are simulated and logged to file
- Configuration and hotkeys work normally
- Perfect for testing configuration and features
-
Clone the Repository
git clone https://github.com/DeniedAccessLife/ArduinoStrike.git cd ArduinoStrike -
Upload the Firmware
-
Navigate to the
PlatformIOfolder:cd PlatformIO -
Run the
upload.batscript for Windows. -
The script will automatically compile and upload the firmware to your connected Arduino board.
-
Ensure the correct board and port are specified in the
platformio.inifile.
-
-
Adding Support for Custom HID-Compatible Boards
- If you plan to use a custom board with HID emulation, update the
platformio.inifile located in thePlatformIOfolder with the appropriate configurations for your board. - Modify the
upload.batscript in the same folder to support additional options.
- If you plan to use a custom board with HID emulation, update the
-
Clone the Repository
git clone https://github.com/DeniedAccessLife/ArduinoStrike.git cd ArduinoStrike -
Locate the Sketch File
- The sketch file is located in the
PlatformIO/srcfolder asArduinoStrike.cpp.
- The sketch file is located in the
-
Convert the Sketch for Arduino IDE
- Rename
ArduinoStrike.cpptoArduinoStrike.ino. - Create a new folder named
ArduinoStrikein theArduinoprojects directory on your system. - Move the renamed file into the newly created
ArduinoStrikefolder.
- Rename
-
Open the Project in Arduino IDE
- Launch the Arduino IDE and open the newly created
ArduinoStrike.inofile.
- Launch the Arduino IDE and open the newly created
-
Connect and Configure Arduino
- Connect your Arduino board to your computer.
- In the Arduino IDE, select the appropriate Board (e.g.,
Arduino Leonardo) and Port.
-
Upload the Firmware
- Click the Upload button to flash the firmware onto your board.
On first launch, an interactive setup wizard will guide you through feature selection, sensitivity settings, and key bindings. Your preferences will be saved in Config.json.
You will be asked whether to enable the following features:
| Feature | Description | Options |
|---|---|---|
| Bunny Hop | Auto-jumps while holding spacebar for better movement. | Y (enable) / N (disable) |
| Rapid Fire | Increases the fire rate of semi-automatic weapons. | Y (enable) / N (disable) |
| Fast Reload | Reduces reload time for faster weapon switching. | Y (enable) / N (disable) |
You will set the following parameters:
| Setting | Description | Range | Example |
|---|---|---|---|
| Sensitivity | Controls general mouse movement speed. | 1 (slow) to 8 (fast) |
8 |
| Zoom Sensitivity | Adjusts sensitivity when aiming down sights. | 0.01 (low) to 3.00 (high) |
1.00 |
| ColorBot Threshold | Determines color variation tolerance for ColorBot activation. Lower values are stricter. | 0 (exact match) to 20 (high tolerance) |
20 |
You can assign keys to specific actions. Press the desired key when prompted, or ESC to disable the hotkey.
| Action | Description | Type |
|---|---|---|
| Recoil Control Confirmation | Confirms activation of recoil control while held. | Hold |
| ColorBot | Activates ColorBot only while the key is held down. | Hold |
| AutoAccept | Toggles automatic match acceptance on/off. | Toggle |
| Weapons | Assign keys for different weapons (UMP-45, M4A1-S, M4A4, etc.). | Press |
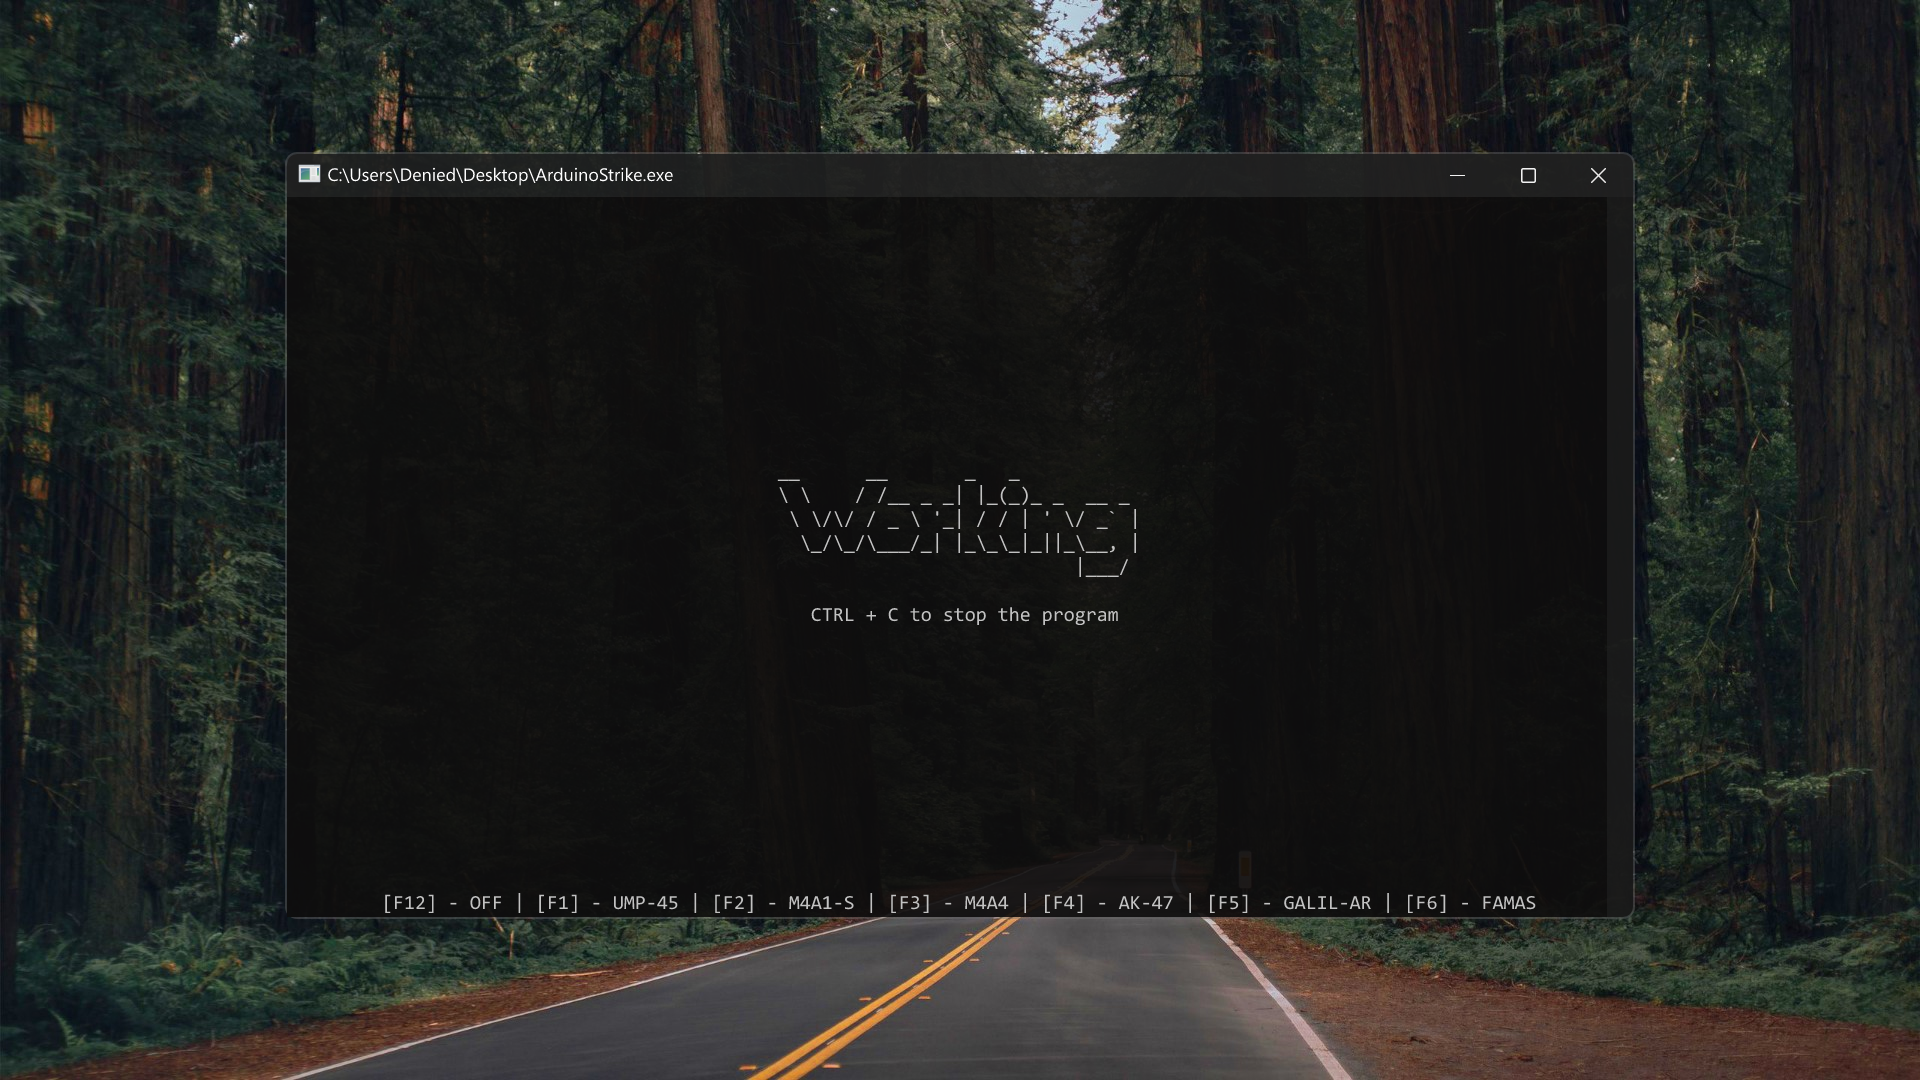
Window of the program.
If you want to contribute to this project:
- Request enhancements
- Report bugs and errors
- Create issues and pull requests
- Spread the word about this project
Please read CONTRIBUTING for details on our code of conduct and the process for submitting pull requests.
This project is licensed under the GNU License - see the LICENSE file for details.