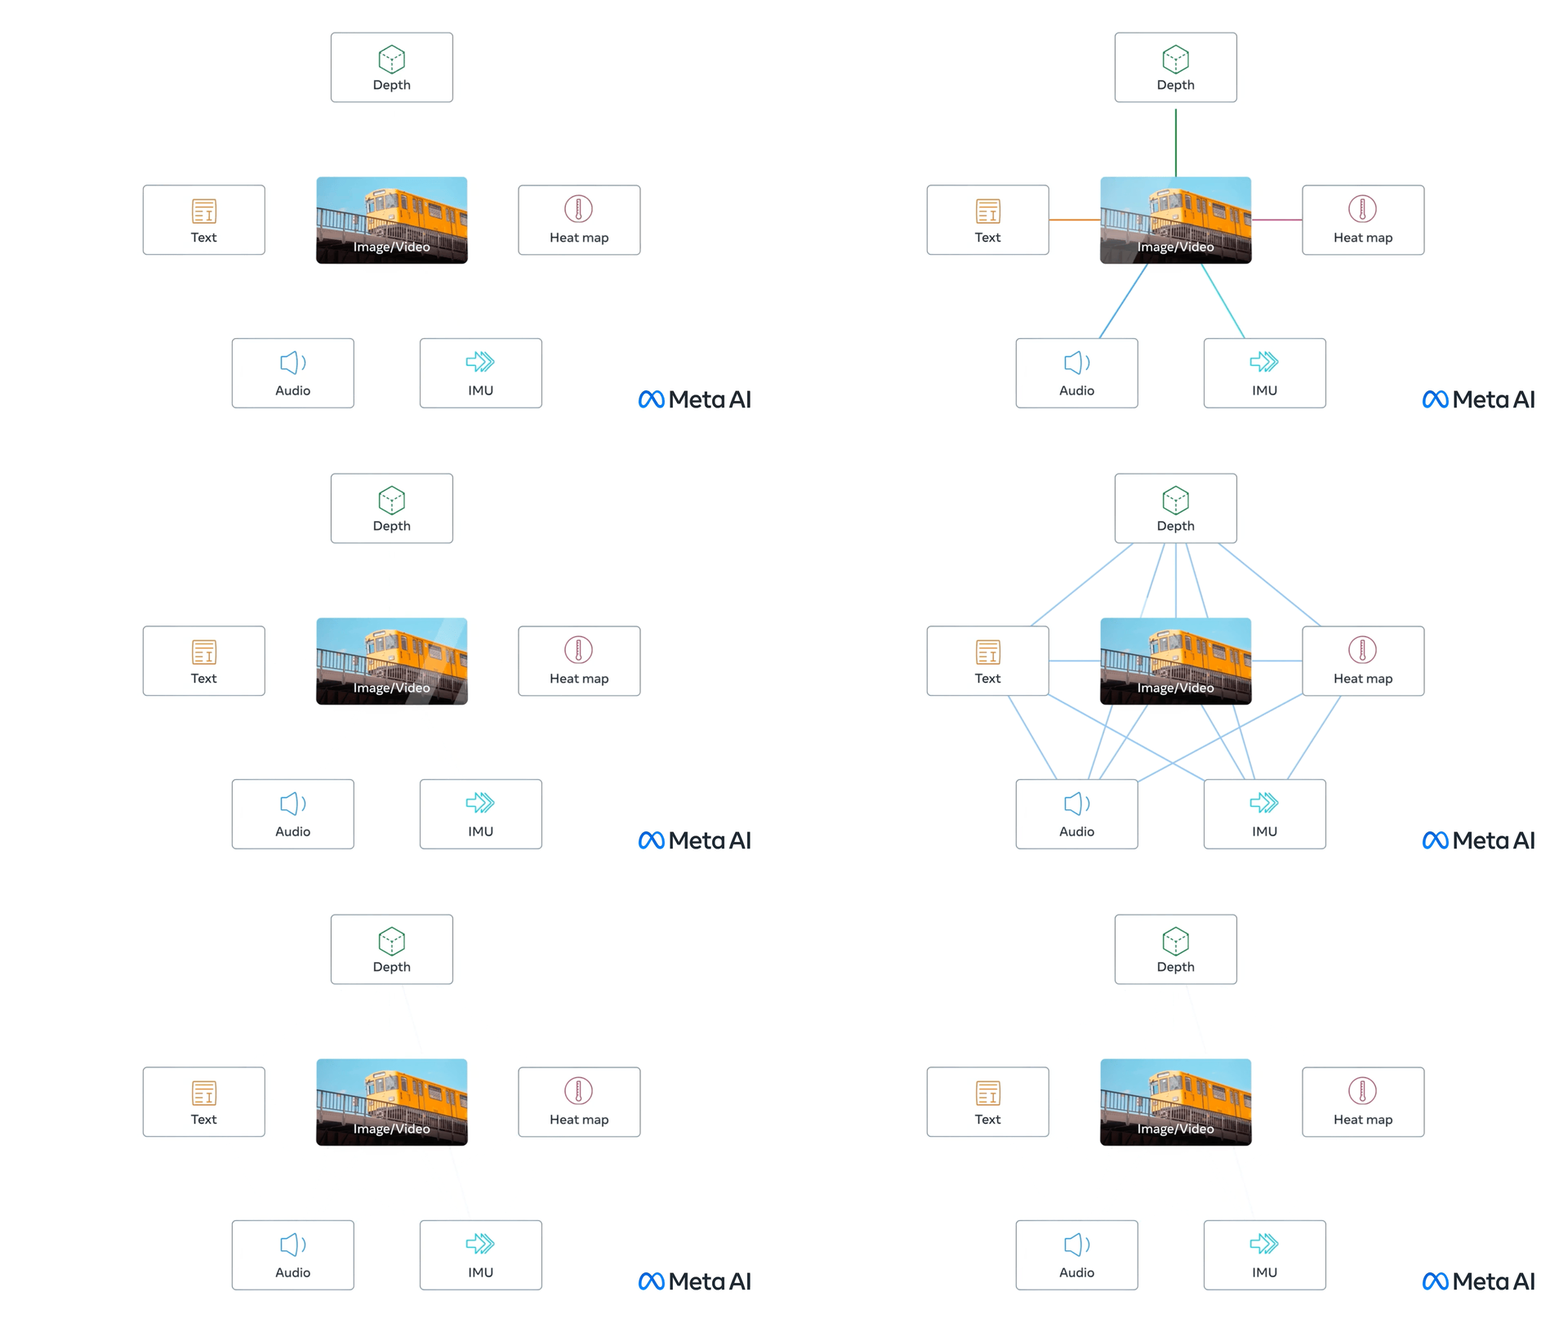
Exploring the surrounding world, people get information using multiple senses, for example, seeing a busy street and hearing the sounds of car engines. ImageBind introduces an approach that brings machines one step closer to humans’ ability to learn simultaneously, holistically, and directly from many different forms of information. ImageBind is the first AI model capable of binding data from six modalities at once, without the need for explicit supervision (the process of organizing and labeling raw data). By recognizing the relationships between these modalities — images and video, audio, text, depth, thermal, and inertial measurement units (IMU) — this breakthrough helps advance AI by enabling machines to better analyze many different forms of information, together.
In this tutorial, we consider how to convert and run ImageBind model using OpenVINO.
This folder contains two notebooks that show how to convert and quantize model with OpenVINO:
The first notebook is about the conversion to IR and consists of following steps:
- Download the pre-trained model.
- Prepare input data examples.
- Convert the model to OpenVINO Intermediate Representation format (IR).
- Run model inference and analyze results.
The second notebook is about the optimization by 8-bit quantization and consists of the following steps:
- Quantize the converted OpenVINO model with the Post-training Quantization with API of NNCF.
- Compare results of the converted OpenVINO and the quantized models.
- Compare model size of the converted OpenVINO and the quantized models.
- Compare performance of the converted OpenVINO and the quantized models.
NNCF performs quantization within the OpenVINO IR. It is required to run the first notebook before running the second notebook.
We will use ImageBind model for zero-shot audio and image classification. The result of model work demonstrated on the image below
This is a self-contained example that relies solely on its own code.
We recommend running the notebook in a virtual environment. You only need a Jupyter server to start.
For details, please refer to Installation Guide.

