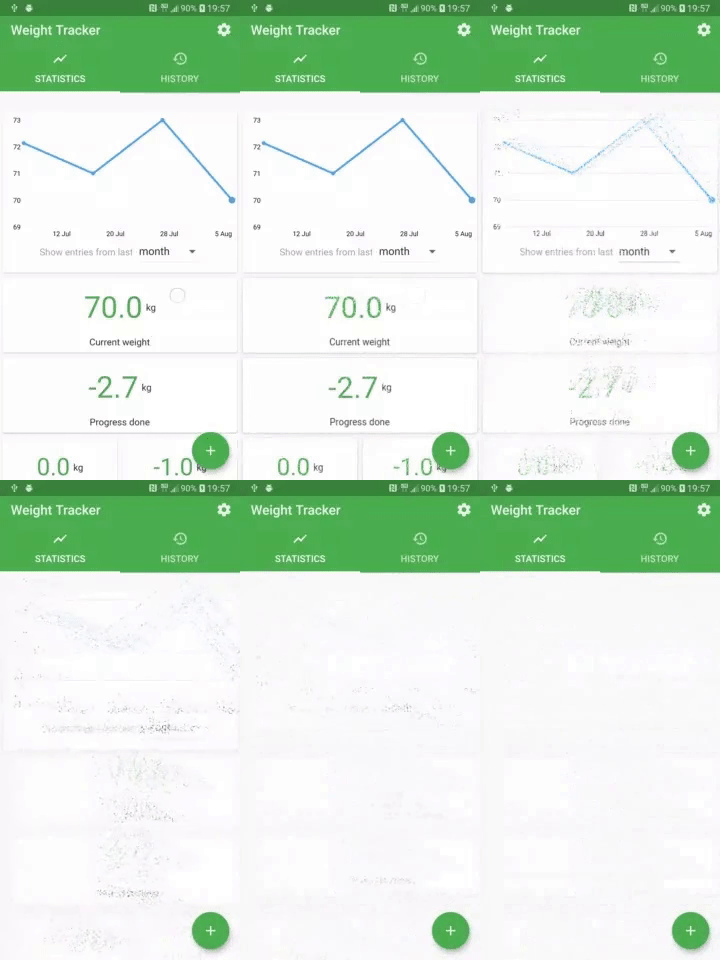
A Flutter library that allows you to add the iconic "snap" effect from Thanos to any widget in your Flutter app. With simple integration and various customization options, you can animate widgets disappearing and reappearing with ease.
- Updated for
image 4.2.0 - Achieved faster performance by replacing the previous slow PNG encoding algorithm.
- Introduced
prepareSnap()method to perform calculations beforehand for instant snapping. - Added
pixelRatioandskipPixelparameters to further enhance performance and offer stylistic options (see details below).
- Add this to your
pubspec.yaml
dependencies:
  snappable_thanos:
    git:
      url: https://github.com/shahriar-siham/snappable_thanos.git
ref: main- Now in your Dart code, you can use the following to import:
import 'package:snappable_thanos/snappable_thanos.dart';First, wrap any widget with Snappable.
@override
Widget build(BuildContext context) {
  return Snappable(
    child: Text('This will be snapped'),
  );
}
Then give it a GlobalKey of the type SnappableState.
class MyWidget extends StatelessWidget {
  final key = GlobalKey<SnappableState>();

  @override
  Widget build(BuildContext context) {
    return Snappable(
      key: key,
      child: Text('This will be snapped'),
    );
  }
}
To snap this widget, simply use:
key.currentState!.snap();To undo the snap, use the following:
key.currentState!.reset();Sometimes, you may want to preload the snapping algorithm before the snapping animation begins. This is useful, for example, when showing a dialog to the user to confirm the snap. Preloading reduces the waiting period significantly. To do this, use:
key.currentState!.prepareSnap();NOTE: Using
prepareSnap()is optional. You can skip the preparation and usesnap()directly.
You may want to snap a widget by just tapping on it. For this, set the snapOntap to true.
class MyWidget extends StatelessWidget {
  @override
  Widget build(BuildContext context) {
    return Snappable(
      snapOntap: true,
      child: Text('This will be snapped'),
    );
  }
}
Undo by tapping again.
class MyWidget extends StatelessWidget {
  @override
  Widget build(BuildContext context) {
    return Snappable(
      onSnapped: () => print("Snapped!"),
      child: Text('This will be snapped'),
    );
  }
}The algorithm works by converting any widget into an image, randomly selecting pixels, and assigning them to different layers, called buckets. These buckets are then animated in random directions. The effect looks impressive when there are more buckets, but be sure to balance visual quality with performance.
You can customize the number of dust particles with the pixelRatio parameter. Fewer particles result in larger sizes and faster rendering. The default value is 1.0, but using a value less than that is recommended.
You may want to reduce the number of particles while keeping their size the same. For this, the skipPixels parameter is introduced. Setting it to 1 will skip every other pixel, effectively reducing the pixel count by half.
The pixelatedDust parameter determines the appearance of the dust particles. If true, the particles will have a pixelated look (default). If false, the particles will appear smoother and blurry. The effect is more noticeable when the pixelRatio is less than 1.0.


