Installation Guide
In the following, we will explore step by step how to properly install vane on your minecraft server.
This section will cover the minecraft plugins and not the proxy plugin vane-waterfall.jar.
You most likely won't need a proxy except when you want advanced features like:
- Automatically starting the server when a player want's to join
- Multiple distinct player accounts with only one Mojang account. (e.g. to set one as a spectator)
If you also want these features, first follow this installation guide, and then follow Installation Guide (proxy).
Before you proceed, make sure your server meets all requirements:
- Make sure your server runs Java 11 or higher (check with
java --version). This plugin will not work without it. - Install the latest version of ProtocolLib (download here). Just drop the jar file in your
plugins/folder.
Start by downloading all-plugins.zip from GitHub Releases. This archive will
contain all the required vane-*.jar files so you don't have to download them individually.
Continue by extracting the zip file into a temporary folder. You can delete the zip file and this folder after the installation is finished.
Next, you may choose which of vane's modules you want to have installed.
For an better overview, have a look at the repository's README.md and the linked overview page at the top of it. For the sake of simplicity, you can for just use all the plugins and disable what you don't want later by editing the corresponding config.yml. You can even disable a whole plugin just by doing this.
- vane-core (always needed)
- vane-admin (/setspawn, /spawn, automatic server stopping)
- vane-bedtime (skip night when 50% of players are sleeping)
- vane-enchantments (all custom enchantments)
- vane-permissions (actually lightweight permission management, REPLACES other permission plugins)
- vane-portals (provides fancy portals)
- vane-regions (provides region system, requires portals to be installed, provides region system)
- vane-trifles (requires enchantments to be installed, )
Copy all the .jar files you want to use into your plugins/ folder:

Beware to only use vane-permissions, if you don't want to use
any other permission management system on your server. If it is installed, it will take away all permissions from players except the necessary ones so you as an administrator know exactly what is allowed and what isn't. No insane defaults anymore. Therefore, vane-permissions will interfere with other permission plugins, and may even require you to add certain permissions manually. This will be explained in detail later.
Now we will start the server once to generate all config files and to generate the resource pack.
After starting your server, execute vane generate_resource_pack. After a success message is displayed,
you may stop the server and continue with the next section.

CAREFUL: Being OP is not enough to execute /vane generate_resource_pack in-game, you would need either the vane.core.commands.vane or the vane.*.commands.* permission. At this stage it is probably fastest to just use the server console.
You may now edit all vane-*/config.yml files to your preference. Also be sure to NEVER delete the storage.json files, unless you want to wipe your server. They contain dynamic plugin state such as portal locations, region settings, spawn location, user permissions, and a lot more. Have a look inside, if you are in doubt.
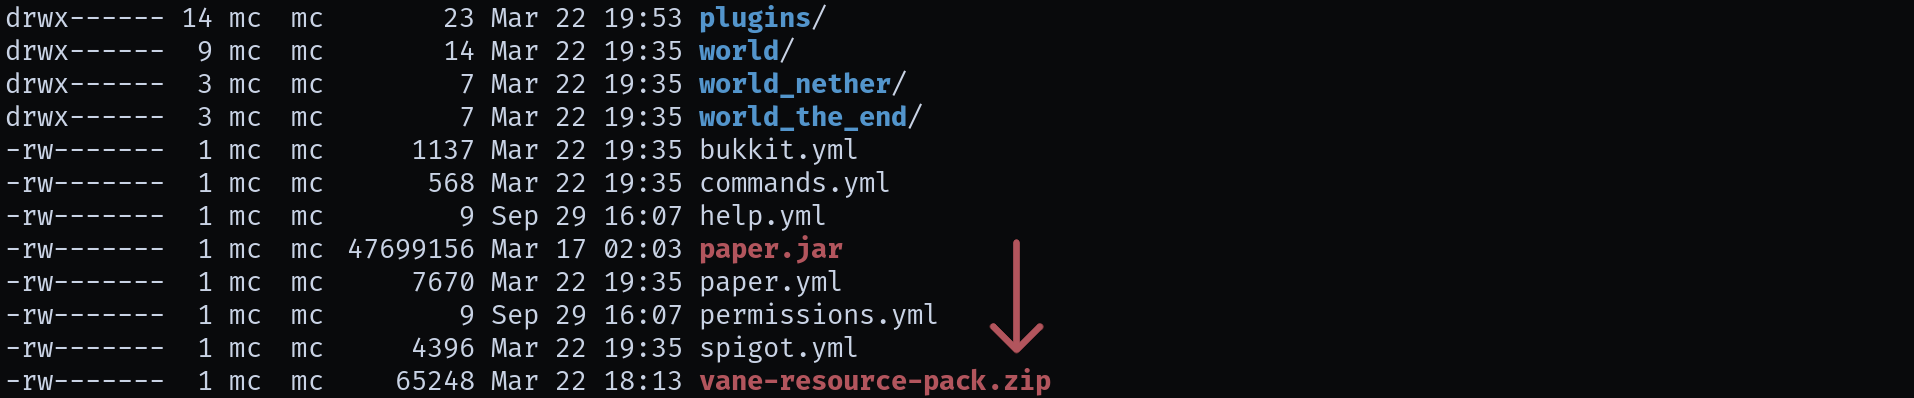
The generated resource pack from the last step will now be in the main folder of your server, where you will
also find your paper.jar and your plugins/ folder.
It contains translated messages for all plugin messages and may also include some icons for the few custom items (if you use vane-trifles or vane-enchantments for example). Therefore, it is absolutely necessary for you and your players to use this resource-pack additionally to whatever you
are using normally. It will not affect anything else in the game, just things provided by vane.
You generally have two options going forward. Either you manually give the resource pack to all your players, or you host it somewhere and let minecraft download it automatically when joining your server.
-
6.A. Distribute manually
Disable the resource pack distribution in
vane-core/config.yml. The relevant configuration is called:resource_pack: # Enable resource pack distribution. # Default: true enabled: false # <---- Set to false HERE
You can skip to the next section now.
-
6.B. Host it using Google Drive, Dropbox or a similar service
Please follow this tutorial (Adding a Resource Pack to a Minecraft Server), until you have a shared link and a sha-1 sum, but DO NOT edit your
server.properties. Instead follow the instructions below after the subsections. -
6.C. Host it using your own webserver
Copy the
vane-resource-pack.zipto a publicly accessible location on your webserver. As of version 1.16, minecraft has problems with https links, so make sure it is also accessible over http for the time being. Going forward you will need:- The link to your resource pack (e.g.
http://example.com/vane-resource-pack.zip) - The sha-1 sum of the zip file (On Linux, execute:
sha1sum vane-resource-pack.zip, on Windows useCertUtil -hashfile "C:\Users\path\to\vane-resource-pack.zip" SHA1in the cmd)
- The link to your resource pack (e.g.
Continue by editing vane-core/config.yml. We will now enable the built-in resource-pack distributor. The advantage of using
the vane distribution instead of server.properties is that it will wait until the client has fully loaded the pack, before it starts sending messages. This prevens messages from being interpreted by the client before it has a chance to translate it. (Could cause strange messages in the chat like {vane_admin.chat}).
vane-core/config.yml:
resource_pack:
  # ...

  # Resource pack SHA-1 sum. Required to verify
  # resource pack integrity.
  sha1: "c3514d0b2d714ec78013b1edaf44d7e5b96d1de9"    # <---- Enter your sha-1 sum here

  # URL to an resource pack. Will request players
  # to use the specified resource pack.
  url: "http://example.com/path/to/pack.zip"          # <---- Replace this with your link
The next time you start your server, you should see a message like:
[13:37:42 INFO]: [vane-core] Distributing resource pack from 'http://example.com/vane-resource-pack.zip' with sha1 <sha1sum>Finally, you may start your server again. Depending on what permission system you settled on, you will need to do some additional configuration. Continue with the appropriate subsection.
No additional setup is needed for vane, and you can assign a permission group to a player by executing the following command on the console (or as an admin, if you have already given yourself that group):
perm add pepe_the_player user         # (Just a normal user, give this to players)
perm add pepe_the_player trusted      # (Also a user, but may also add new users with `/verify`)
perm add pepe_the_player admin        # (Full permissions, may execute any vane command)
If you have other plugins installed, you will need to add the required permissions to your user group. This
is best done by simply editing vane-permissions/config.yml. This is also true for the vanilla commands like /tp,
even when your player is OP! A list of the default permissions can be found here,
or by executing perm list permissions.
If you are NOT using vane-permissions, you will need to give your players some permissions so they have access to the correct things in vane. As there are many different permission systems, we can't go into the details for every one of them here.
Below is a list of permissions and who should have them. Use your permissions plugin to add these permissions to the correct
player groups. And obviously you do not need to give players permissions from e.g. vane.admin.<something> if you don't use vane-admin in the first place.
# Any normal user should have these permissions.
user:
  - vane.admin.commands.spawn
  - vane.admin.modify_world
  - vane.regions.commands.region
  - vane.trifles.commands.heads

# Additionally to what normal users can do, verified users may use `/vouch`
verified:
  - vane.permissions.commands.vouch

# Admins should have everything `verified` users have, plus:
admin:
  - vane.admin.bypass_spawn_protection
- vane.*.commands.*Congratulations, you have successfully installed vane. If you also want the advanced features like automatically starting the server or account multiplexing, please continue with Installation Guide (proxy). Otherwise, enjoy playing!