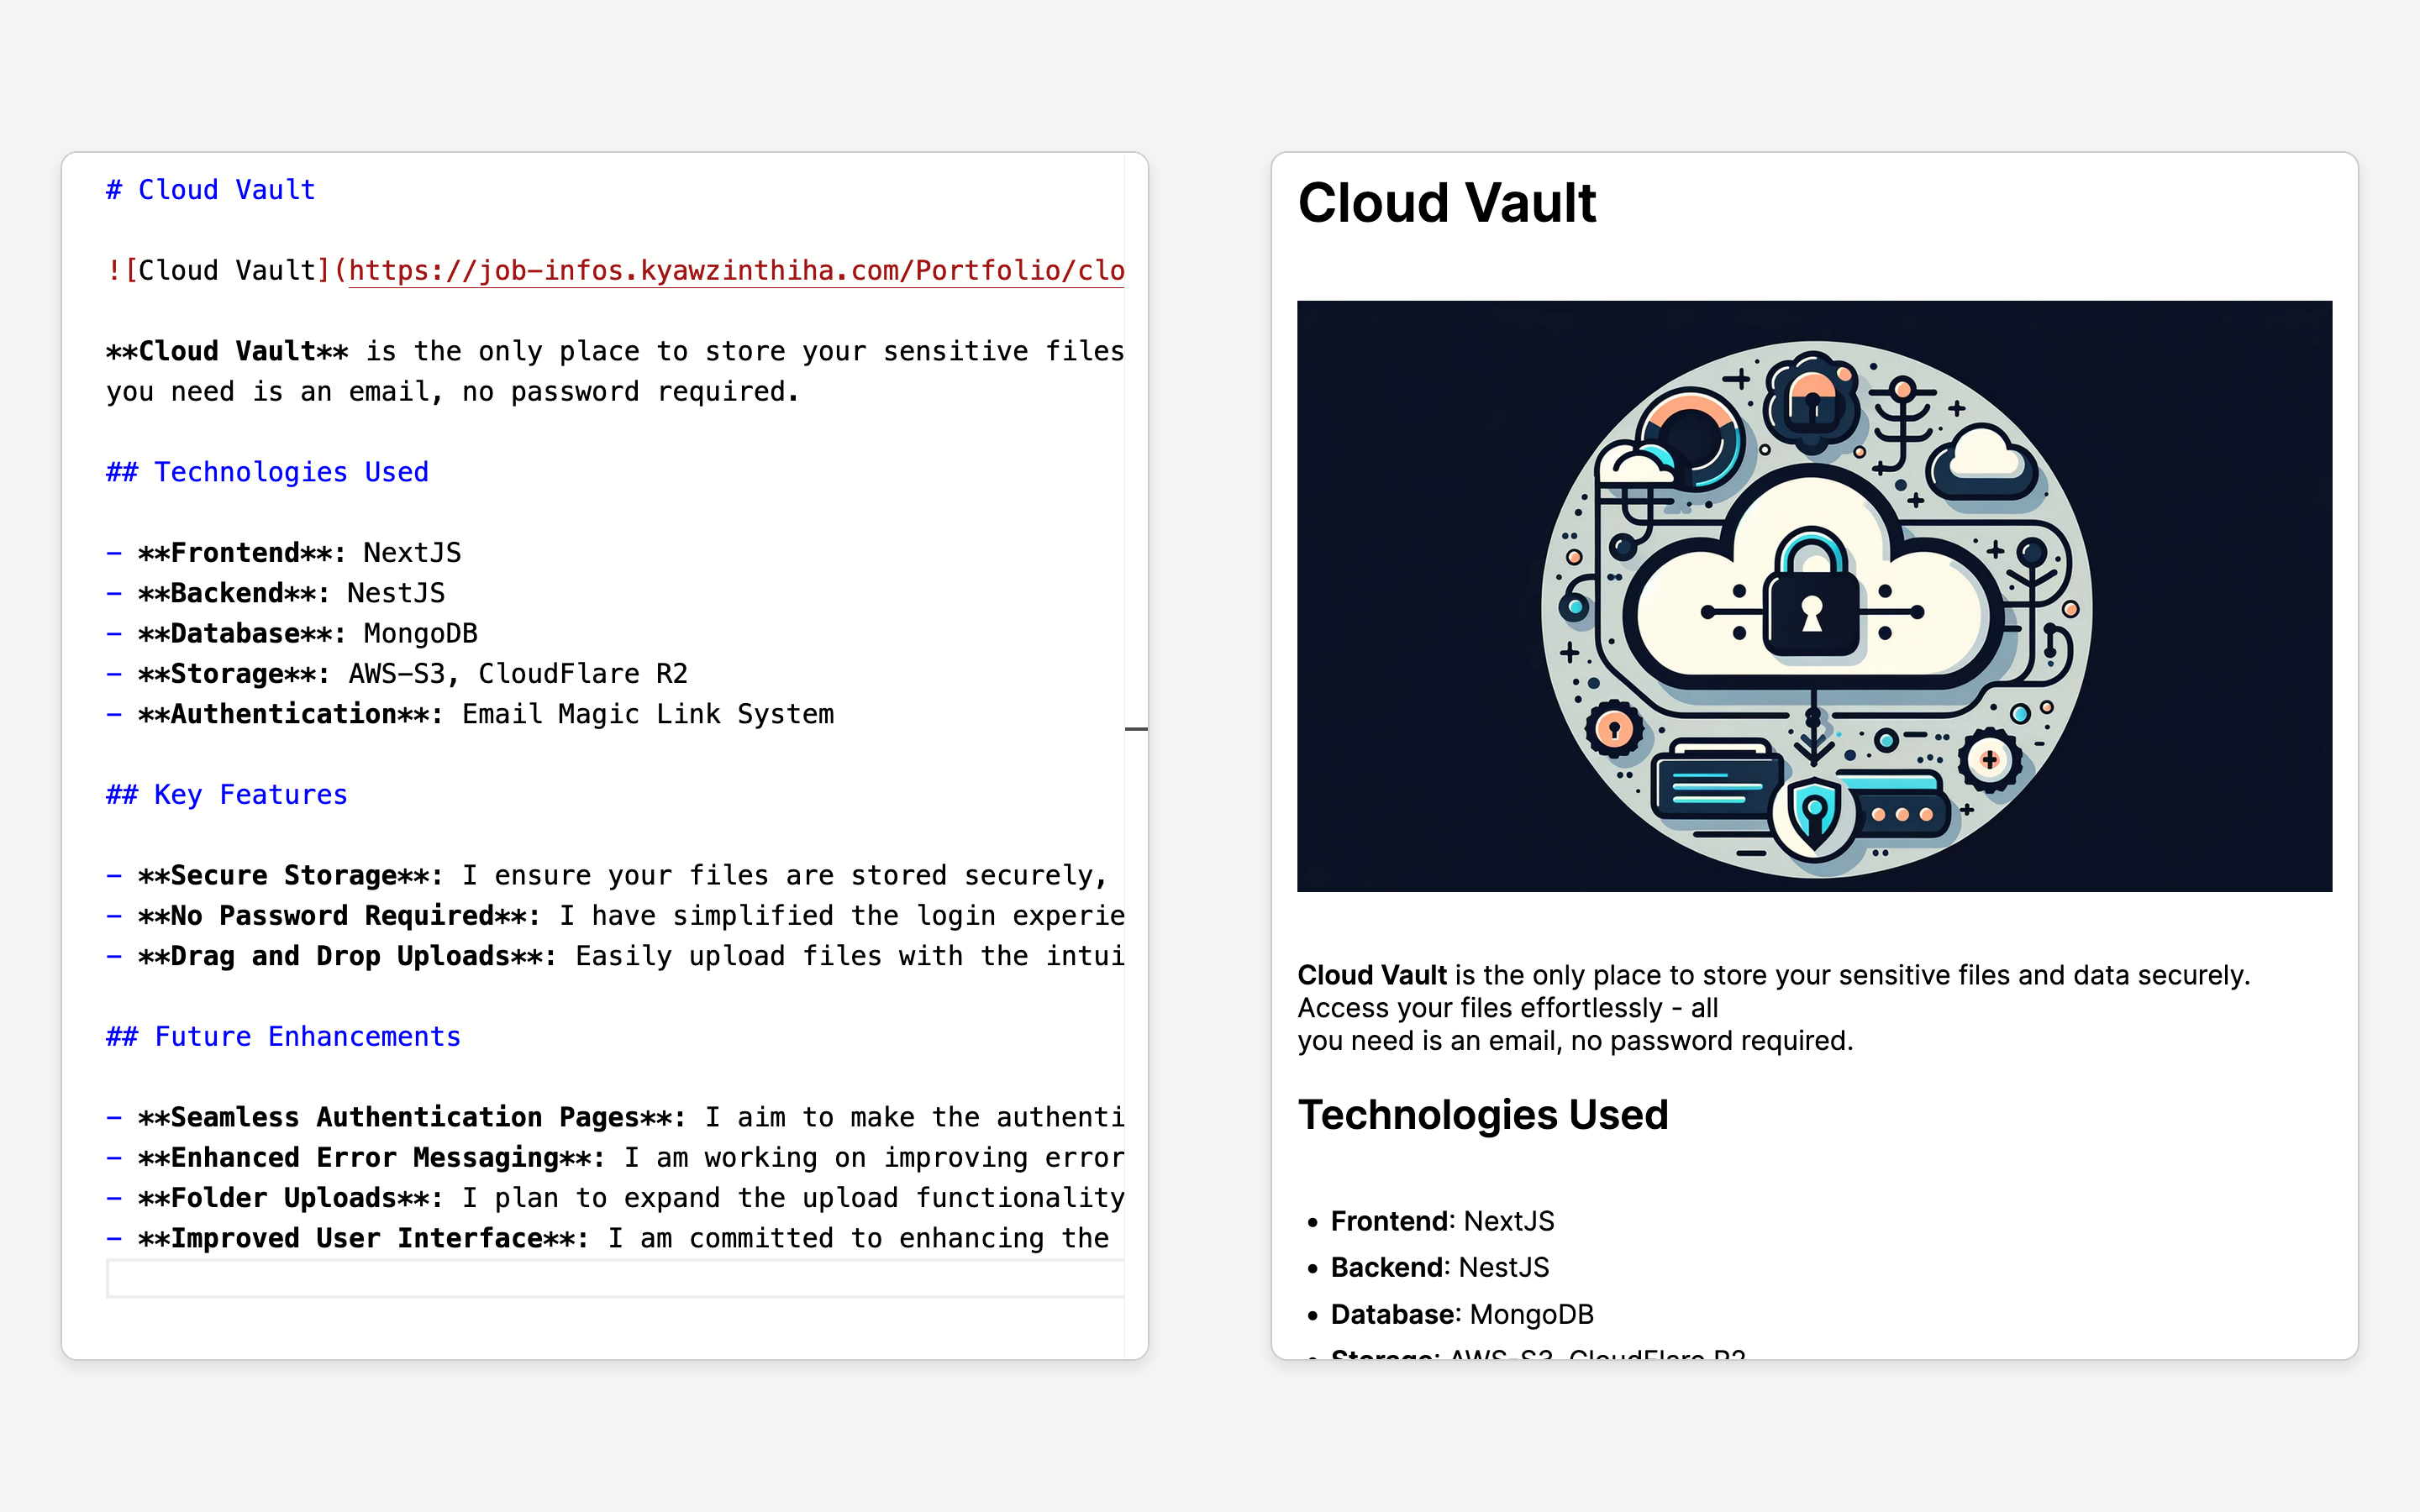
Next.js Markdown Editor with Advanced Parsing Live URL
This project is a powerful Markdown editor and parser built using Next.js, leveraging SCSS for styling and the Monaco Editor for an enhanced editing experience.
- Advanced Markdown Parsing: Our custom Markdown parser can handle a variety of syntaxes including headings, bold/italic text, links, images, code blocks, and more.
- Monaco Editor Integration: Utilizes the Monaco Editor for a rich text editing experience, complete with syntax highlighting and auto-completion.
- Responsive Design: Styled with SCSS for a clean, responsive user interface that adapts to different screen sizes.
- Next.js Framework: Built on Next.js, offering server-side rendering and static site generation for a fast and efficient web application.
- Next.js: A React framework that enables functionality such as server-side rendering and generating static websites for React-based web applications.
- SCSS: An extension of CSS that enables using variables, nested rules, mixins, functions, and more.
- Monaco Editor: A browser-based code editor that powers VS Code, known for its rich features like syntax highlighting and IntelliSense.
To get a local copy up and running, follow these simple steps:
- Clone the repo
git clone https://github.com/kyawzin-thiha/markdown-parser
- Install NPM packages
npm install
- Run the development server
npm run dev
# or
yarn dev
- Write Markdown in the Monaco Editor pane.
- See the live HTML preview on the other pane, rendered from the Markdown input.
- Enjoy the features like syntax highlighting and live parsing as you type.
Contributions are what make the open source community such an amazing place to learn, inspire, and create. Any contributions you make are greatly appreciated.
- Fork the Project
- Create your Feature Branch (
git checkout -b feature/AmazingFeature) - Commit your Changes (
git commit -m 'Add some AmazingFeature') - Push to the Branch (
git push origin feature/AmazingFeature) - Open a Pull Request
Distributed under the MIT License. See LICENSE for more information.
