In this tutorial, we will demostrate how to setup and run aws-device-farm-integration or a similar project from Git in Jenkins pipeline. That will help to deploy and run your tests automatically.
Your machine should
- Jenkins
- Install Apache Maven version 3.3.9 or later
- Follow step #1 of this intruction to install aws-device-farm in your Jenkins
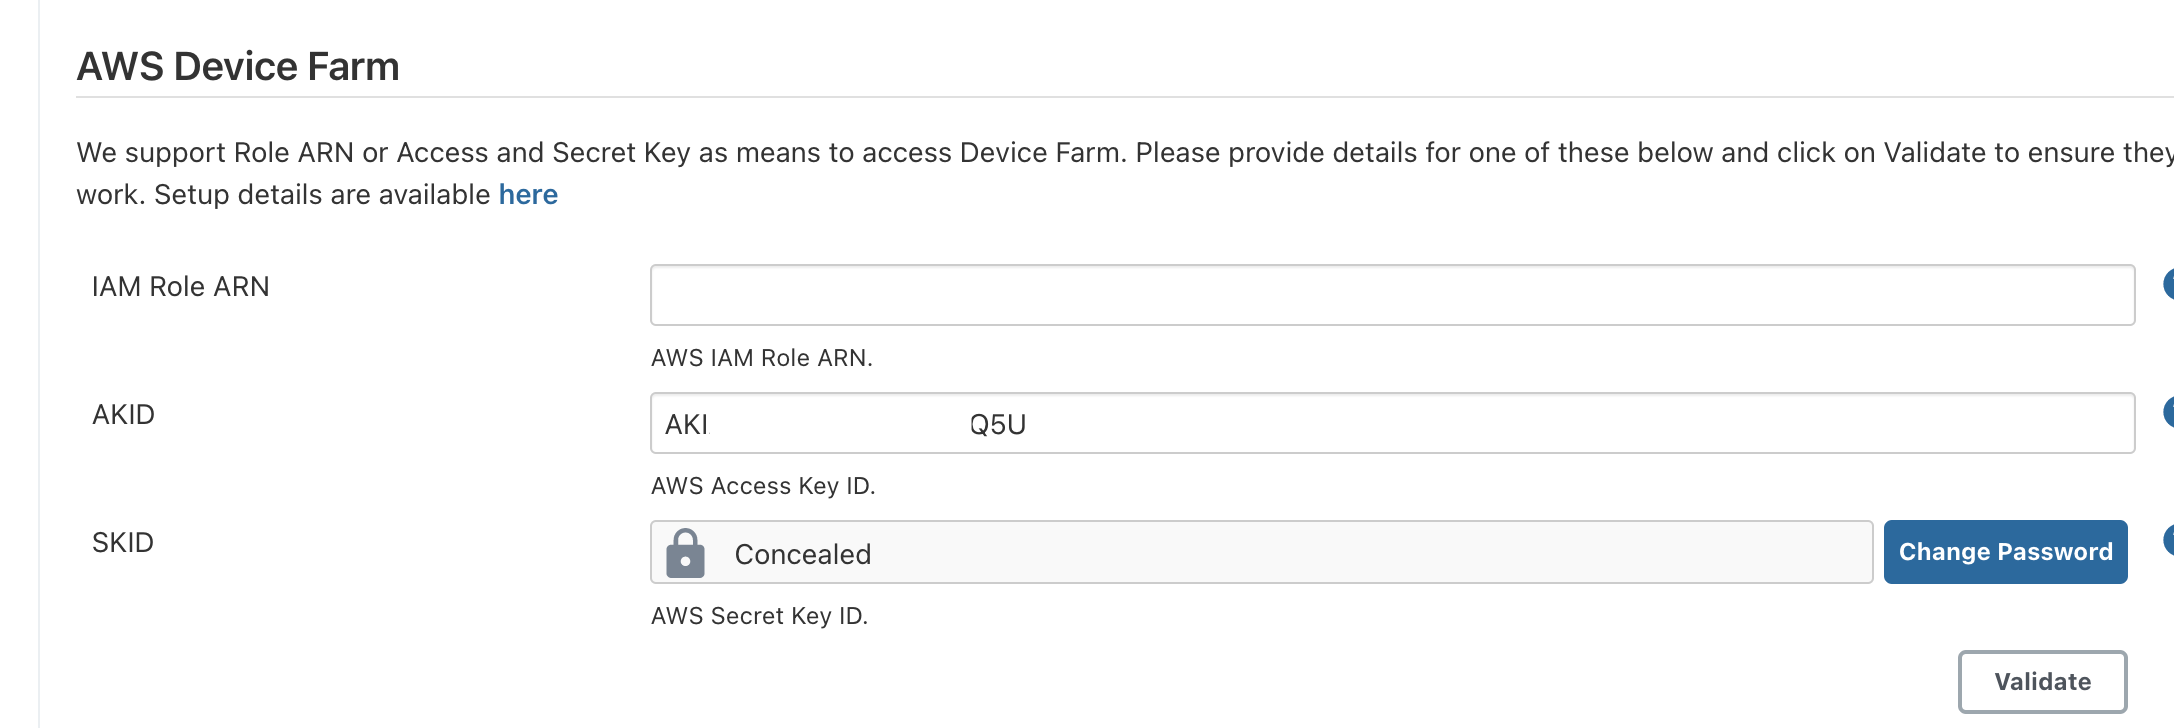
- Follow steps #2, #3 of this intruction to configure Jenkins system and validate your AWS credentials
-
Back to Jenkins Dashboard, create New item -> Free style project
-
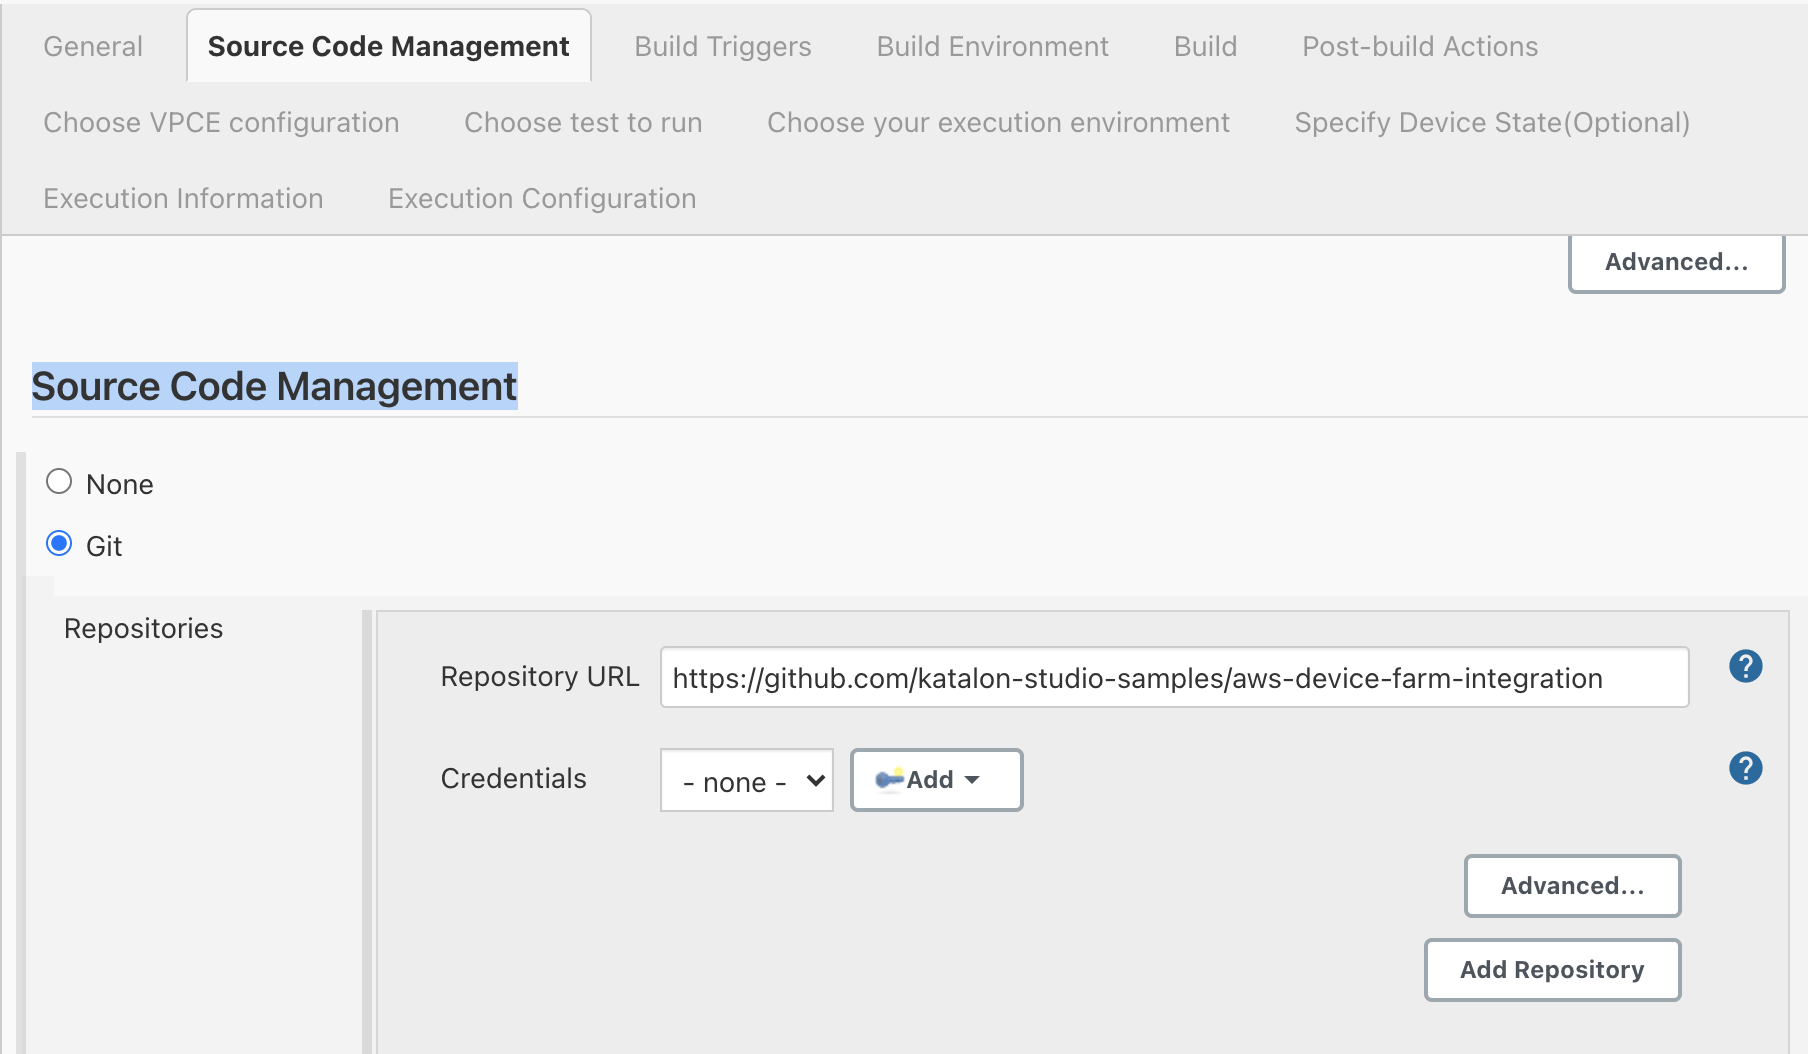
In Source Code Management, add your project URL and credentials
-
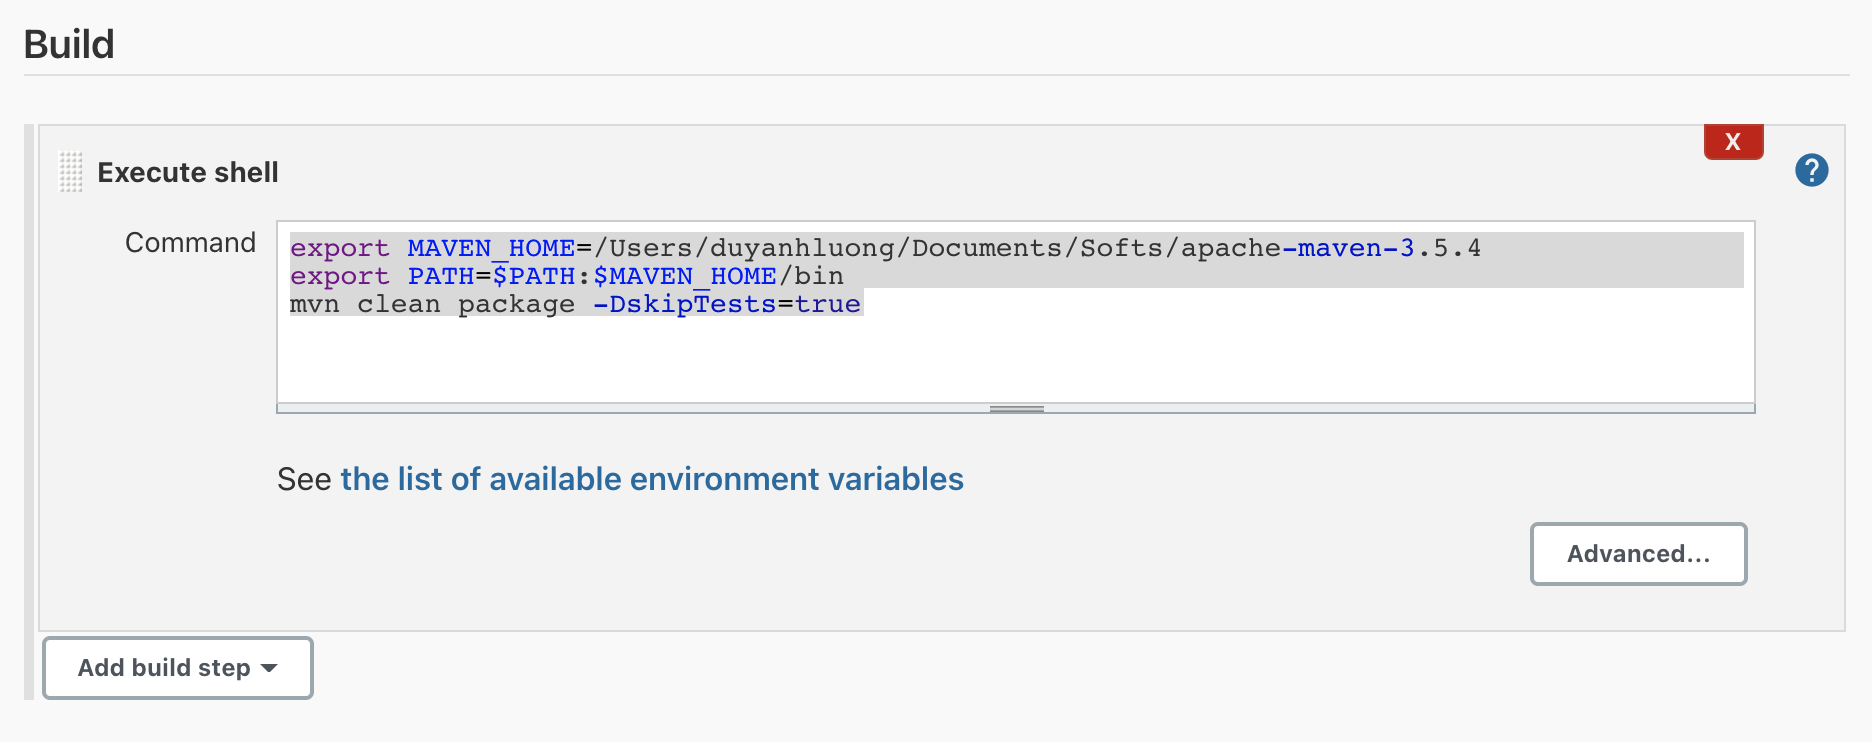
In Build, click
Add build step->Execute shell -
In the command text field, add this script that helps to build aws-device-farm-integration Maven project
export MAVEN_HOME=[Your Maven installed folder]
export PATH=$PATH:$MAVEN_HOME/bin
mvn clean package -DskipTests=true
-
In Post Build Action, click
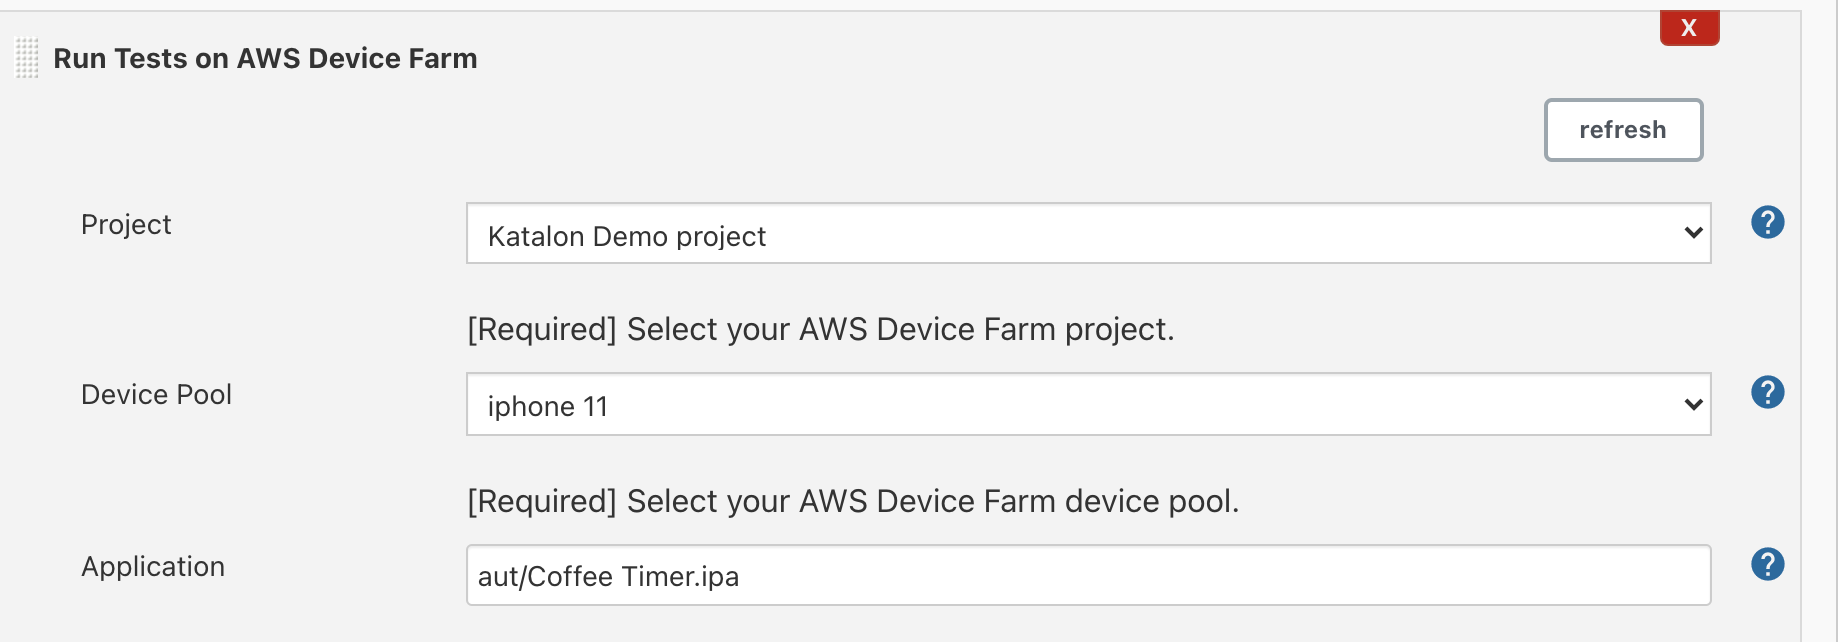
Add post-build action->Run Tests on AWS Device Farm -
Select your AWS DF
ProjectandDevice Poolthat you created in AWS DF Console -
In
Applicationfield, enter the relative path of the AUT from your root project. Leave it blank if it is a web application
- In Choose test to run, select
Appium Java JUnit. InTestsfield, enter the path to maven build zip file. In this case, it should betarget/zip-with-dependencies.zip
- In Choose your execution environment, select
Custom enviromentandDefault TestSpec for Android Appium Java Junit v2.0 (adds support for Appium 1.14+)option to let AWS DF run with the latest Appium version they can support
-
Review other AWS DF configurations then click
Save -
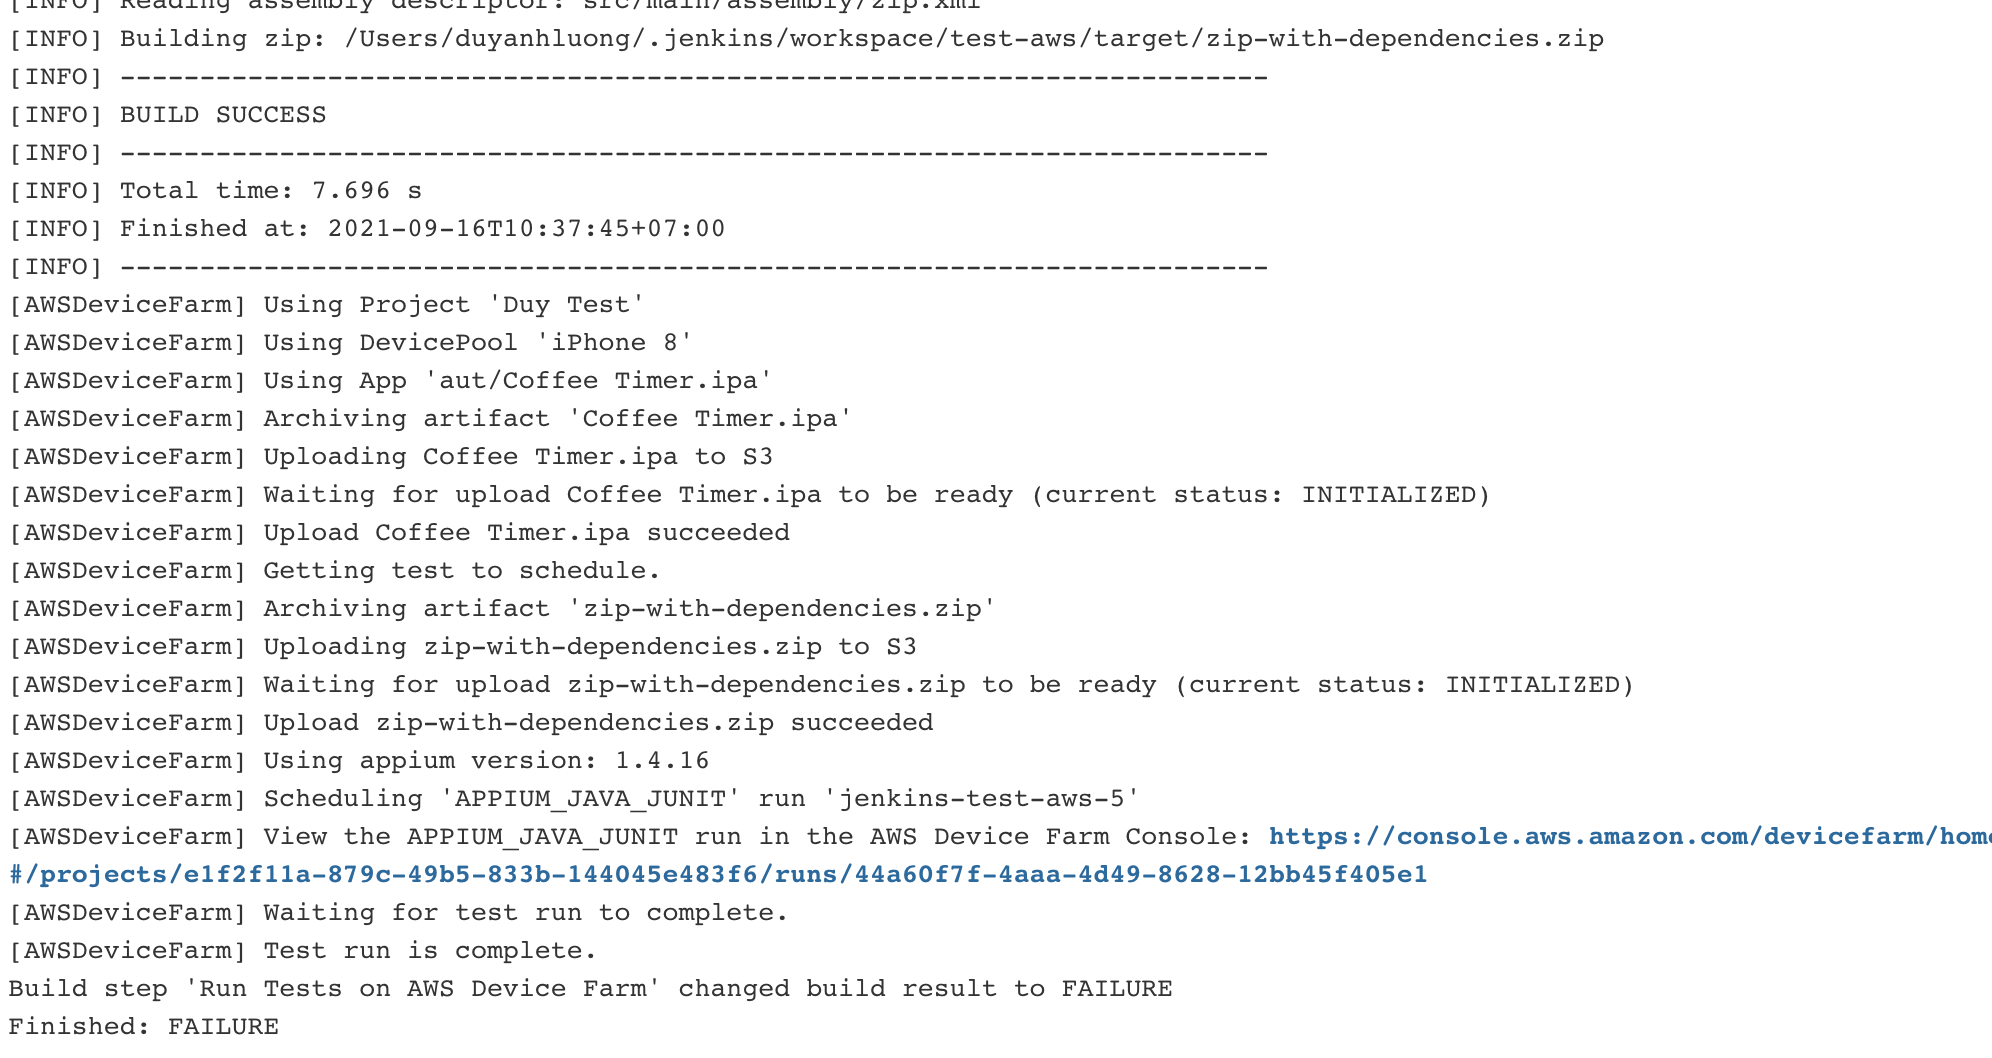
Trigger the build and wait the pipeline completes
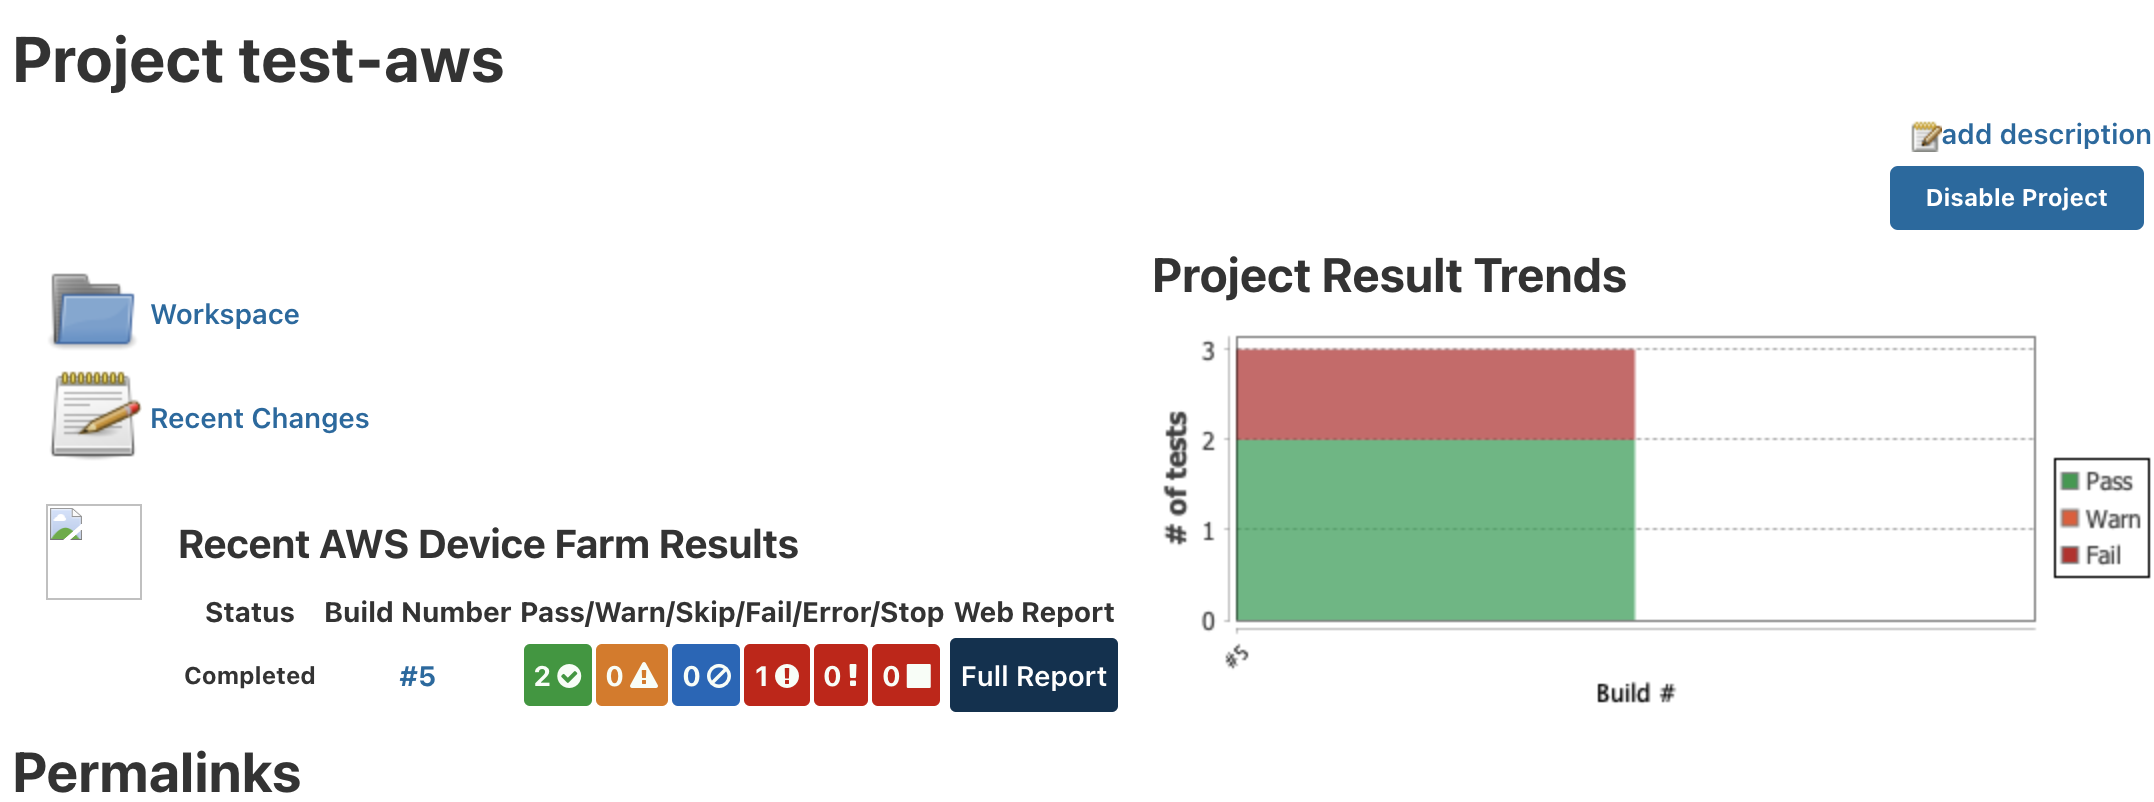
When the pipeline completes, we are able to see the AWS Device Farm Results on Jenkins dashboard

