-
Notifications
You must be signed in to change notification settings - Fork 146
Smoke tests
Use this guide to run smoke tests on the plugin. You can copy and paste this into a new GitHub issue for carrying out compatibility testing work. If there's a common use case or cause of errors that's not included, please add it!
After each step during testing, be sure to check the debug logs as well as the browser console for errors, warnings or notices.
Prerequisites: Facebook account, WooCommerce store with existing products and categories. (For example, see Importing WooCommerce Sample Data).
Note:
-
If you are creating a new Facebook account, you will need to wait one hour before you can proceed to create a new Facebook business account.
-
It seems like the plugin does not work very well with "External/Affiliate product", so when you are doing the following testing, the product and category mentioned below should not be related to "External/Affiliate product" (the product does not have a "Facebook" tab in the Edit Product > Product data section); "Simple product" or "Variable product" would work fine.
- Activate/deactivate the plugin.
- Connect to a Facebook business account.
- Enable "Log plugin events for debugging" after connecting an account.
- Product Sync tab
- Click "Sync Products" and confirm everything syncs to Facebook (commerce > catalog > items)
- Choose a category to exclude.
- Change a product's name and save
- Change a variable product's name + price, and save.
- Add a new product
- Use the excluded category
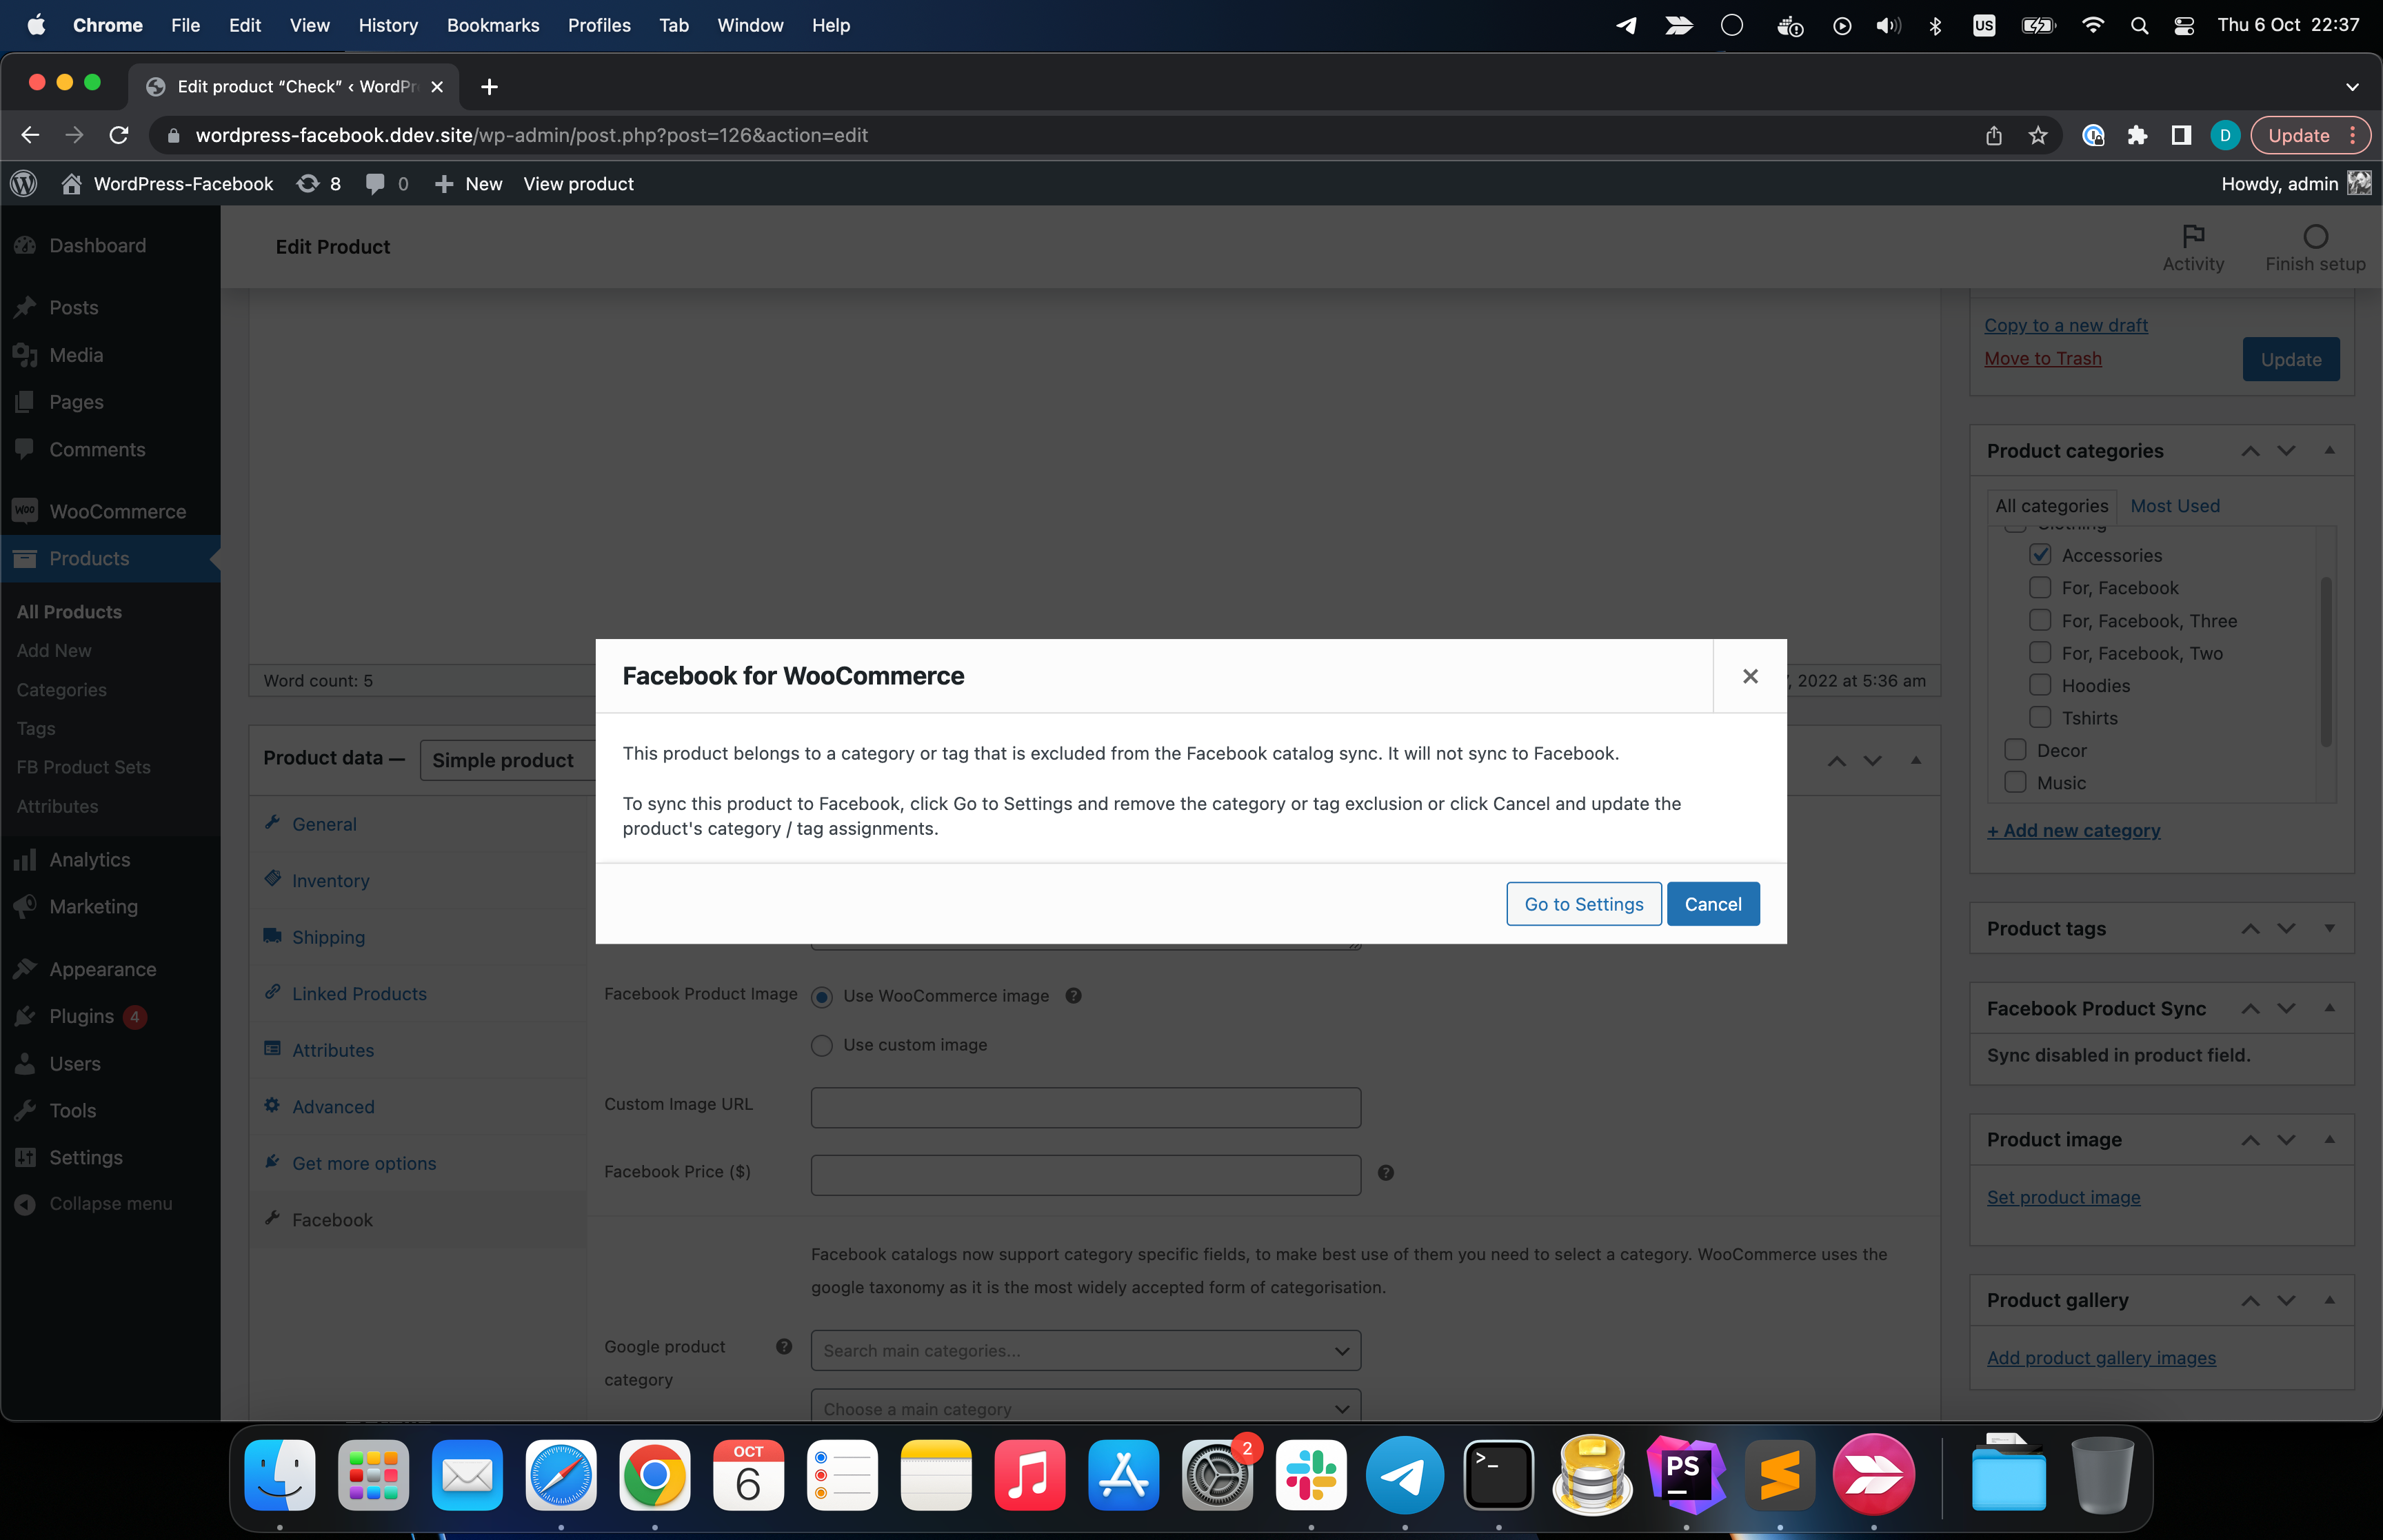
- Confirm a warning notice pops up on the edit page when saving:
"This product belongs to a category or tag that is excluded from the Facebook catalog sync" - Choose not to save, then remove the excluded category.
- Confirm that the changed product name and new product are synced to Facebook after saving.
- Change the new product to Do Not Sync on Product Edit > Product Data > Facebook > "Unsync and delete".
- After saving, confirm that it's no longer listed on Facebook.
- Go to WooCommerce > Settings > Products > Inventory.
wp-admin/admin.php?page=wc-settings&tab=products§ion=inventory - Check the "Enable stock management" option and Save changes.
- Go to a product and mark it as out of stock (Inventory > Manage stock. Quantity:
0. BackordersDo not allow) - Save the product, then confirm on Facebook that the product now shows as out of stock.
- Bump the stock quantity to 20 in WooCommerce, and add some Facebook attributes (Facebook Description and Facebook Price, for example).
- Save and confirm the product is back in stock on Facebook, and the attributes have been updated (click the product, and then "View More Fields").
- Product Sets tab
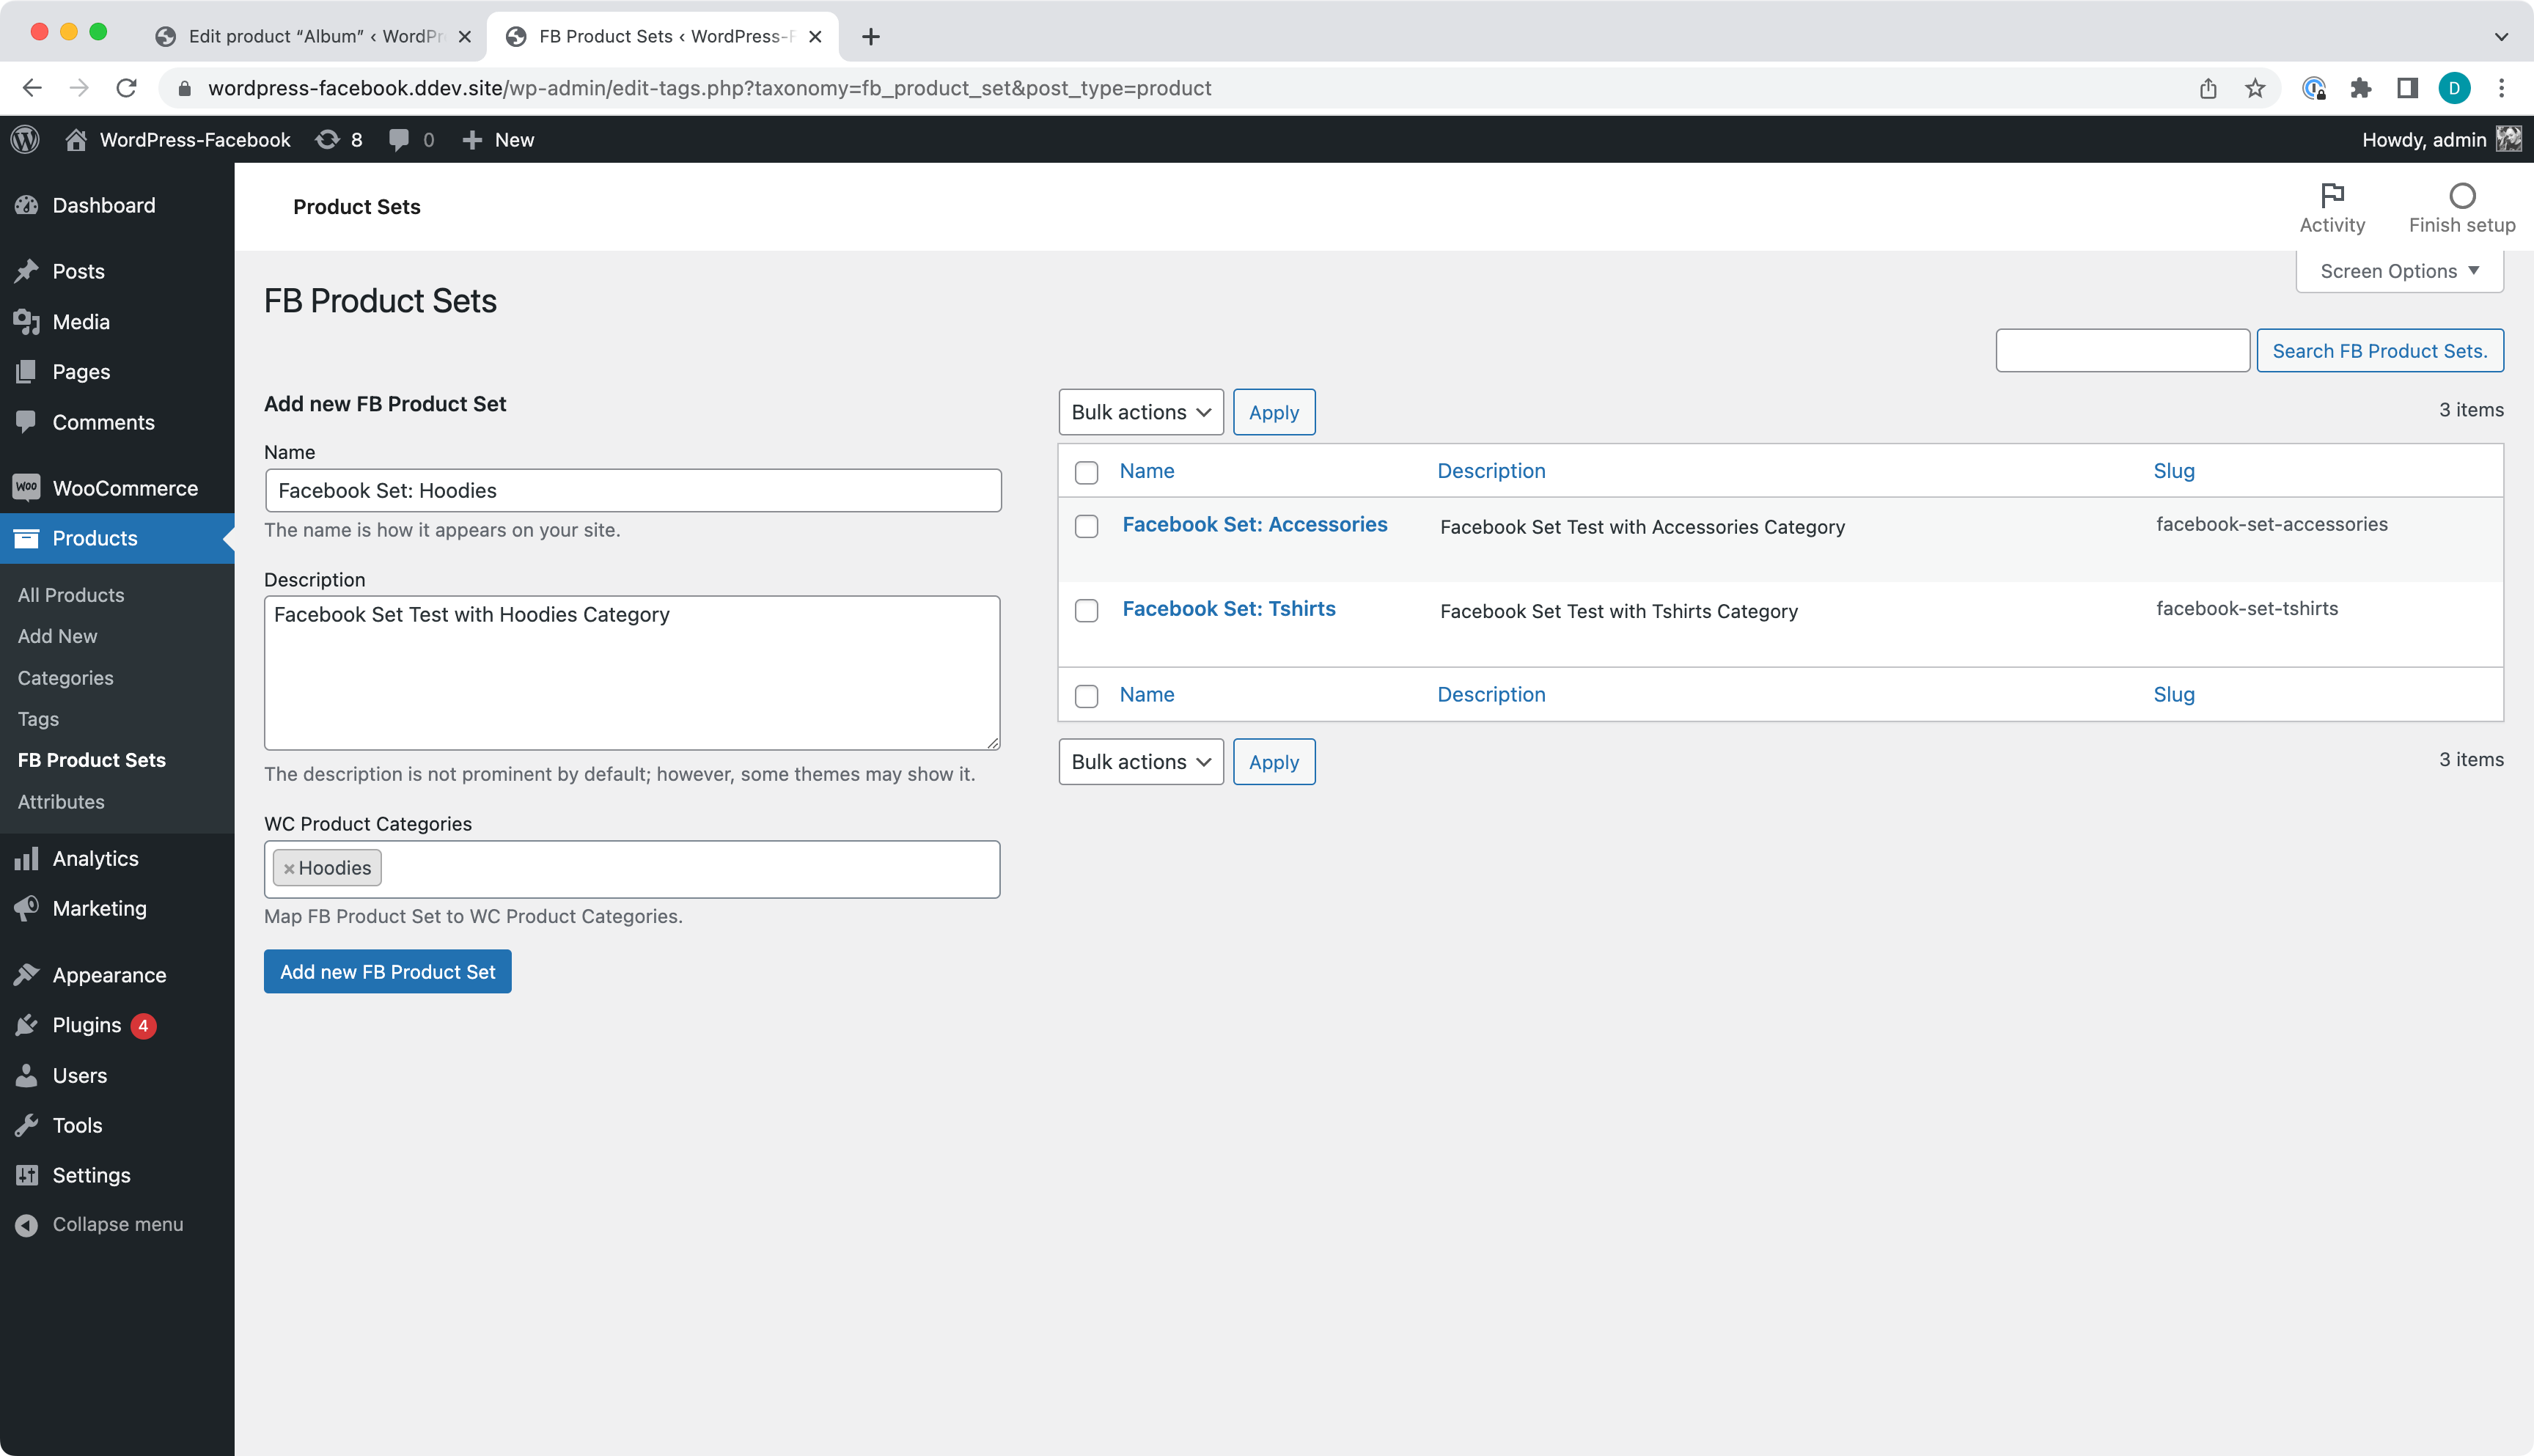
- Create a new set.
- Add an existing category that has products.
- Go to Facebook commerce > catalog > sets and confirm the set is there and has the expected products.
- Create a new set and add only the excluded category from above.
- Click on the new product set, and confirm that there is an error "Facebook for WooCommerce error: Cannot create an empty product set".
- Go to Facebook commerce > catalog > sets and confirm the new product set is not there.
- Messenger tab
- Enable messenger
- Go to the public store and confirm the chat loads
- Facebook is not connected.
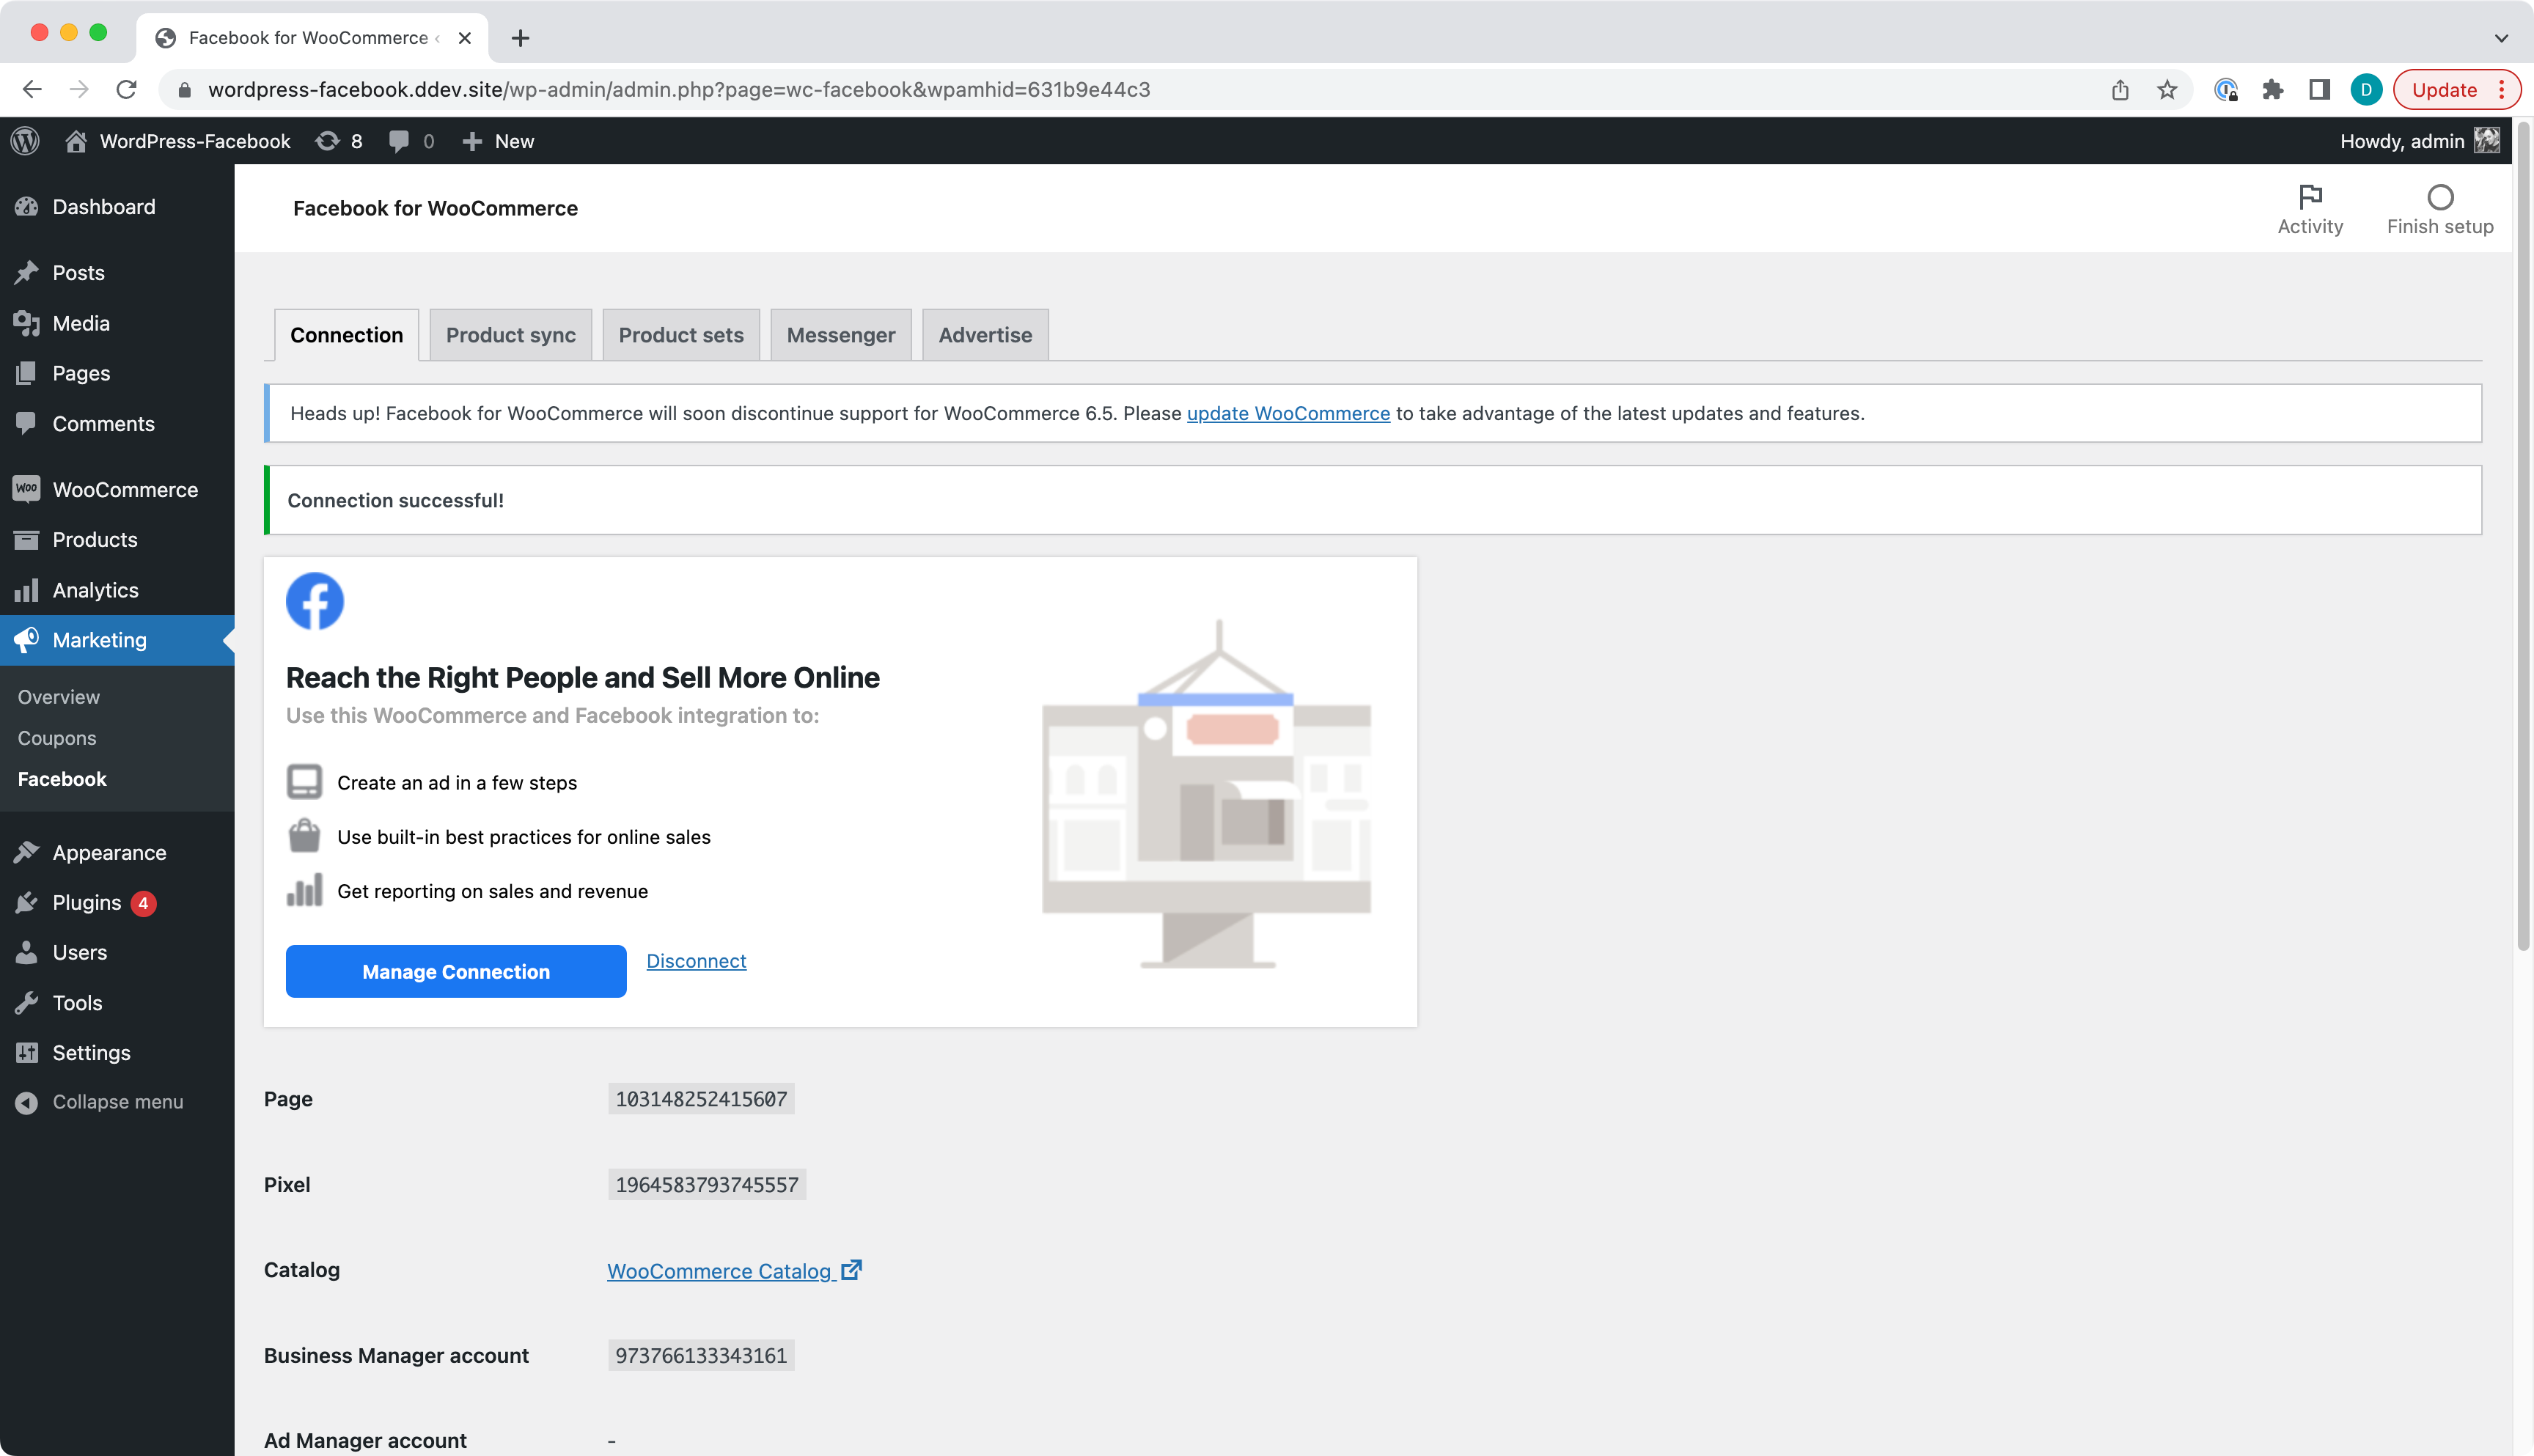
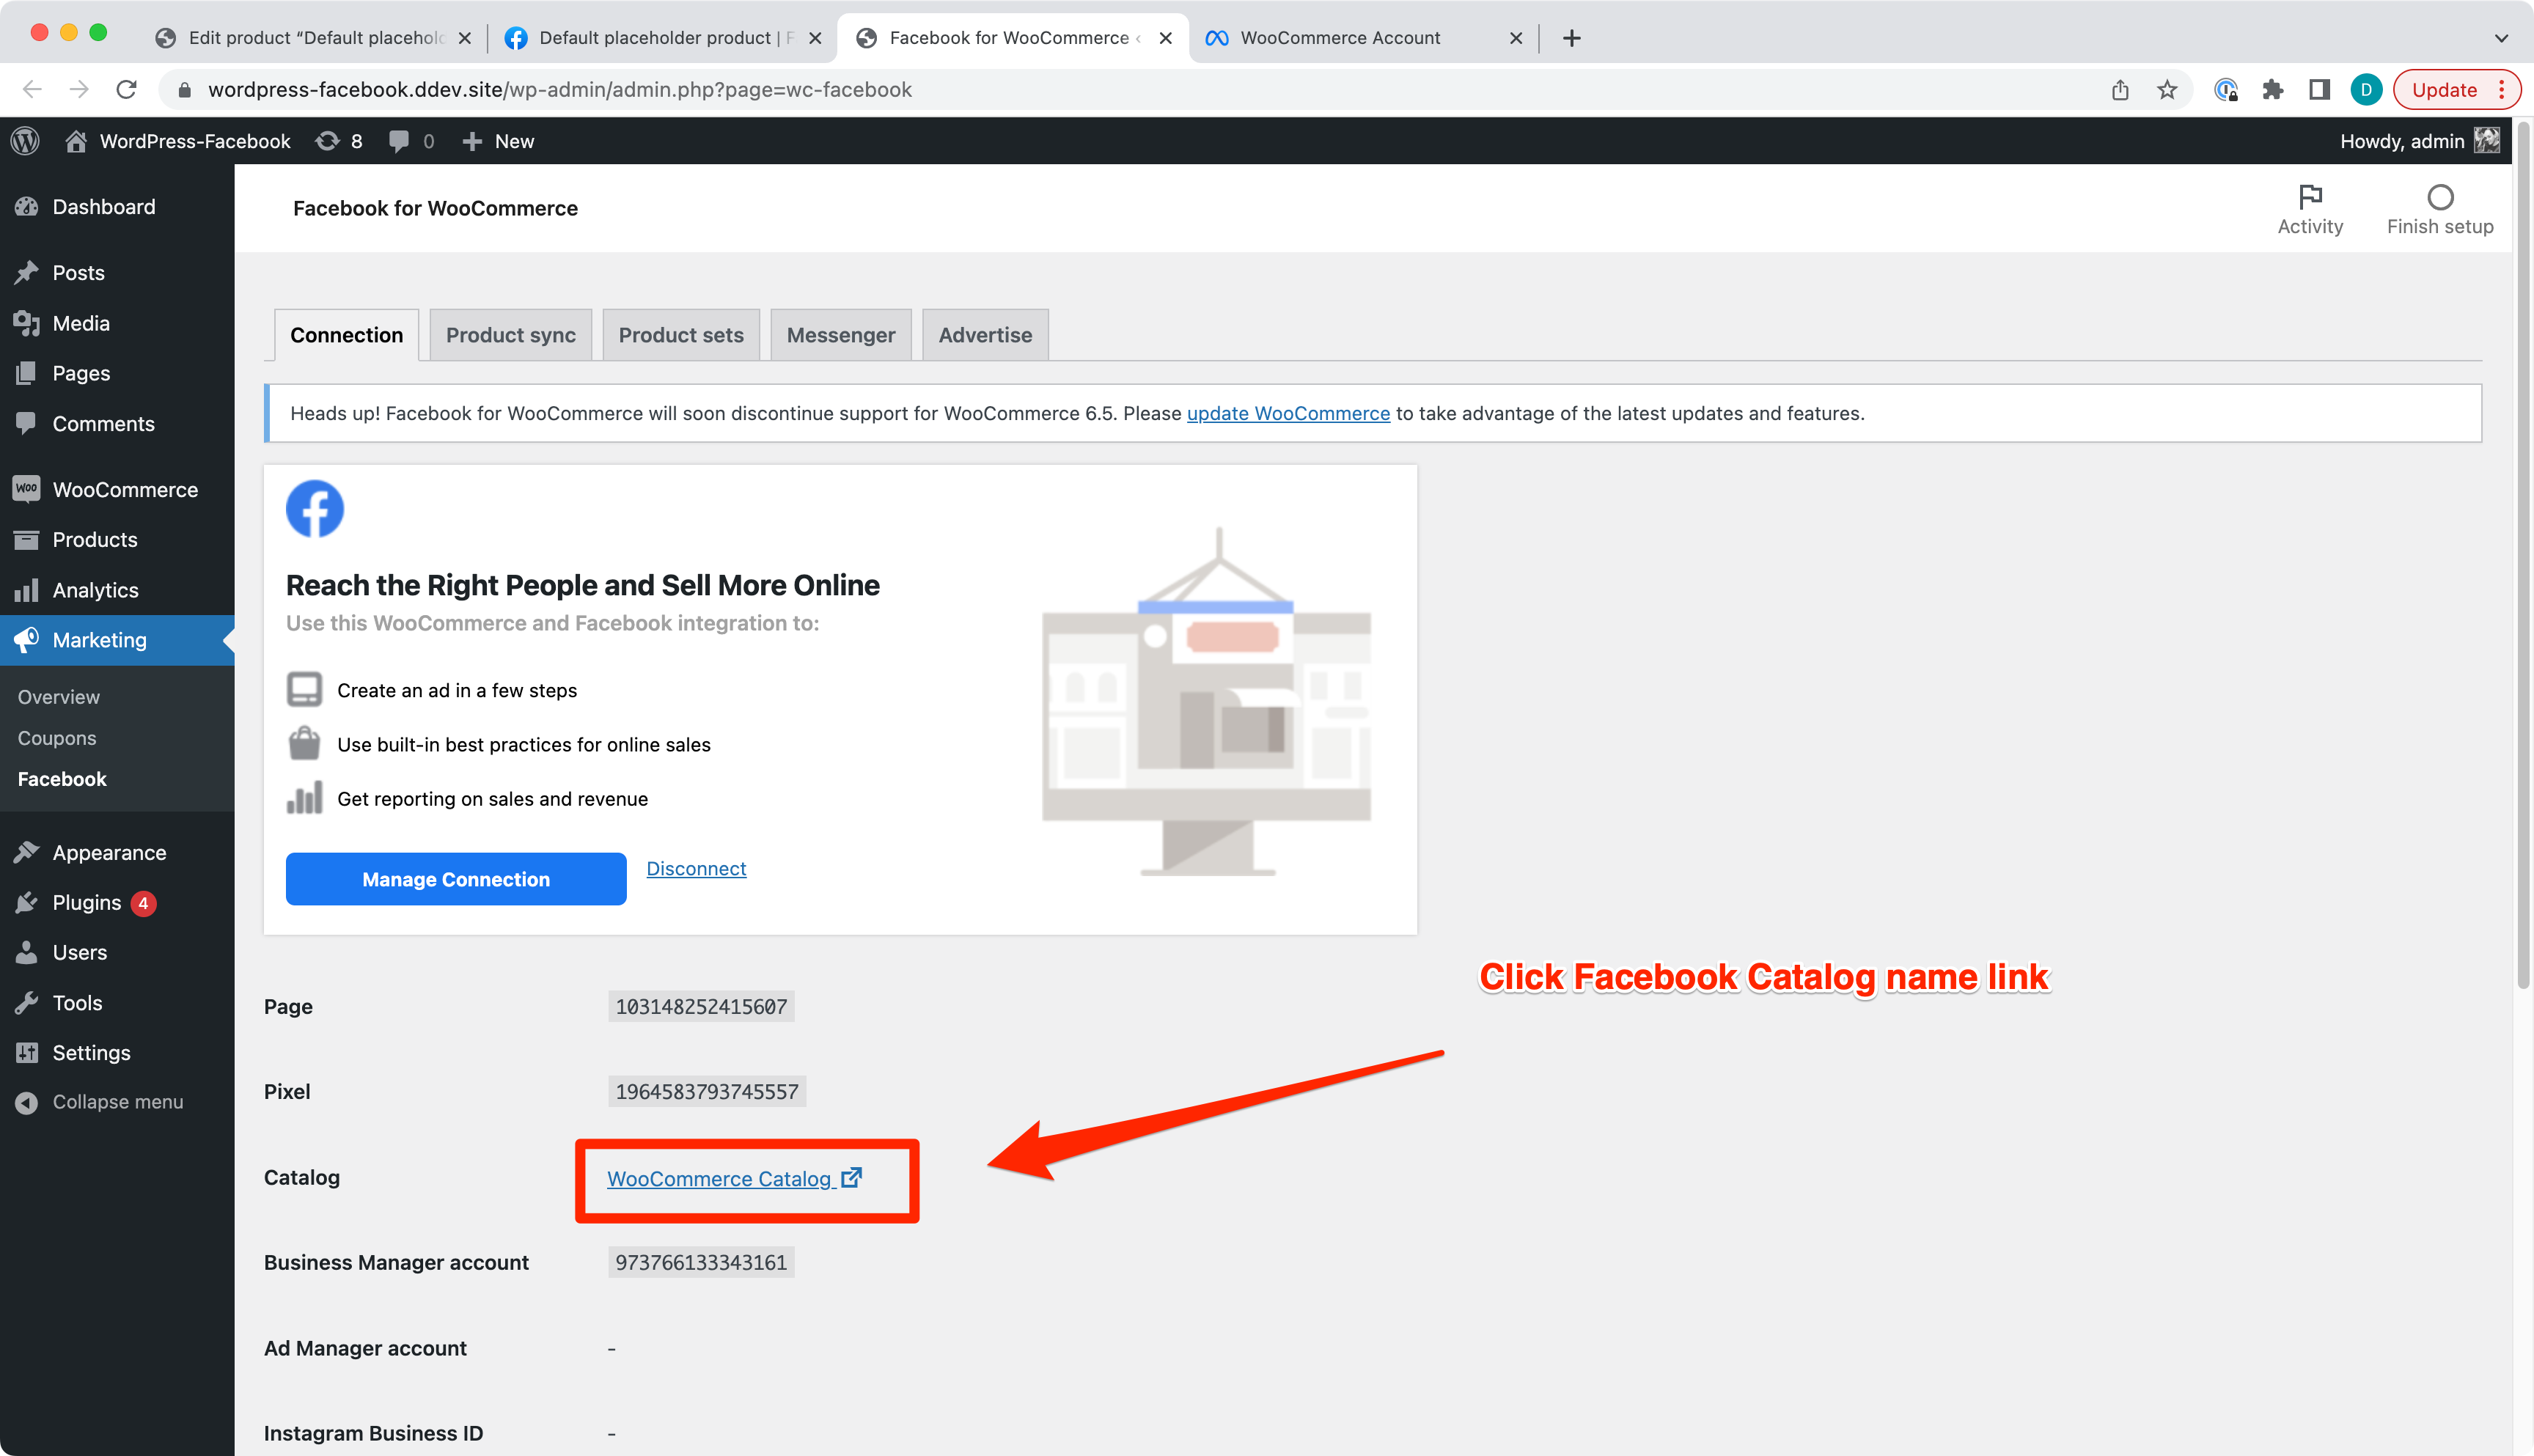
- Business account details are shown after connecting to Facebook and aren't empty.
- Catalog Name link is present and links to Facebook Catalog.
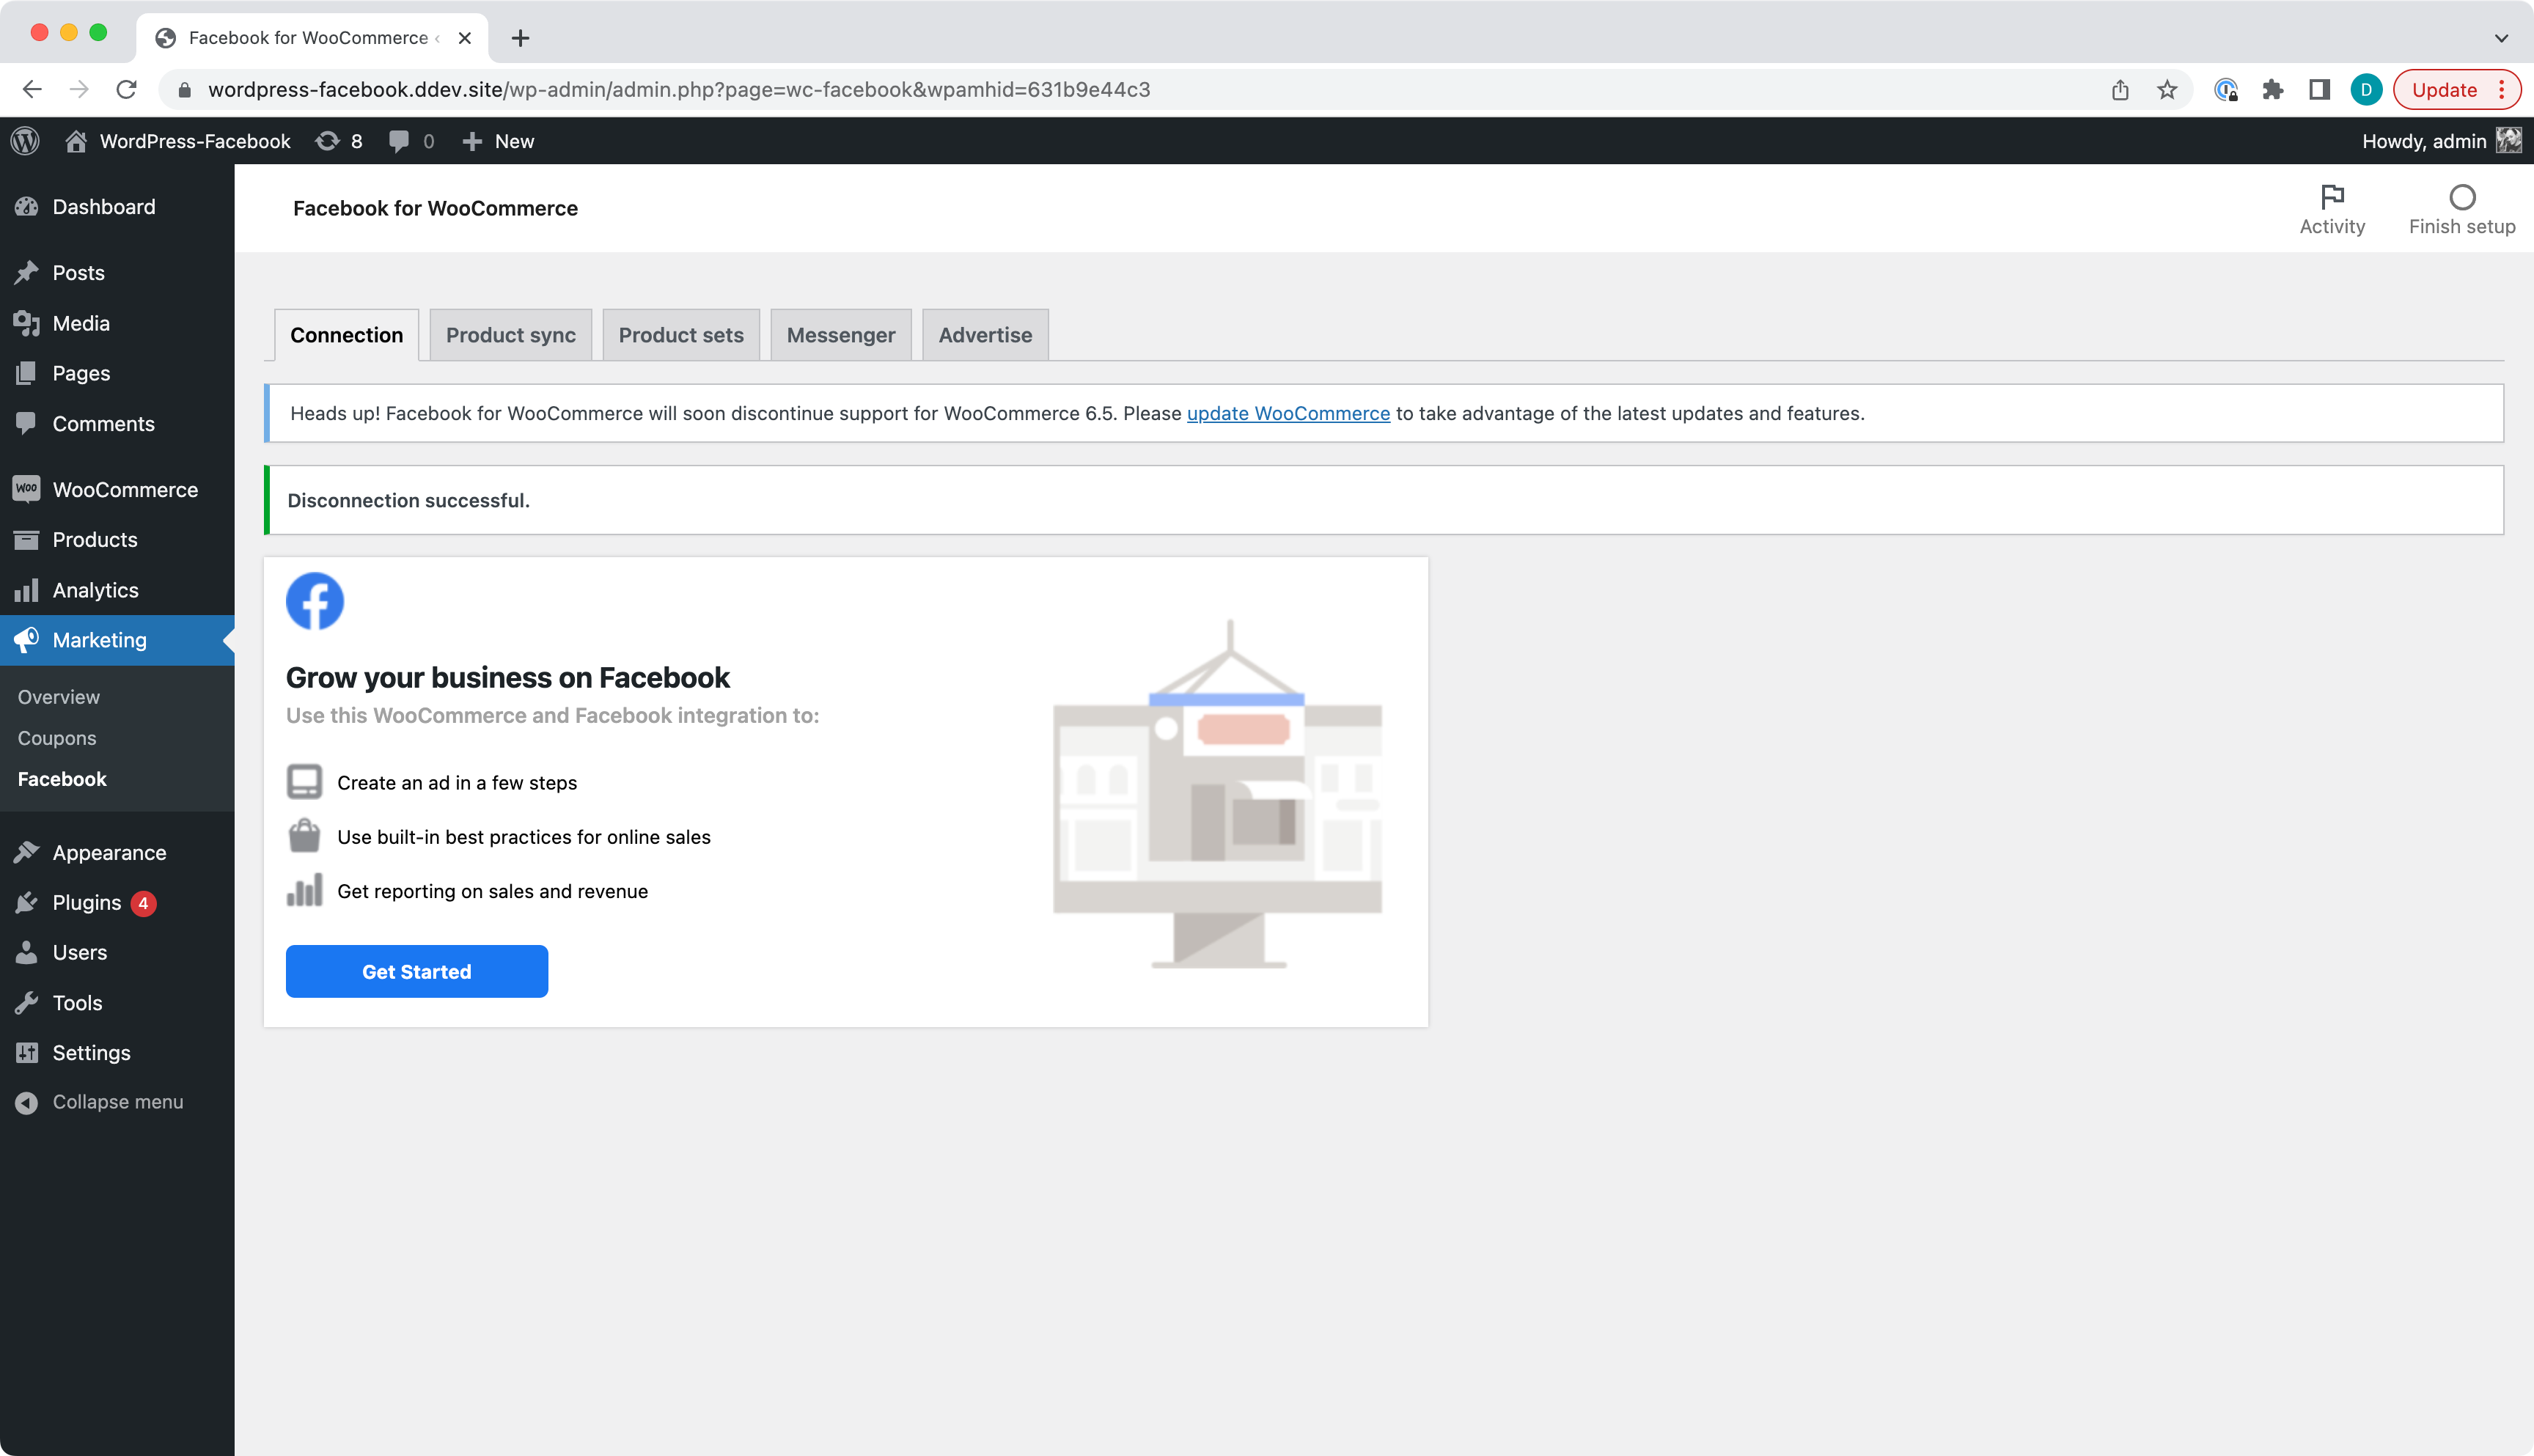
Click Get Started (blue button) to start Facebook connection process. Follow official documentation regarding connection process which can be found here Getting Started
After connecting to Facebook Business Account you should see the page filled with data from your account. Page, Pixel and Business Account must display corresponding IDs.
Catalog section contains a link which represents Facebook Catalog name and links to Facebook Catalog.
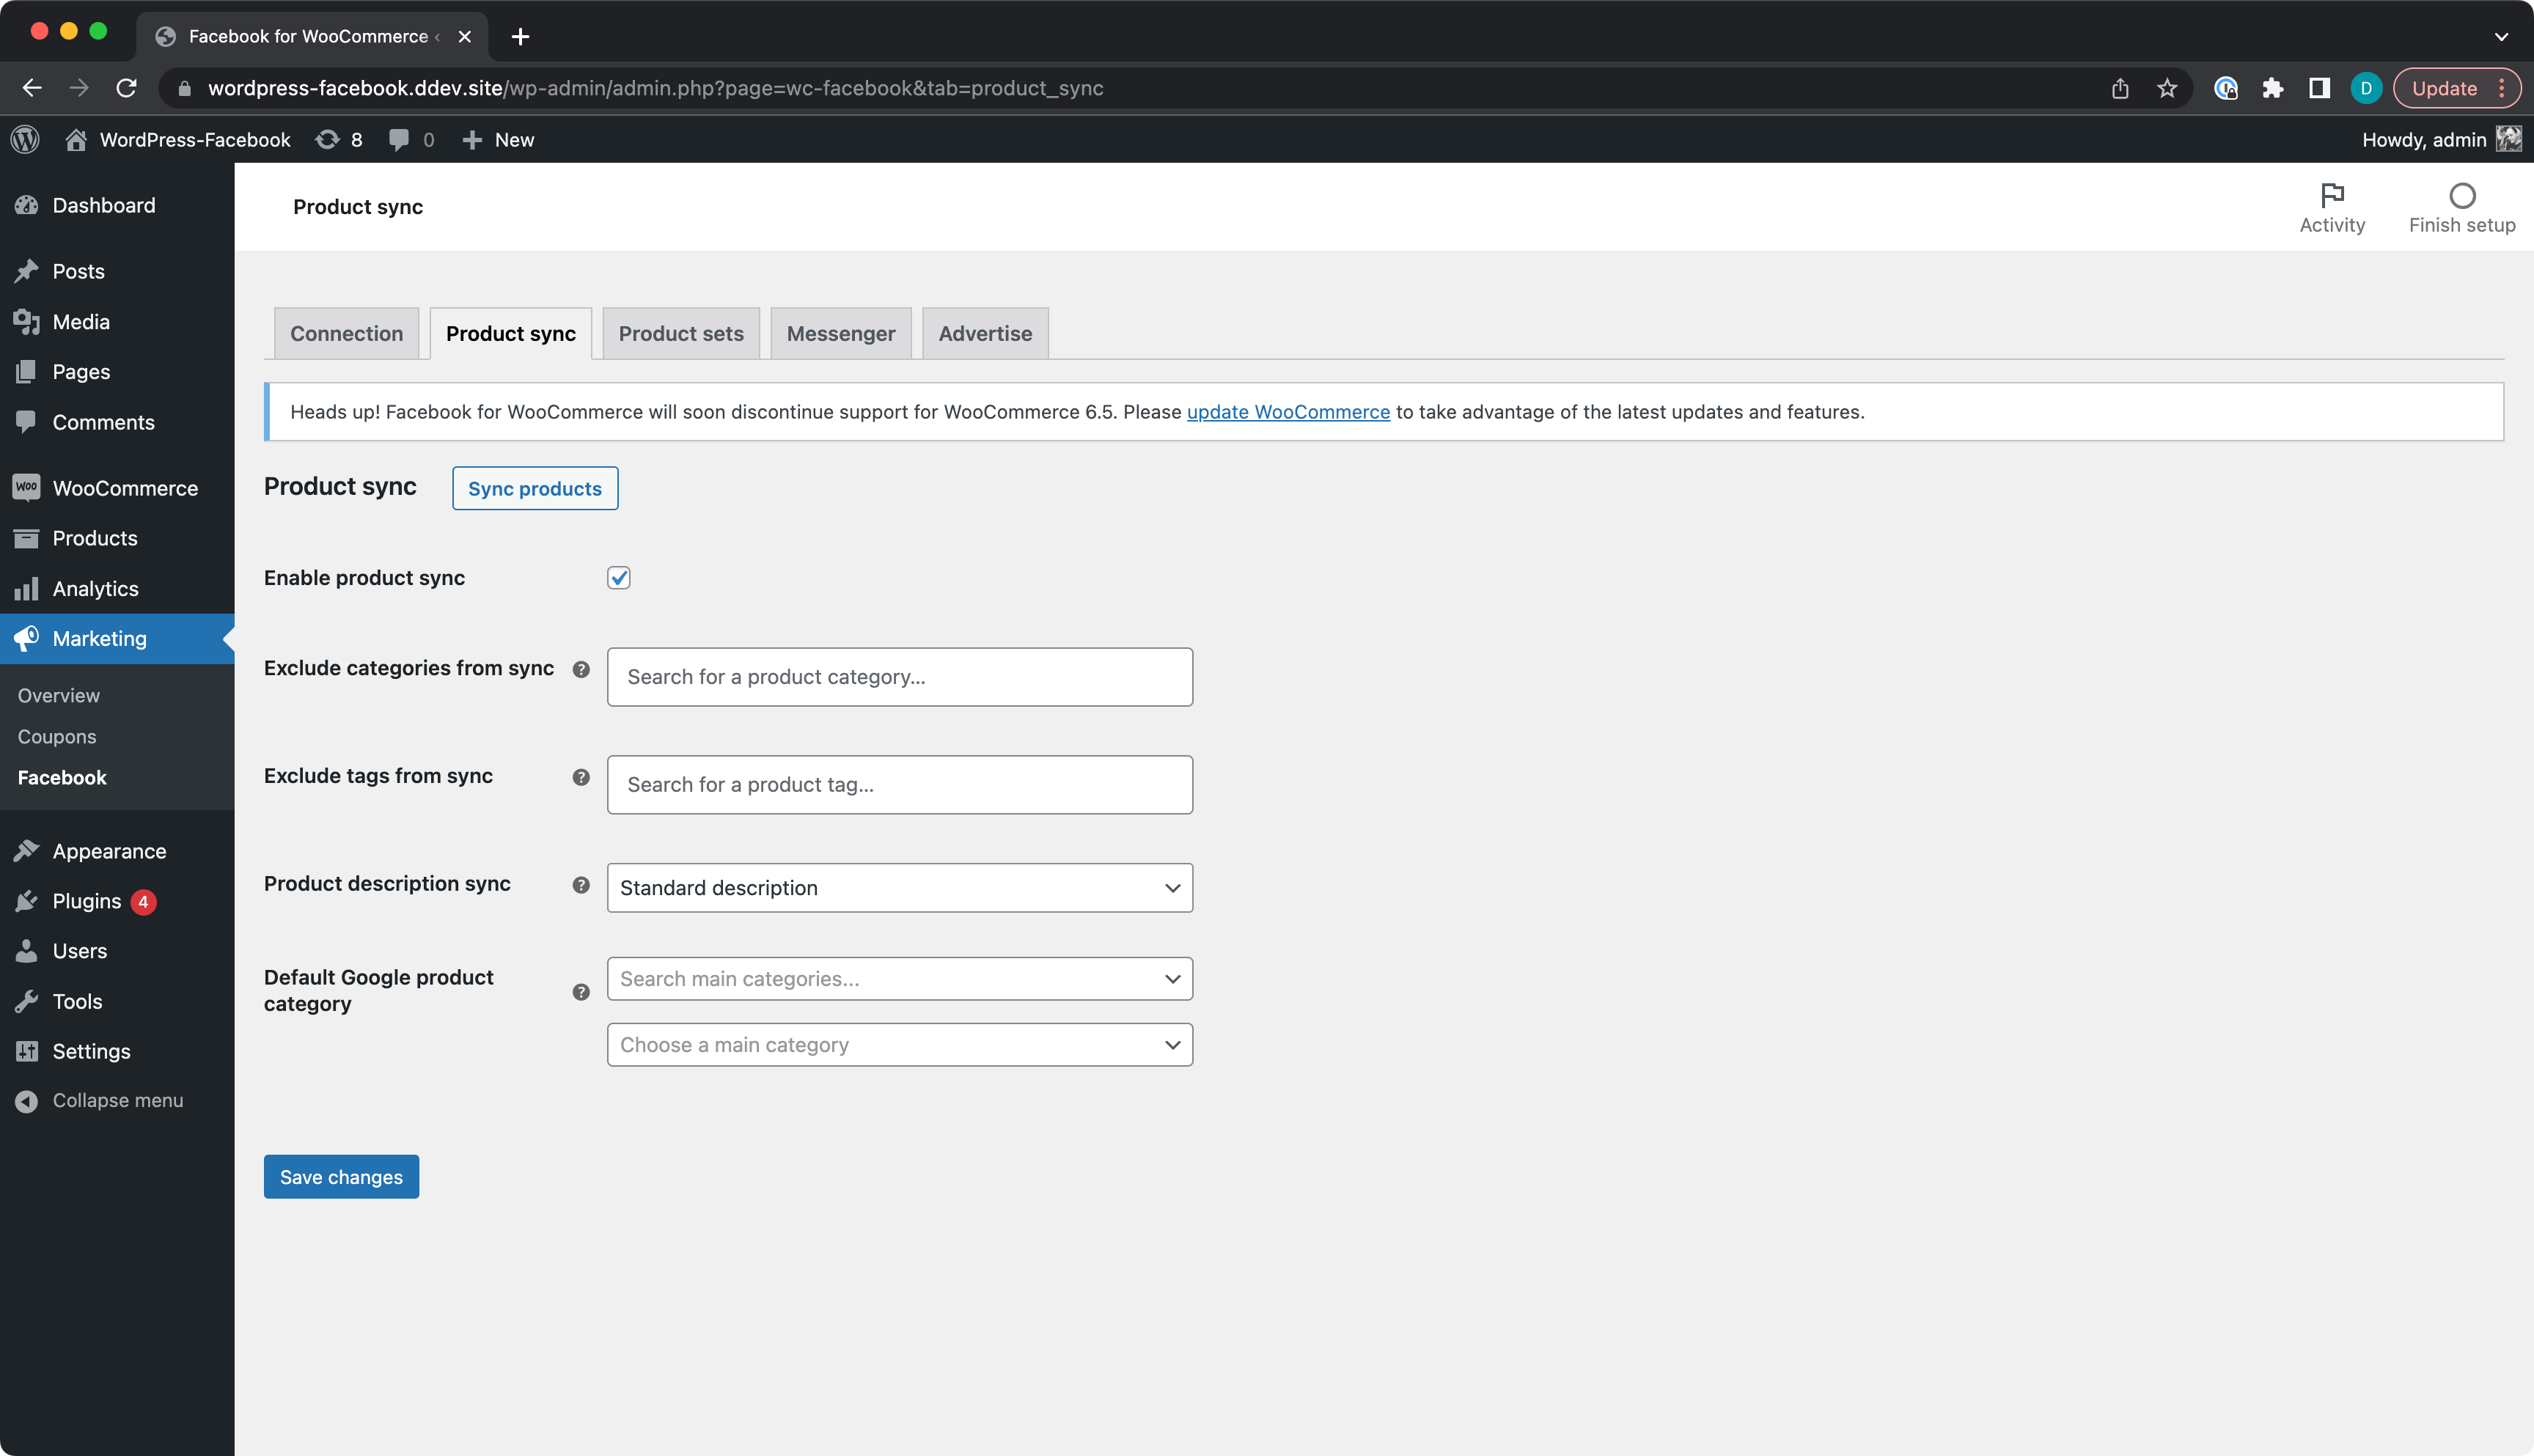
- Clicking "Sync products" syncs products to Facebook Catalog.
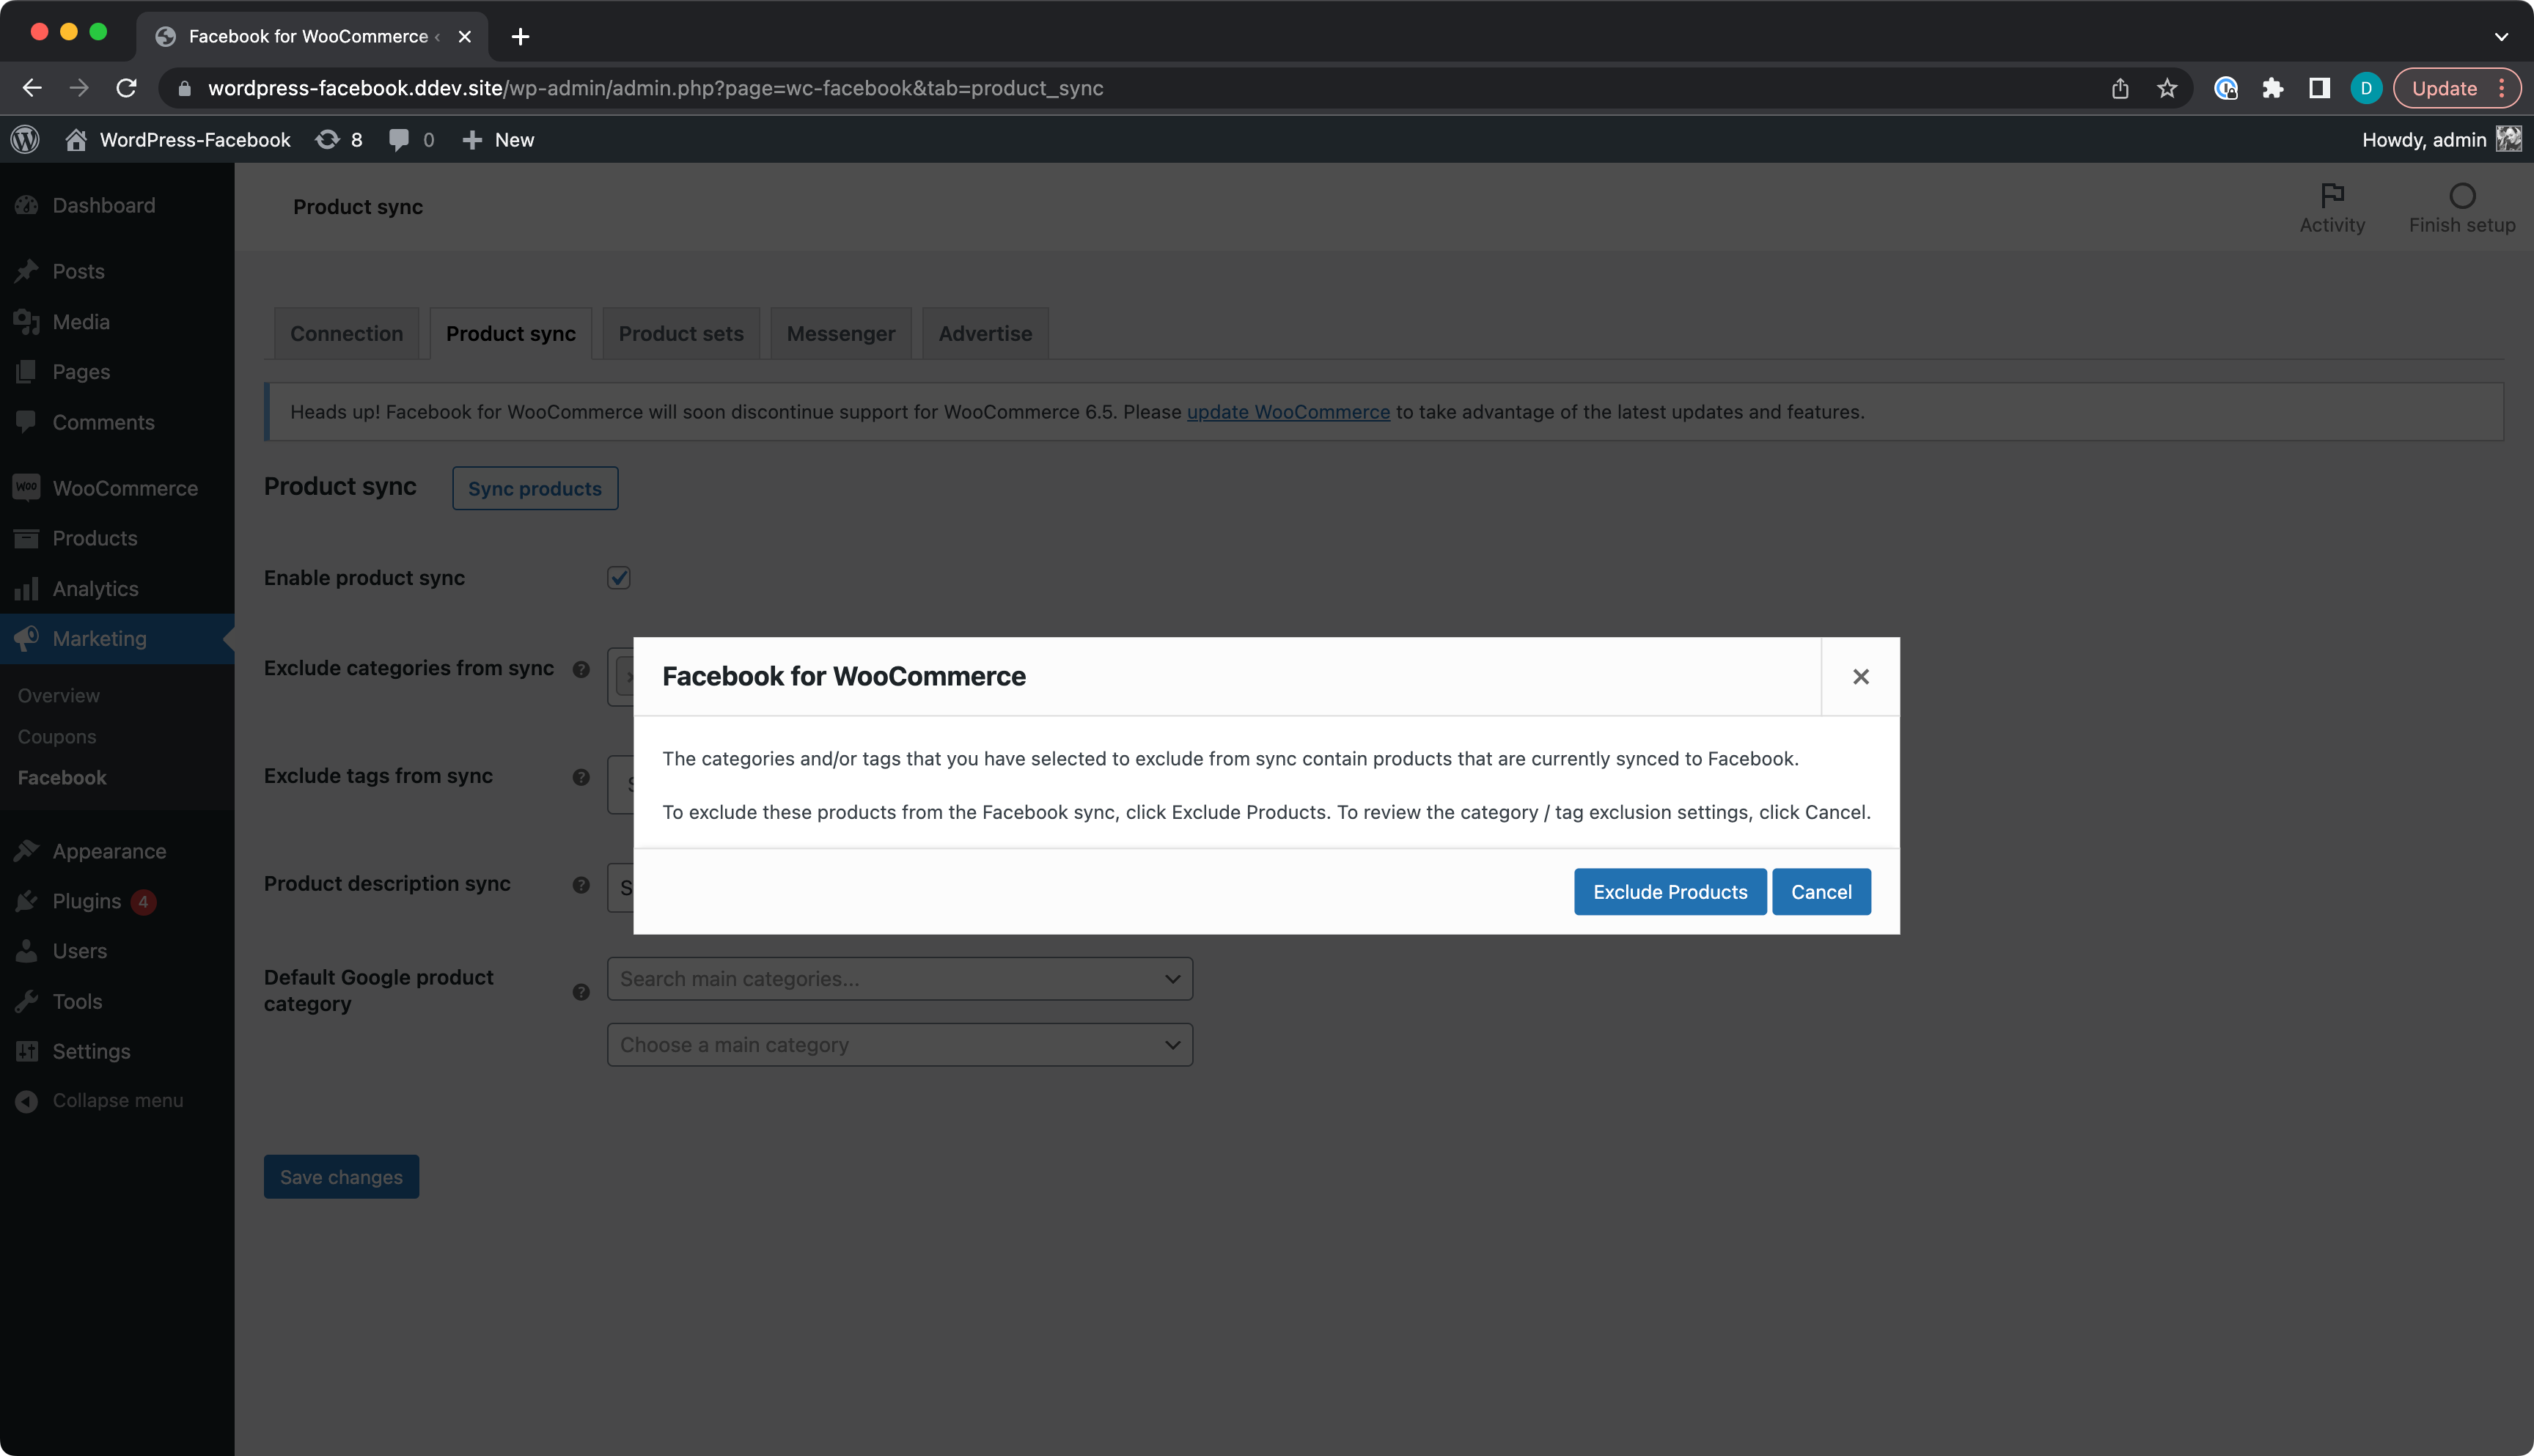
- Excluding a Category will exclude products from the category being synced to Facebook Catalog and show the popup.
- New products added to the excluded Category aren't synced to Facebook Catalog and the message is shown.
Clicking Sync products should sync product to Facebook Catalog.
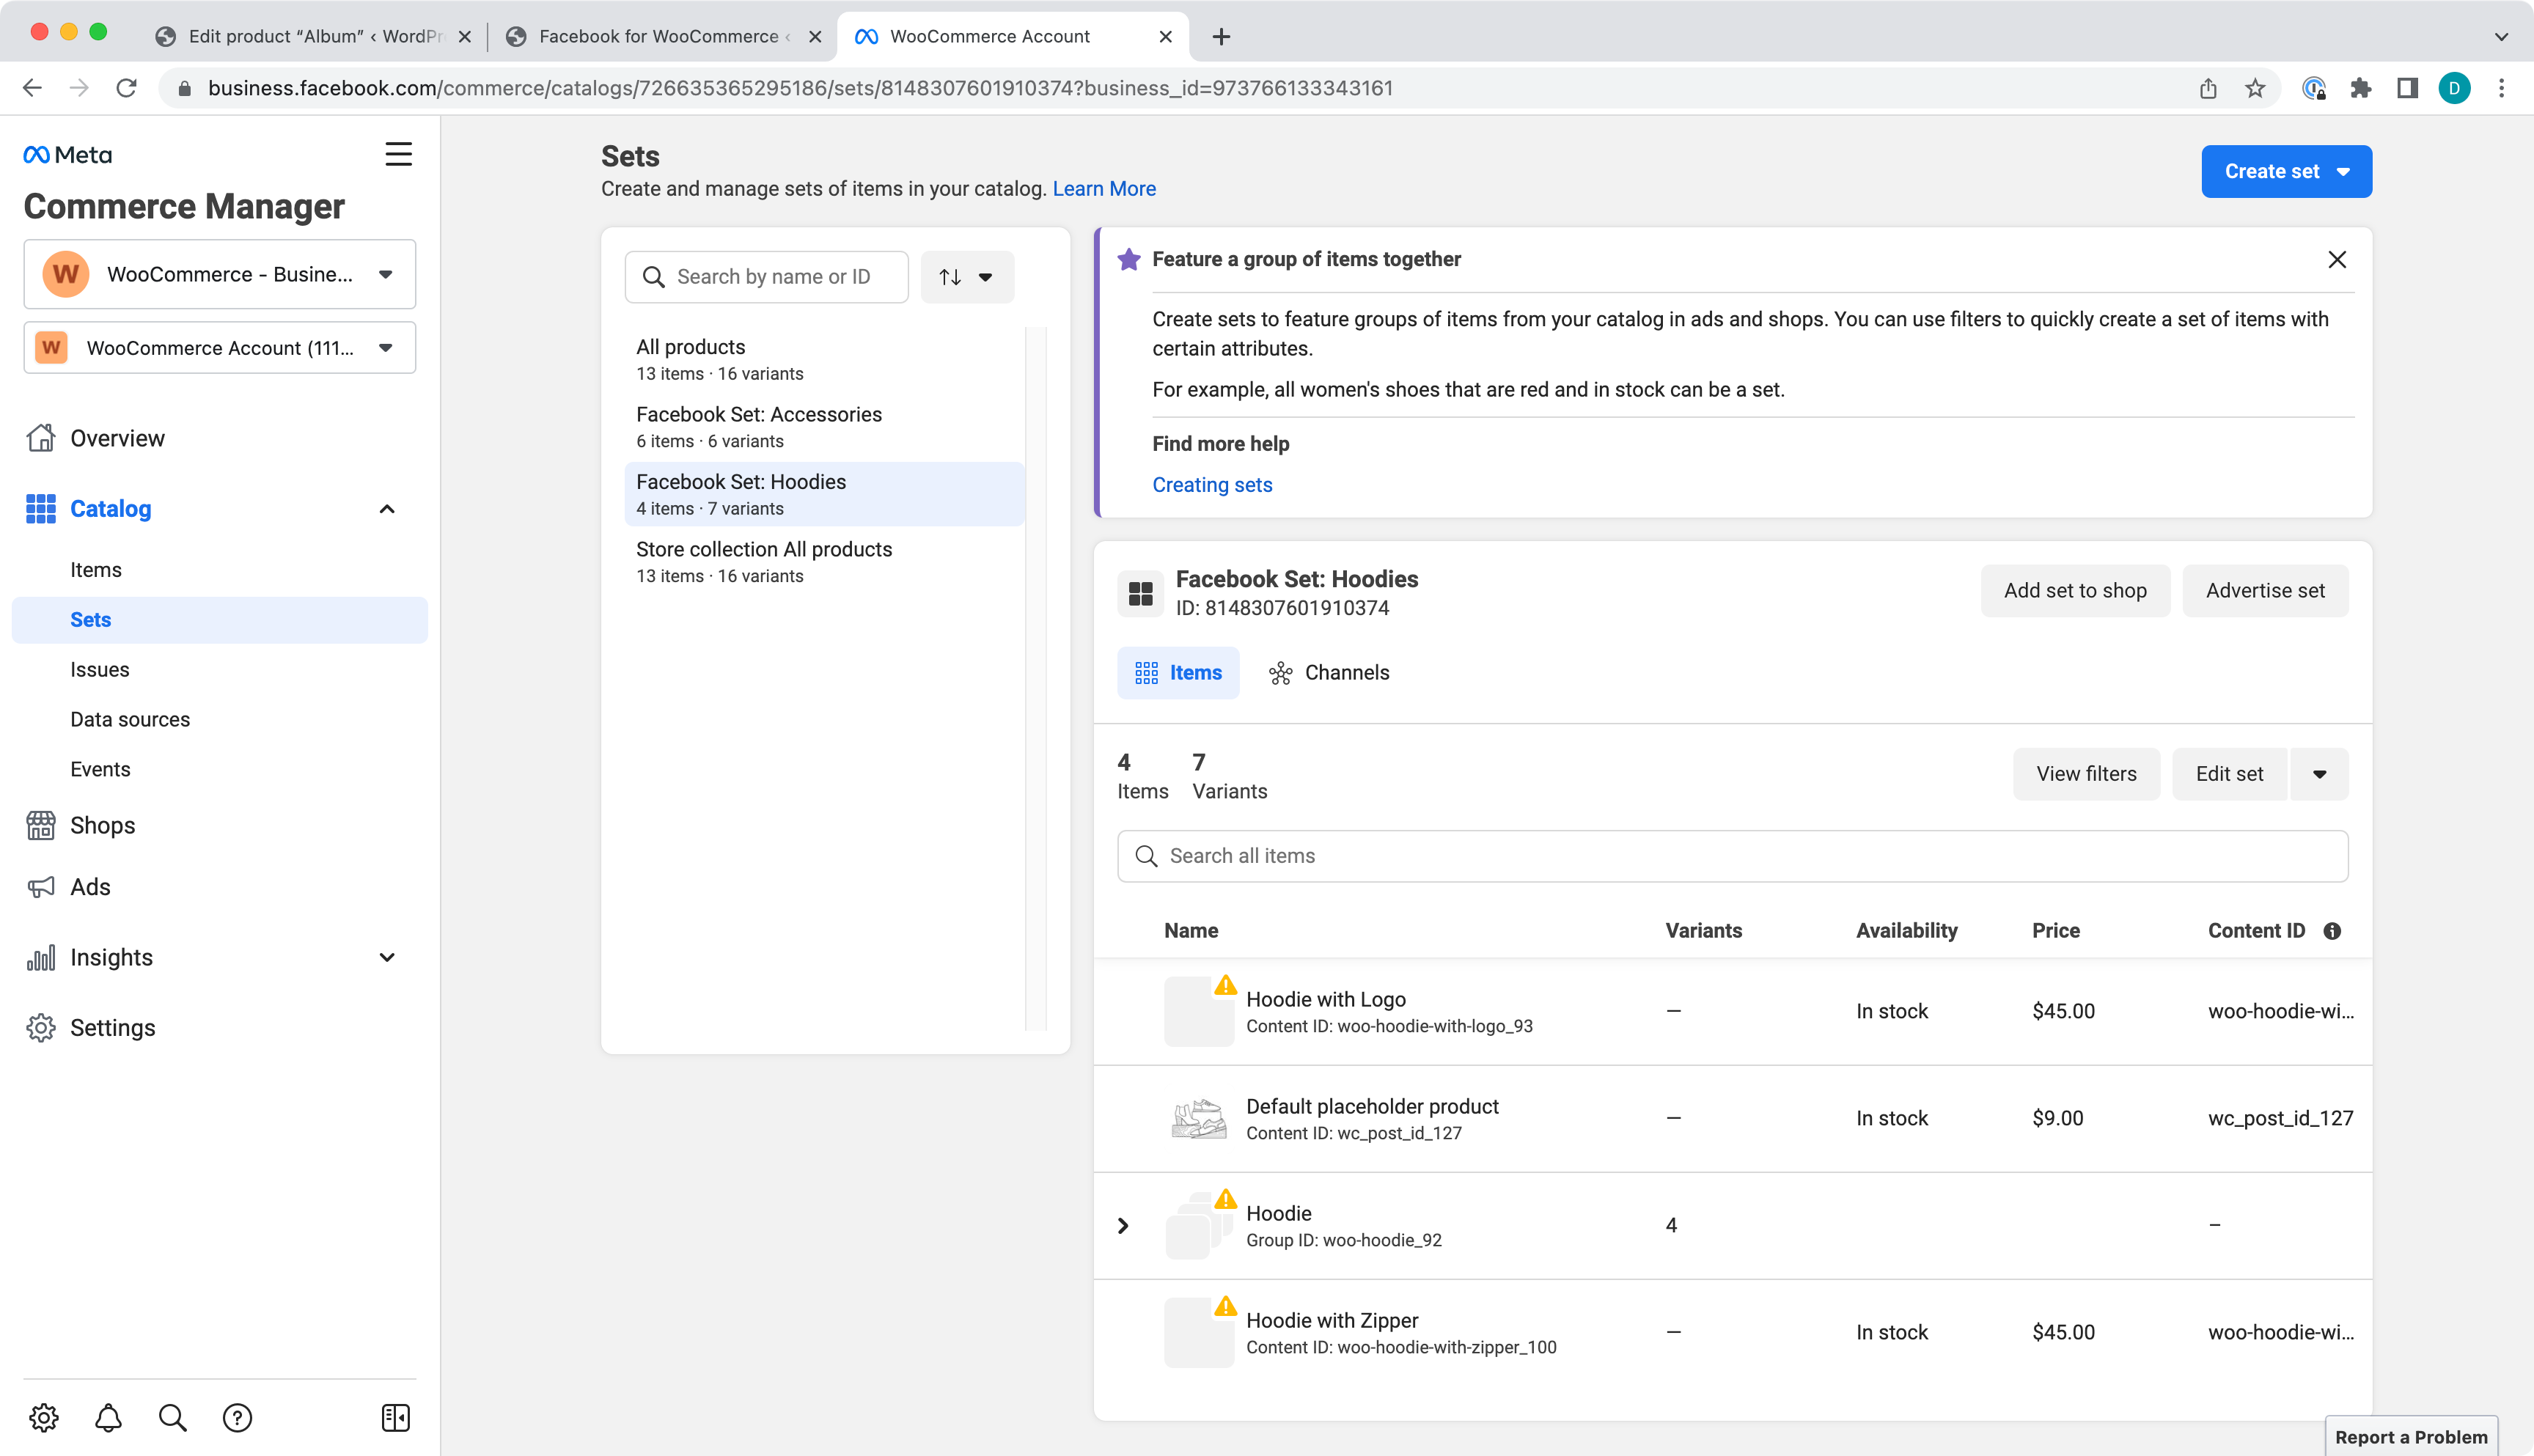
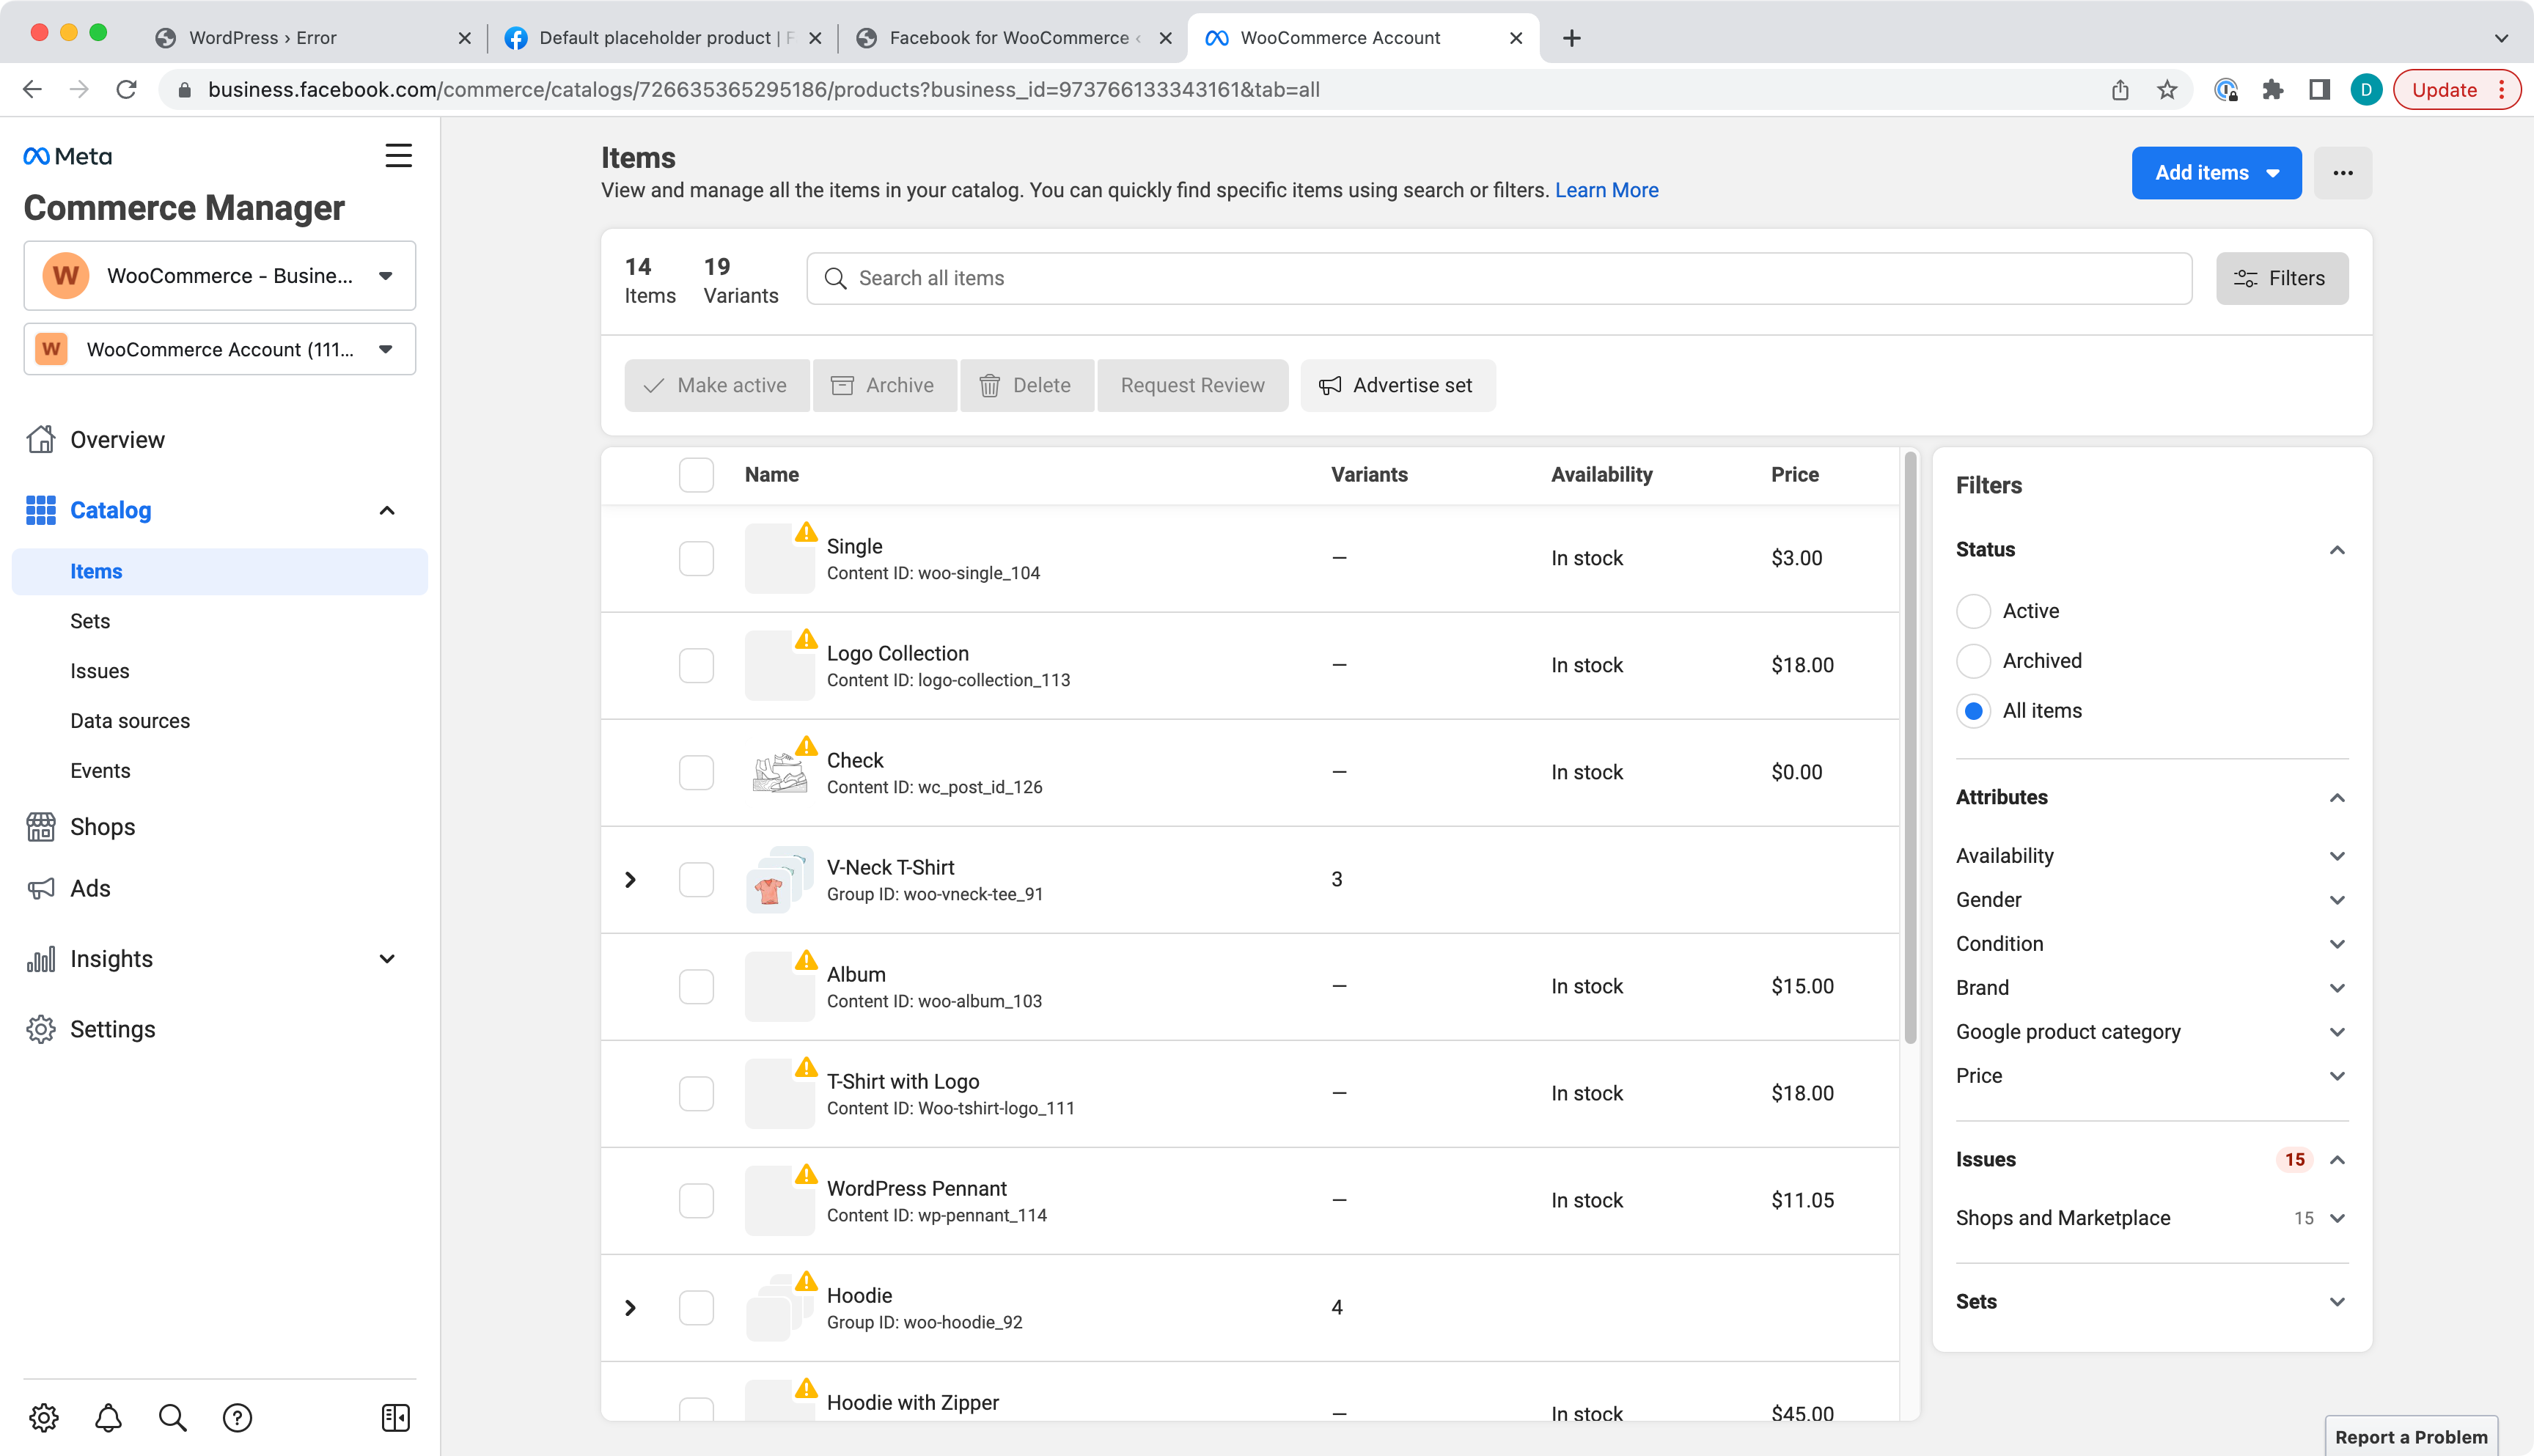
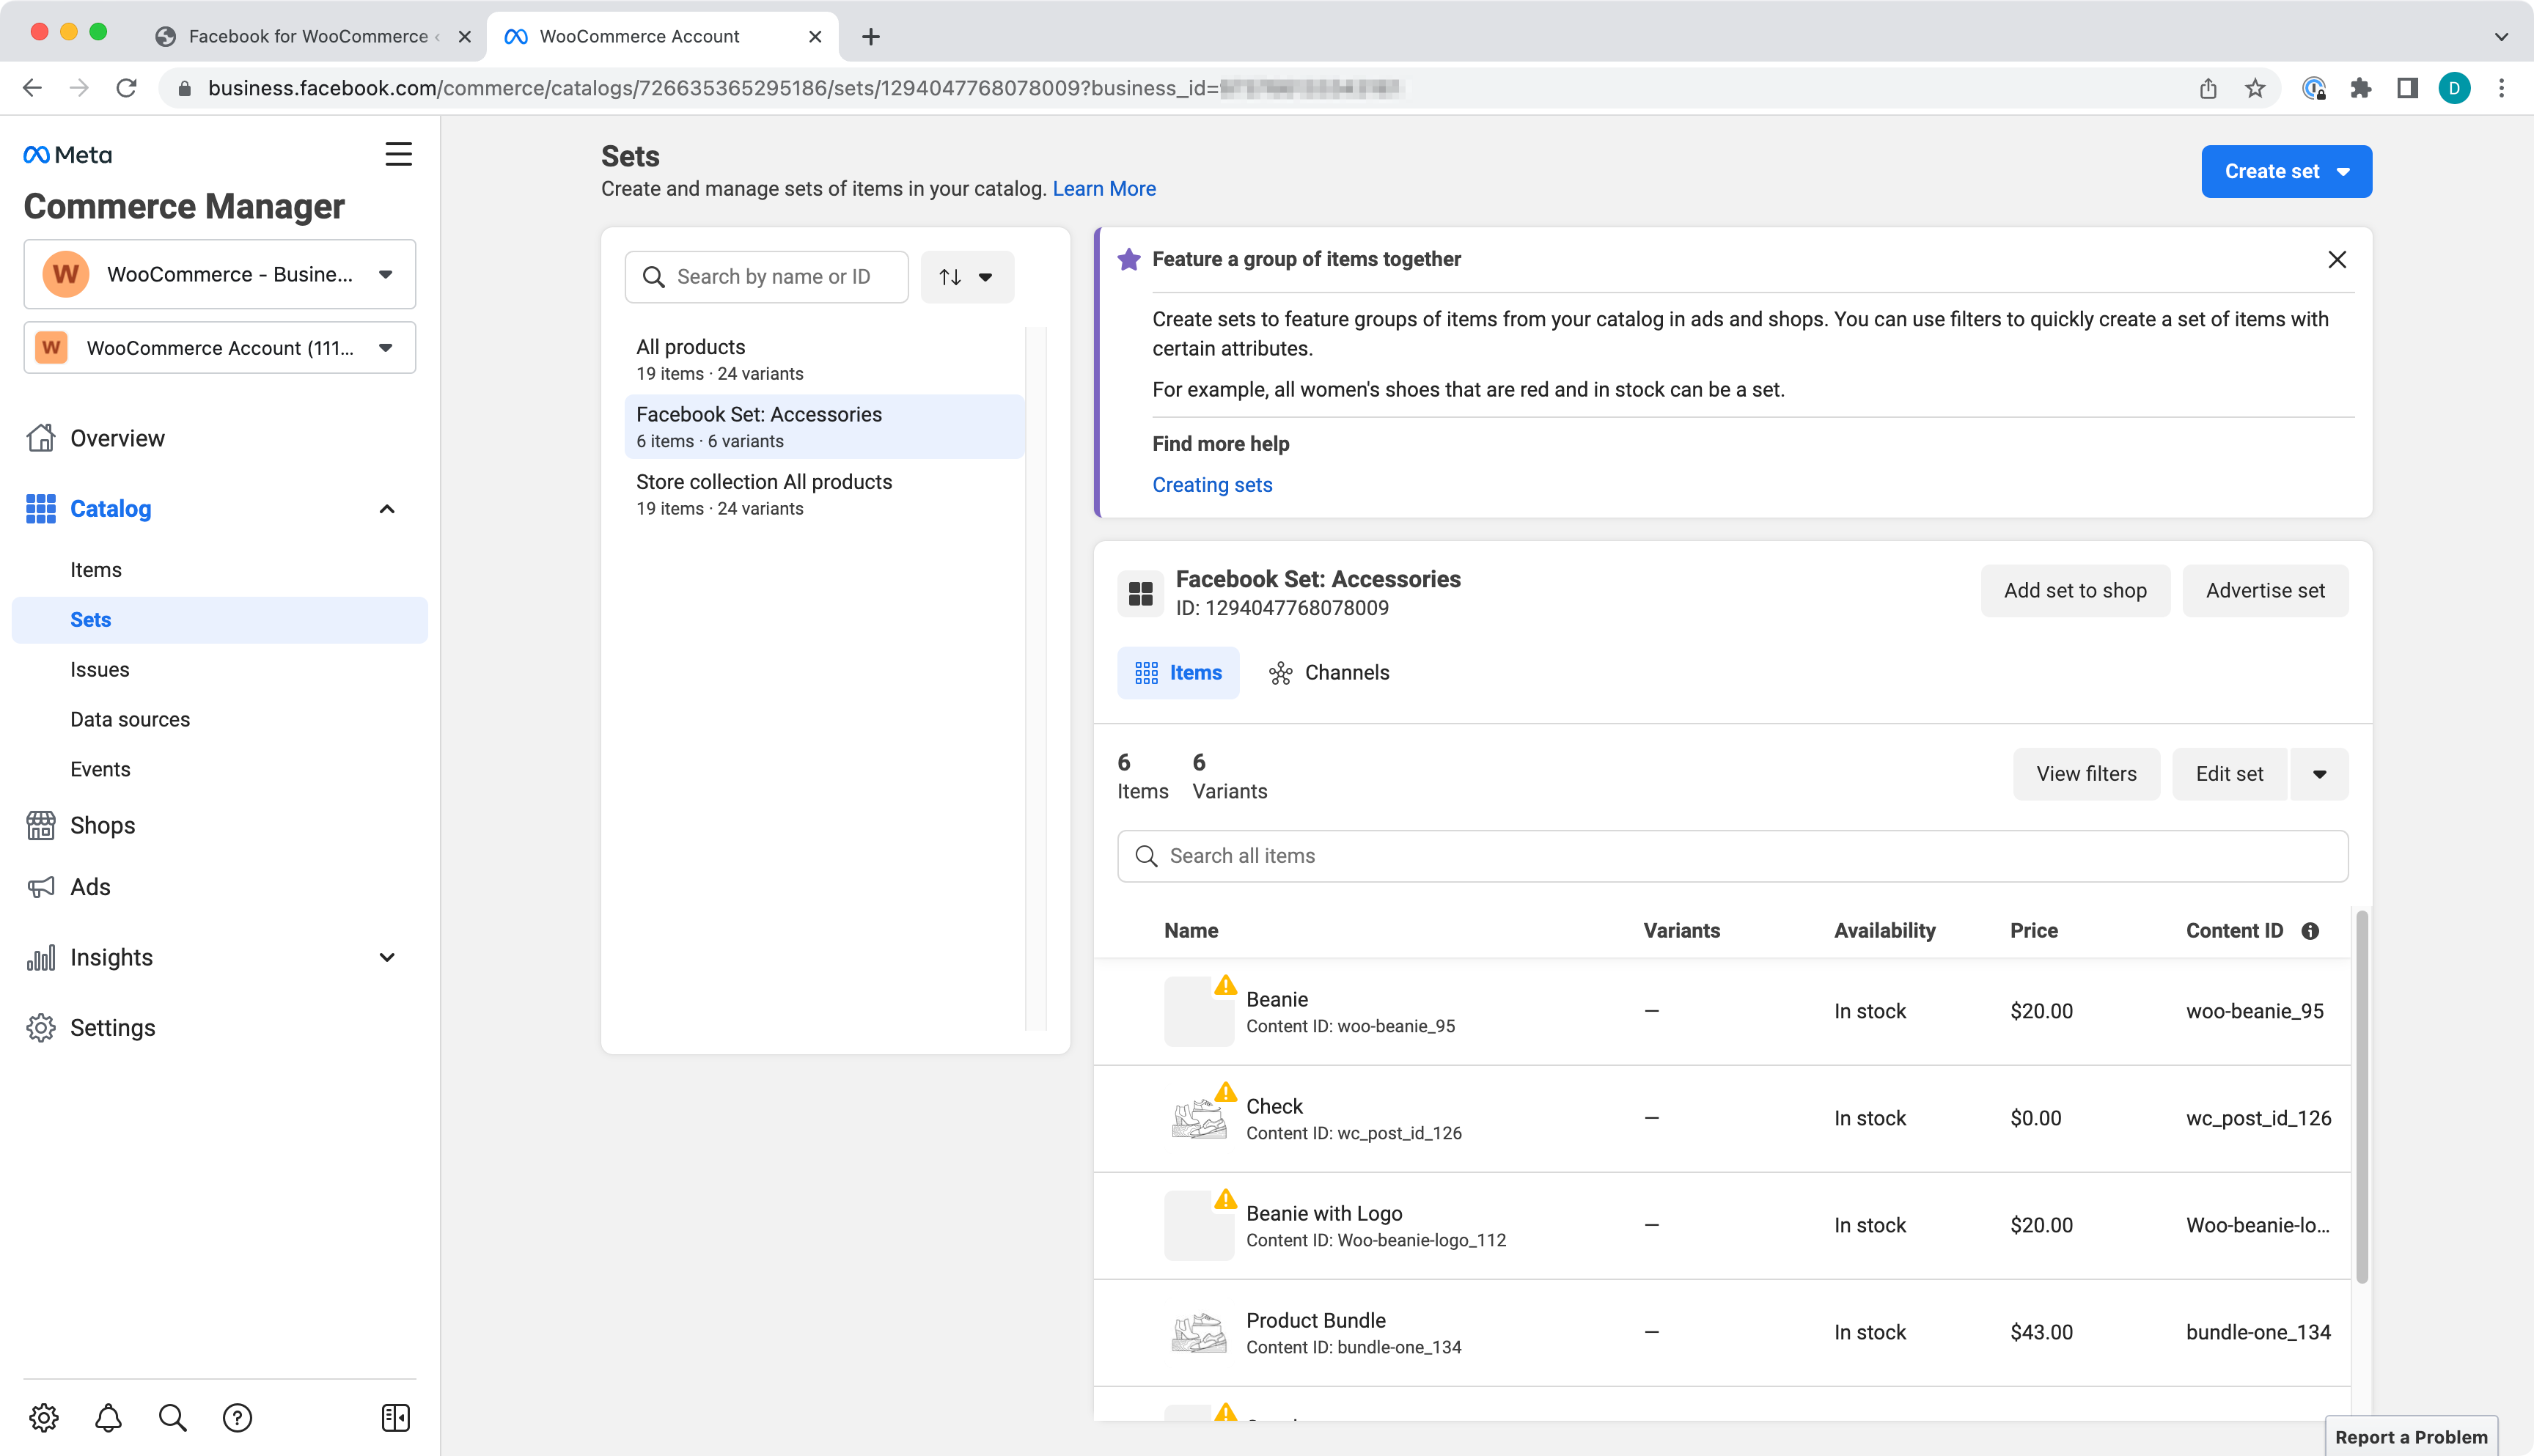
To check if product were synced click the Catalog name and follow the link to Facebook Catalog Items page to see the items.
Facebook Catalog Items
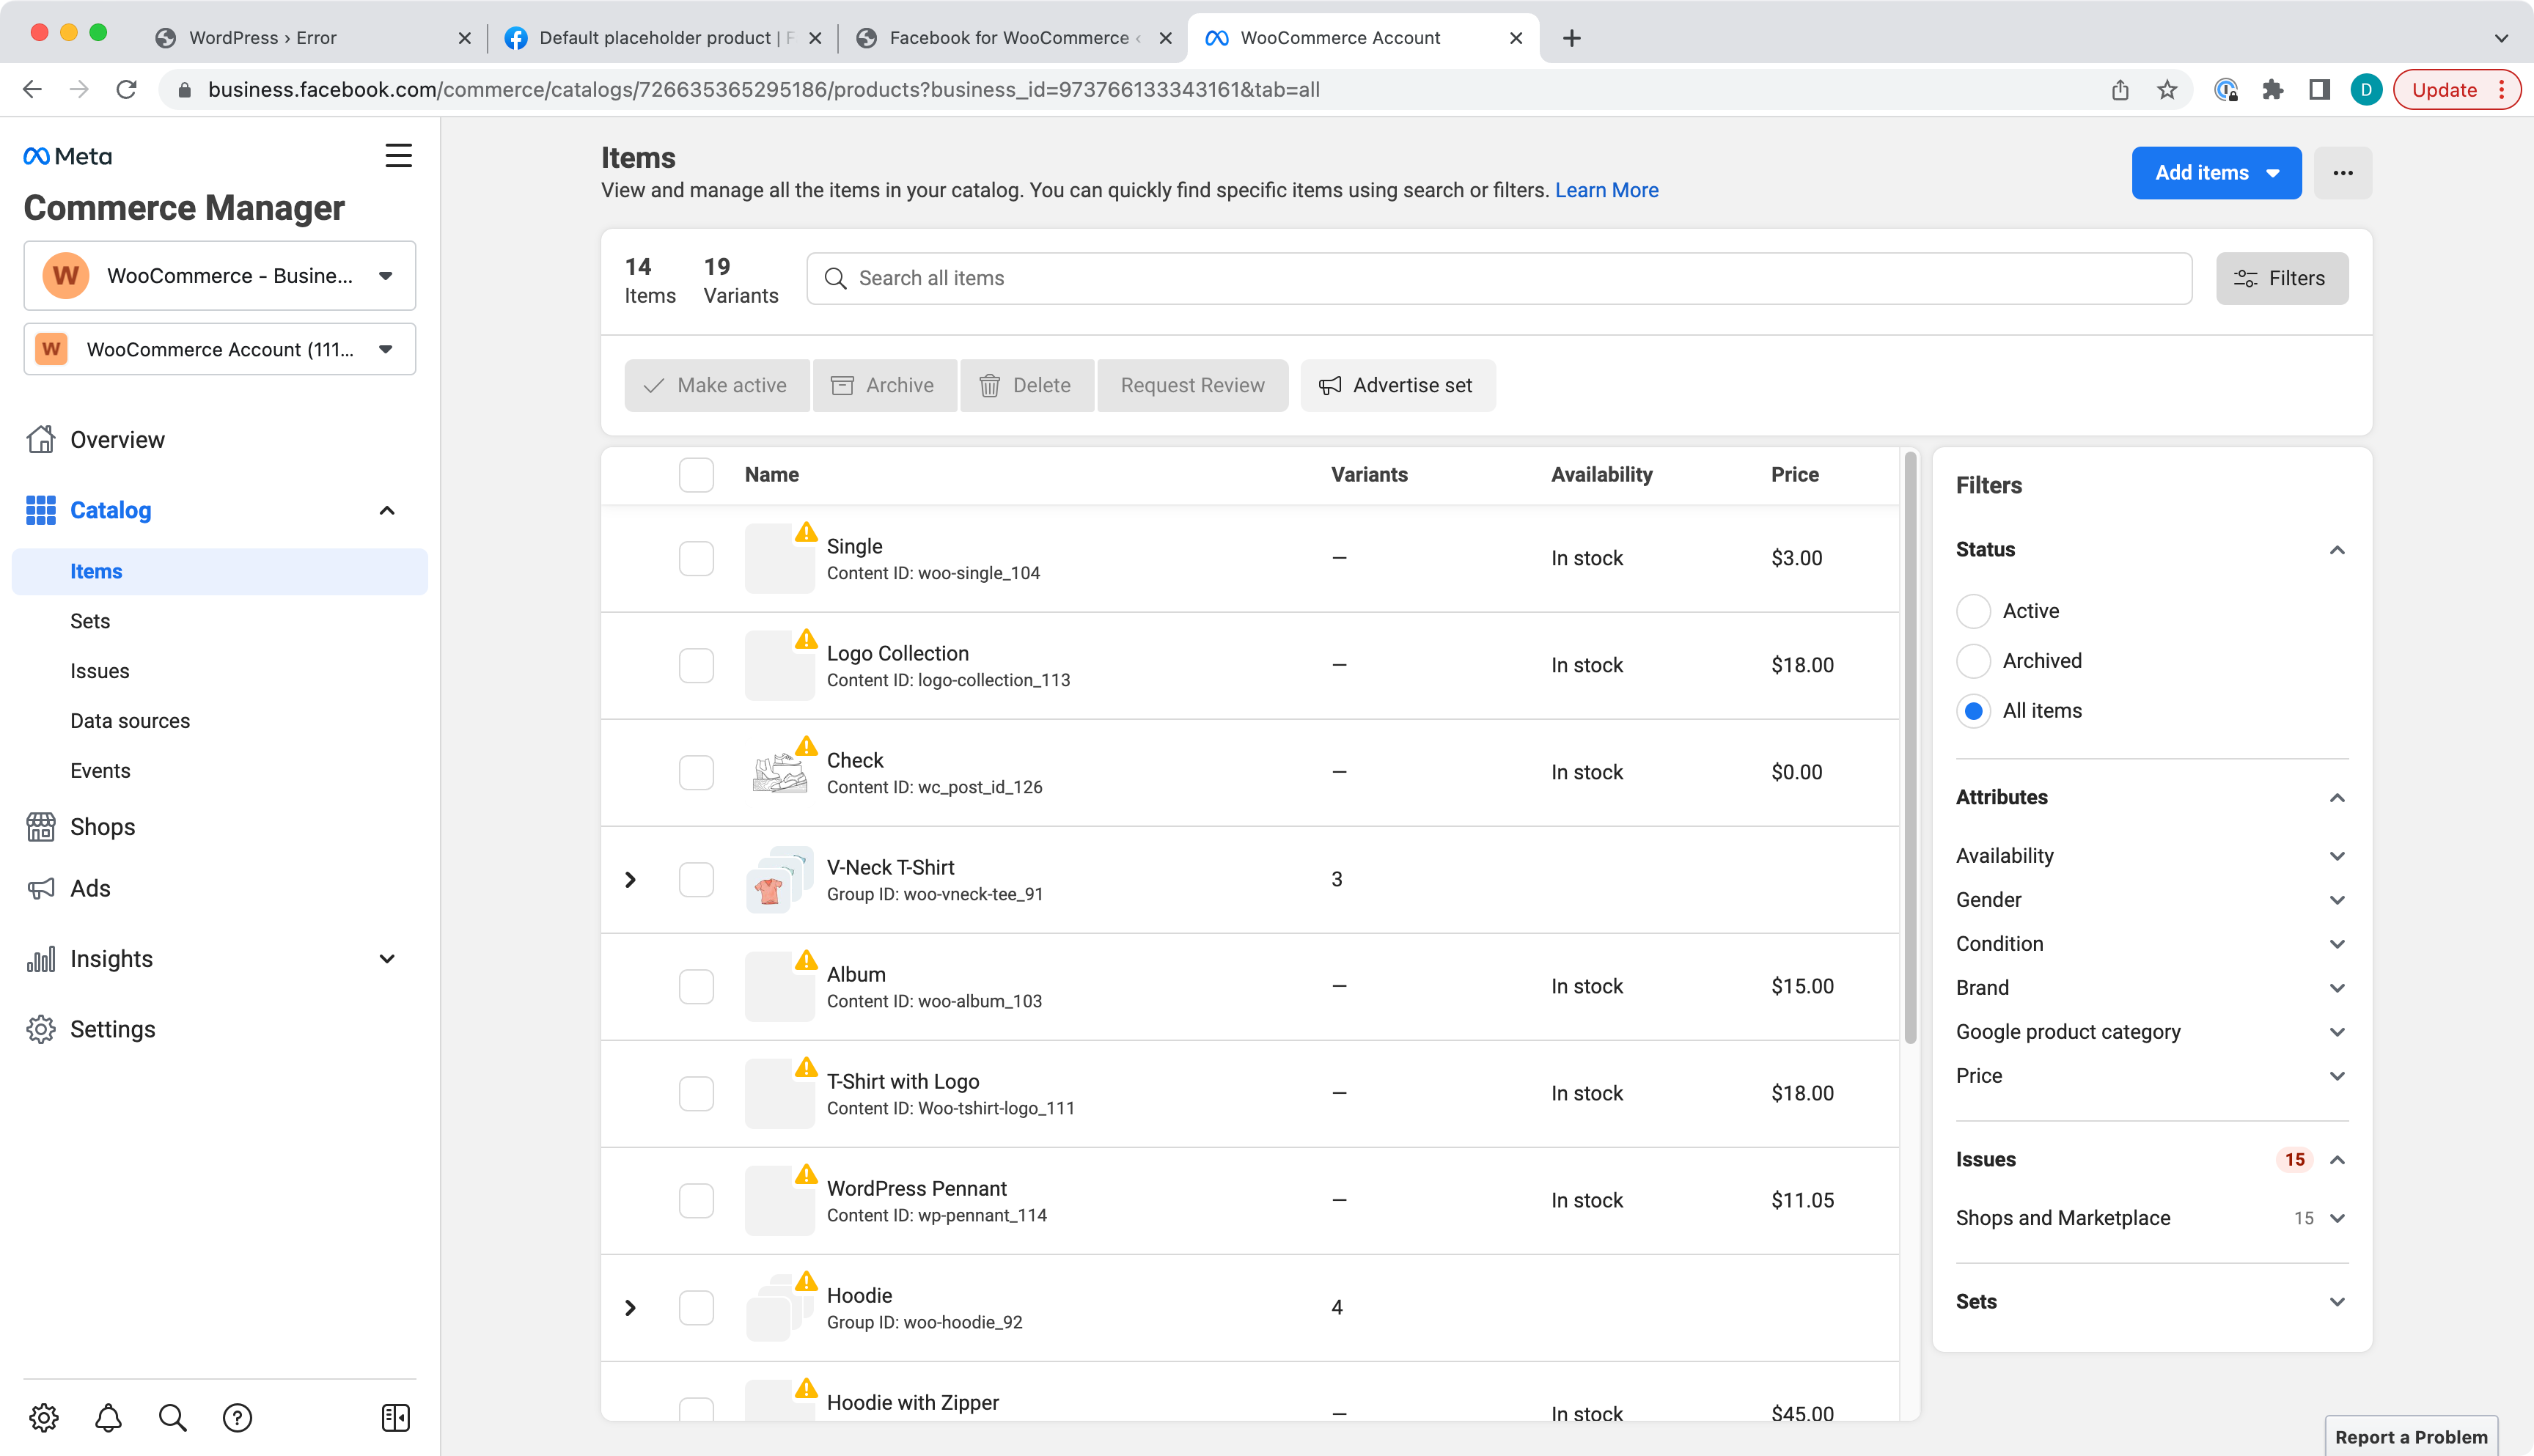
Note: You see image warnings because the image provided was made from local installation and image urls aren't accessible from the internet.
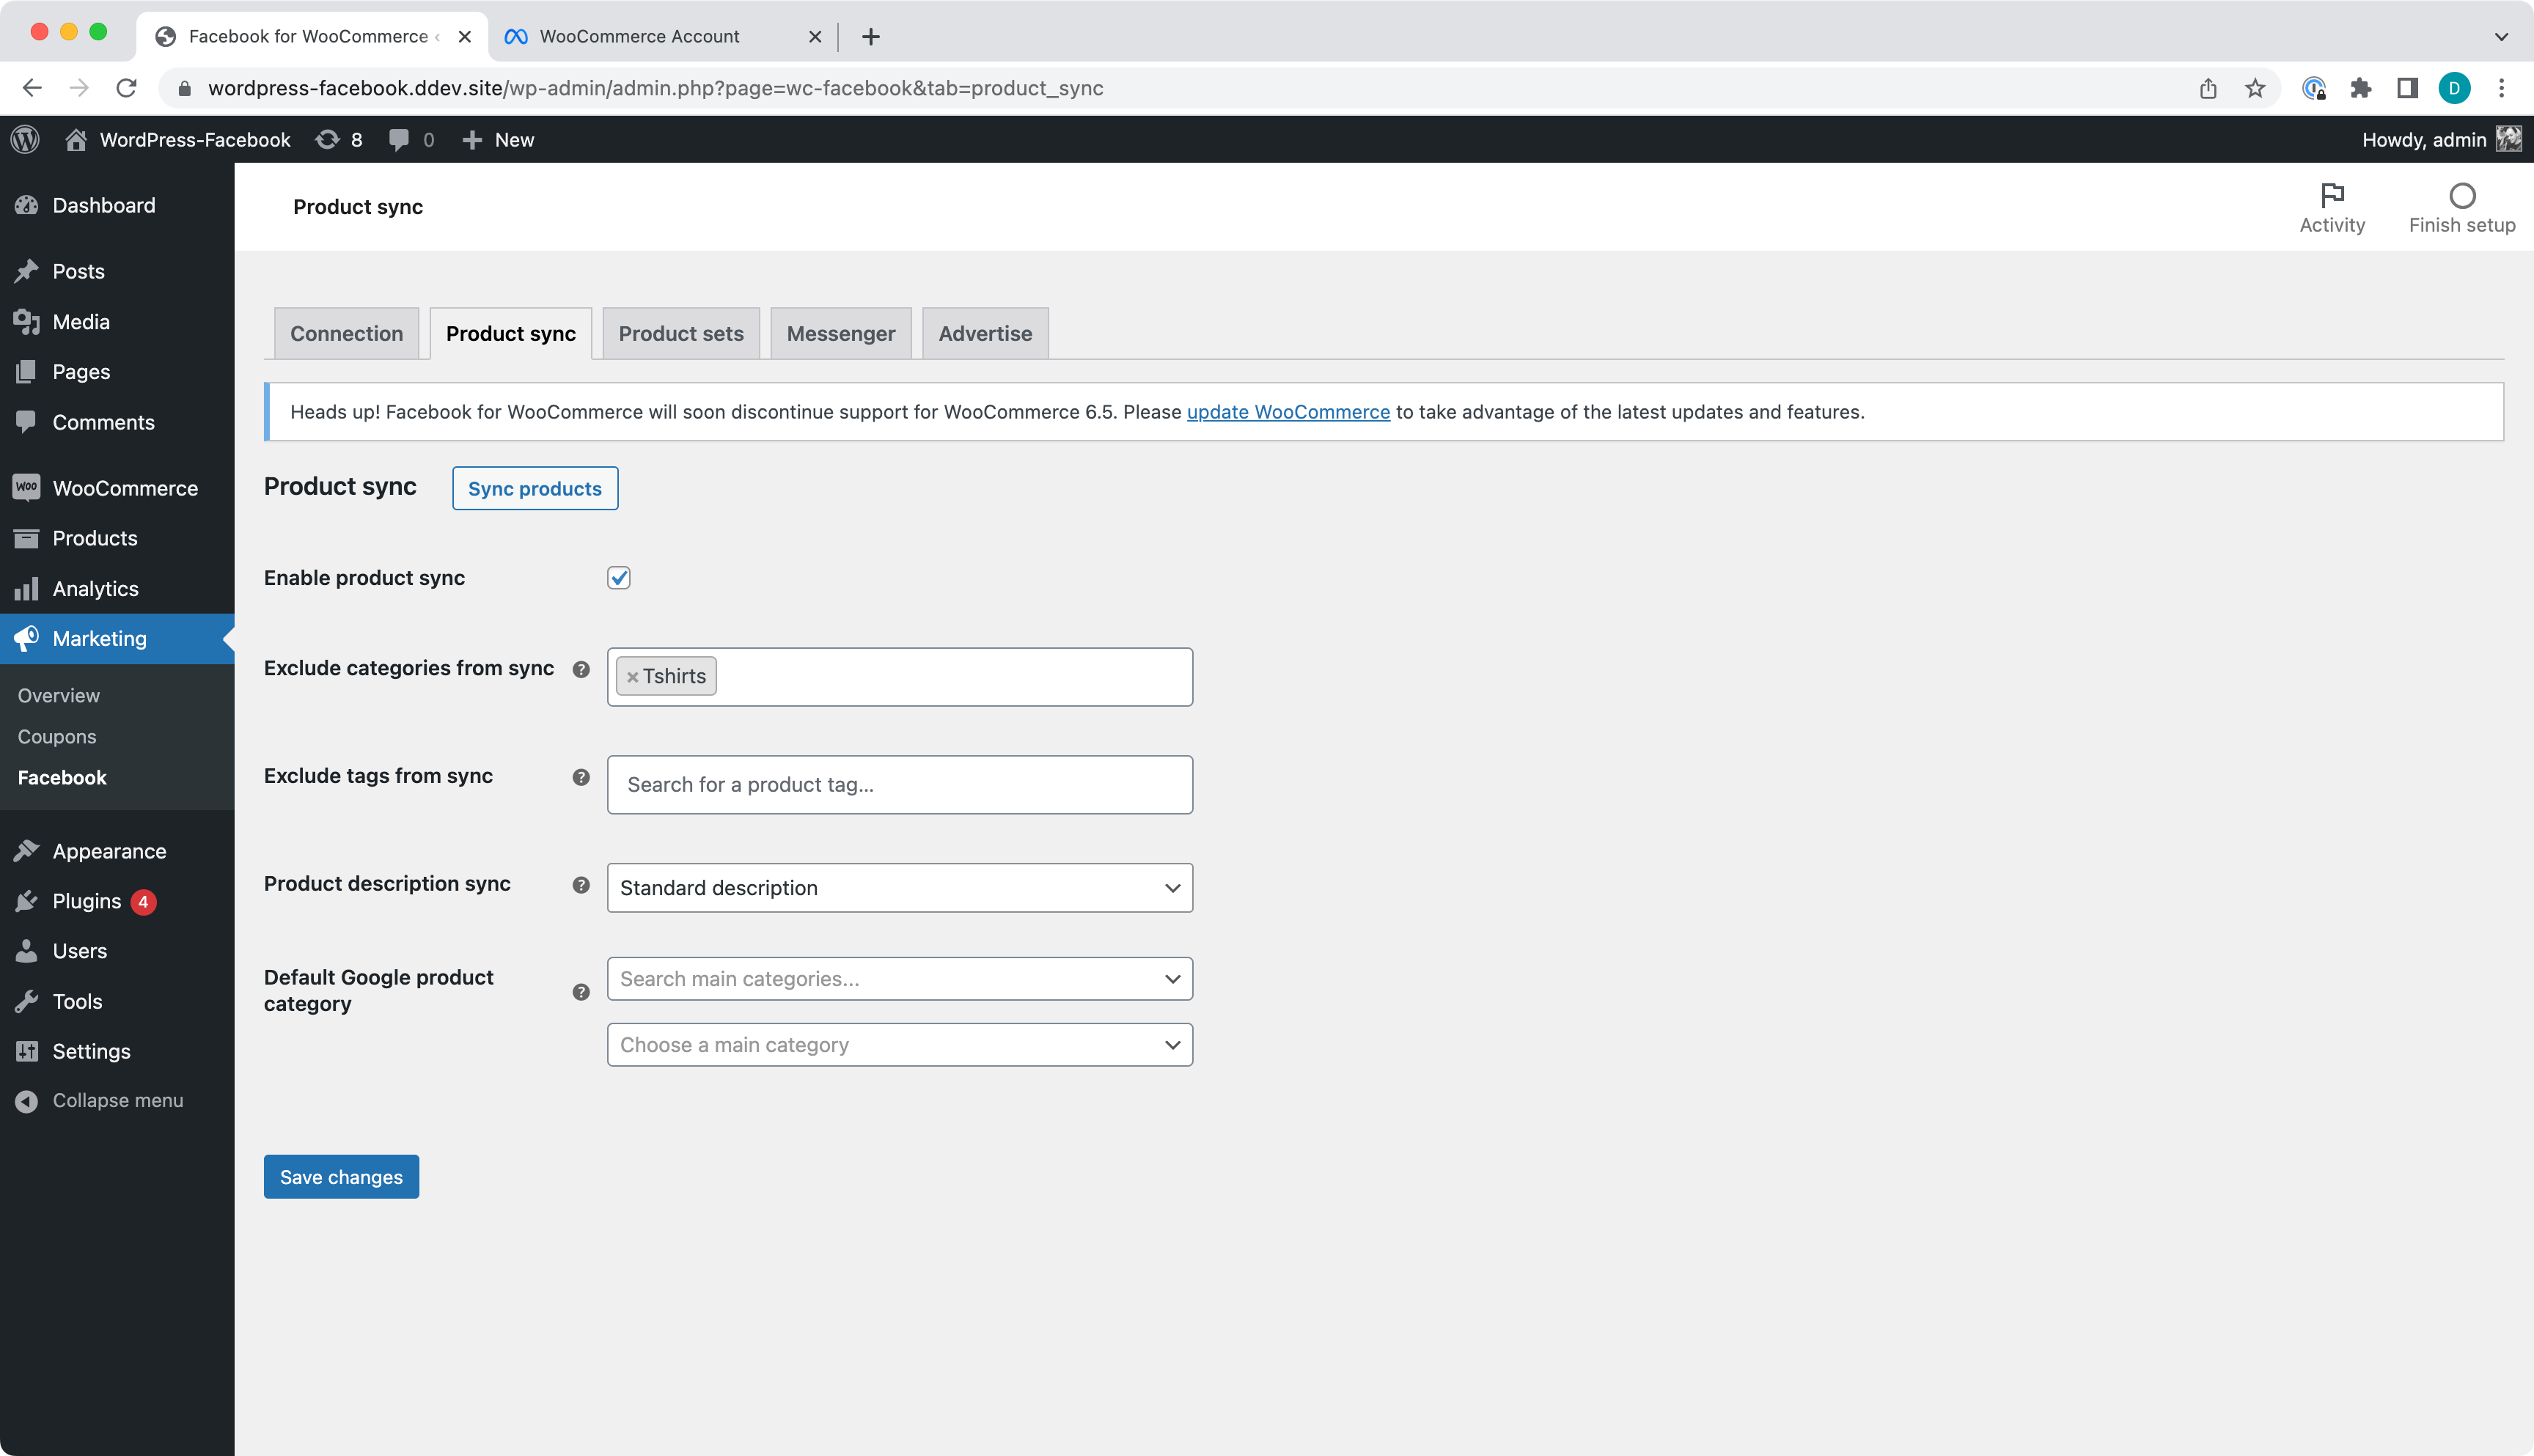
Excluding a Category will exclude products from the category being synced to Facebook Catalog and show the popup.
Pick a Category to exclude products from.
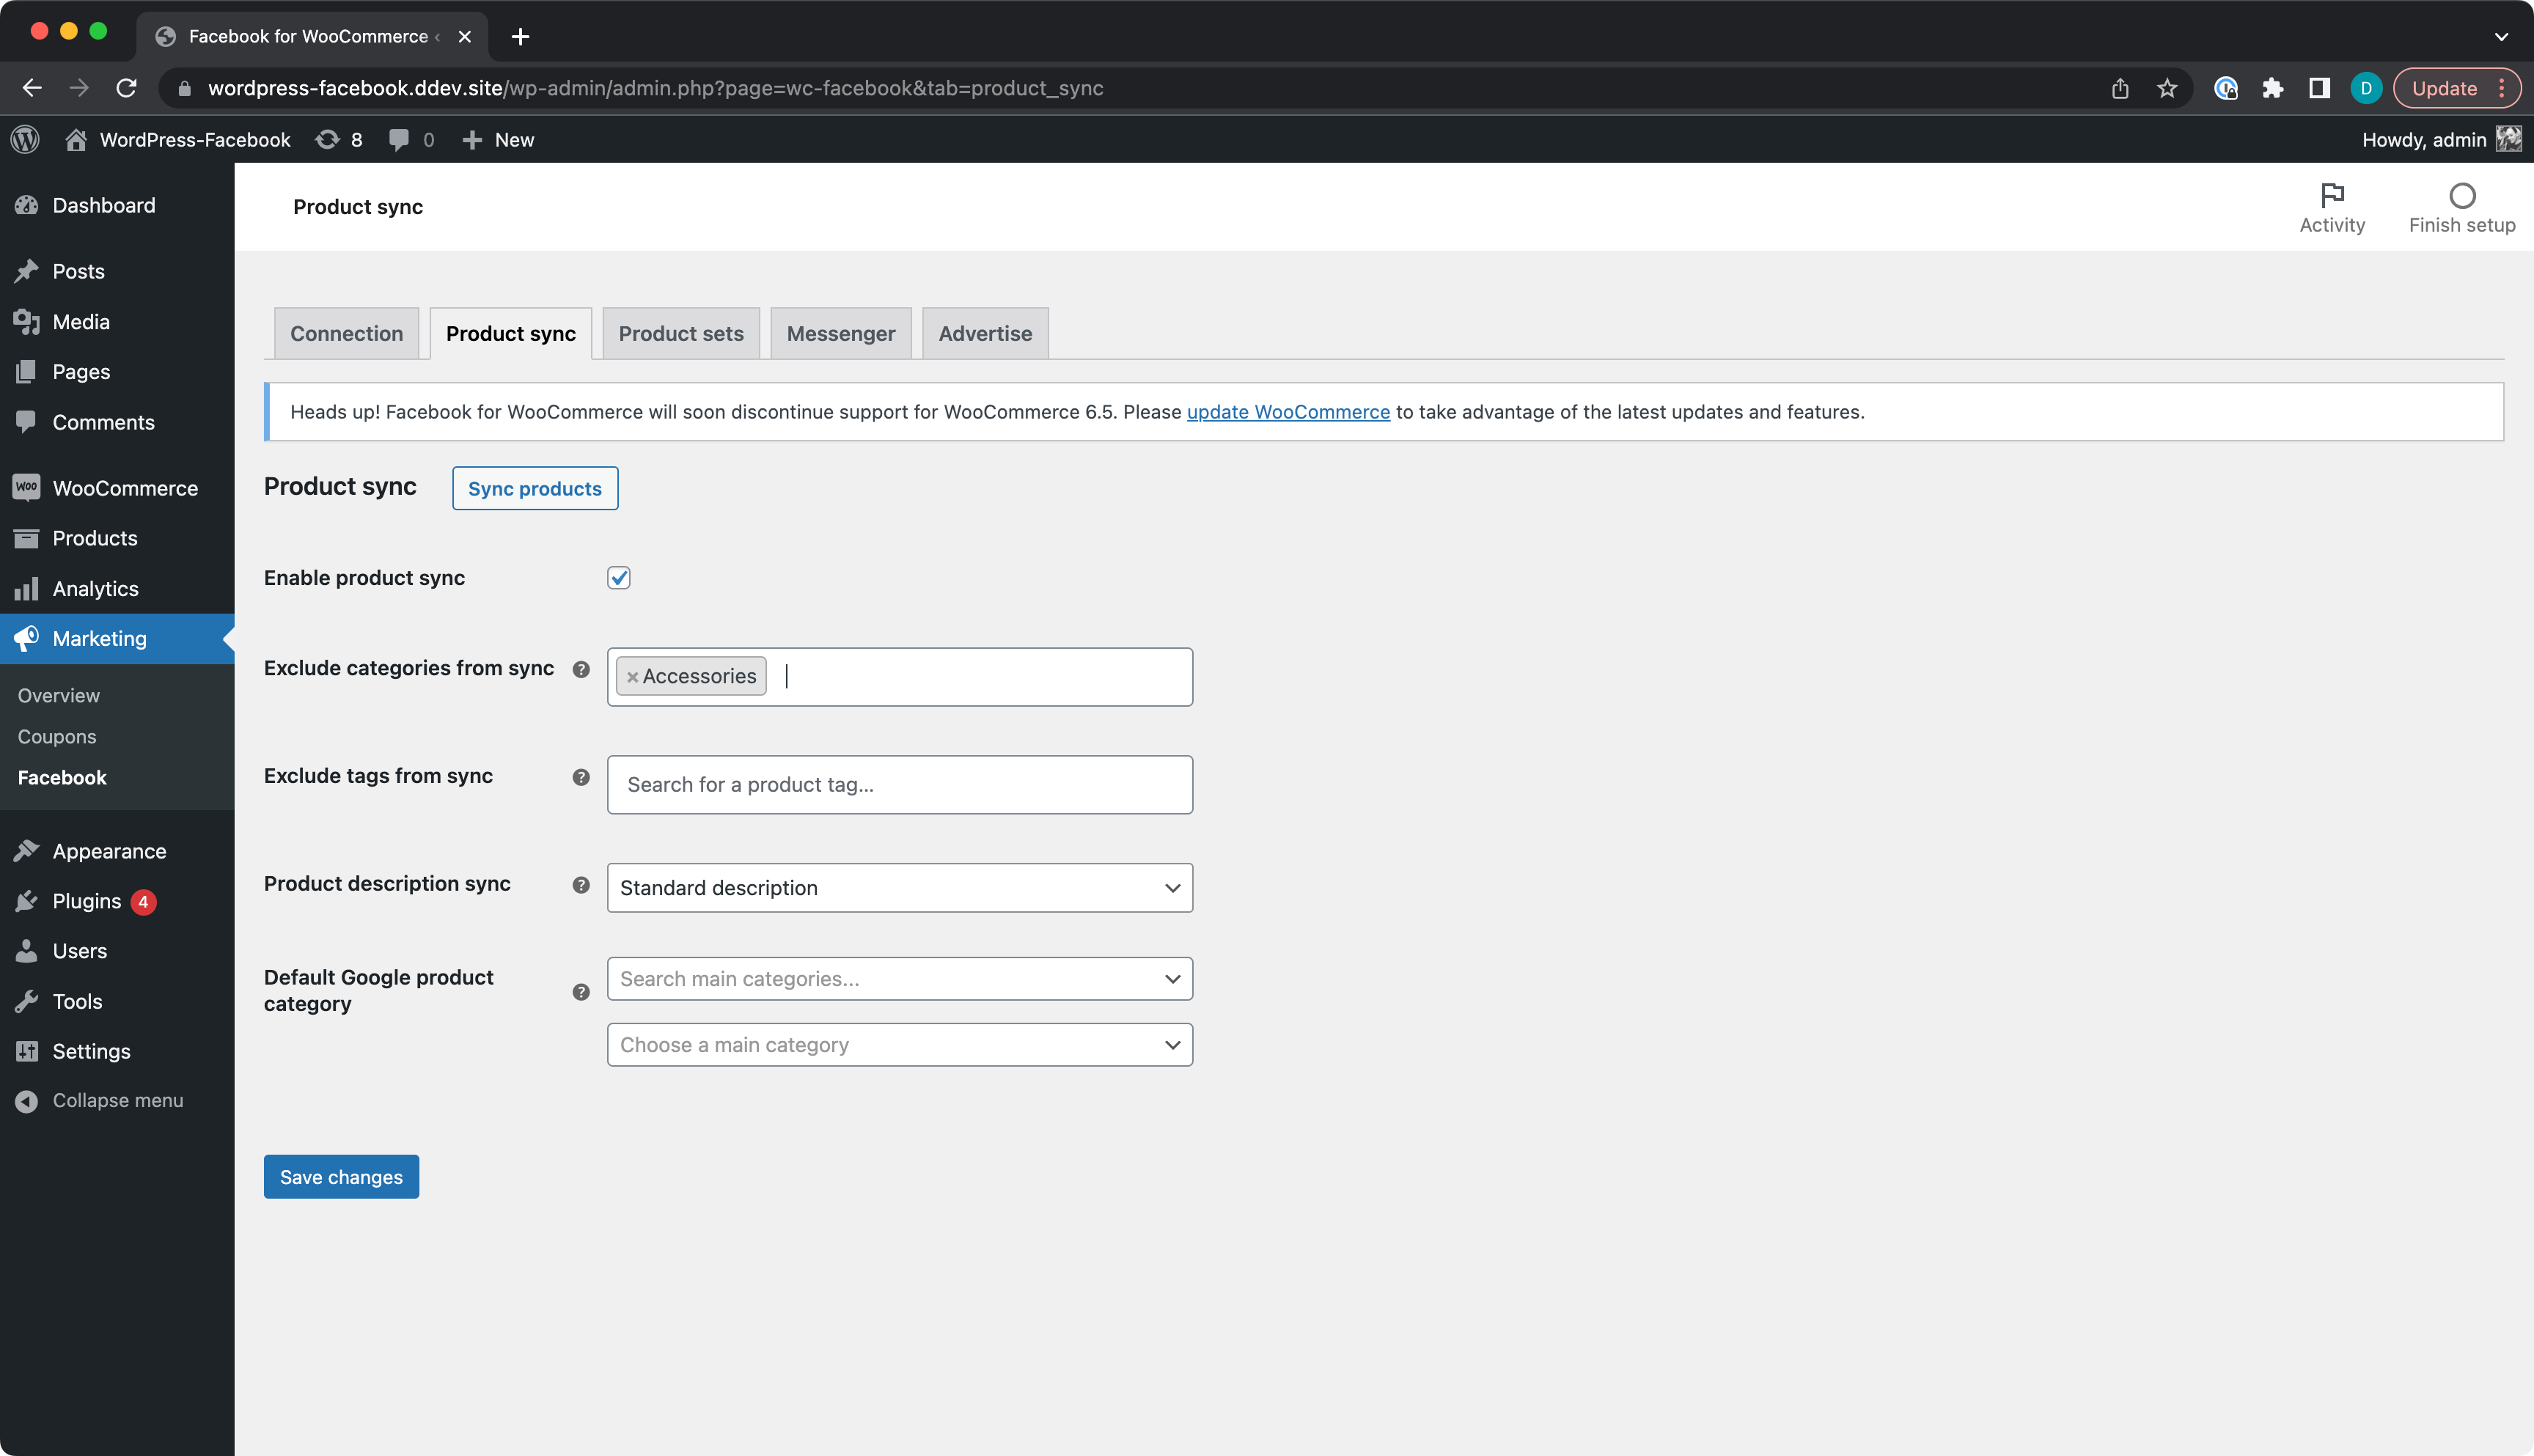
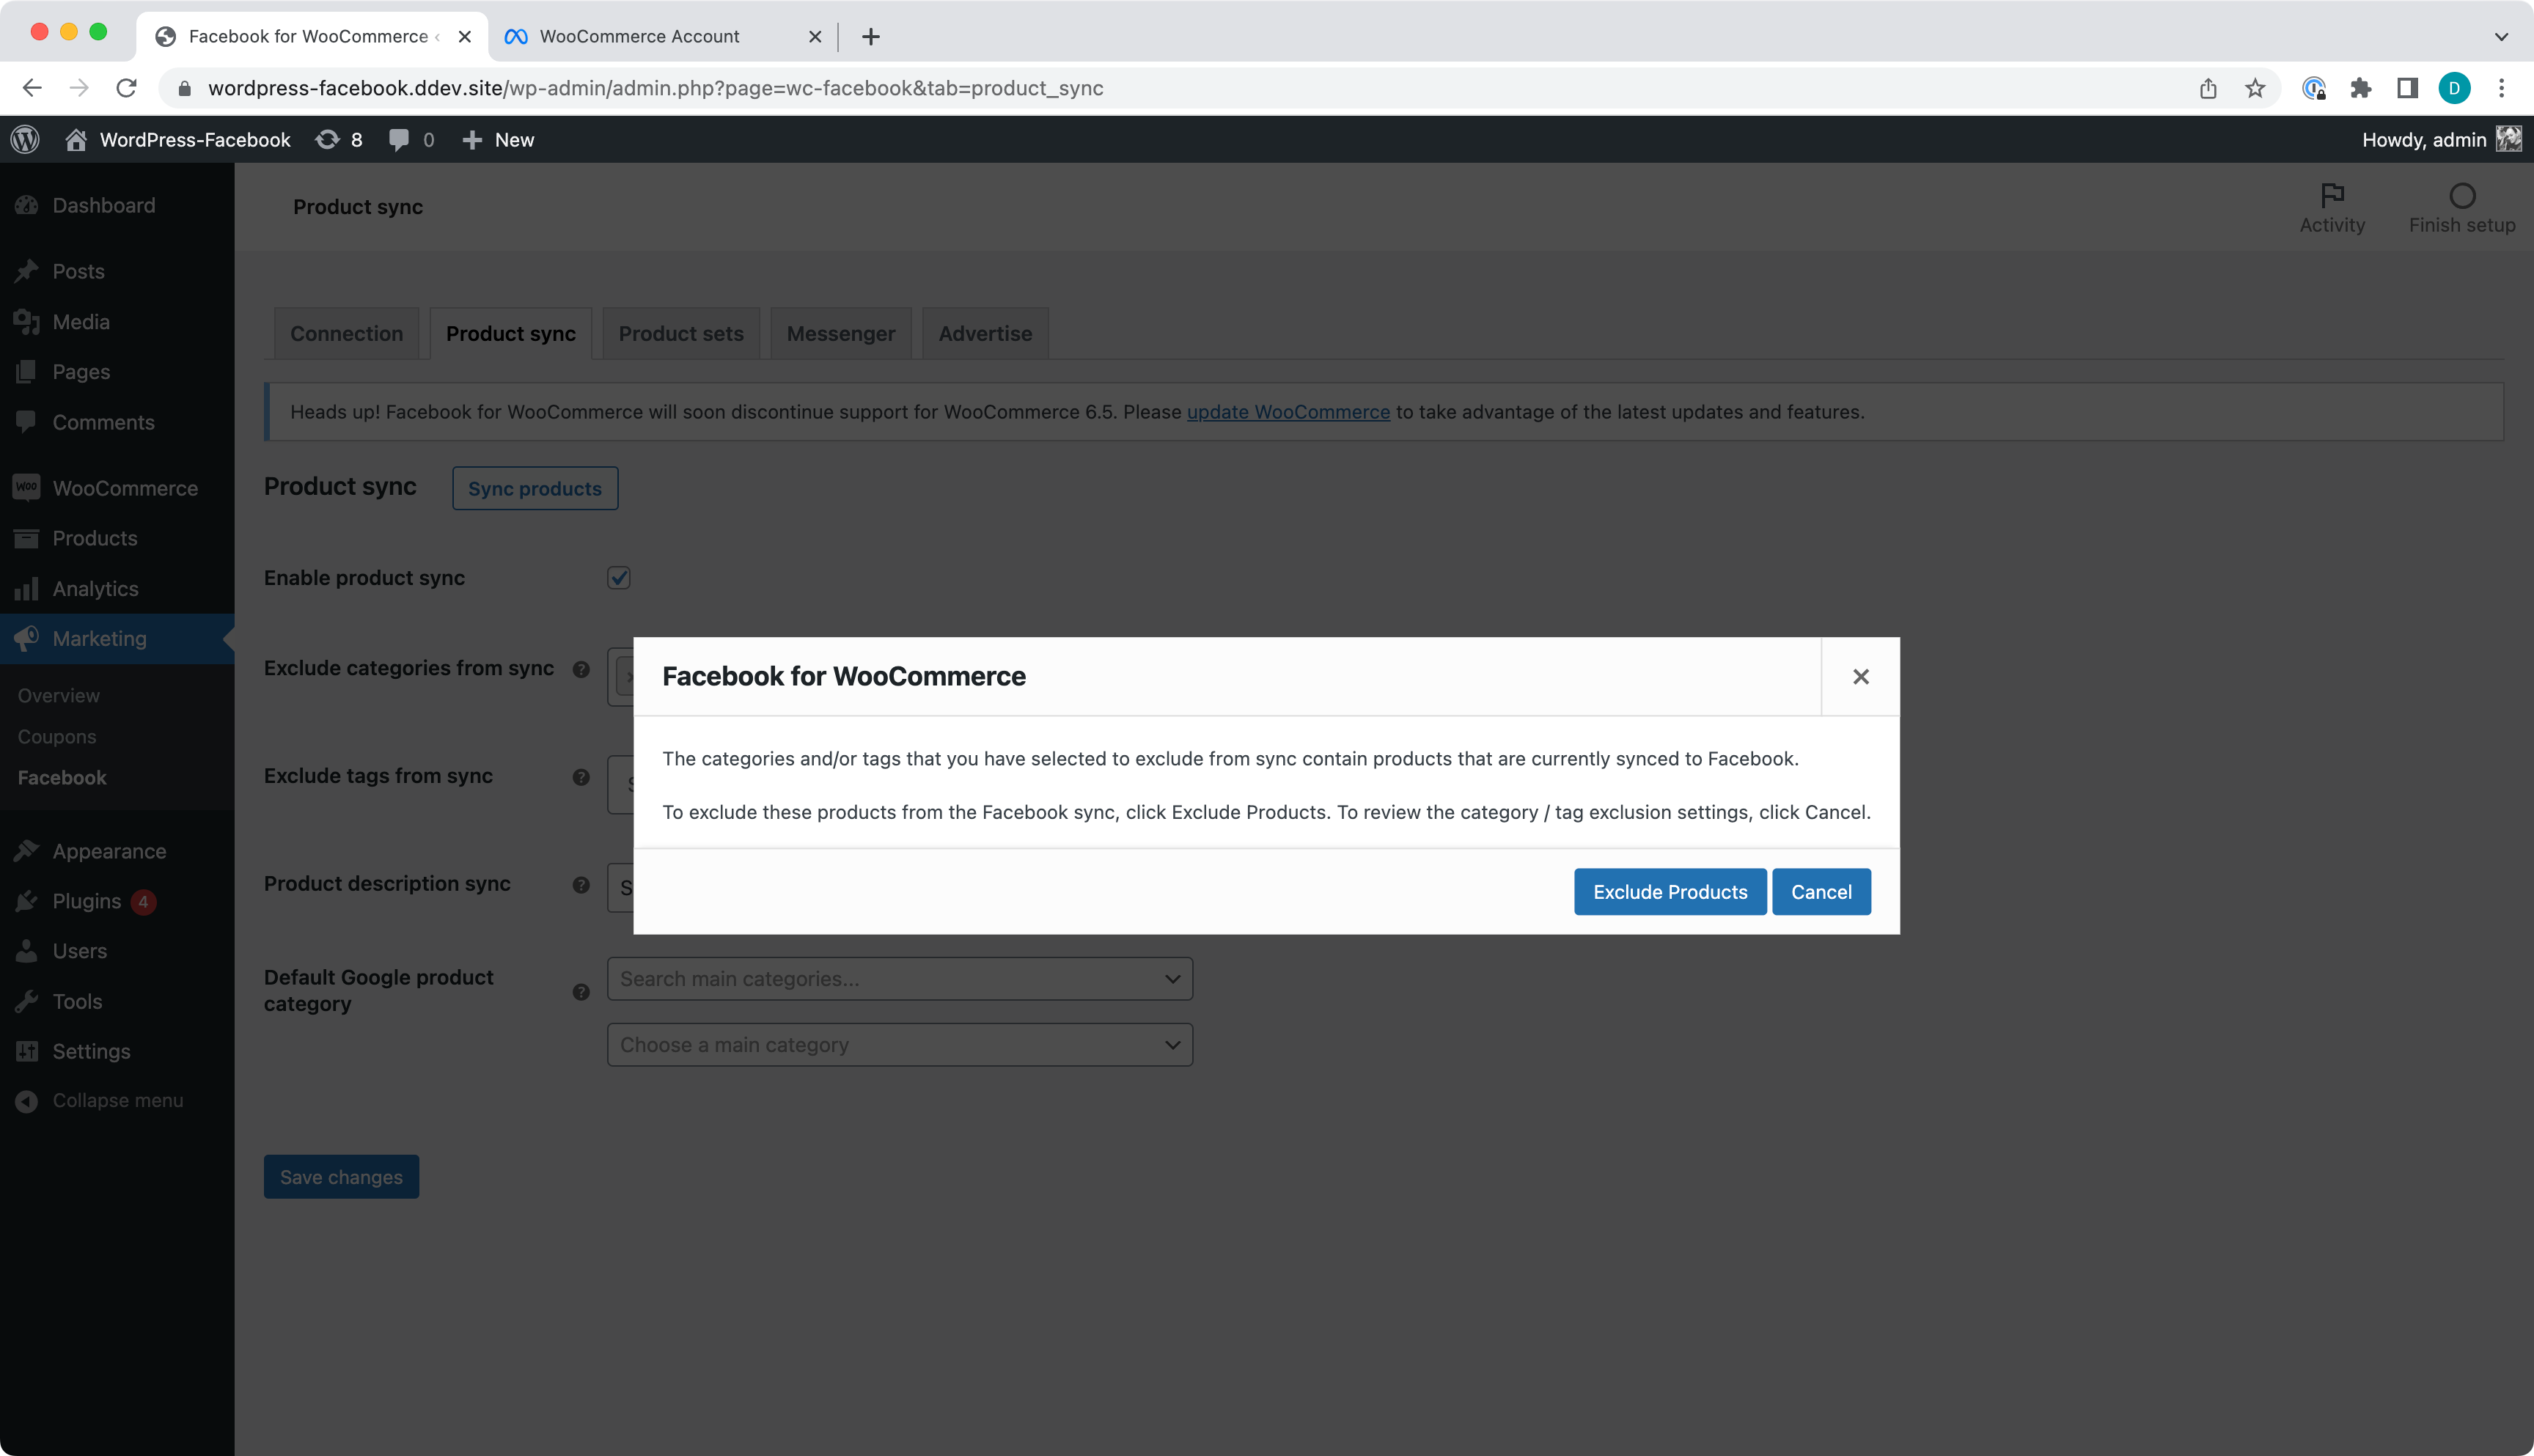
If you have products from the selected category already synced to Facebook, the message should appear.
New products added to the excluded Category aren't synced to Facebook Catalog and the message is shown.
Trying to sync a product from the excluded category will show the message and the product will not be synced to Facebook Catalog.
- A Simple Product synced to Facebook Catalog.
- Edited the product name and description will sync to Facebook Catalog.
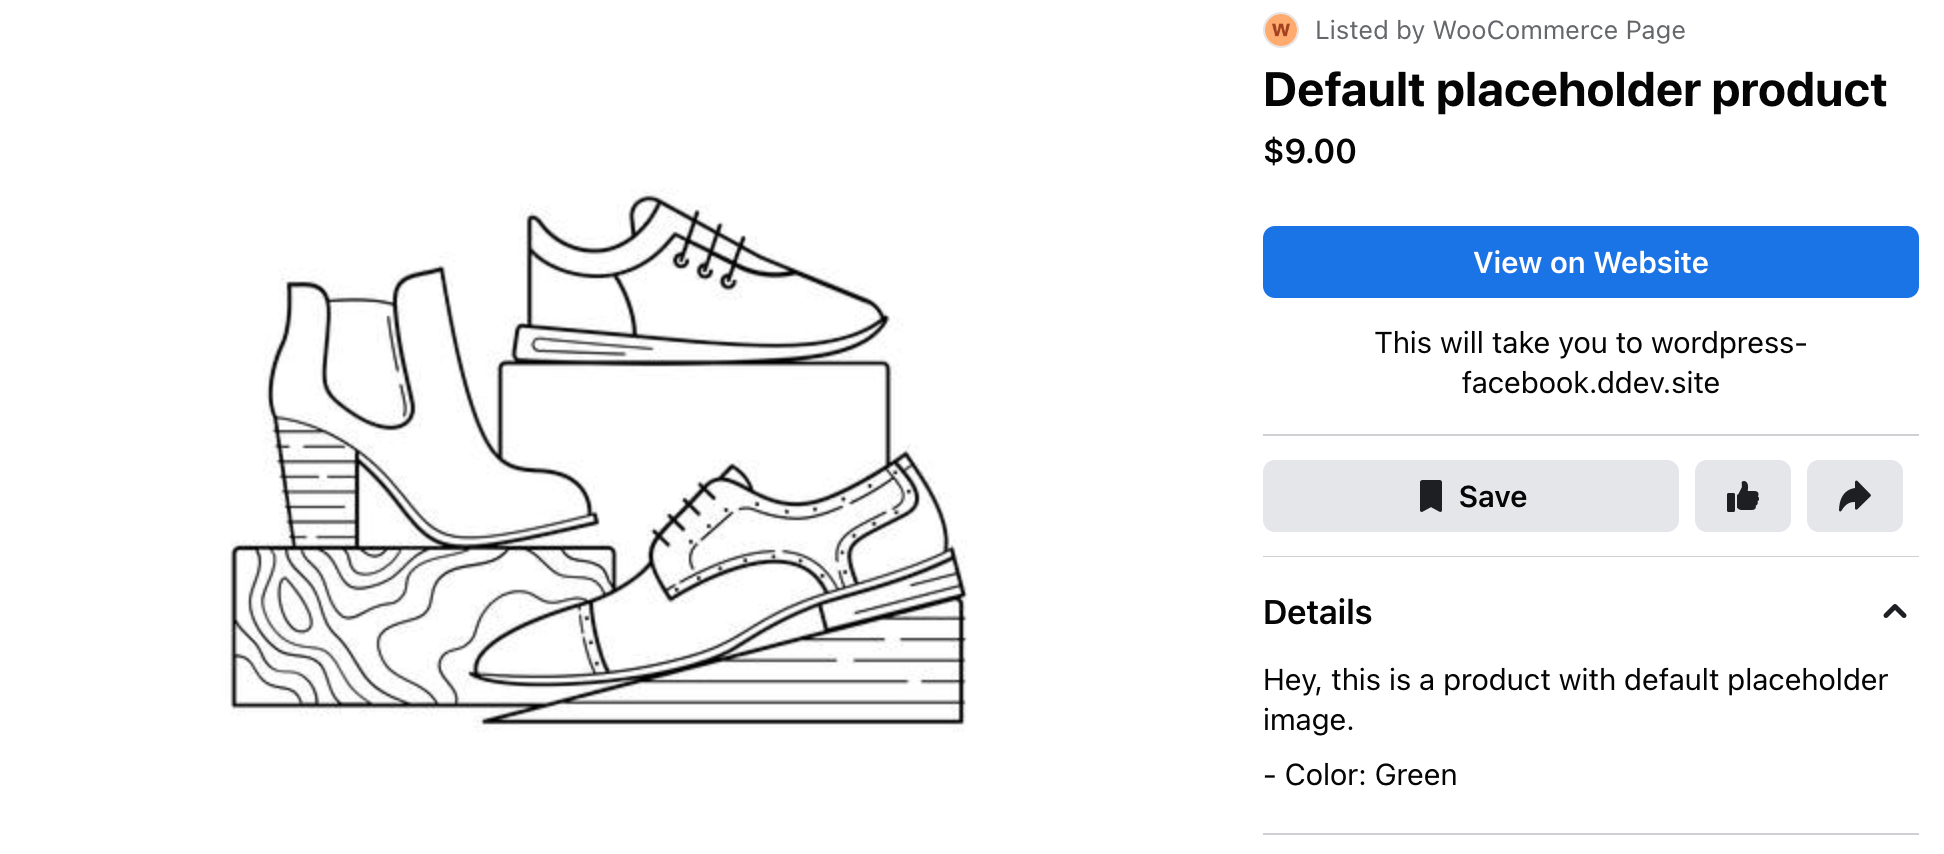
- Edited product price will sync to Facebook Catalog.
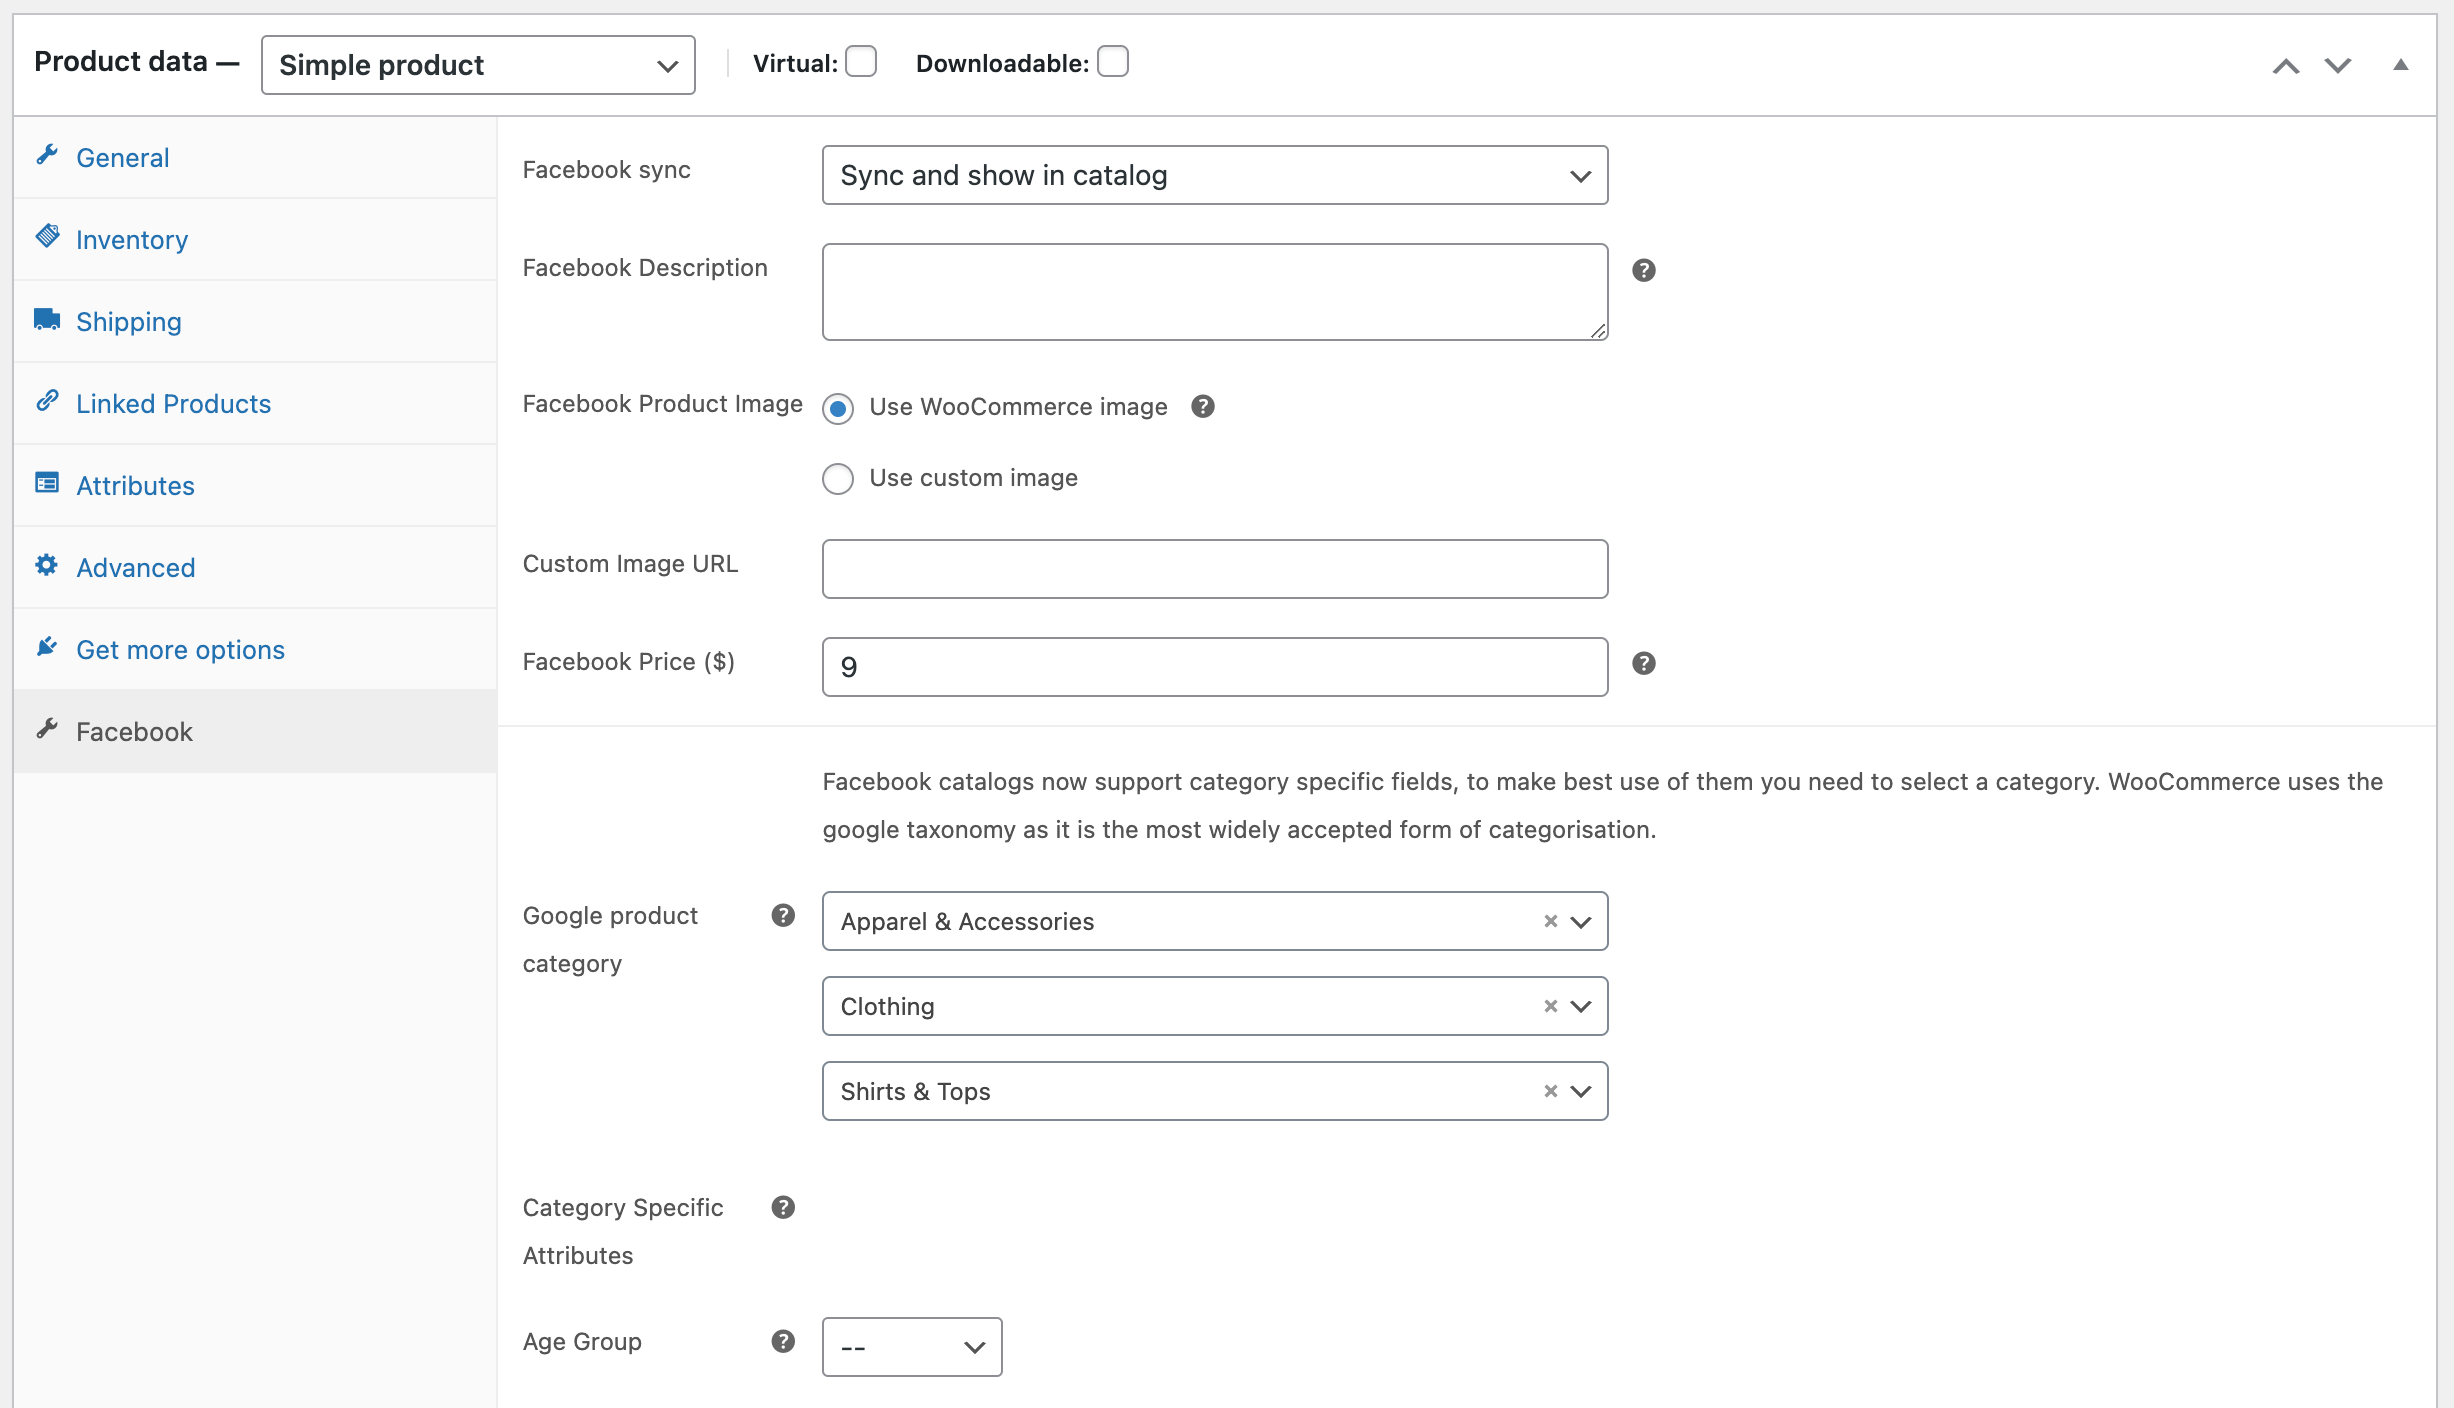
- Facebook price will sync to Facebook Catalog and overwrite the regular price.
- Zero stock quantity should remove a product from Facebook Catalog.
- Positive stock quantity should put the product back to Facebook Catalog.
- 'Do not sync' a product and confirm it is removed from Facebook Catalog.
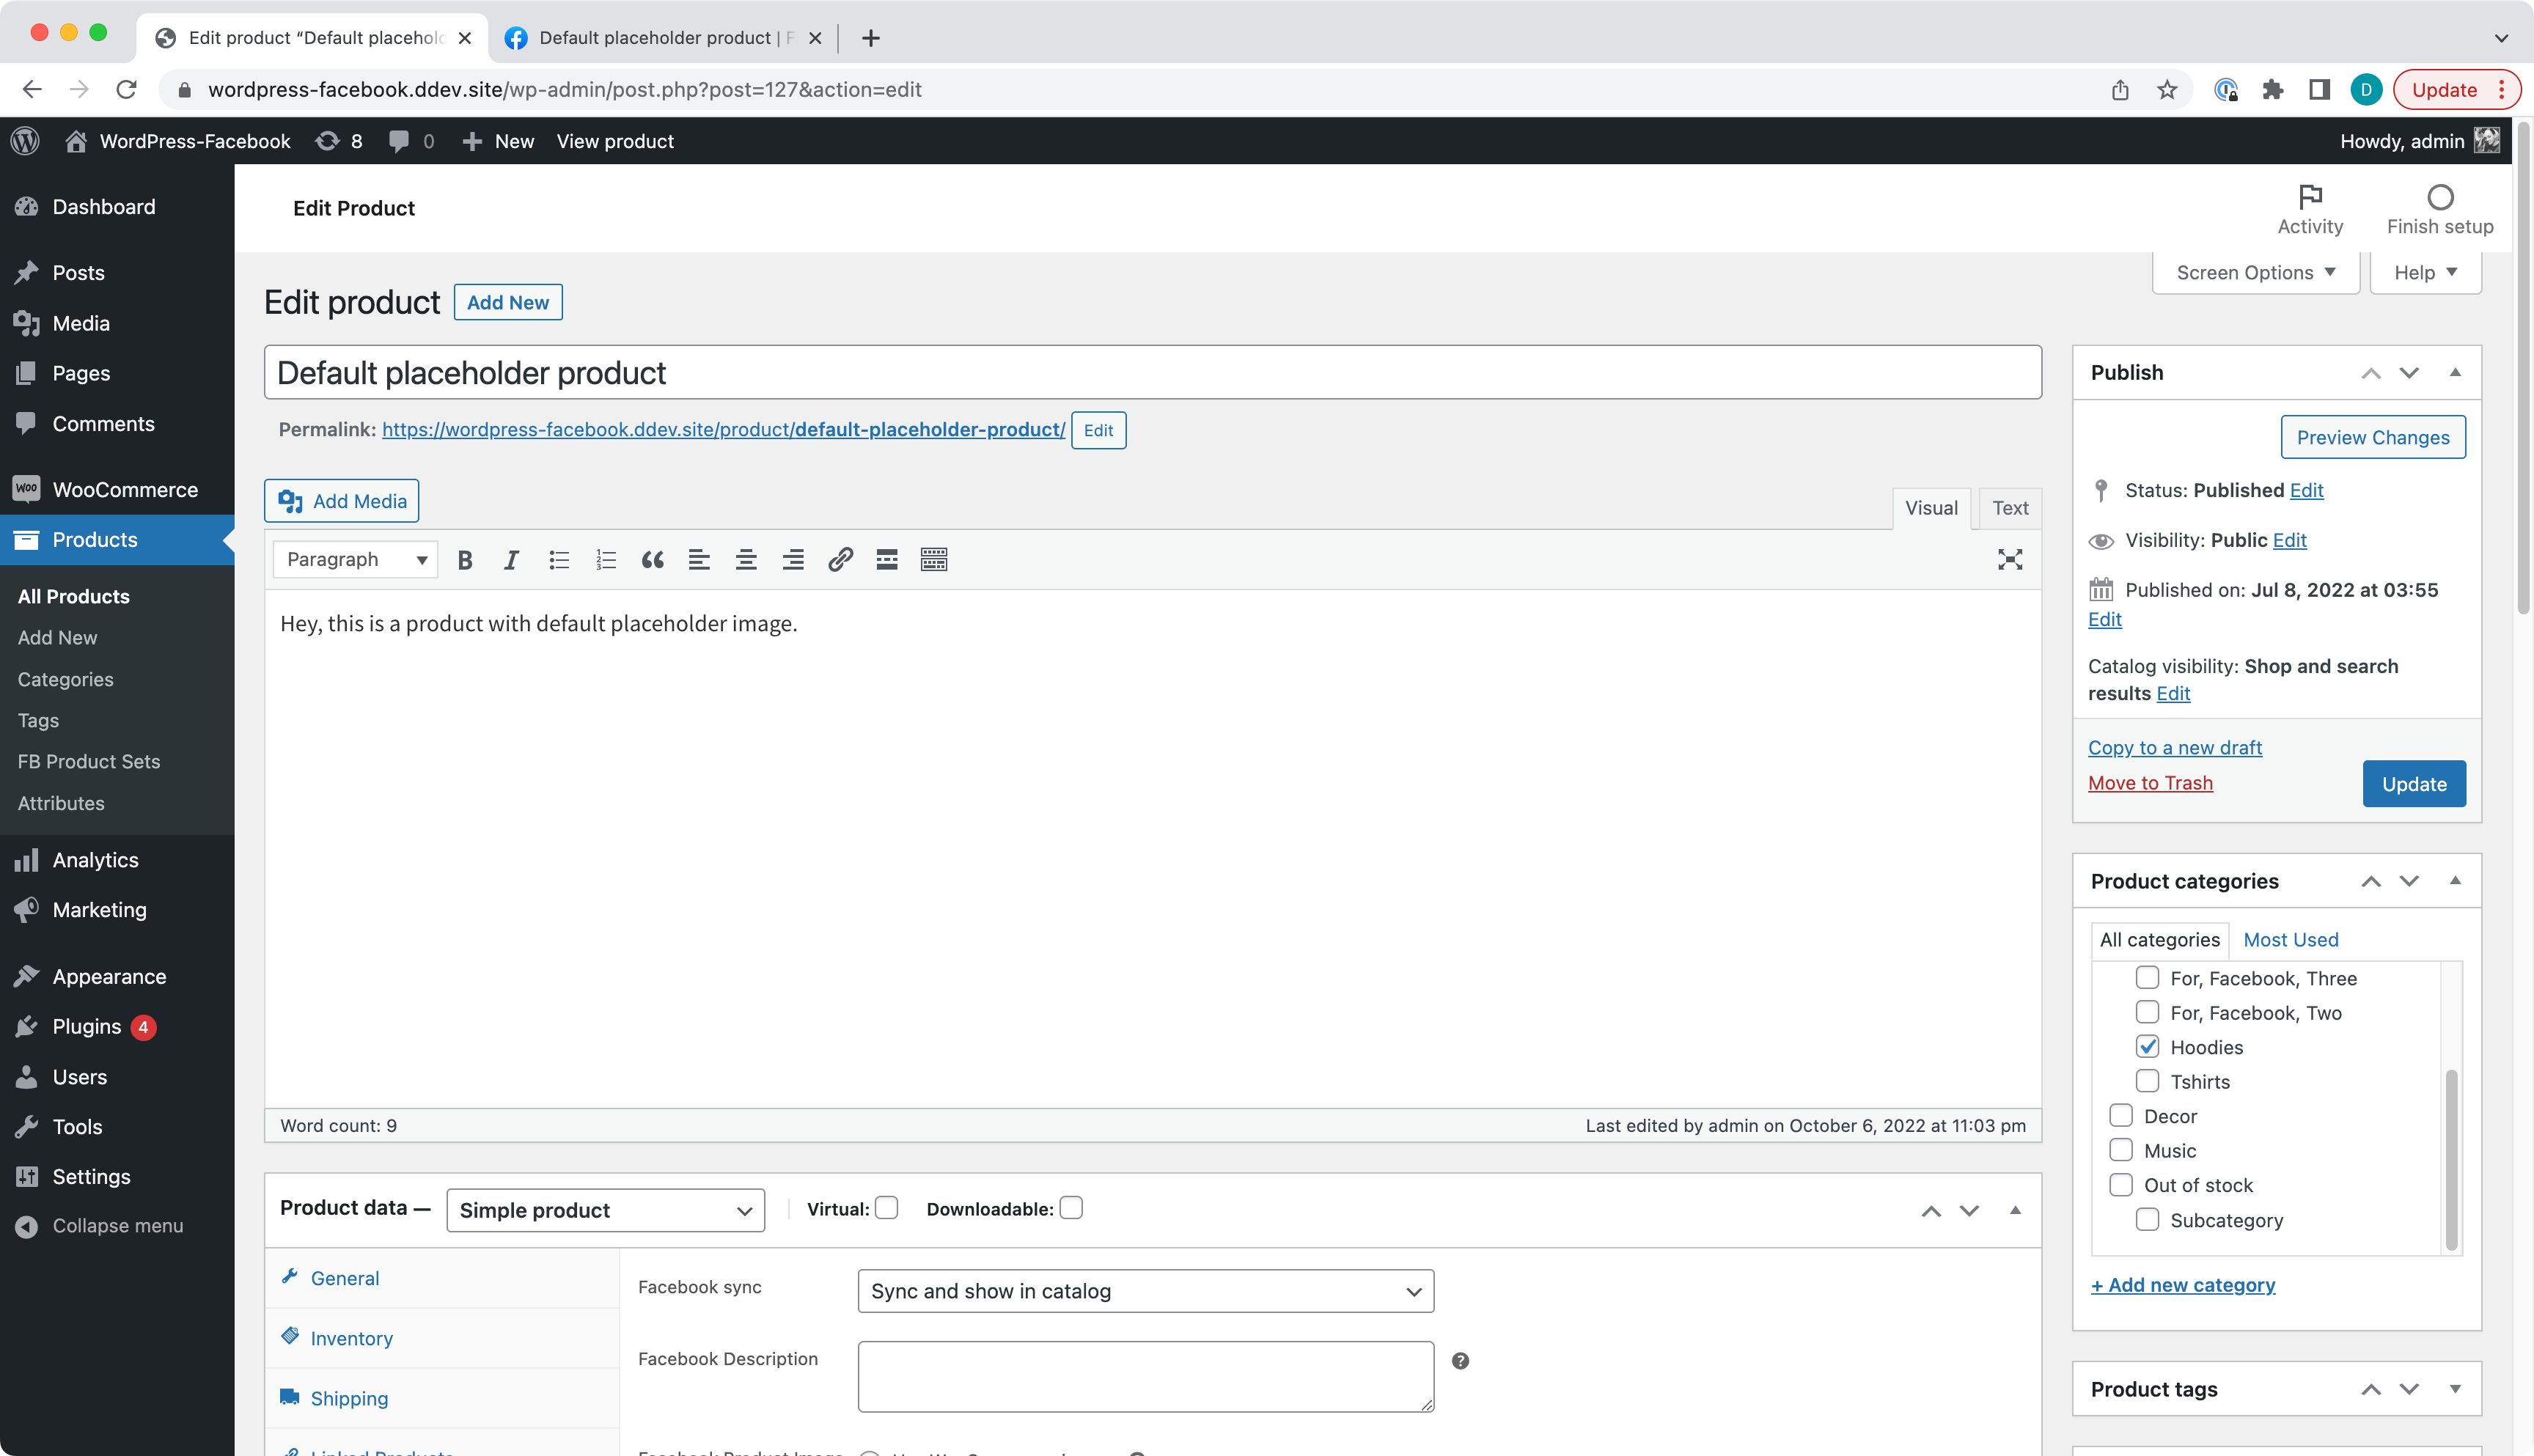

Set Facebook Price and Update the product.
See the product price updated on Facebook.
After enabling stock management and setting stock to 0, updated product must be removed from Facebook Catalog.

See the product missing from Facebook Catalog.
And Facebook product Sync box change from
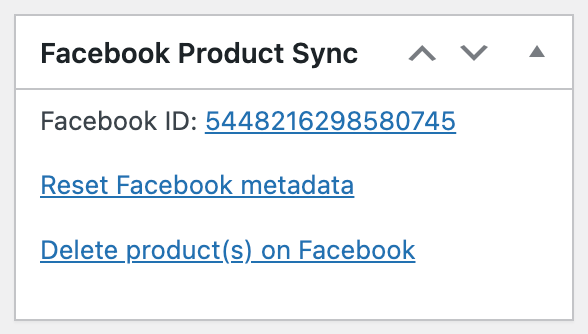
To


And Facebook product Sync box change from

To

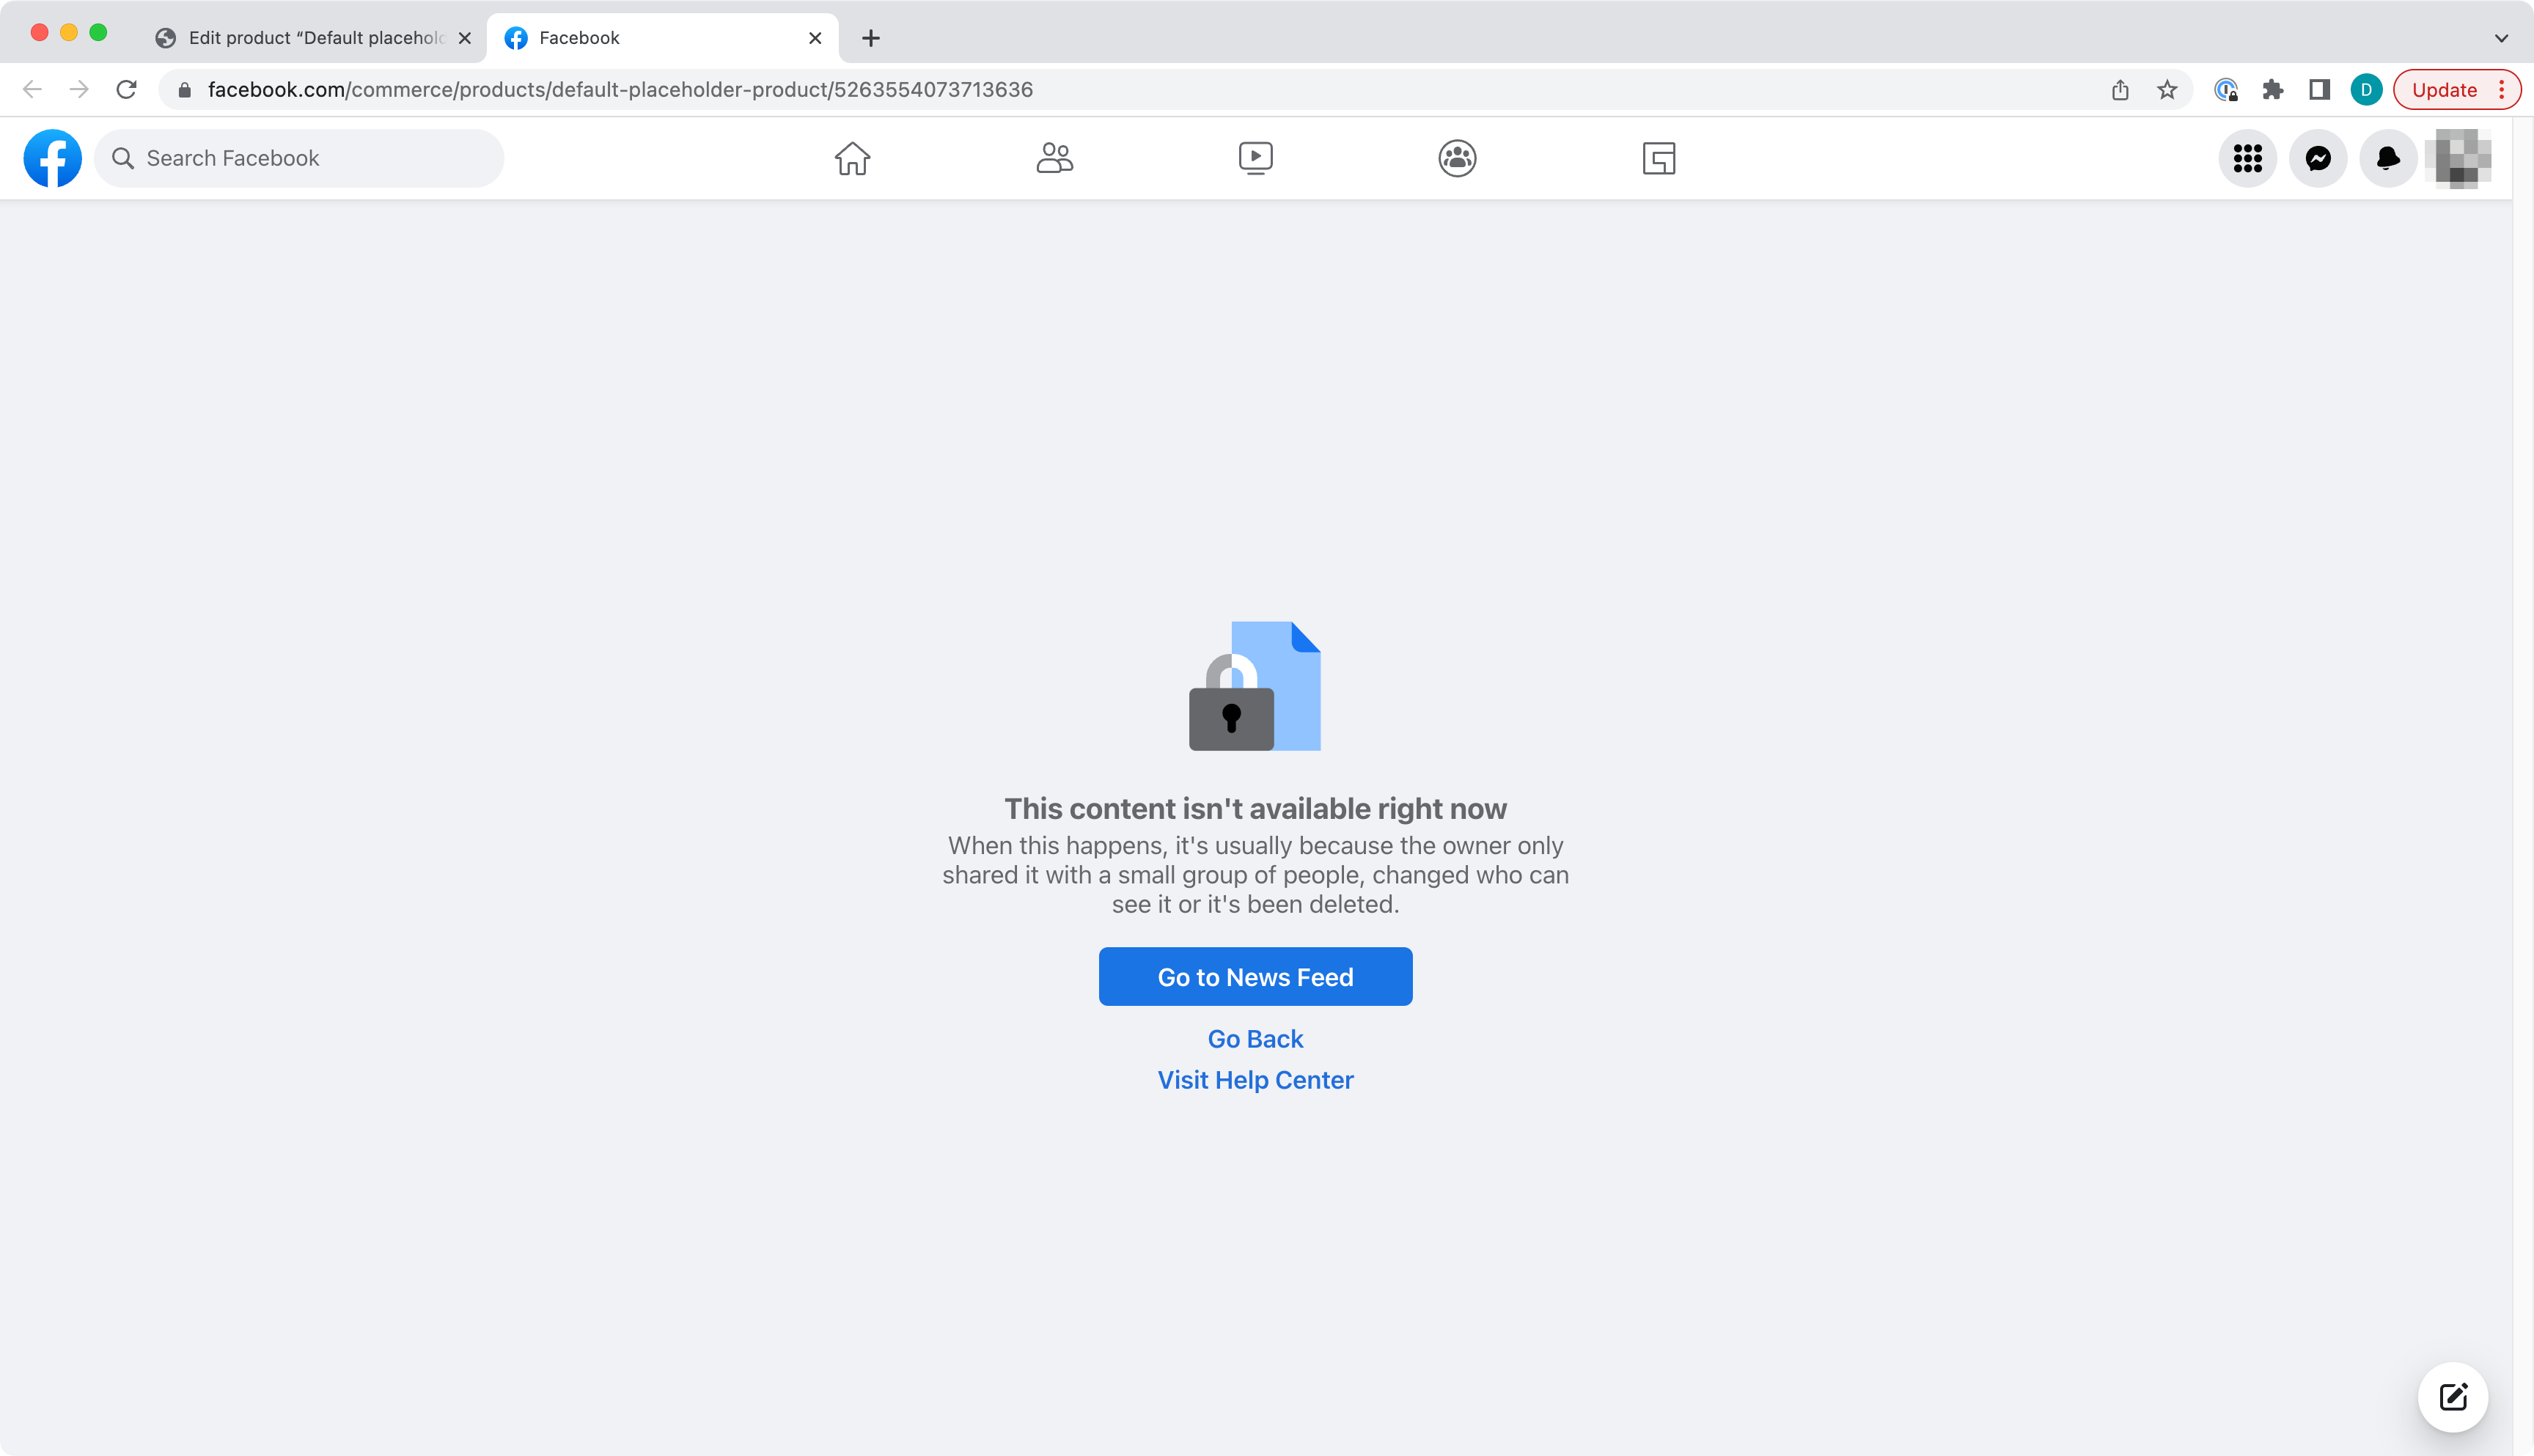
Clicking Facebook ID link will open Facebook Product page with the product present on it. Keep in mind when you change stock quantity from 0 to some positive number and Update the product the product Facebook ID changes.
Edit a product and choose 'Do not sync' the product to Facebook.

You should see a popup
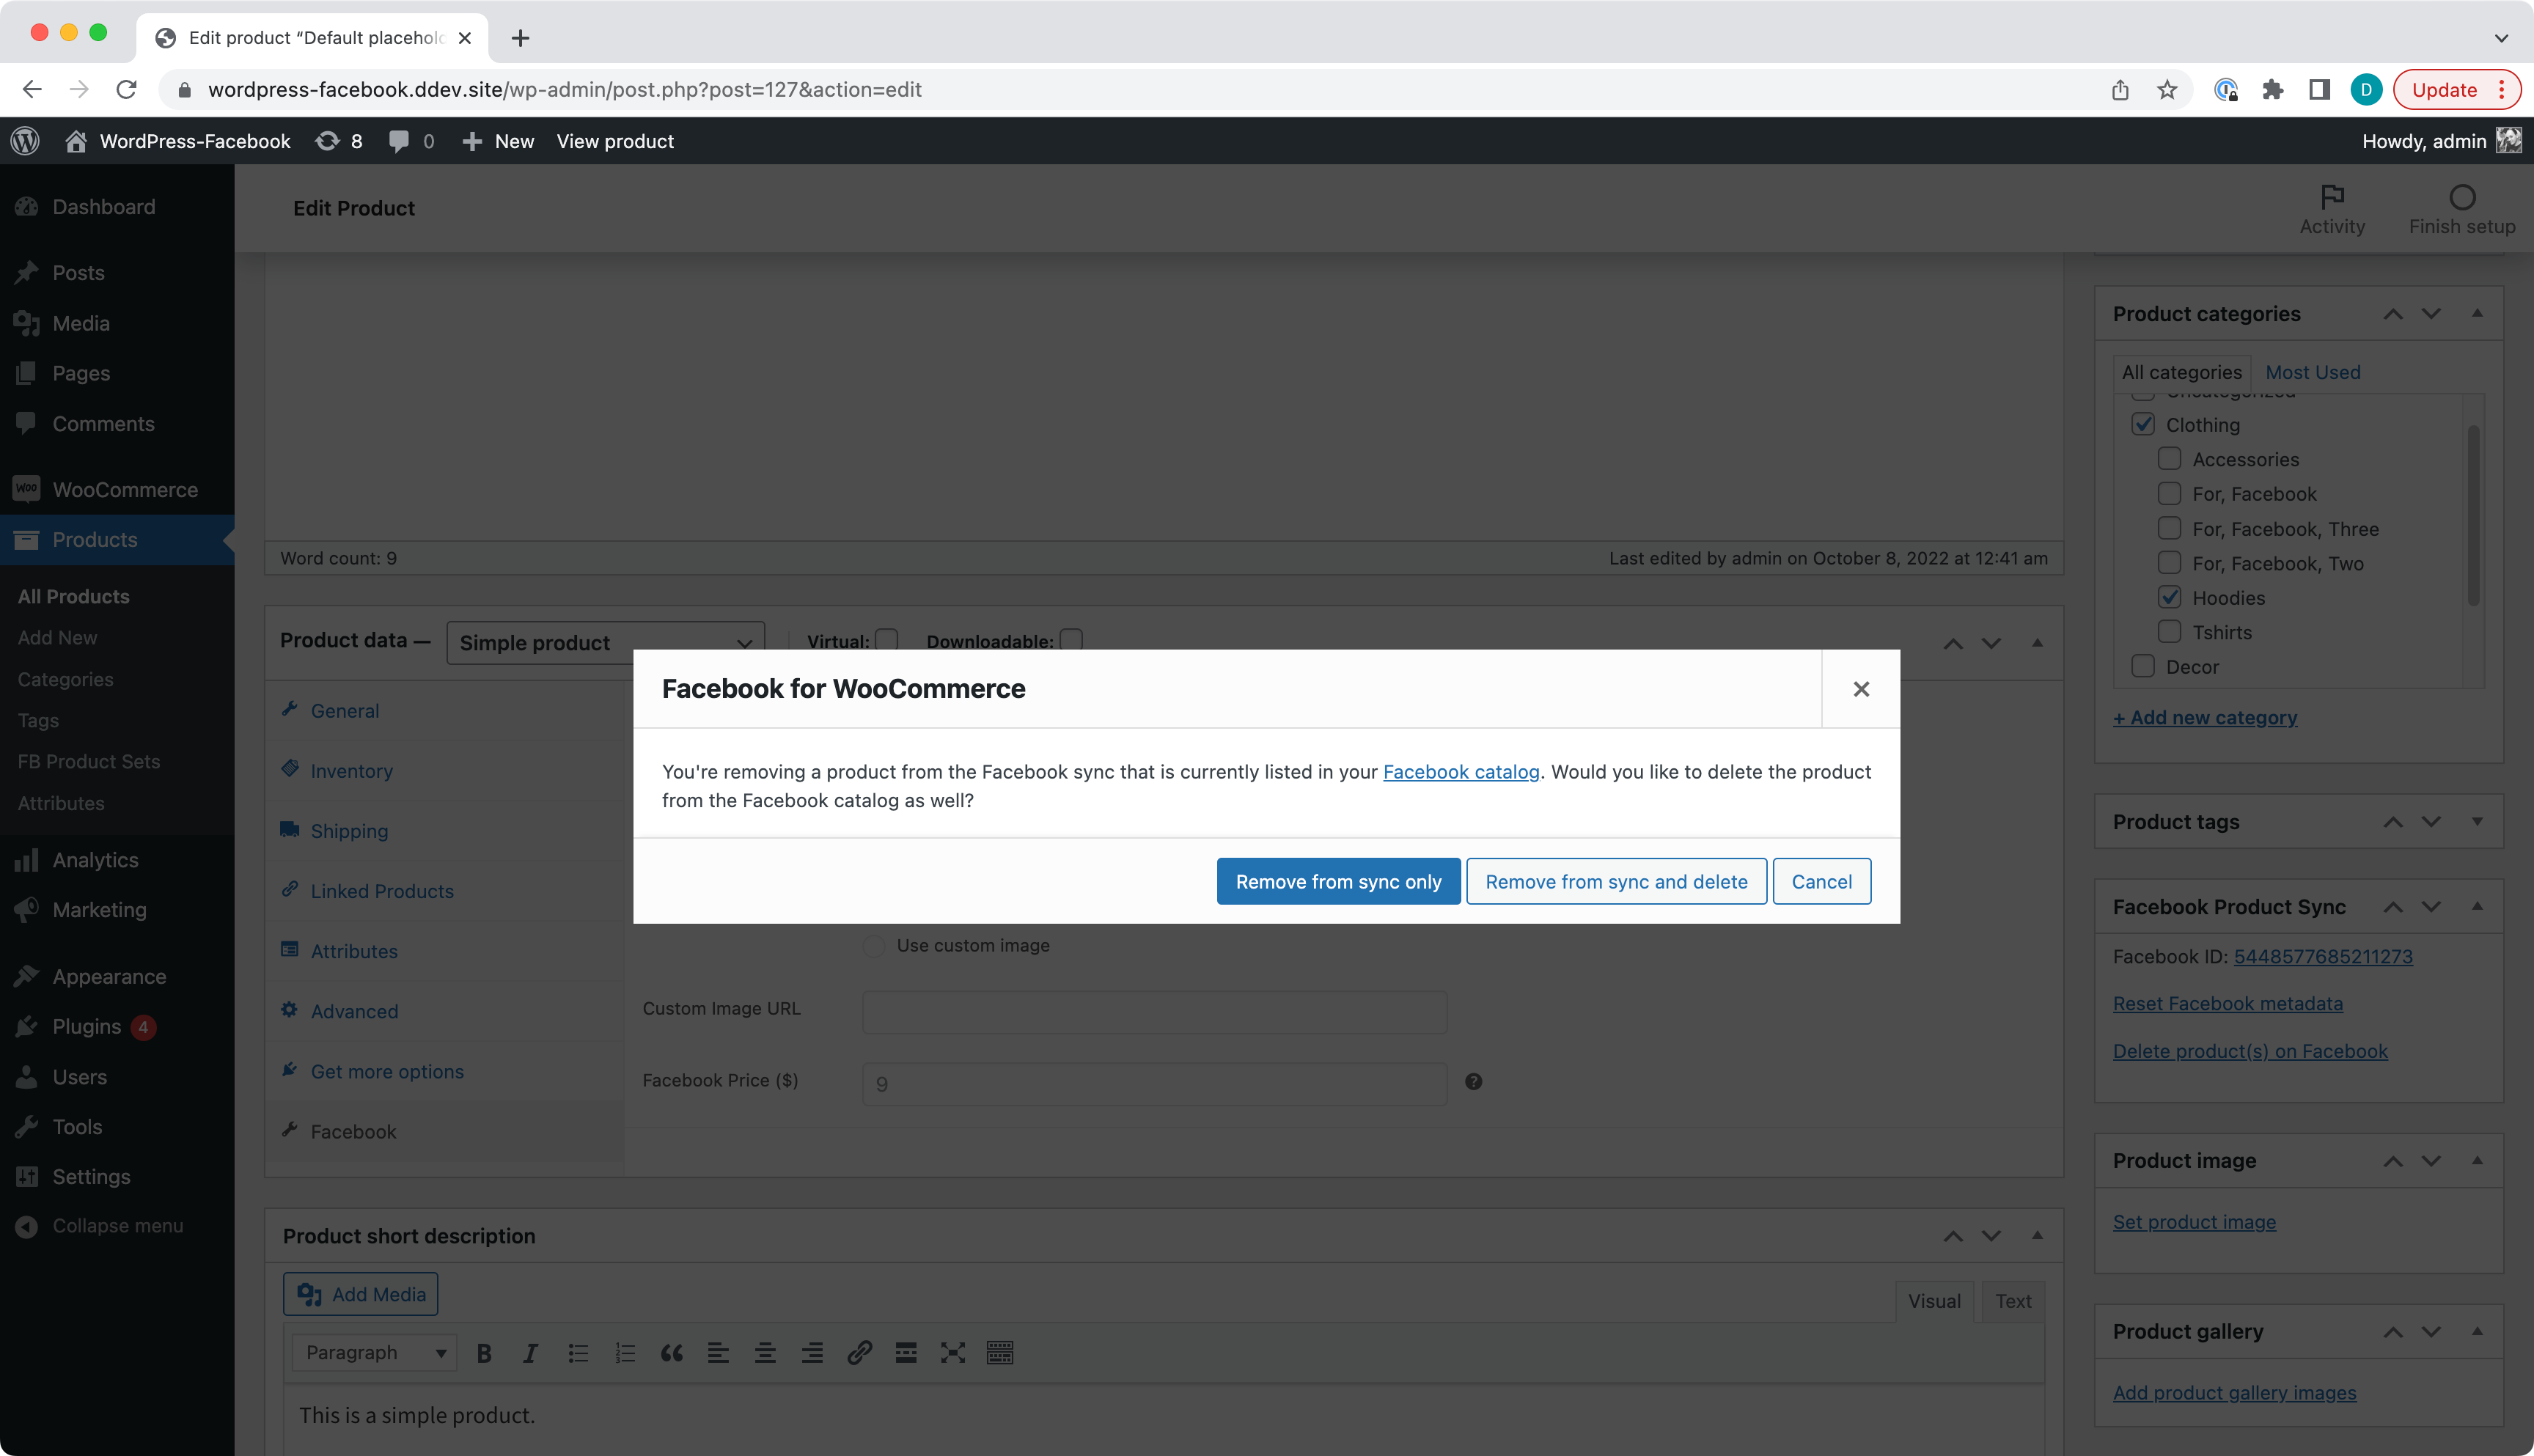
Clicking 'Remove from sync and delete' and updating the product after should make the product missing from Facebook Catalog Items.
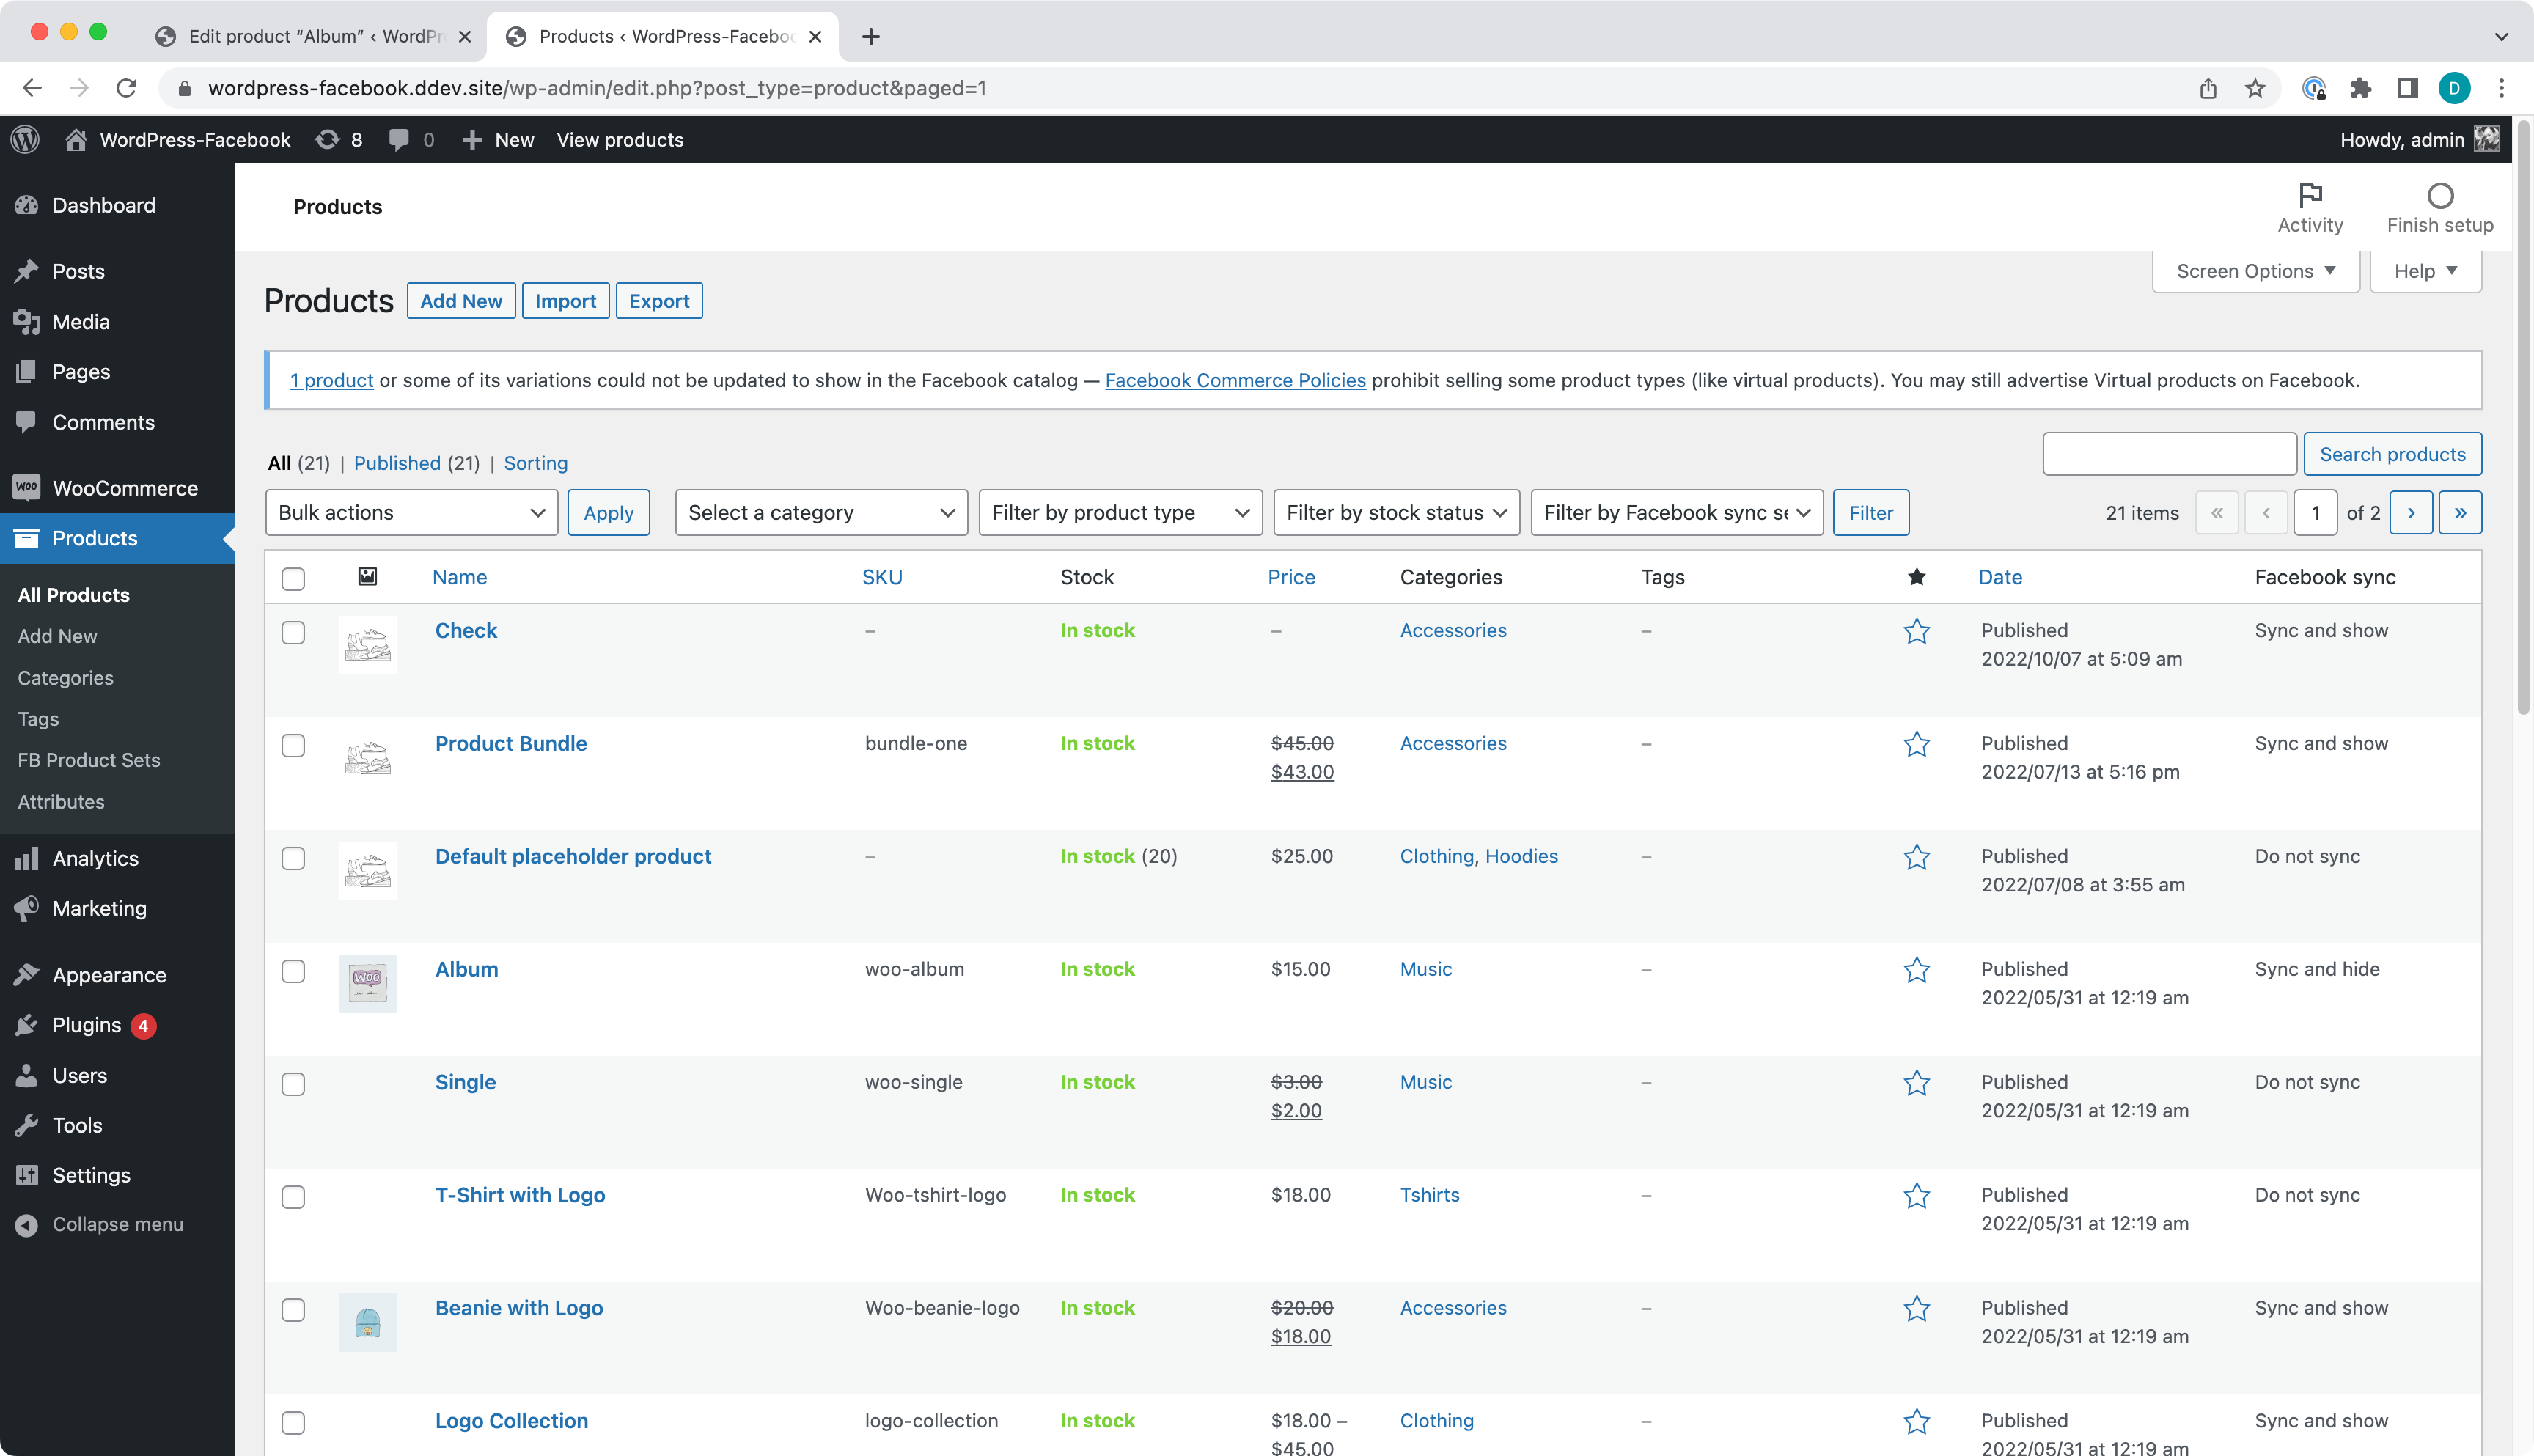
- Sync virtual product will sync and hide the product on Facebook.
Check virtual product, select Include in Facebook sync bulk action and hit Apply.
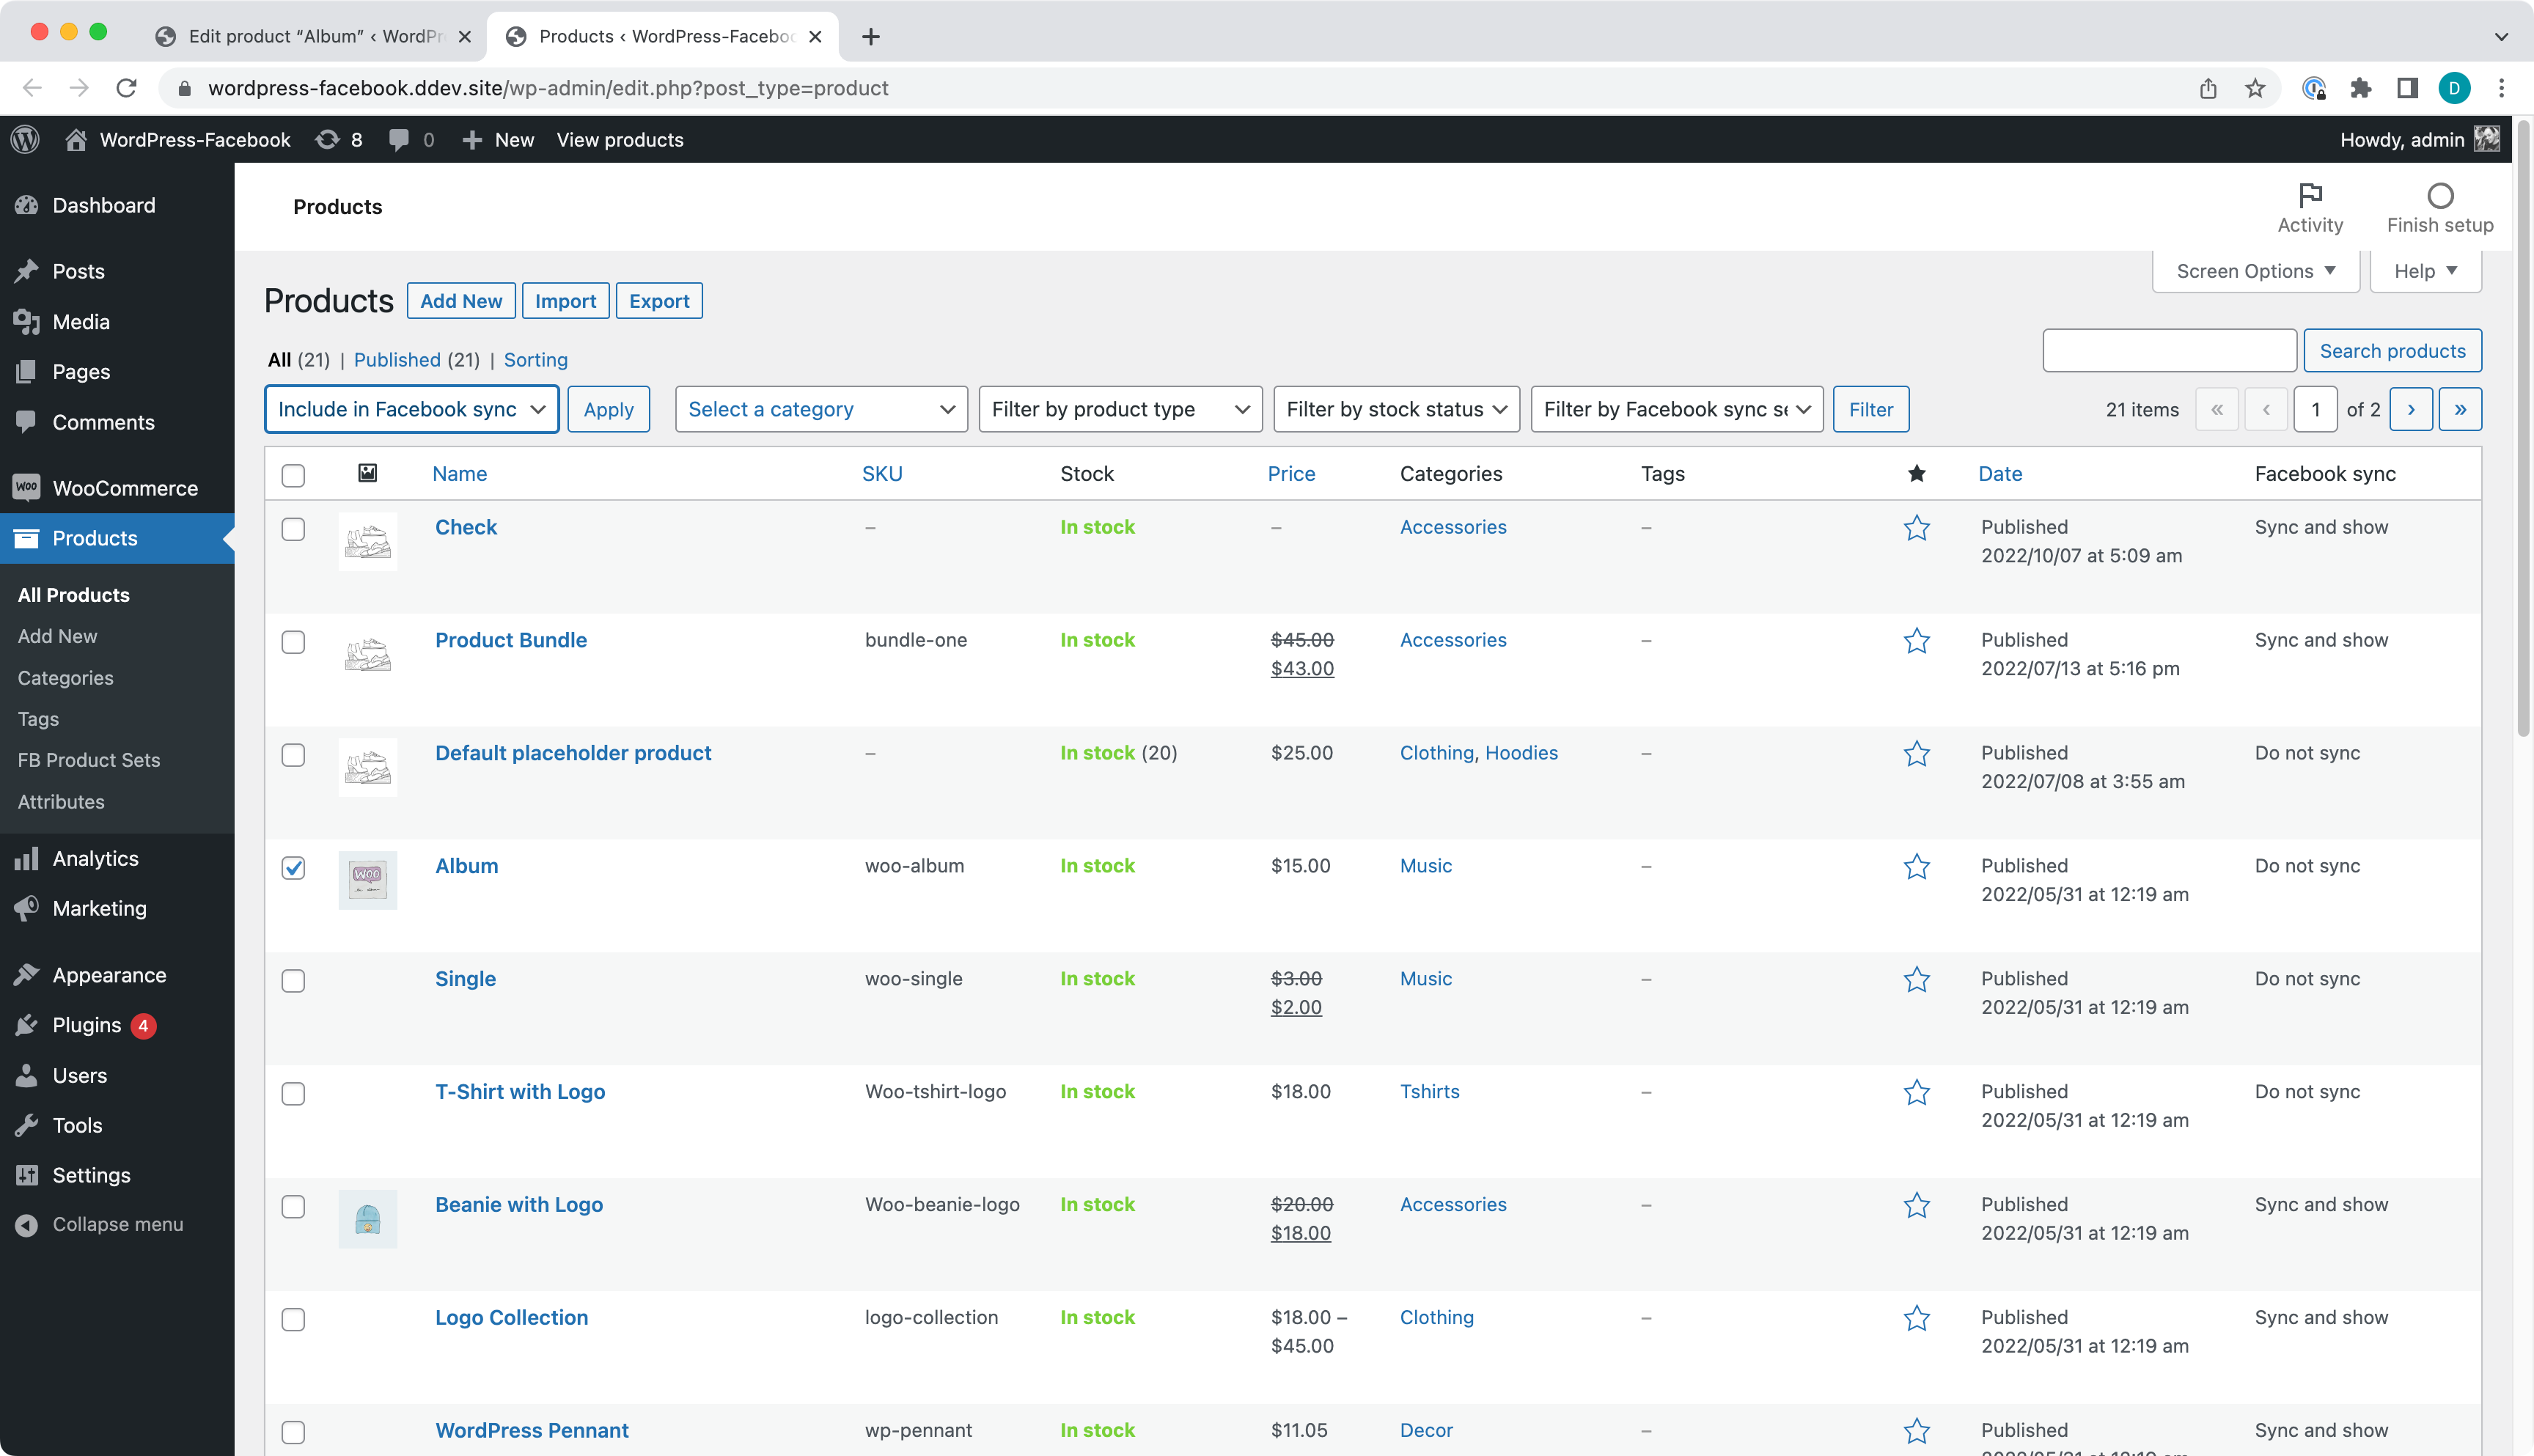
You should see a message with a reference to Facebook Commerce Policies saying virtual products are not allowed to be sold on Facebook. But the product was still synced but hidden to Facebook.
- A Category with products synced to Facebook.
- A Category with produces not synced to Facebook.
- A Category with produces either synced, partially synced or not synced to Facebook.
- Facebook Set from a Category syncs to Facebook.
- Facebook Set from excluded Category does not sync to Facebook.
- Facebook Set from a Category with no products synced to Facebook.
Make sure you have a Category with products.
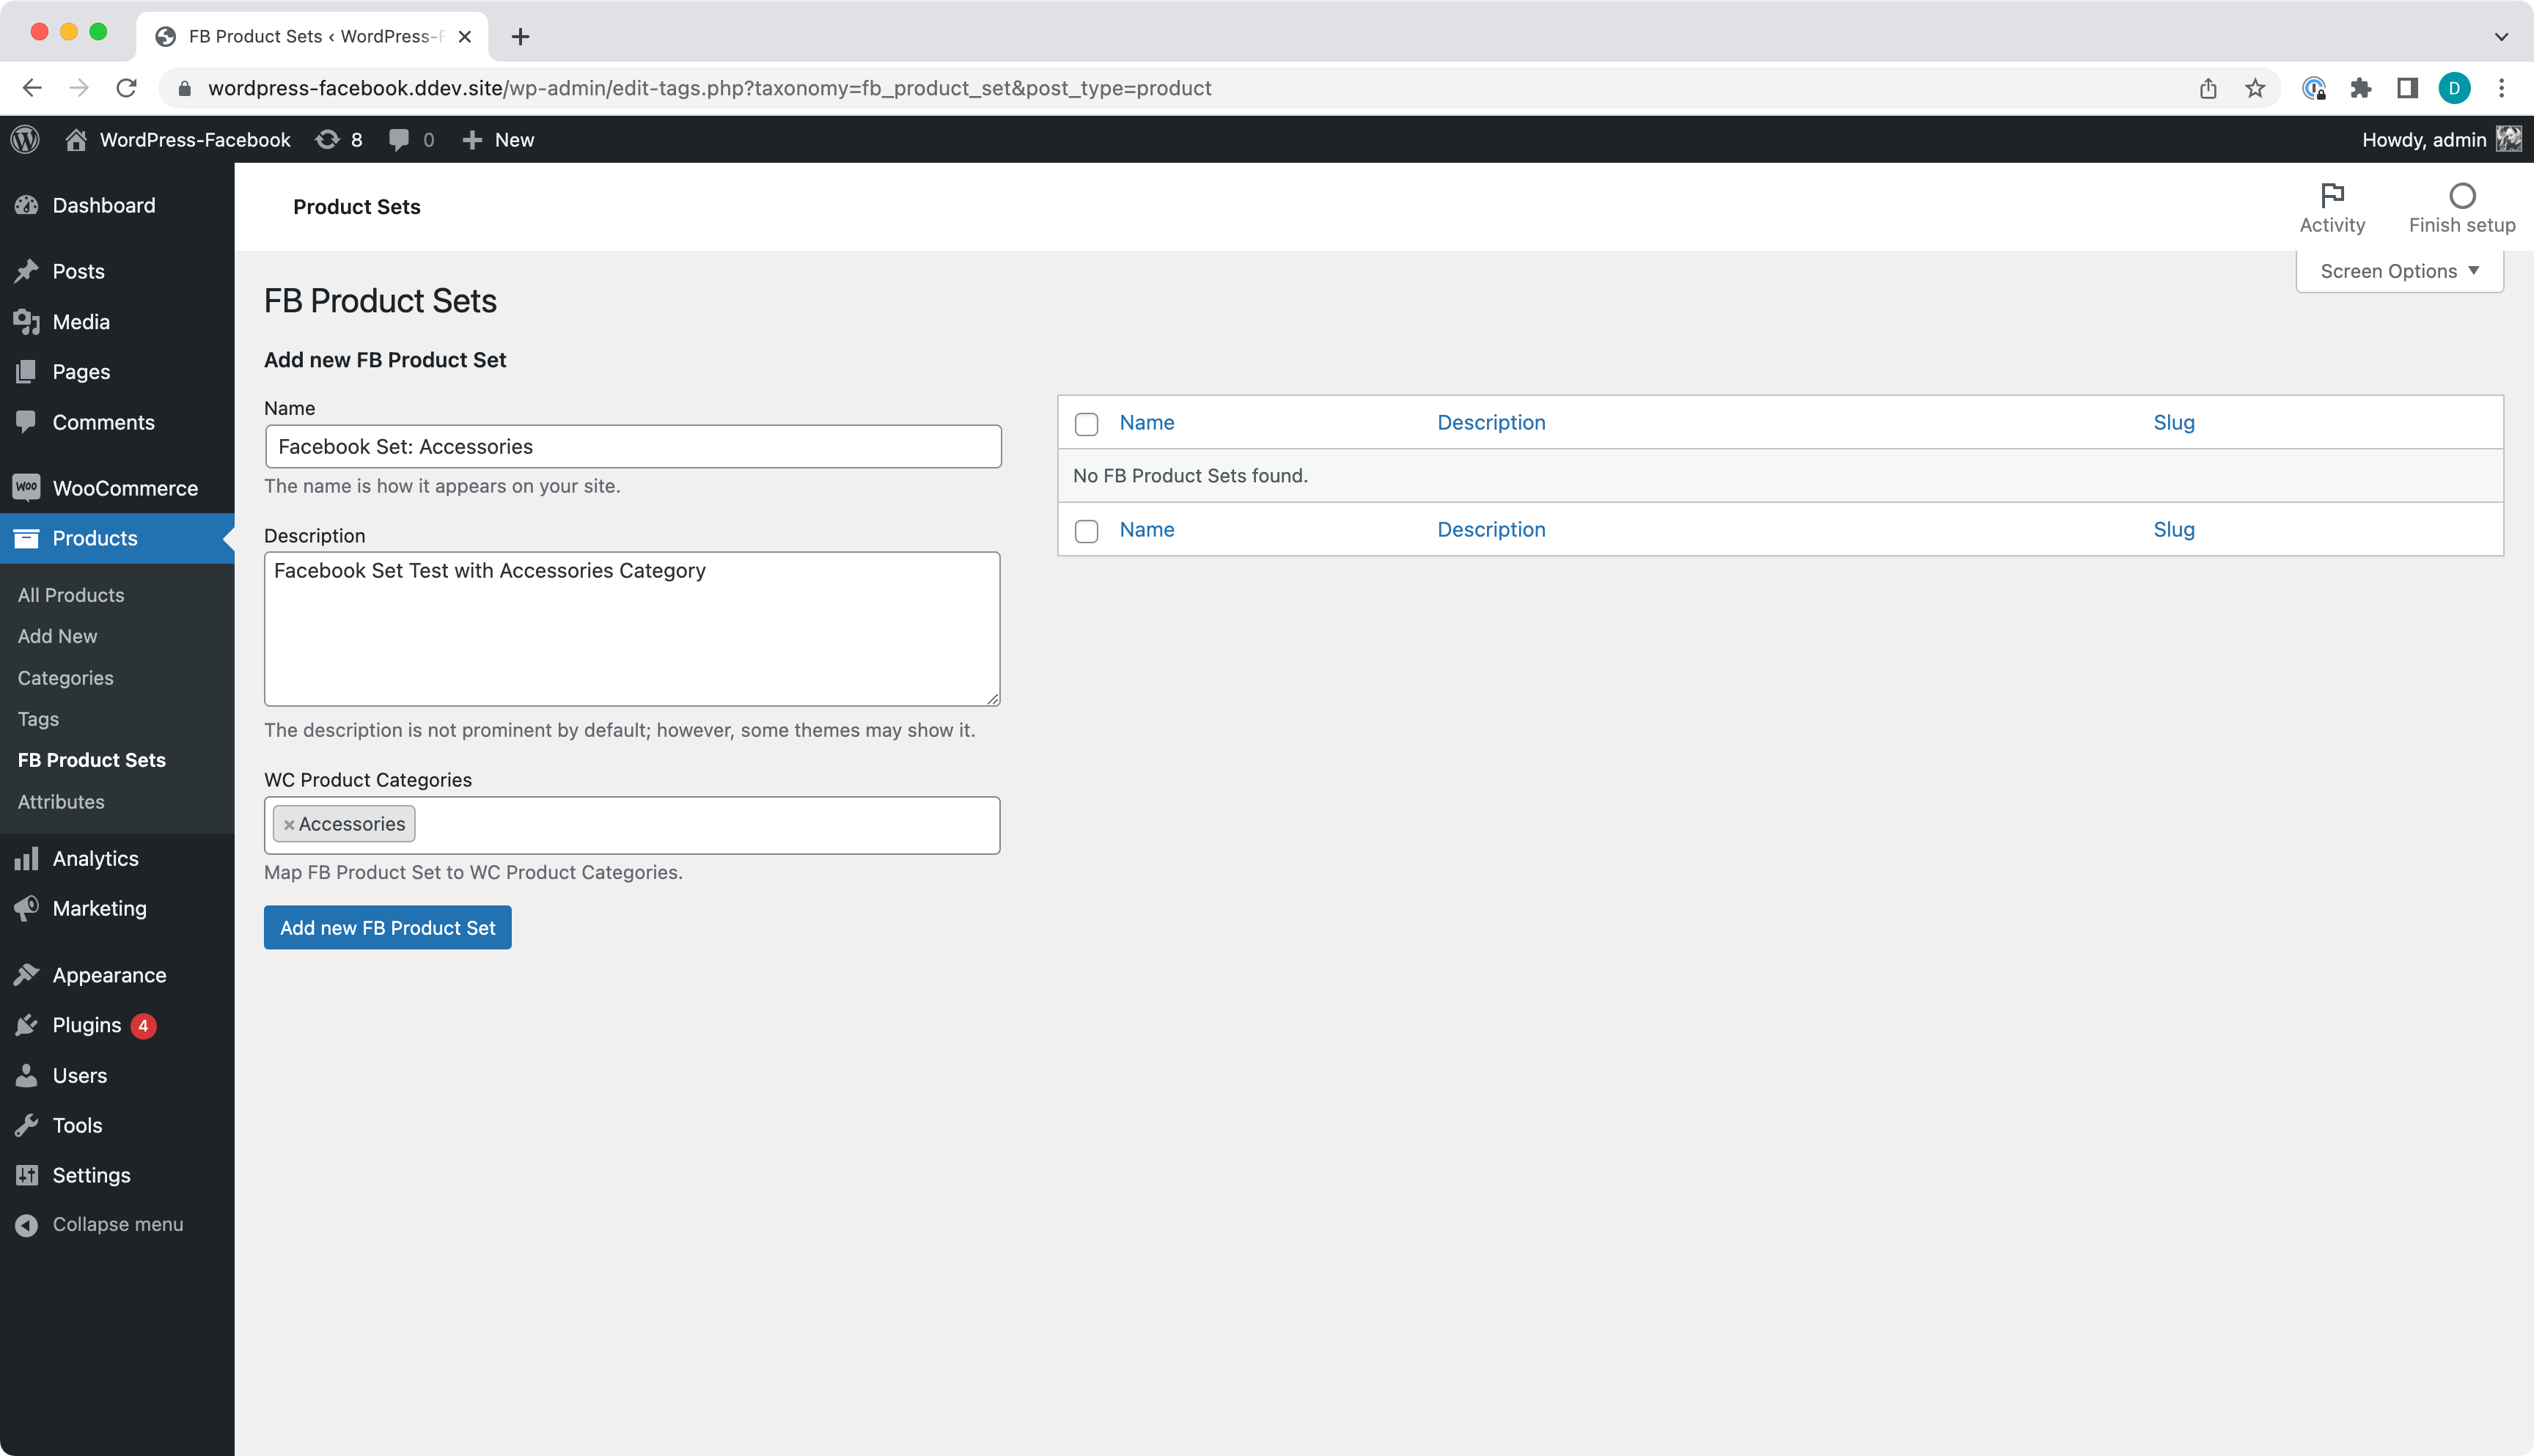
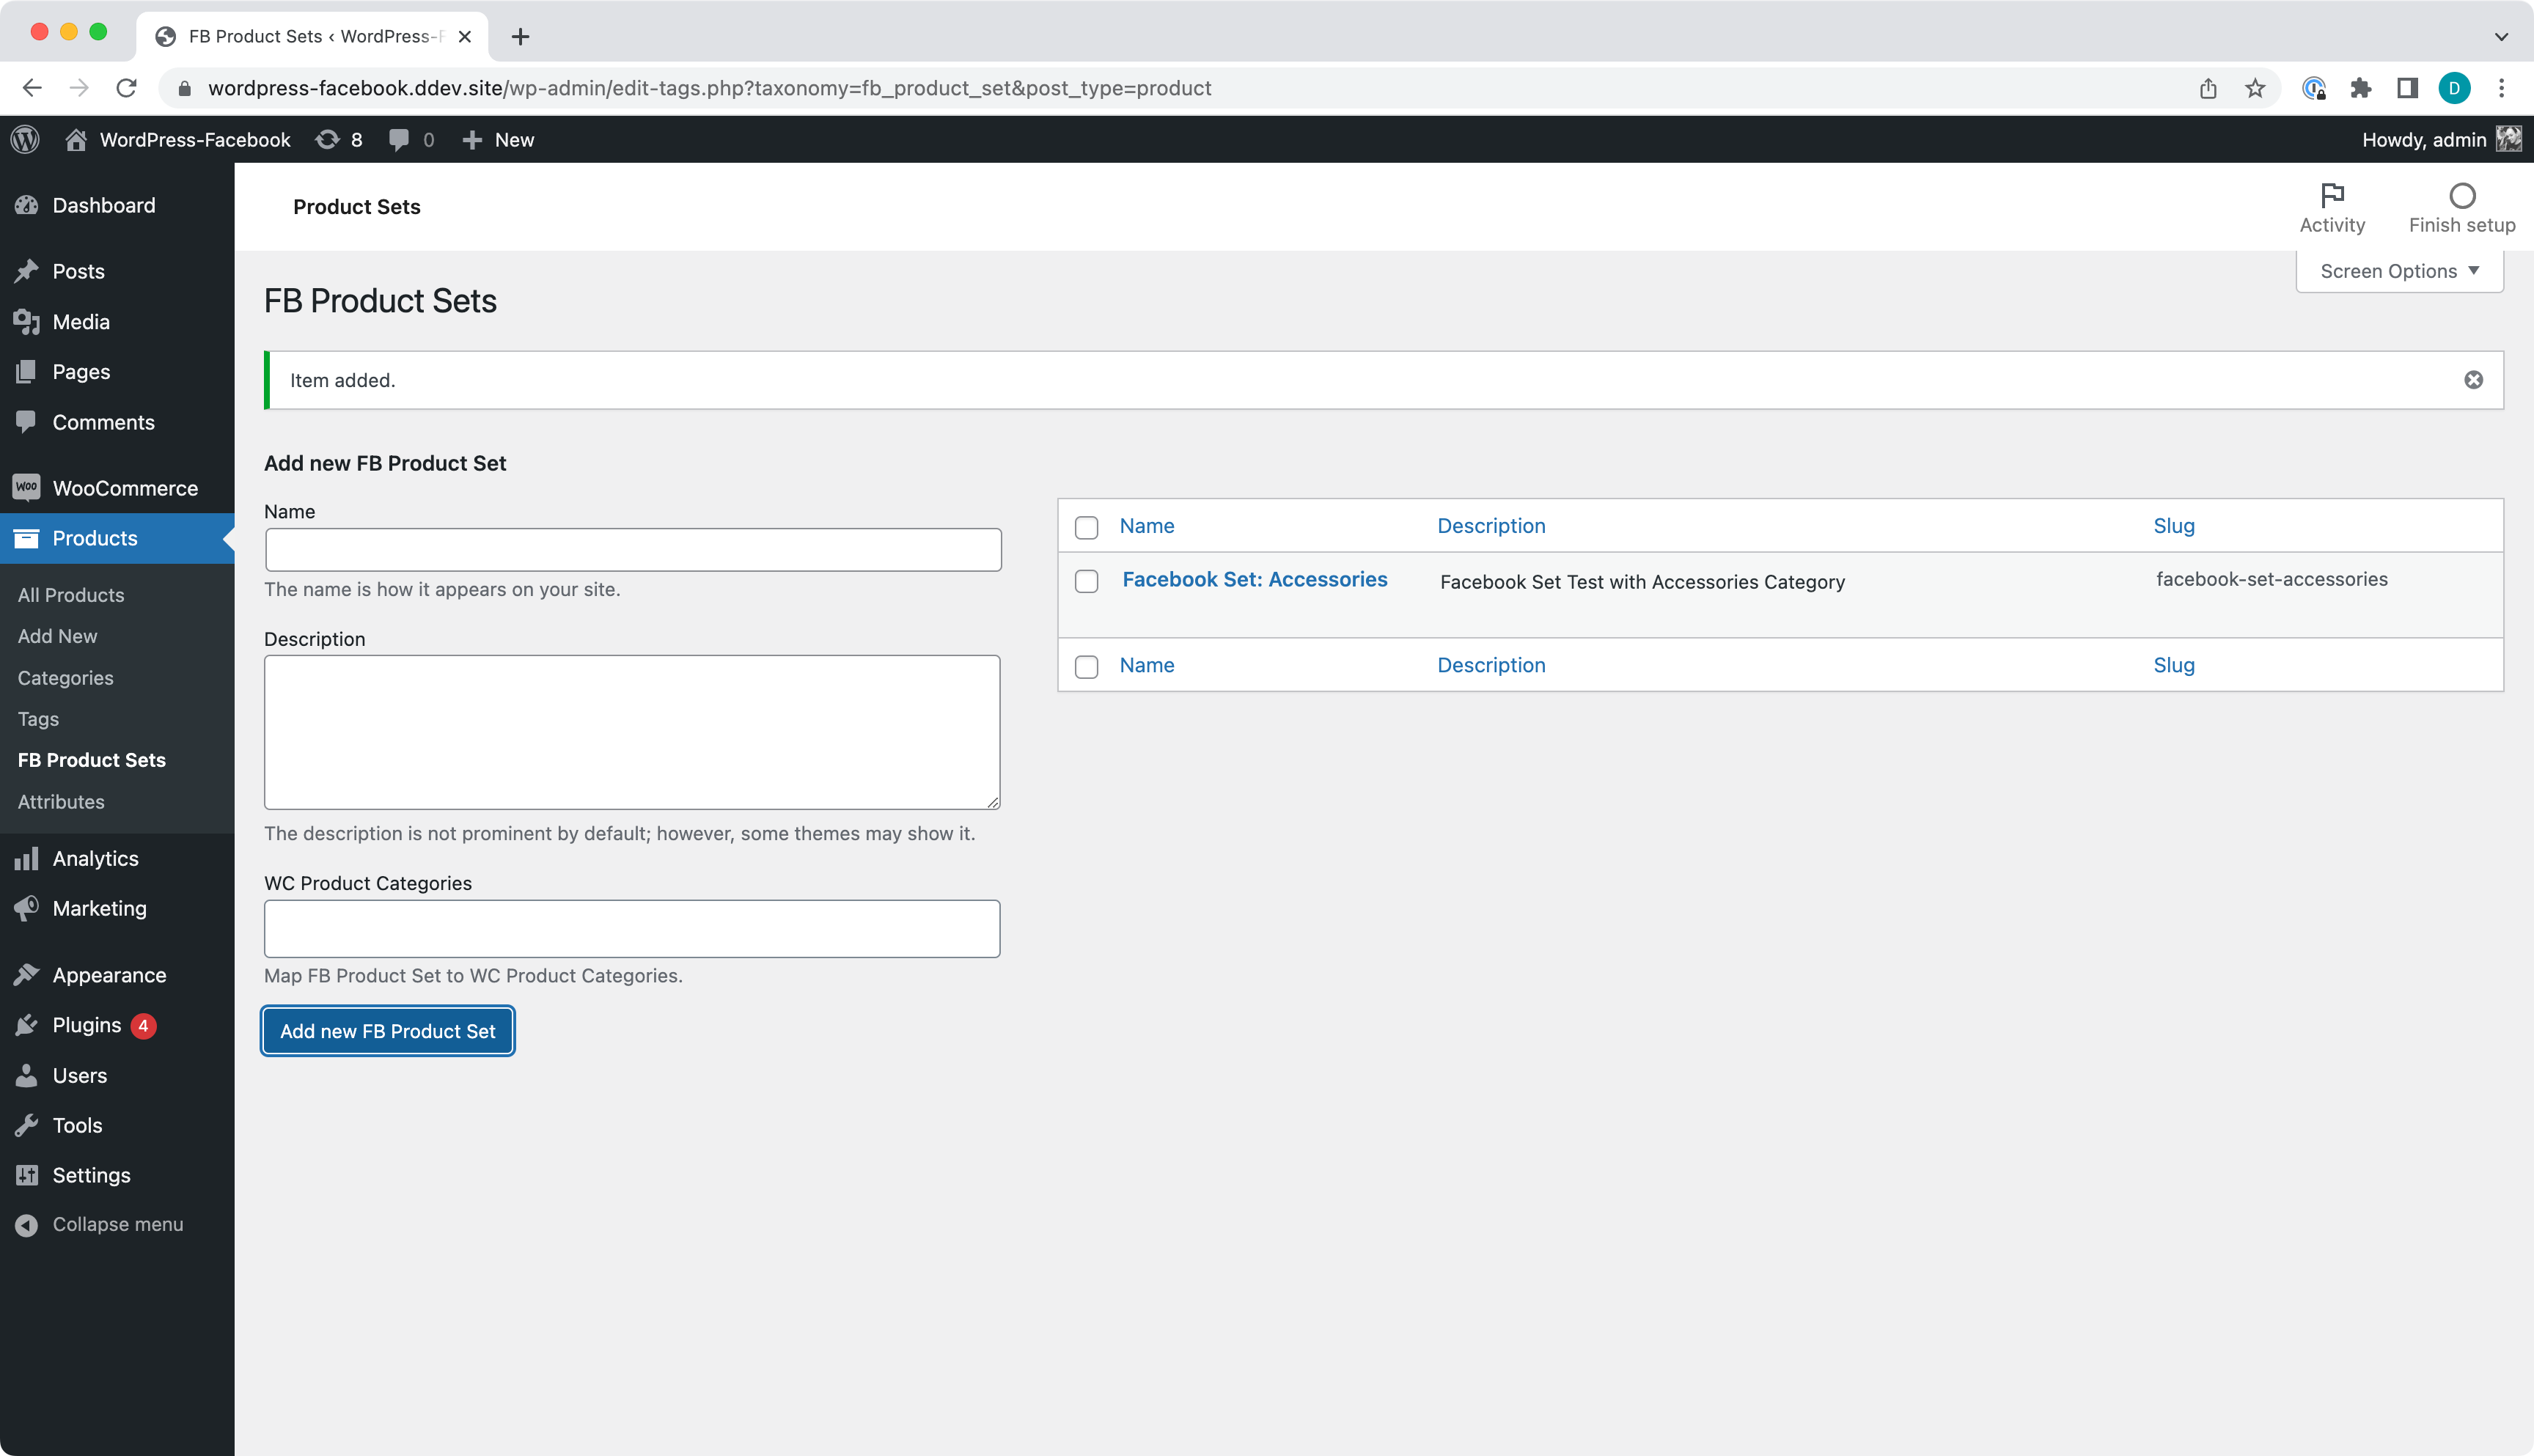
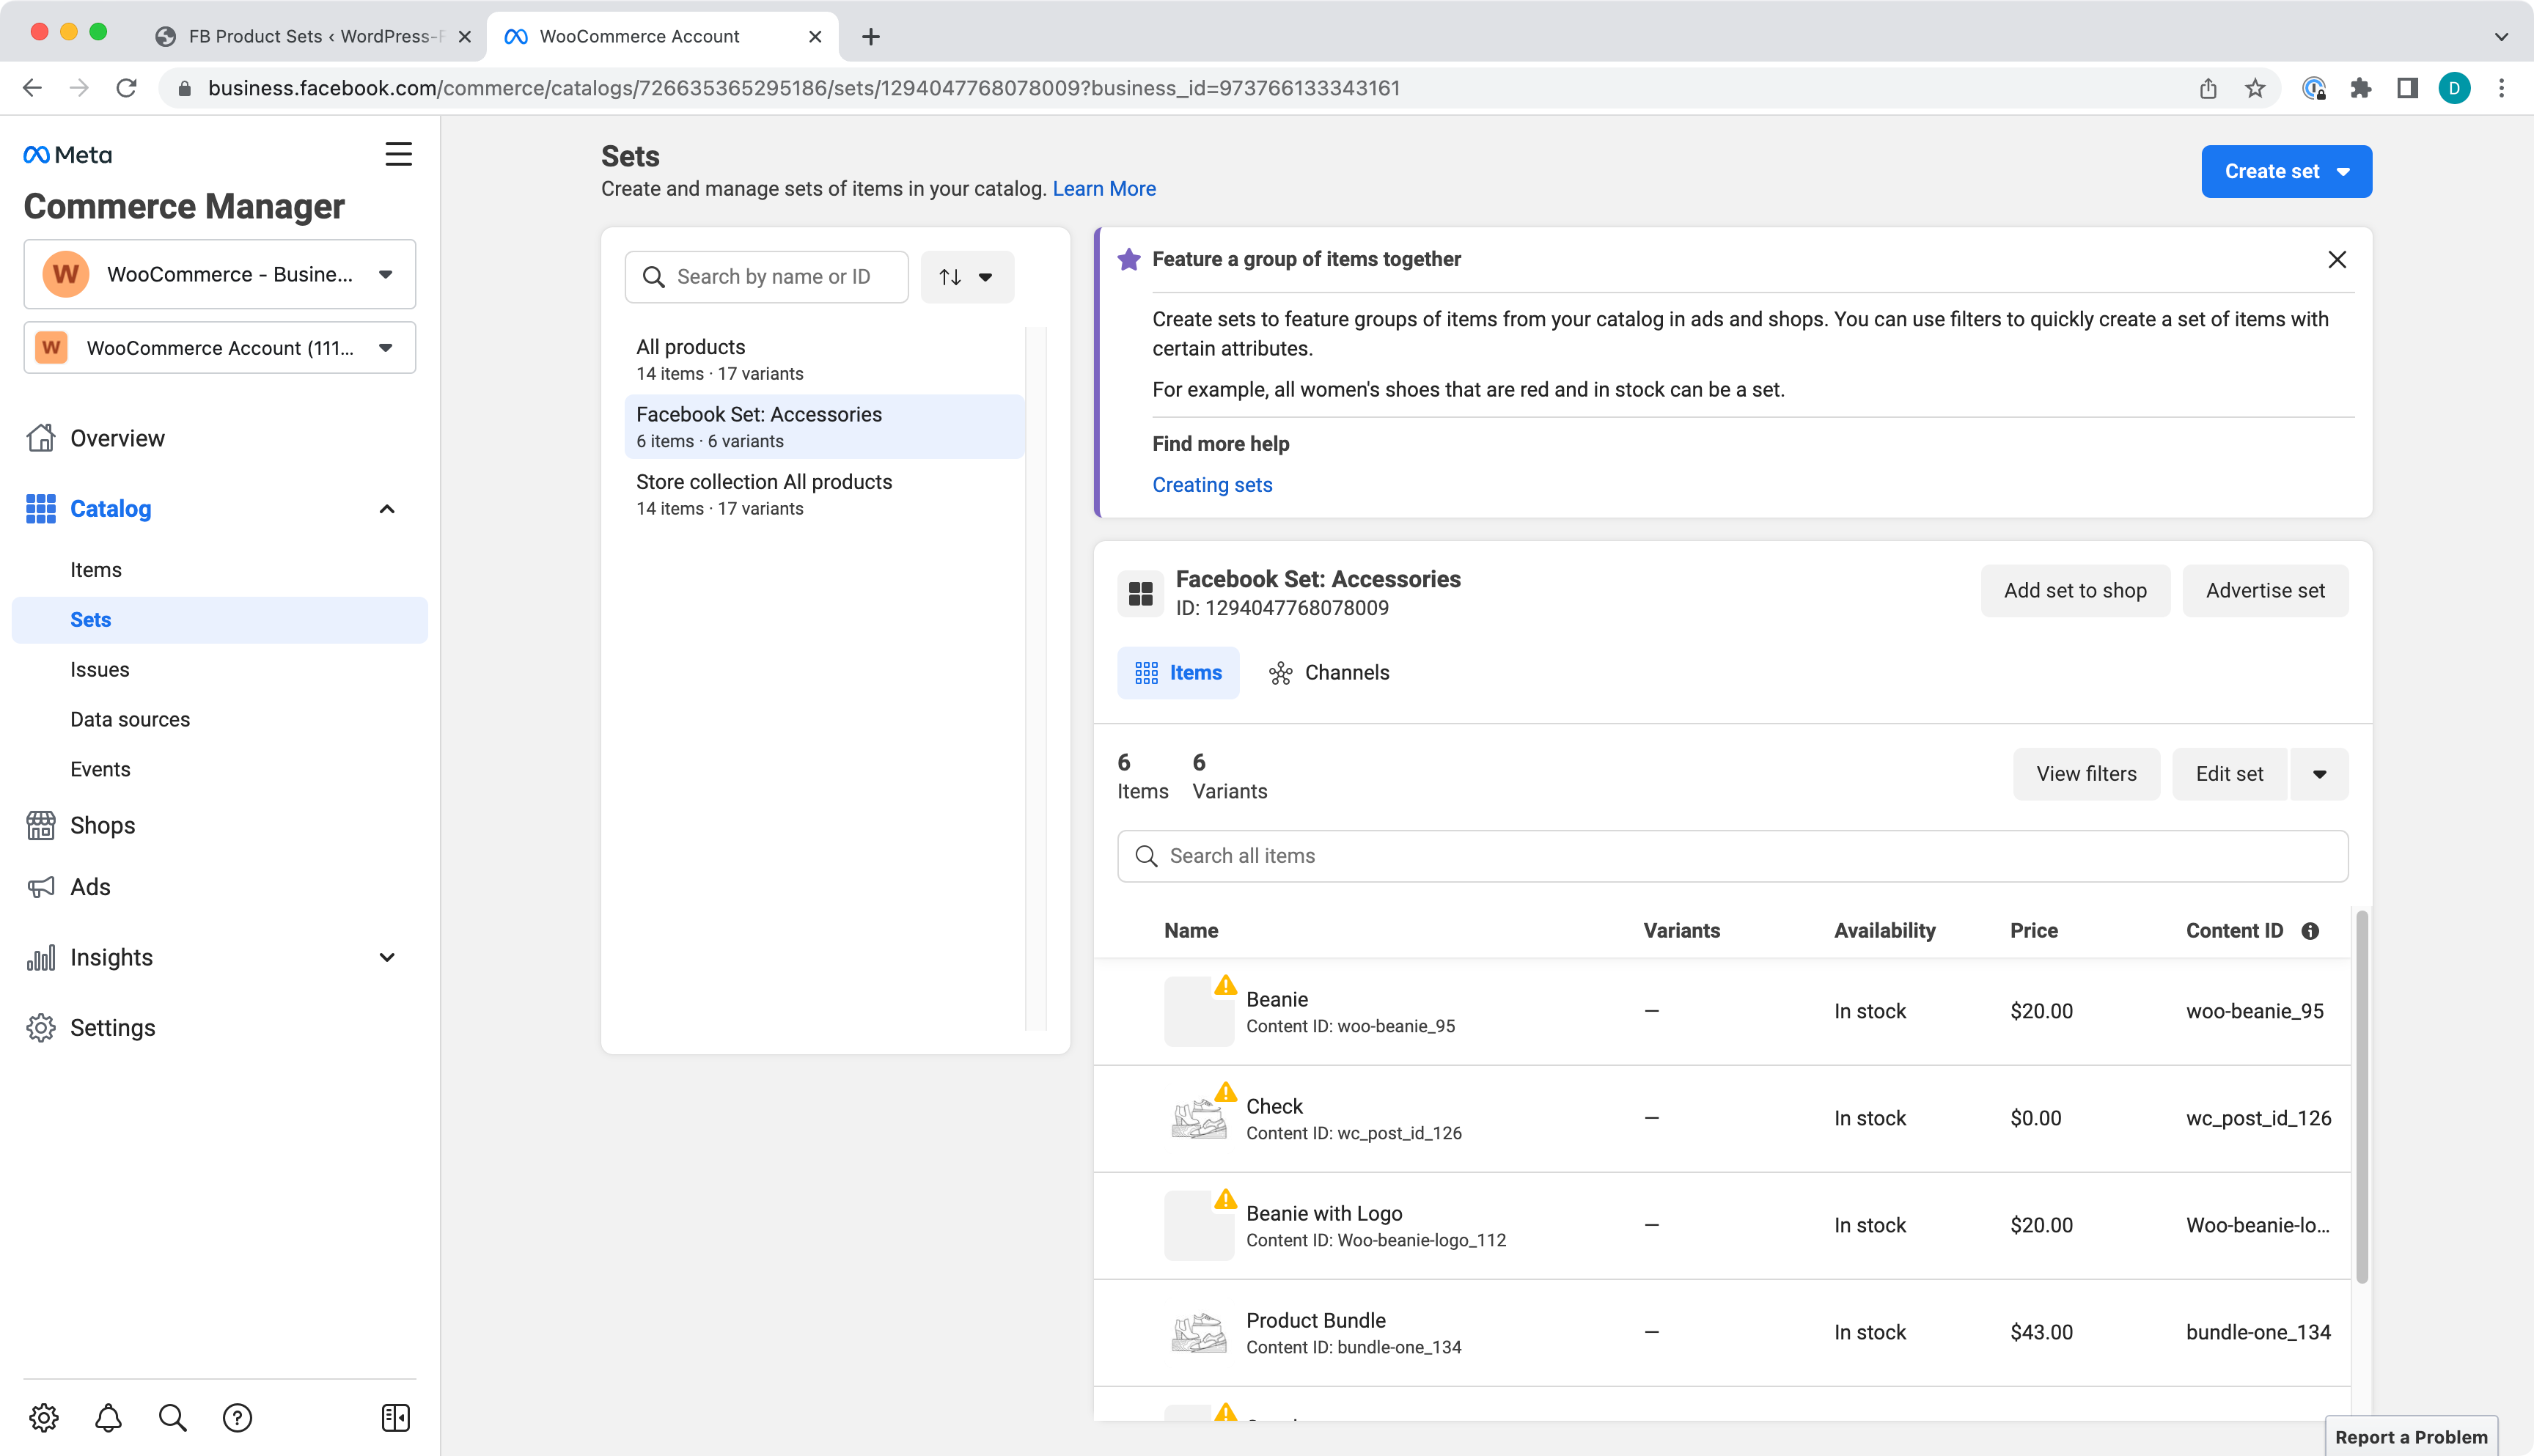
Go to Facebook Commerce Manager and check Catalog Set to see if the set was synced to Facebook.
Exclude a Category from Product sync.
If you had product from the Category synced to Facebook you will see the prompt to Exclude them from sync while saving.
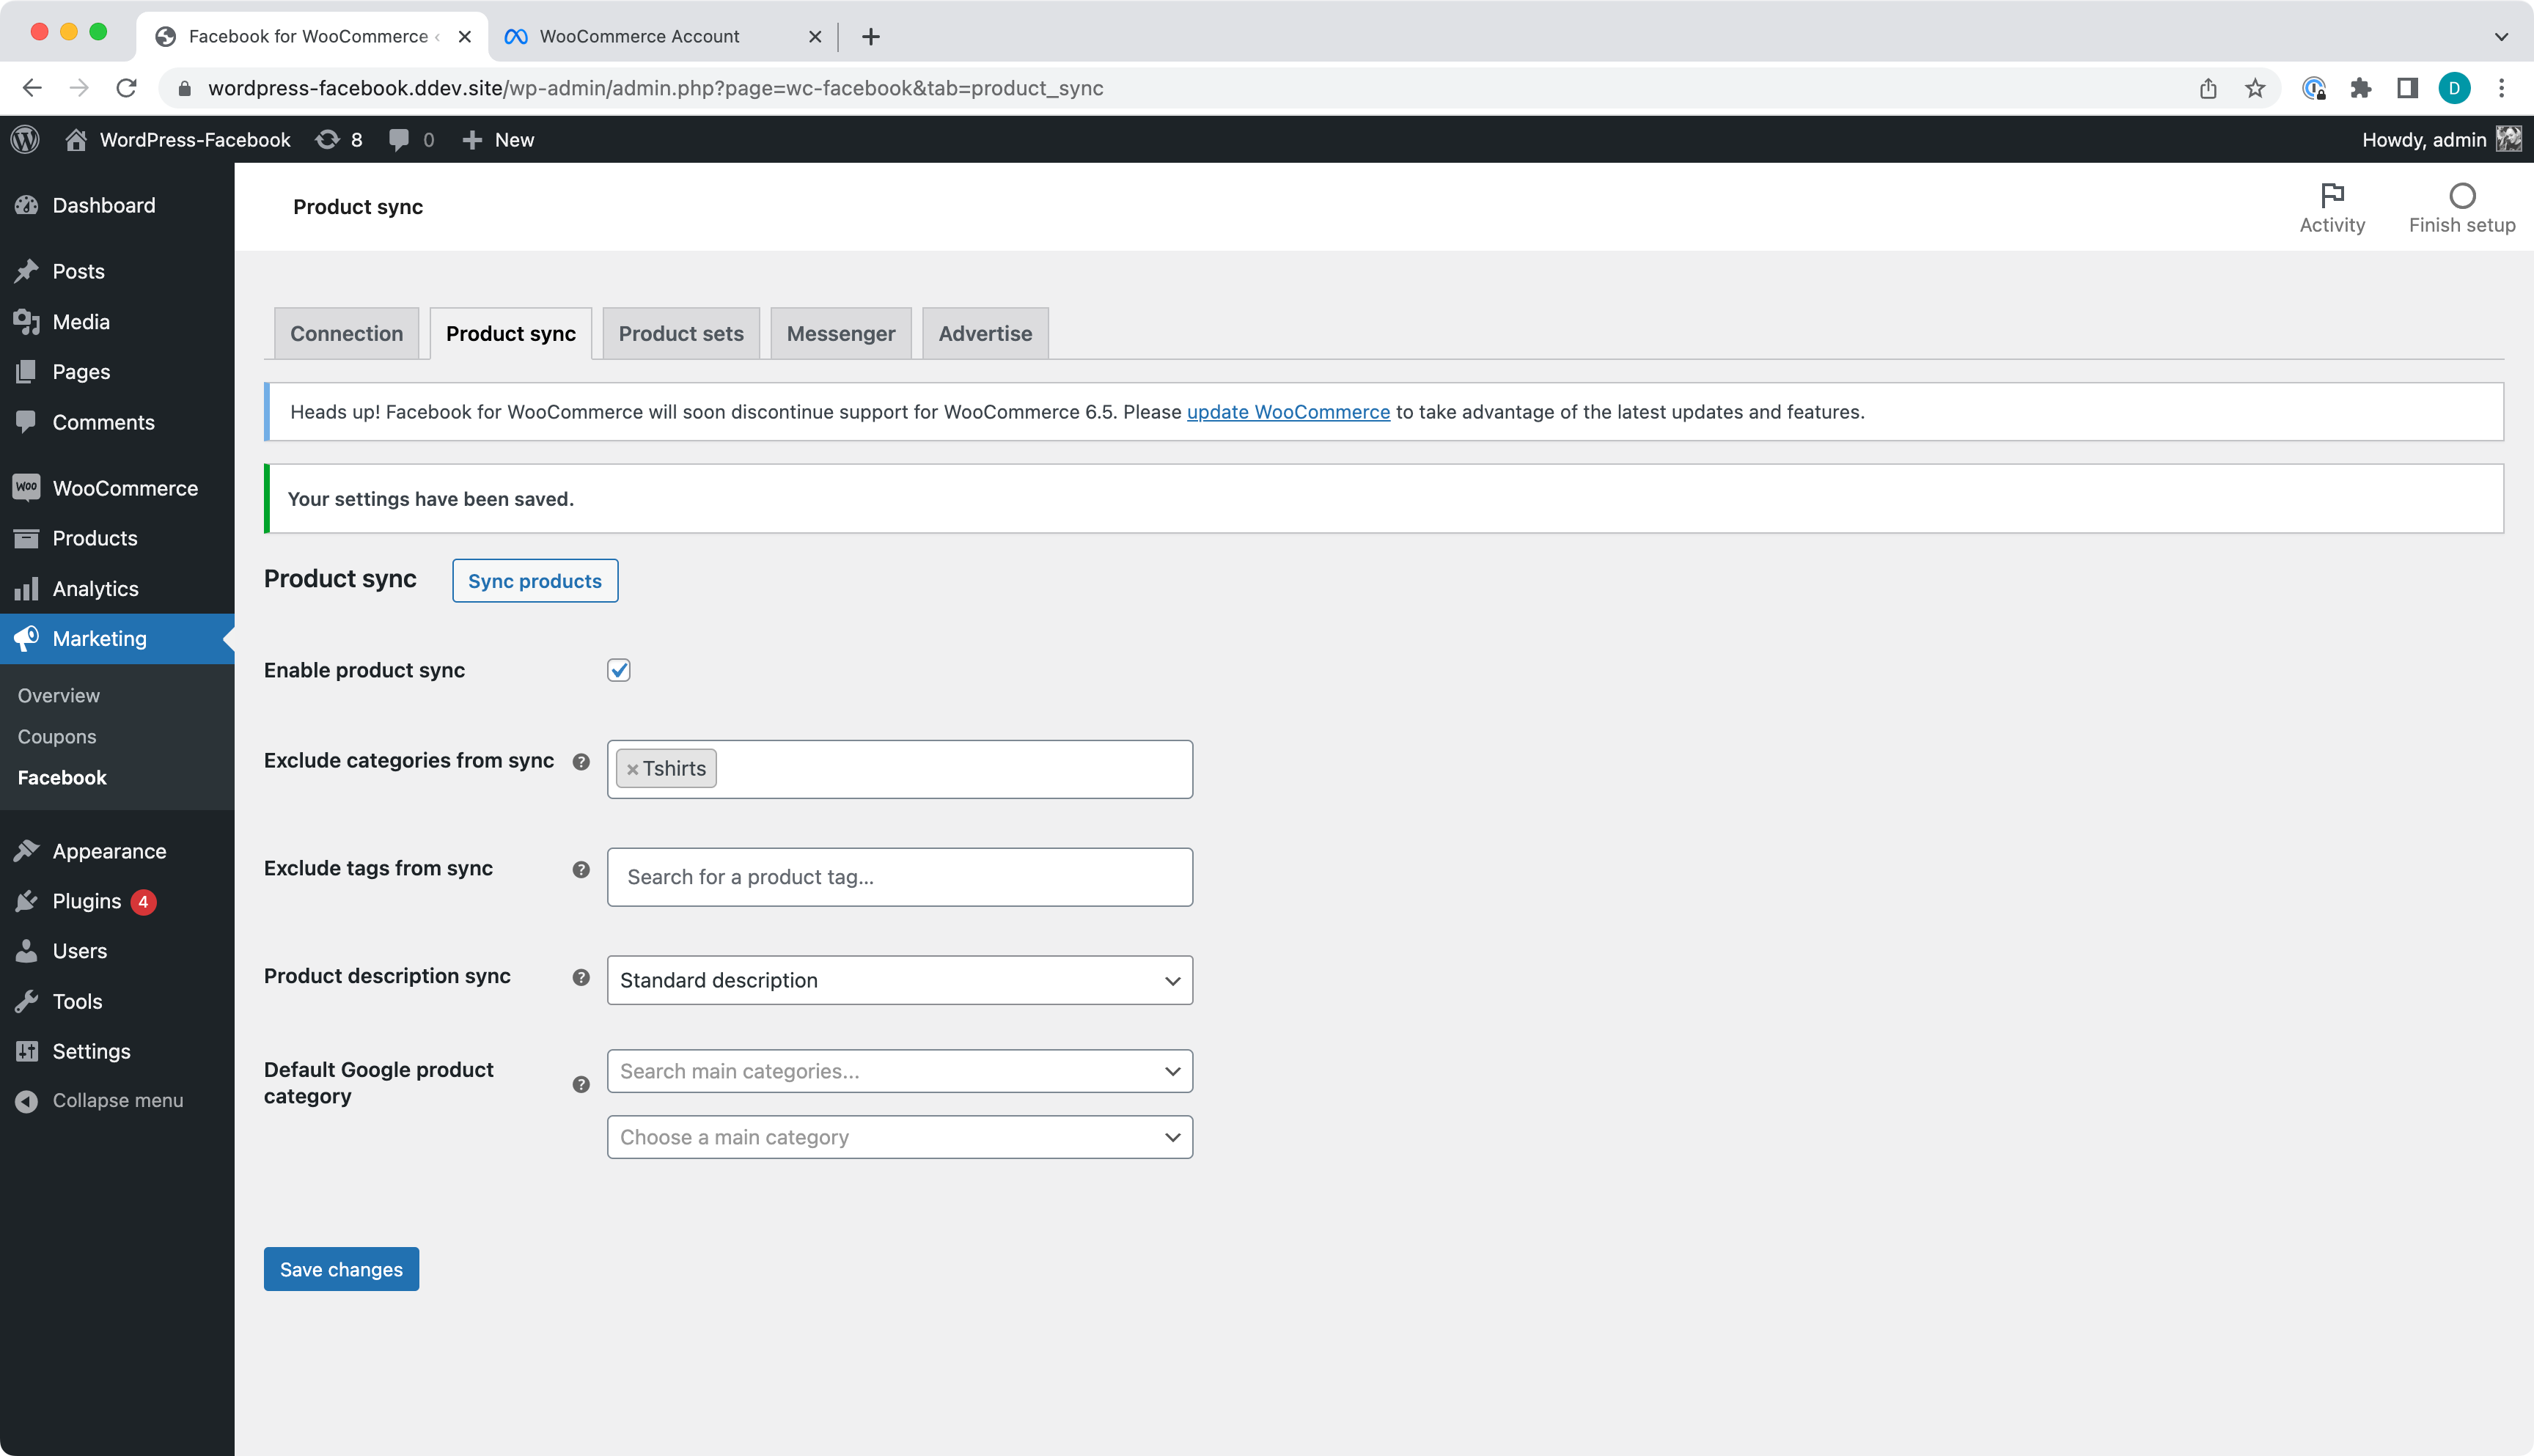
Successfully saved.
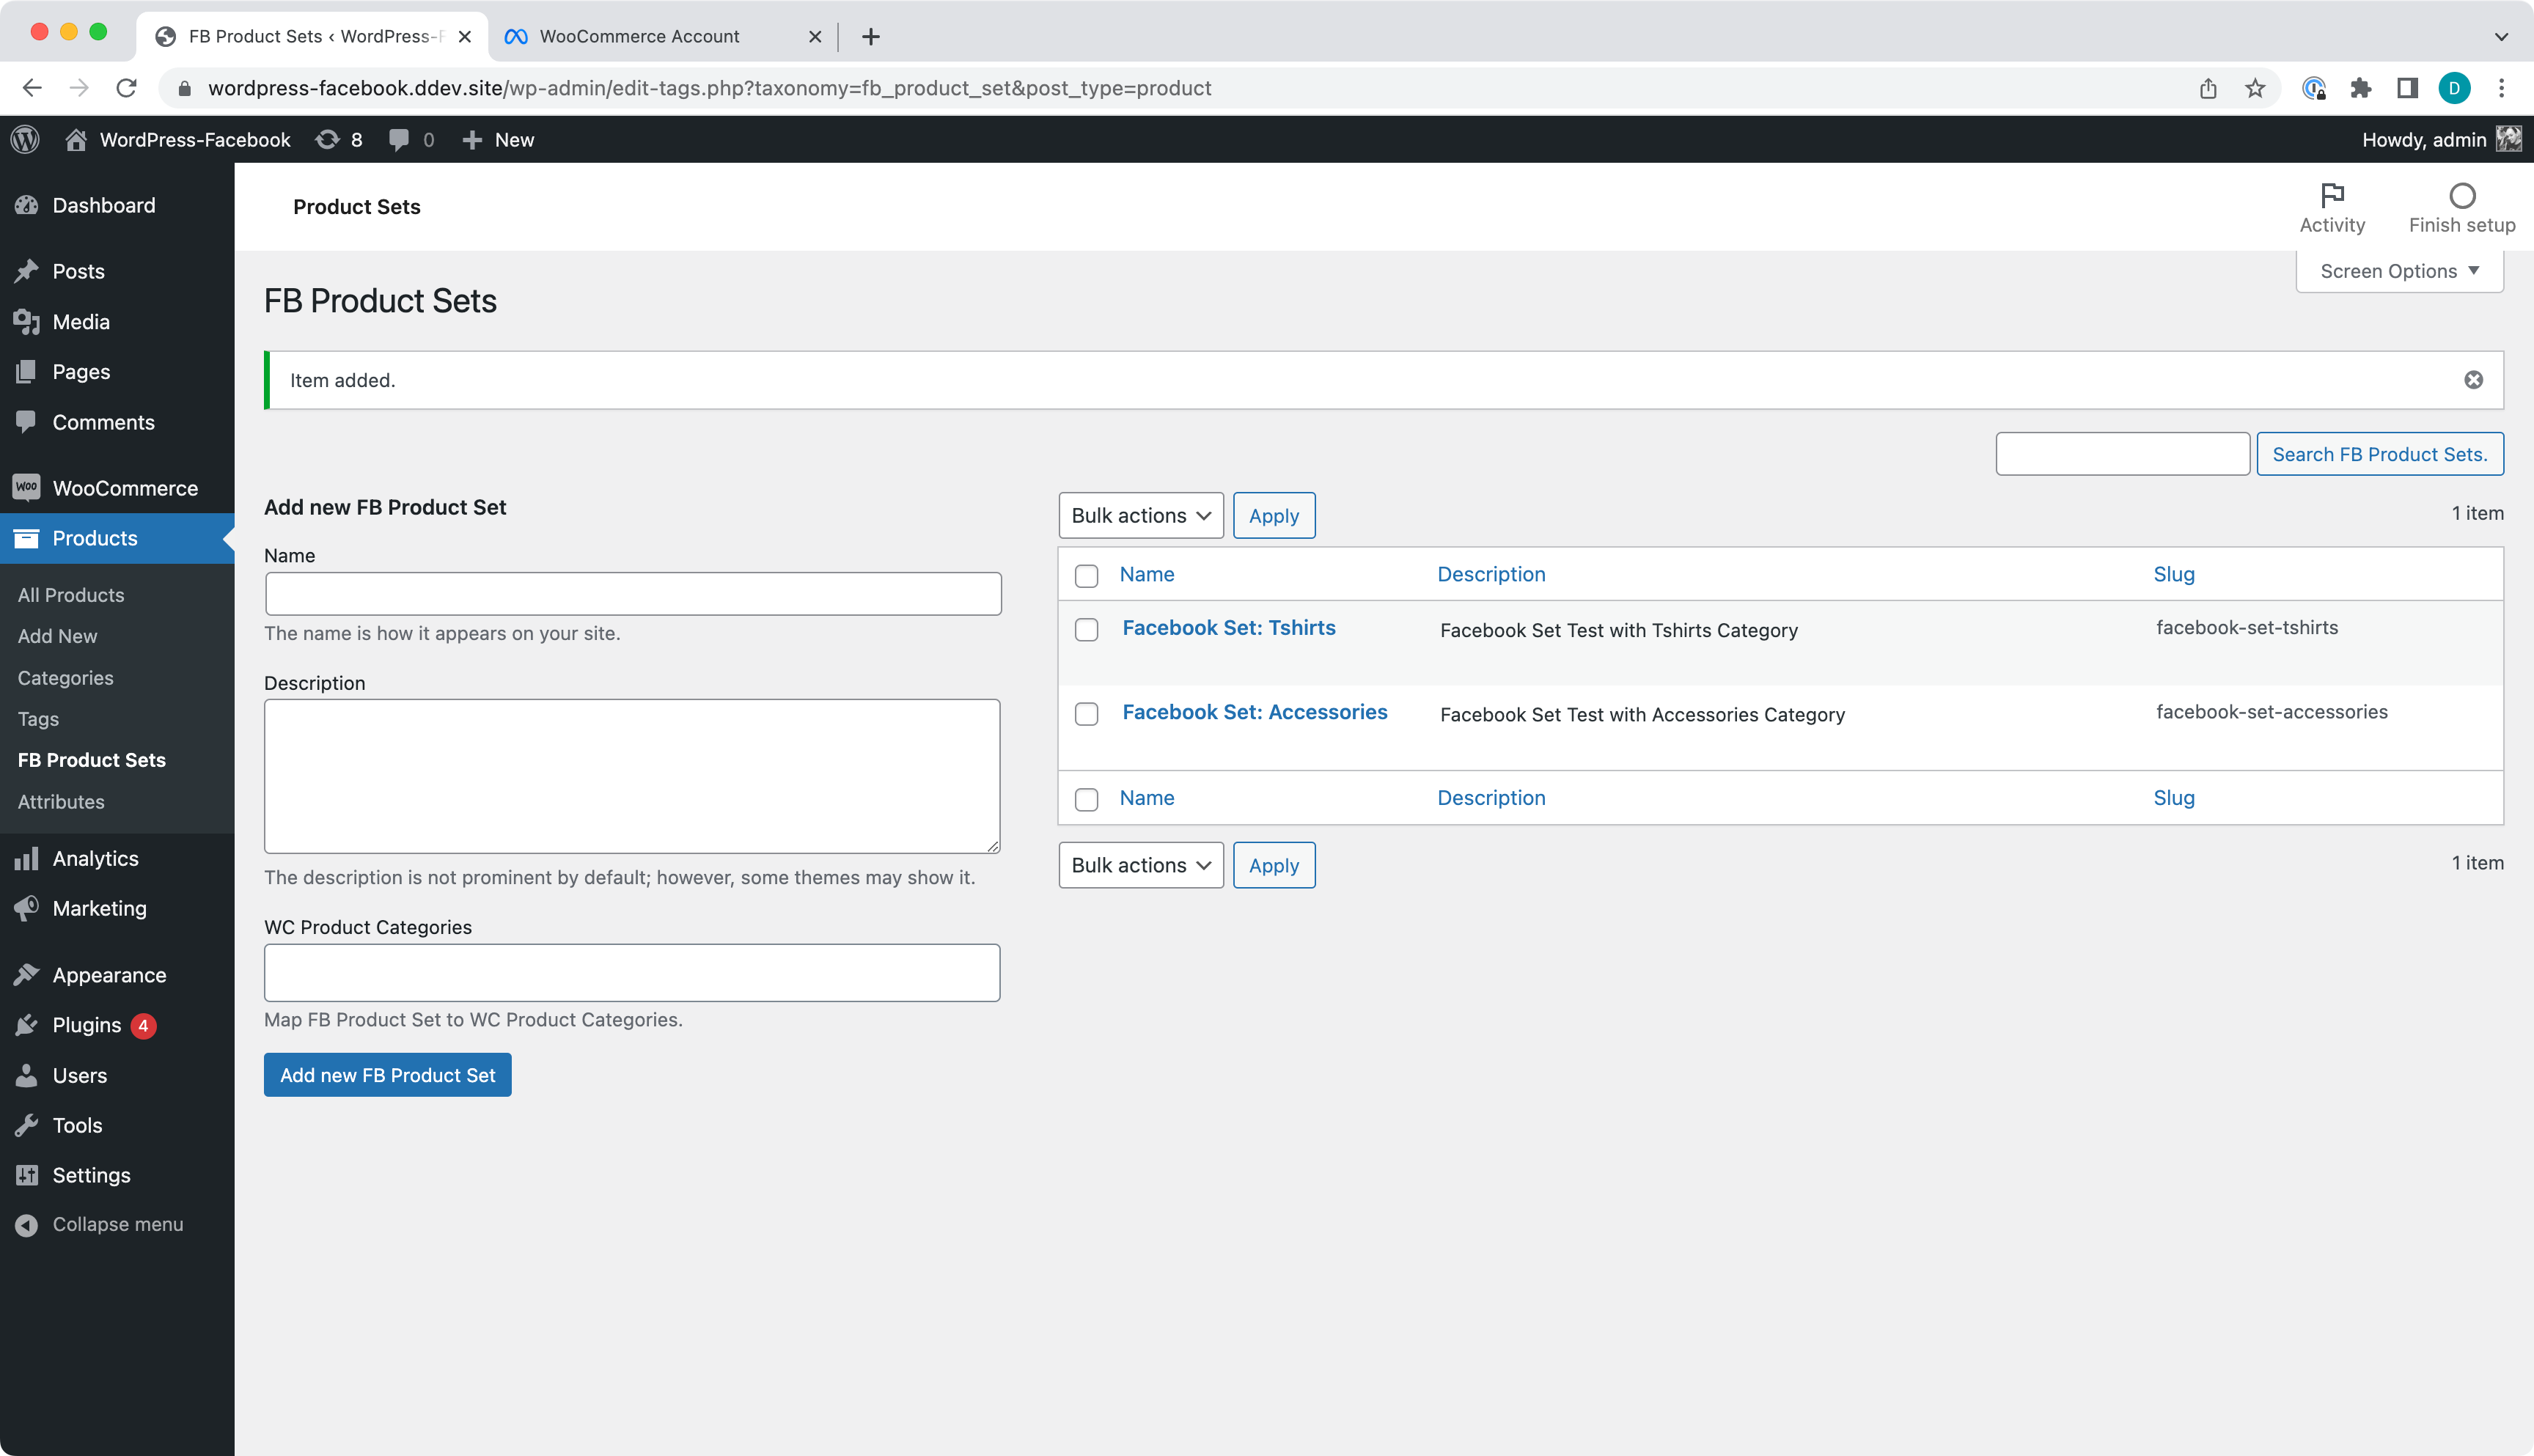
Create a Set from the Category we have excluded.
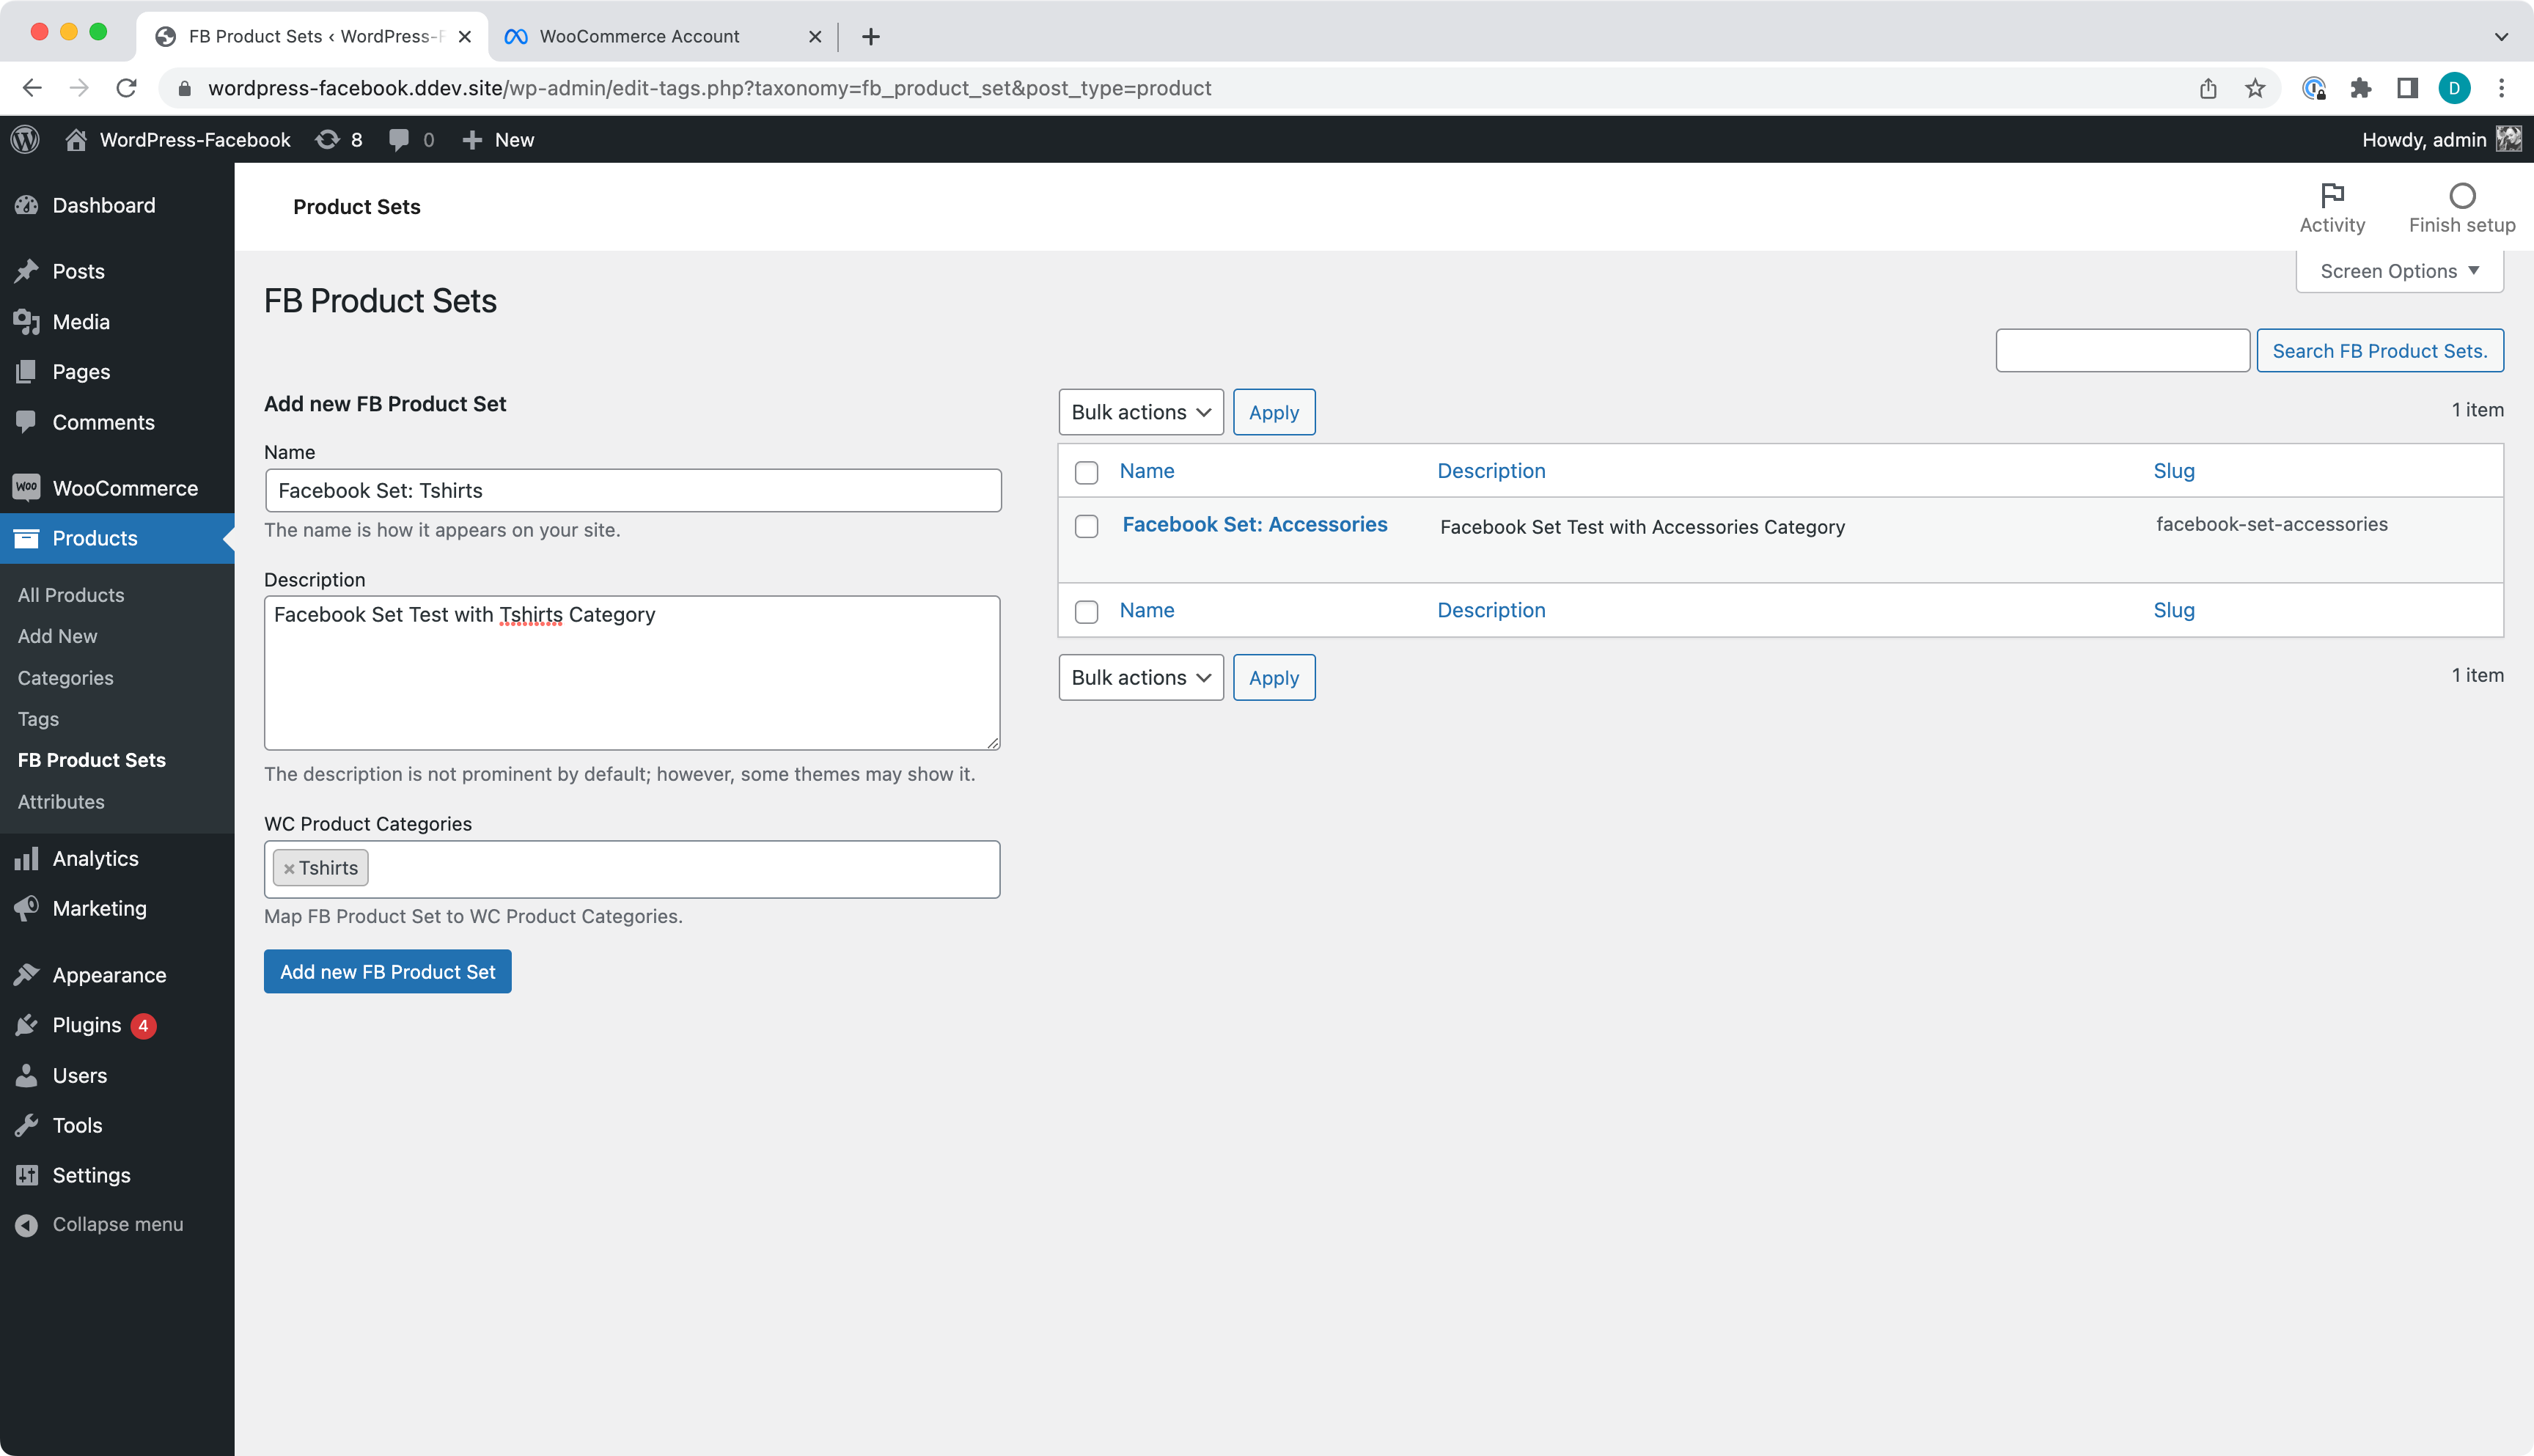
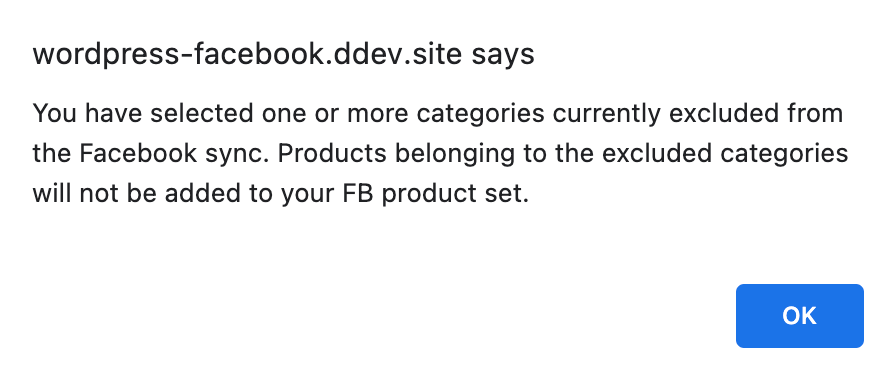
You should see an alert message on a page.
And the Set created.
Make sure Facebook Commerce Manager does not have the set synced to Facebook.
- Enable Messenger and confirm the chat widget loads.
- Disable Messenger and confirm no chat widget present.
Check the box and Save changes.
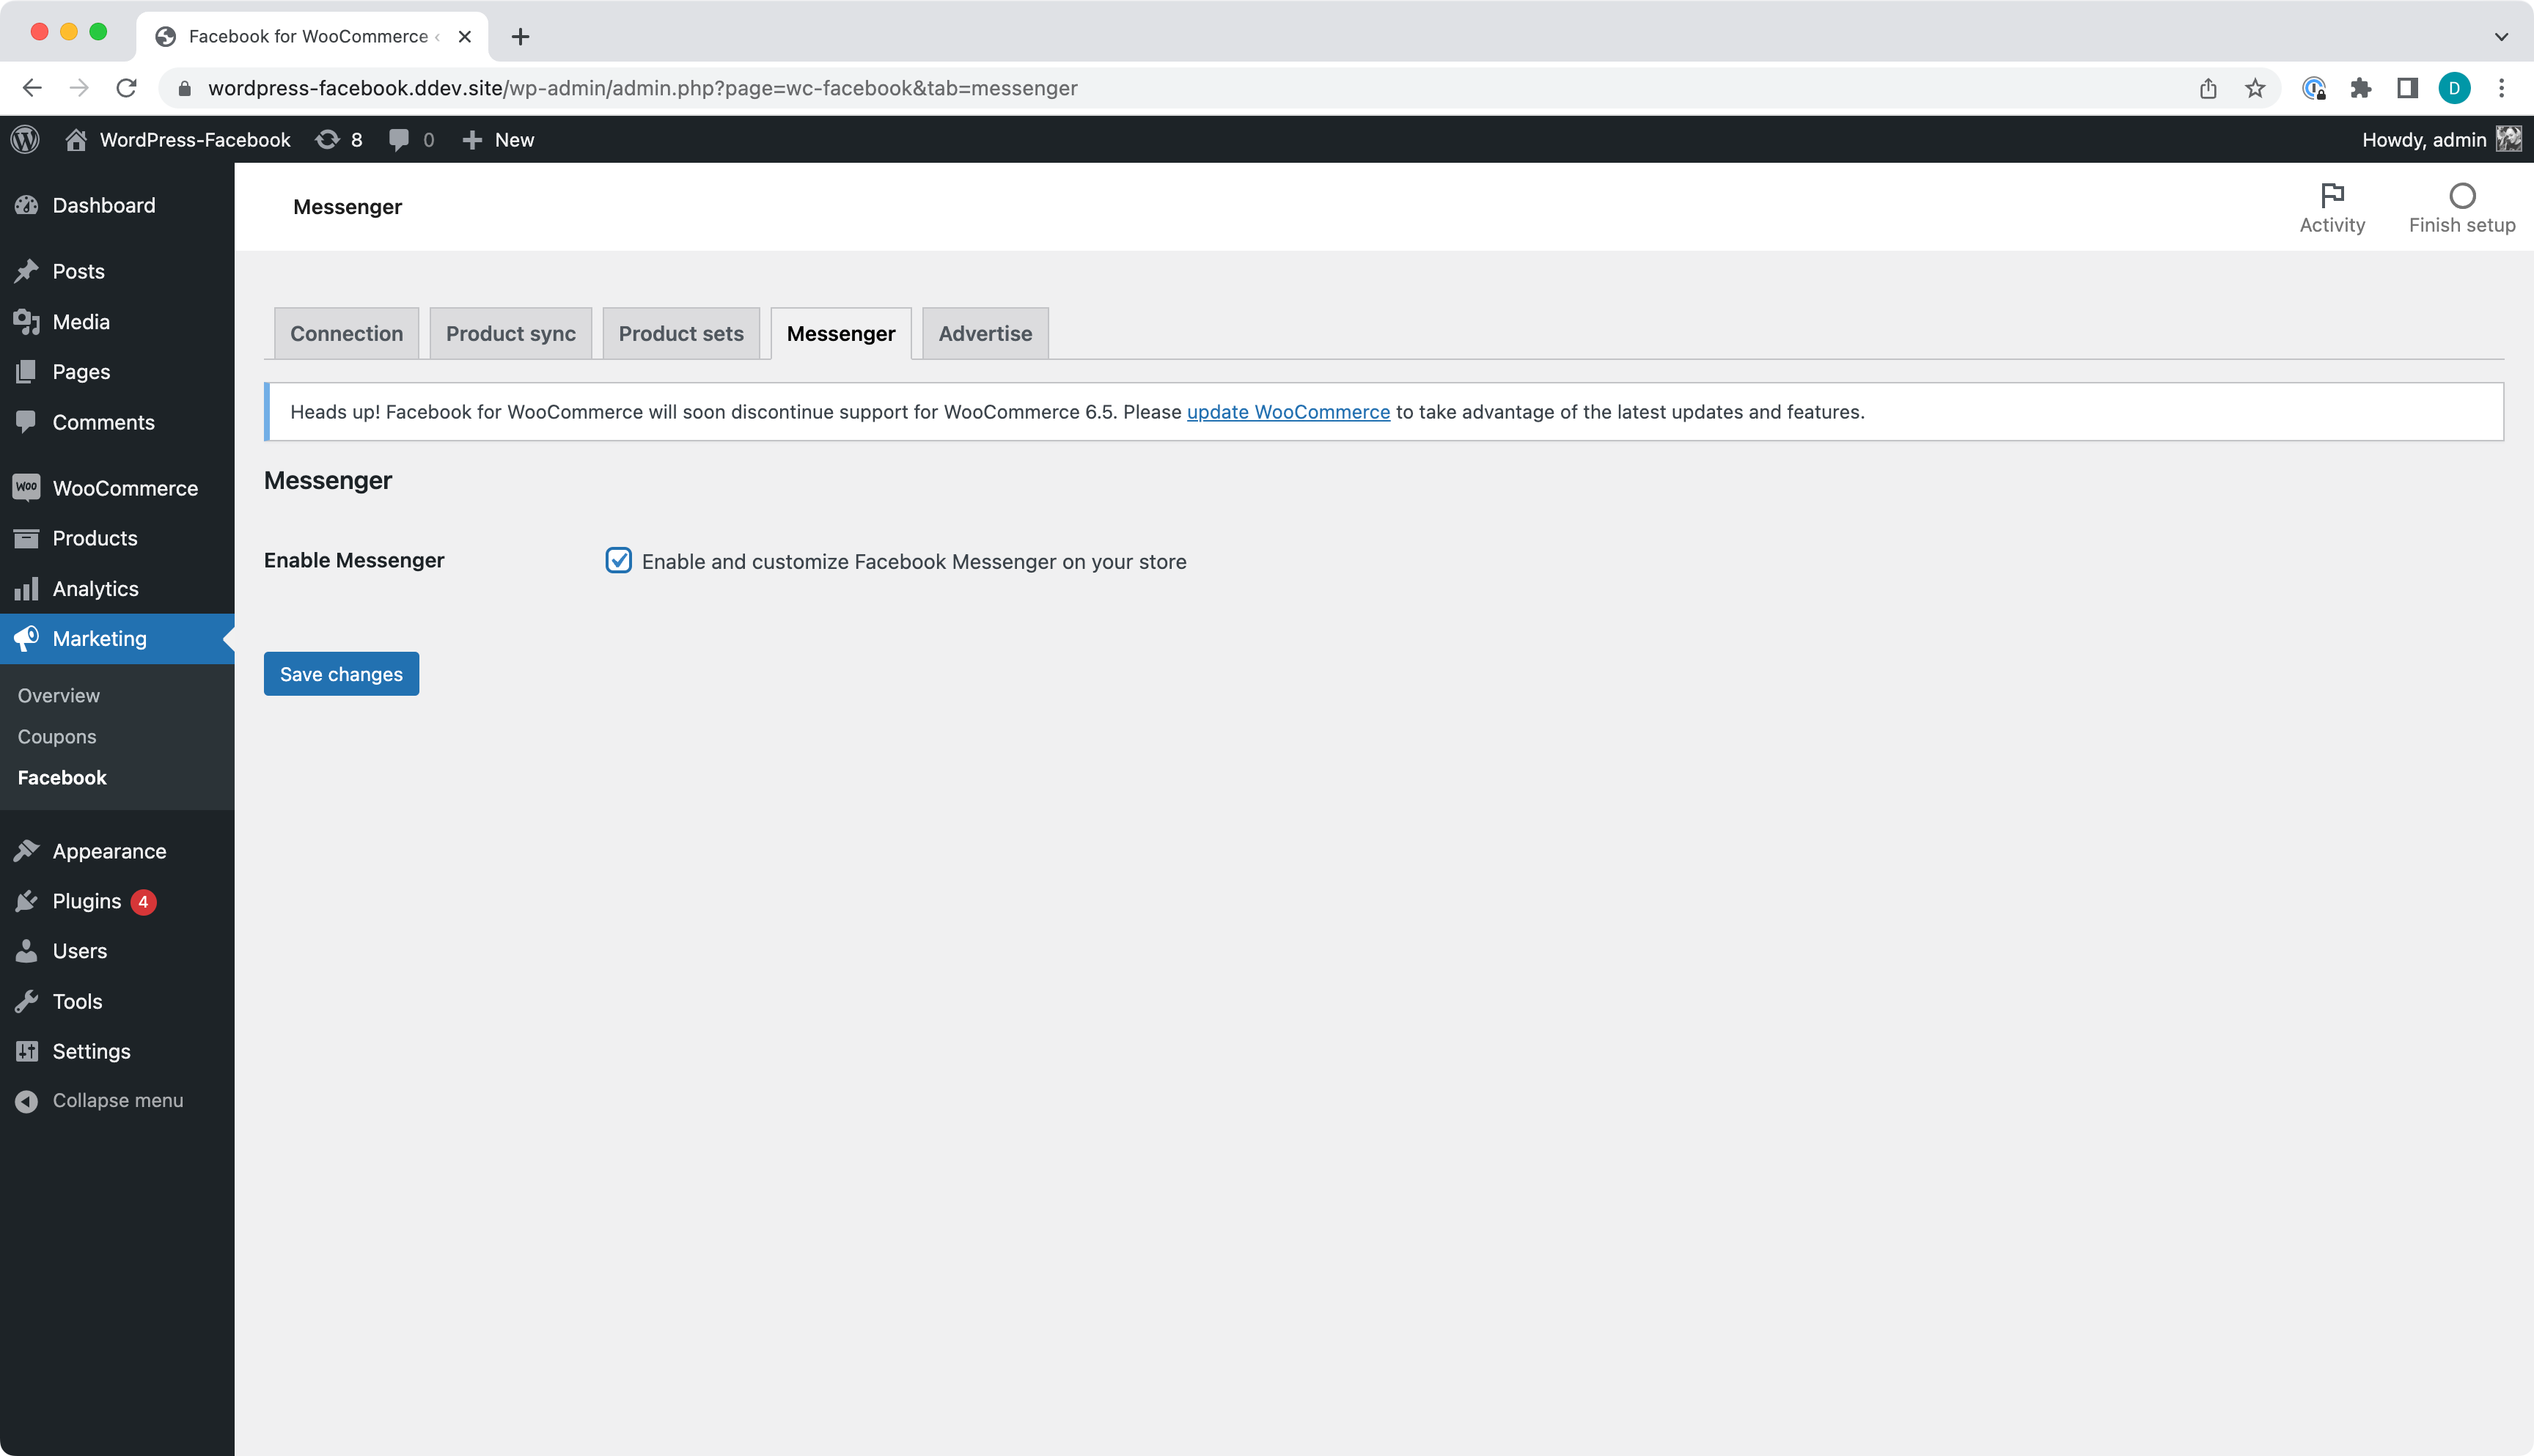
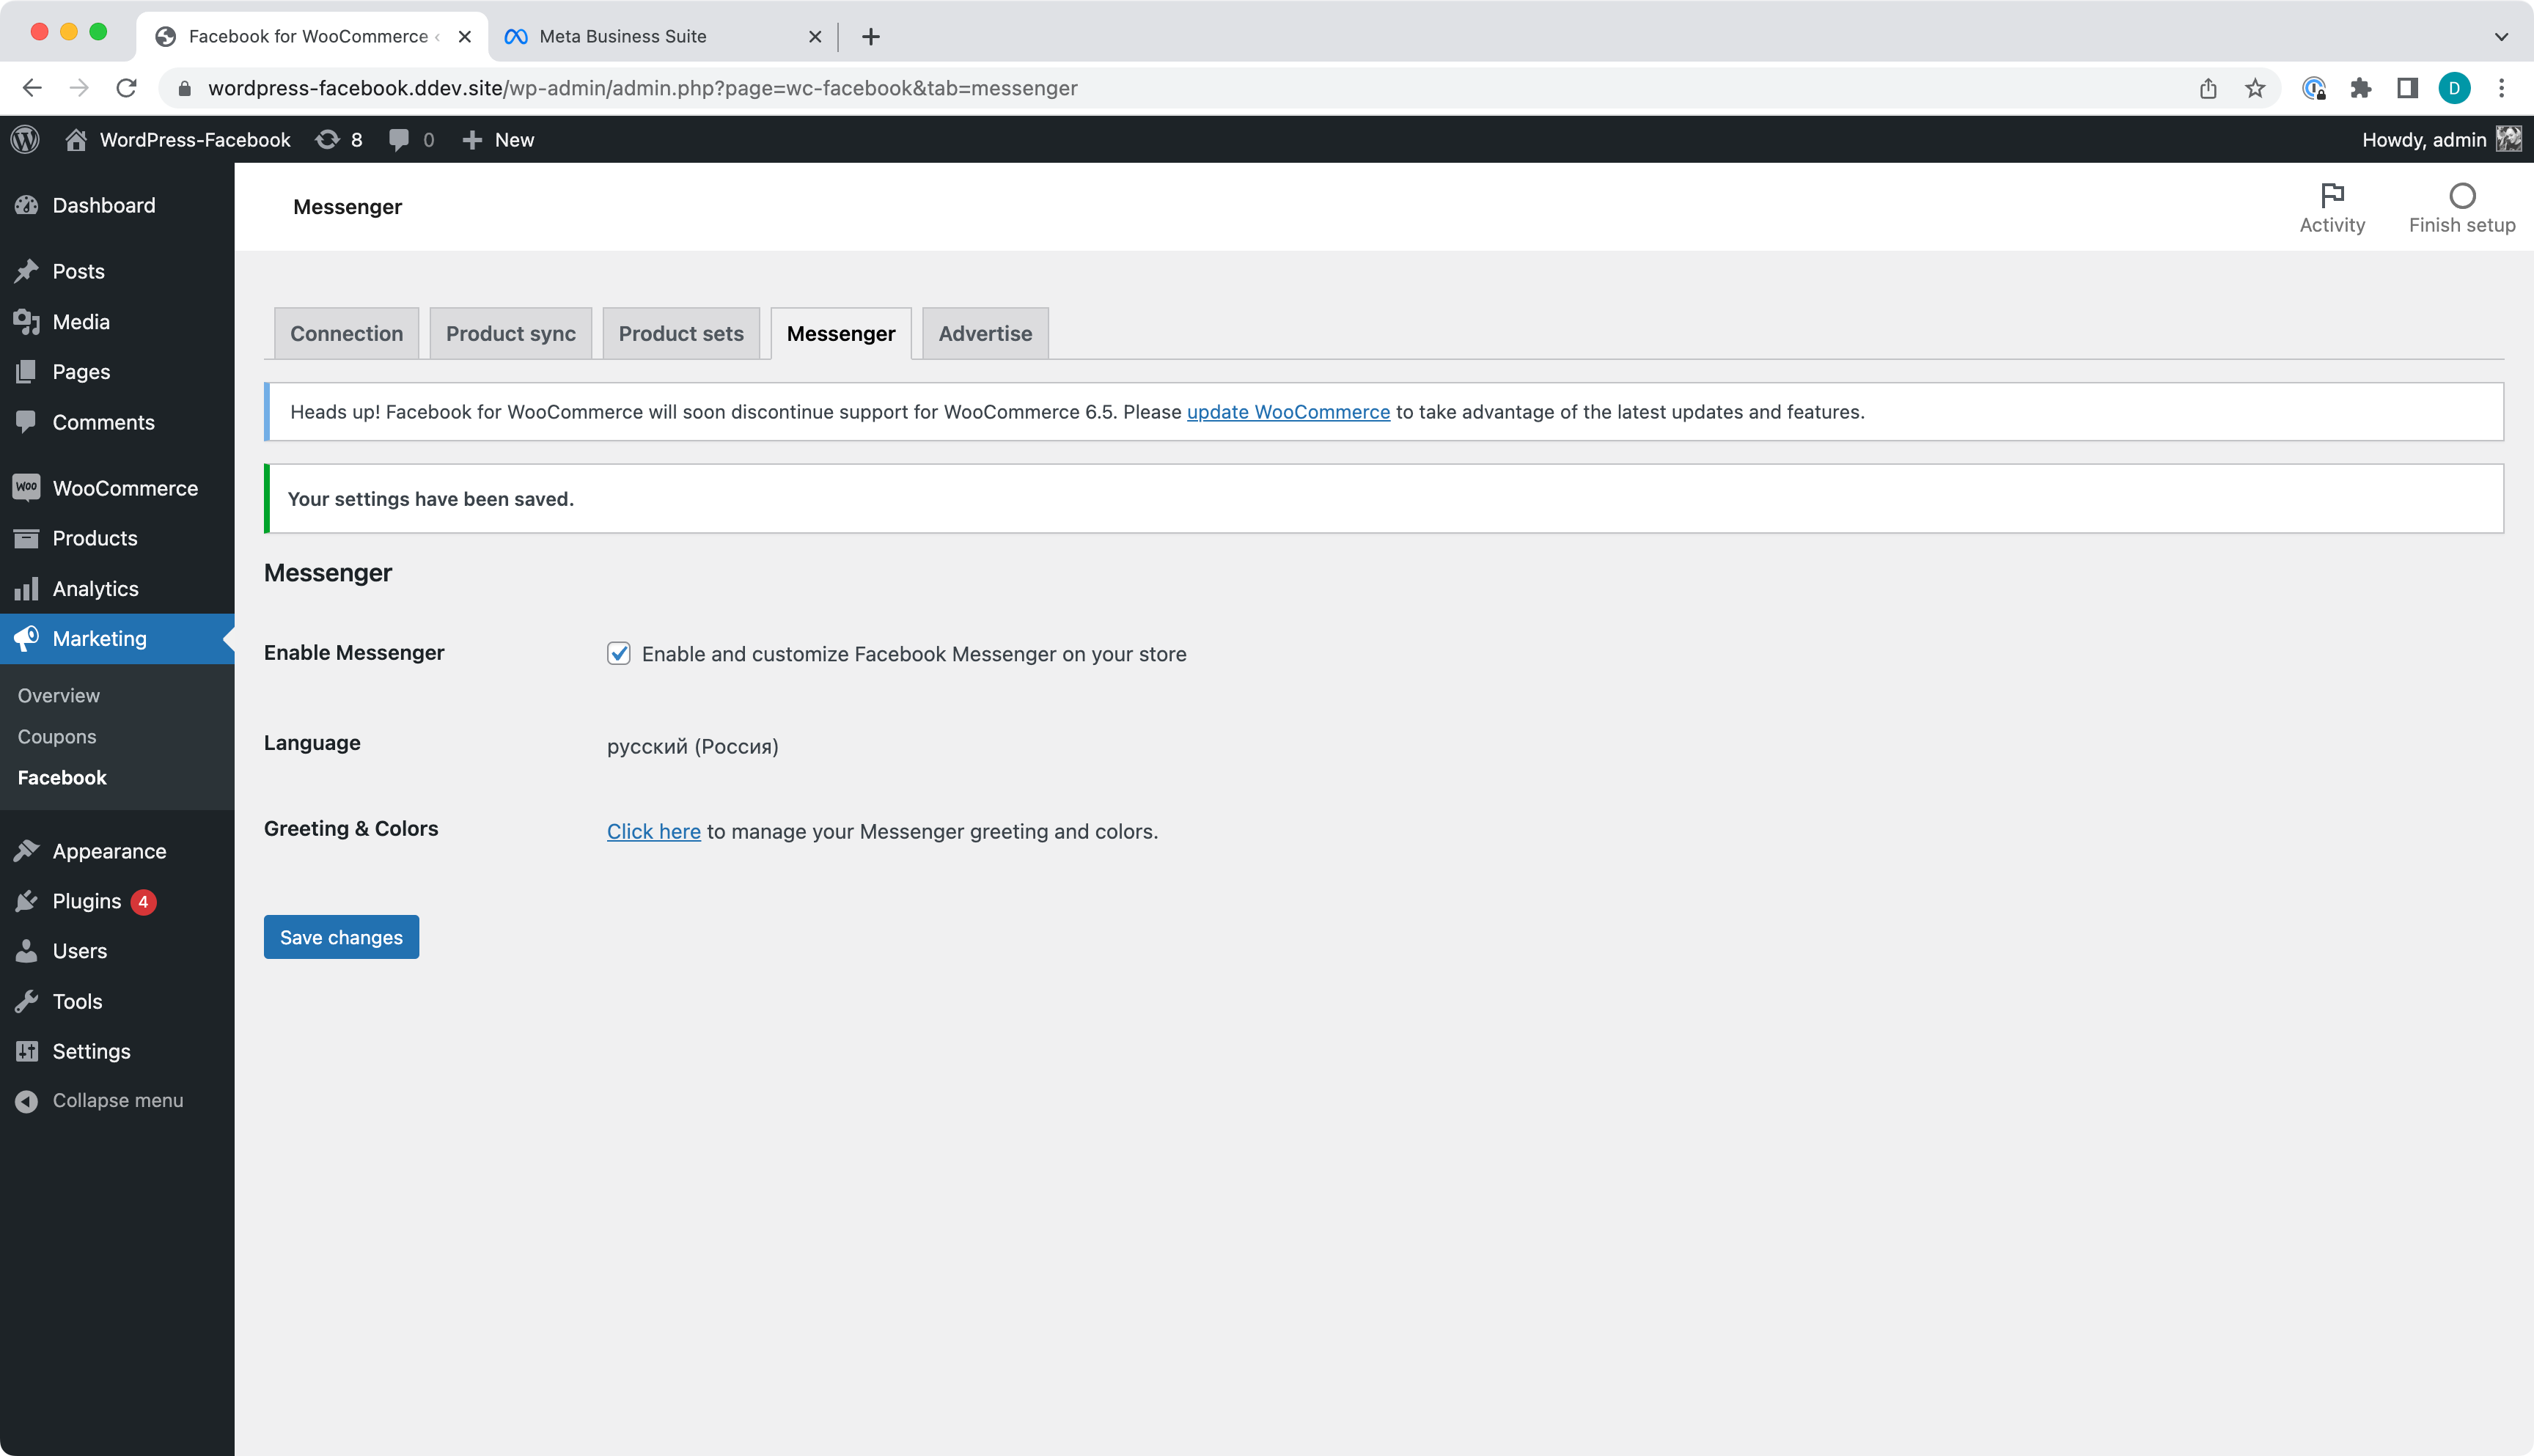
Successfully enabled Messenger will show some details on a page.
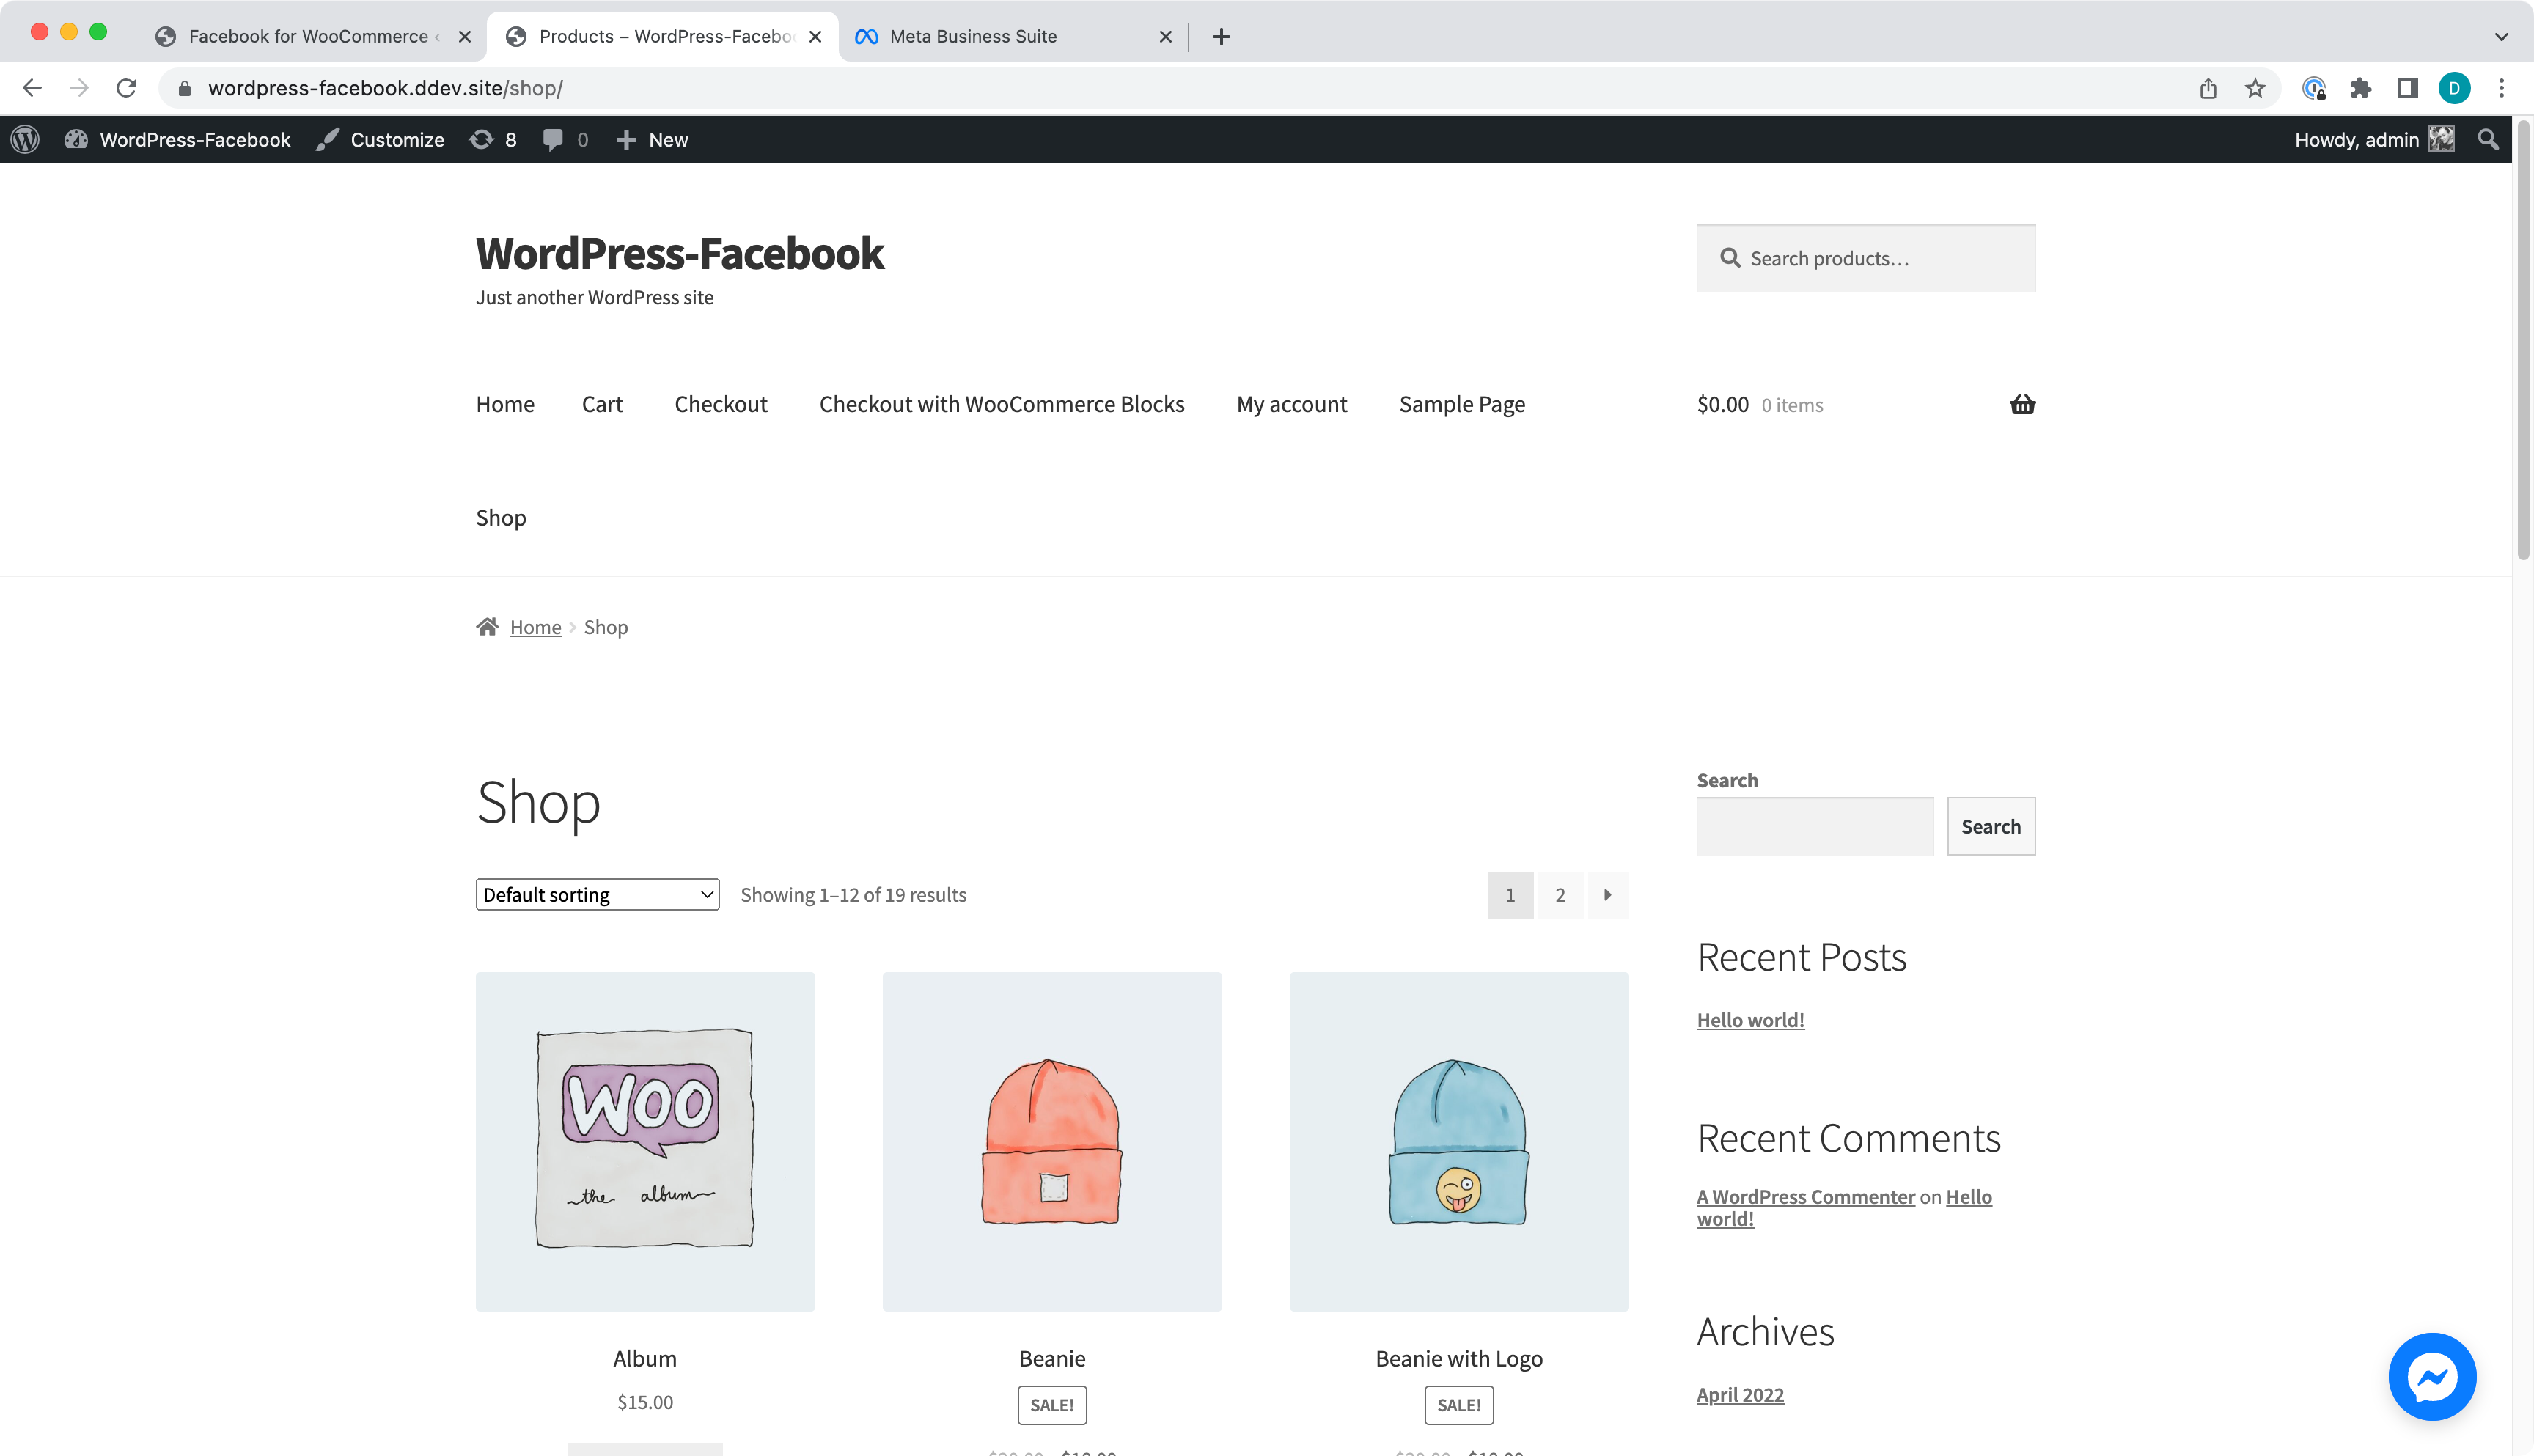
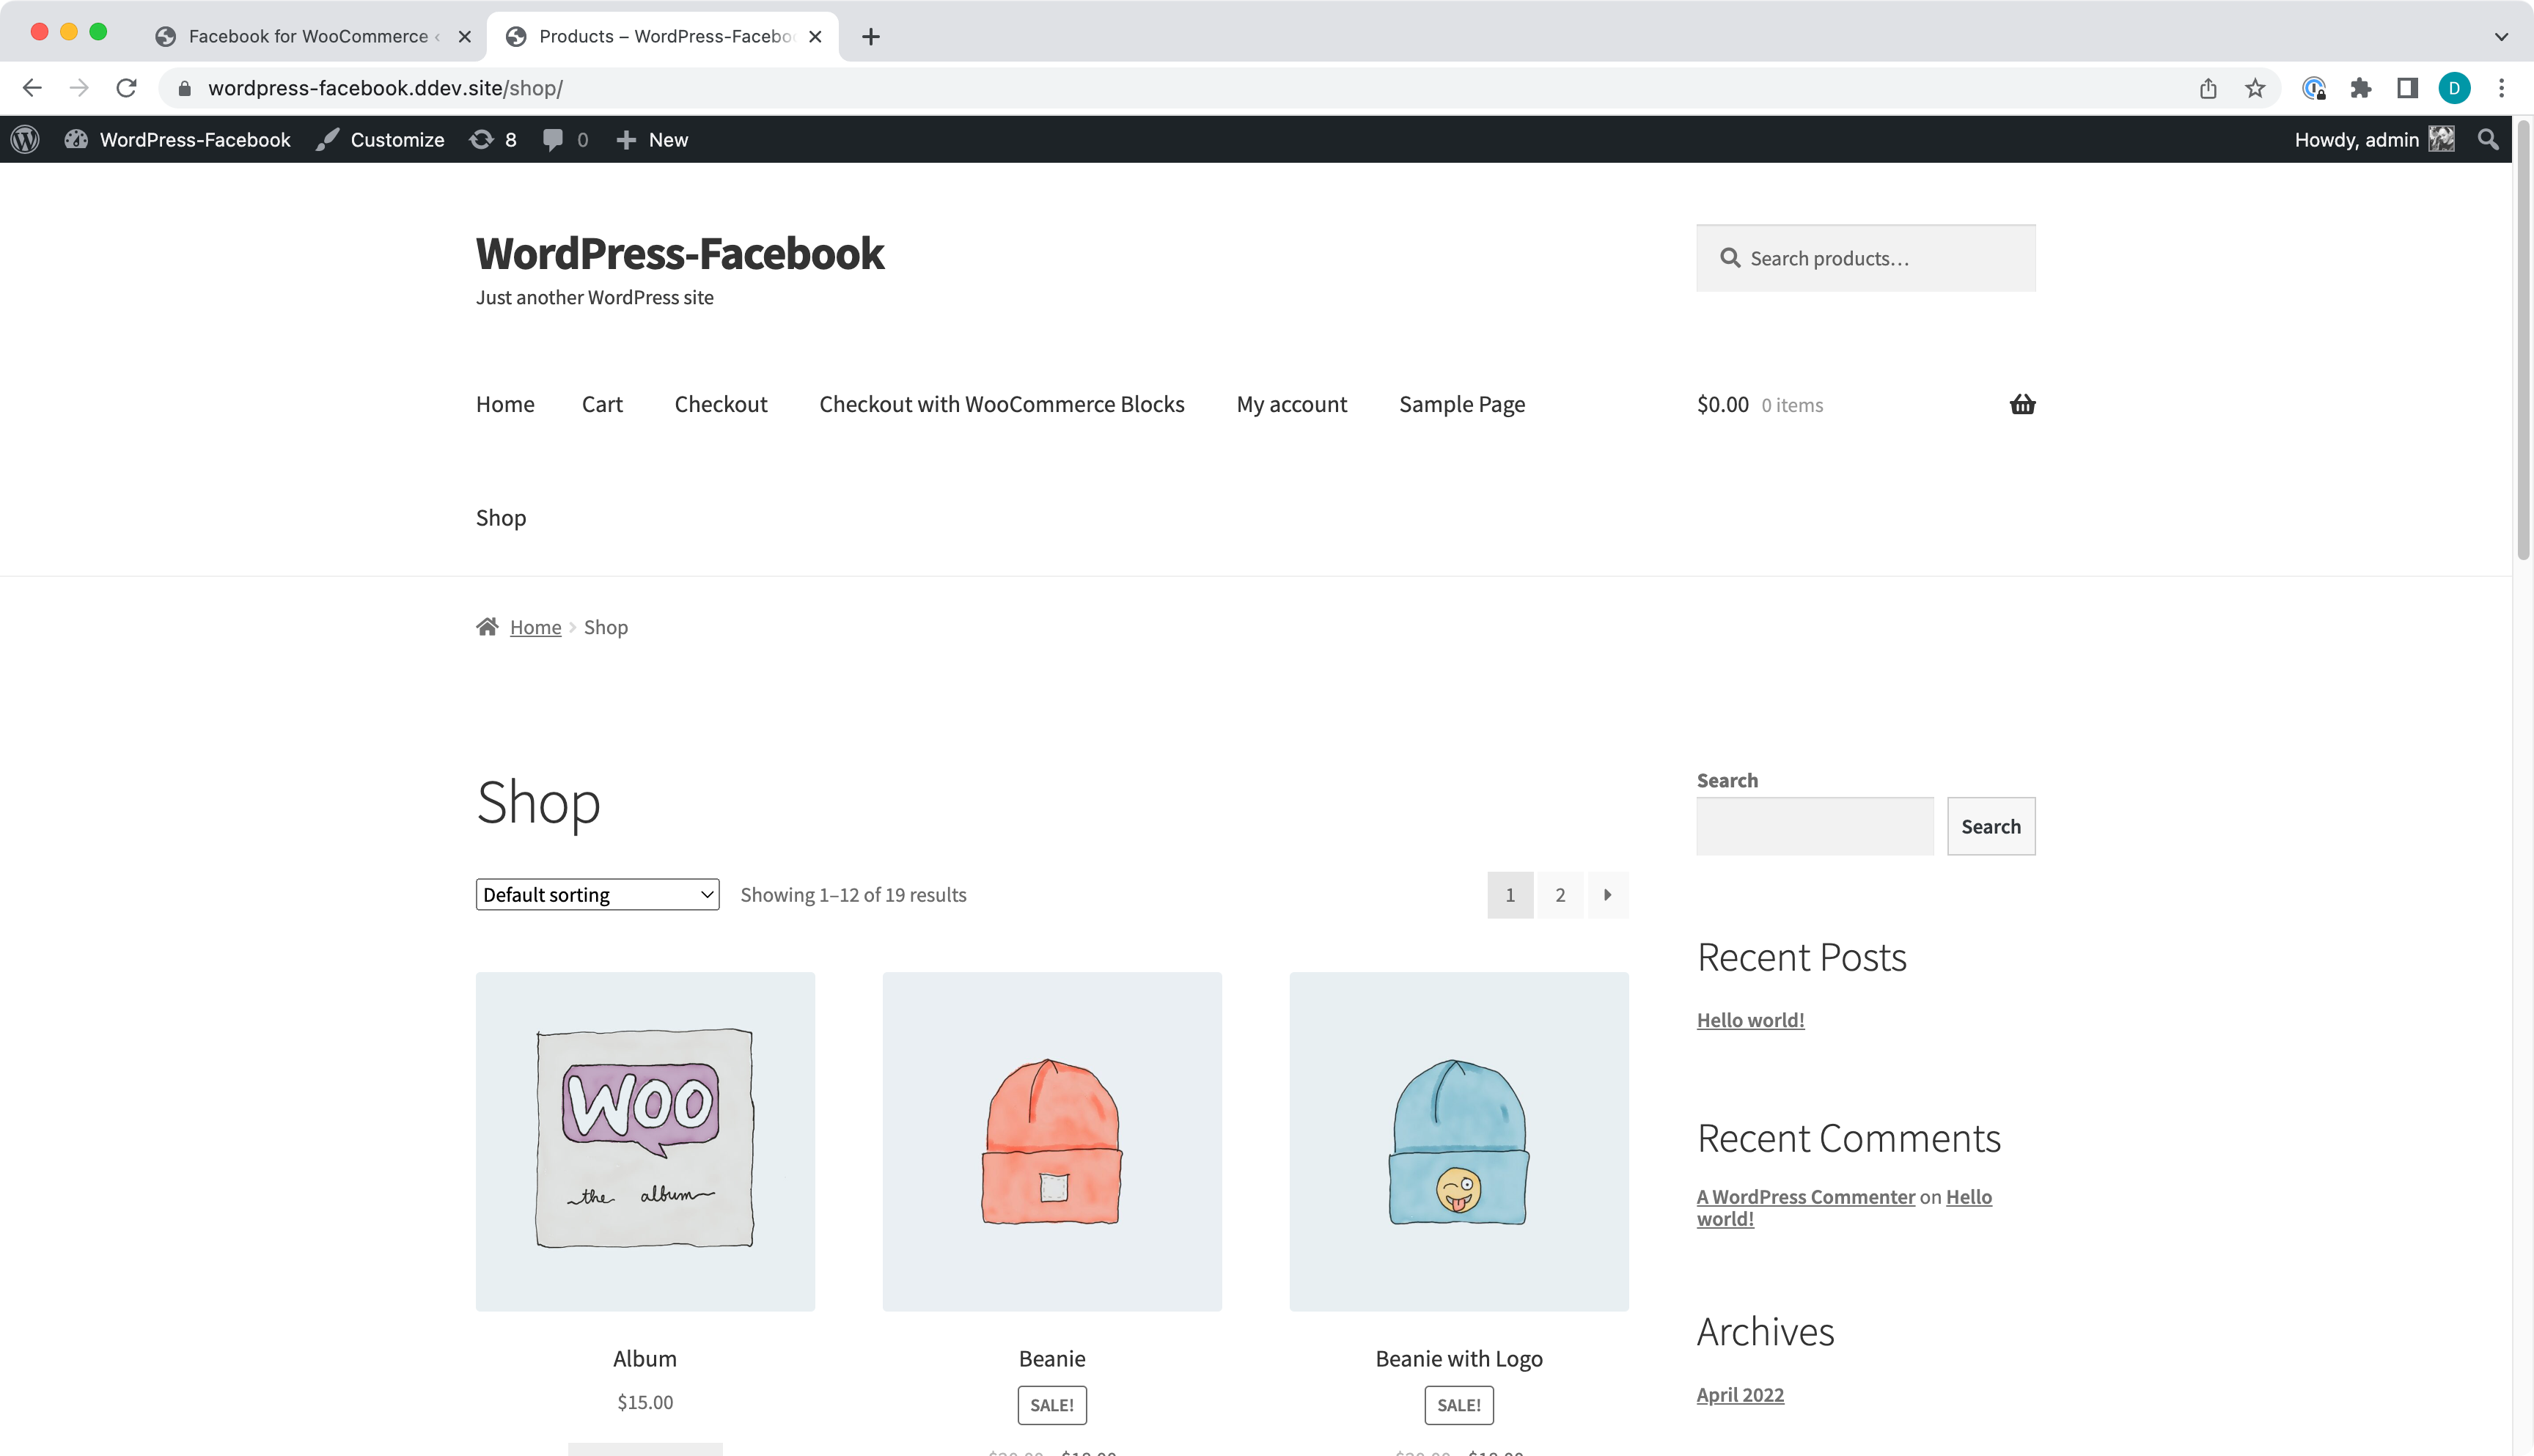
Open public store and check Messenger widget loads (bottom right).
Uncheck the box and hit Save changes.
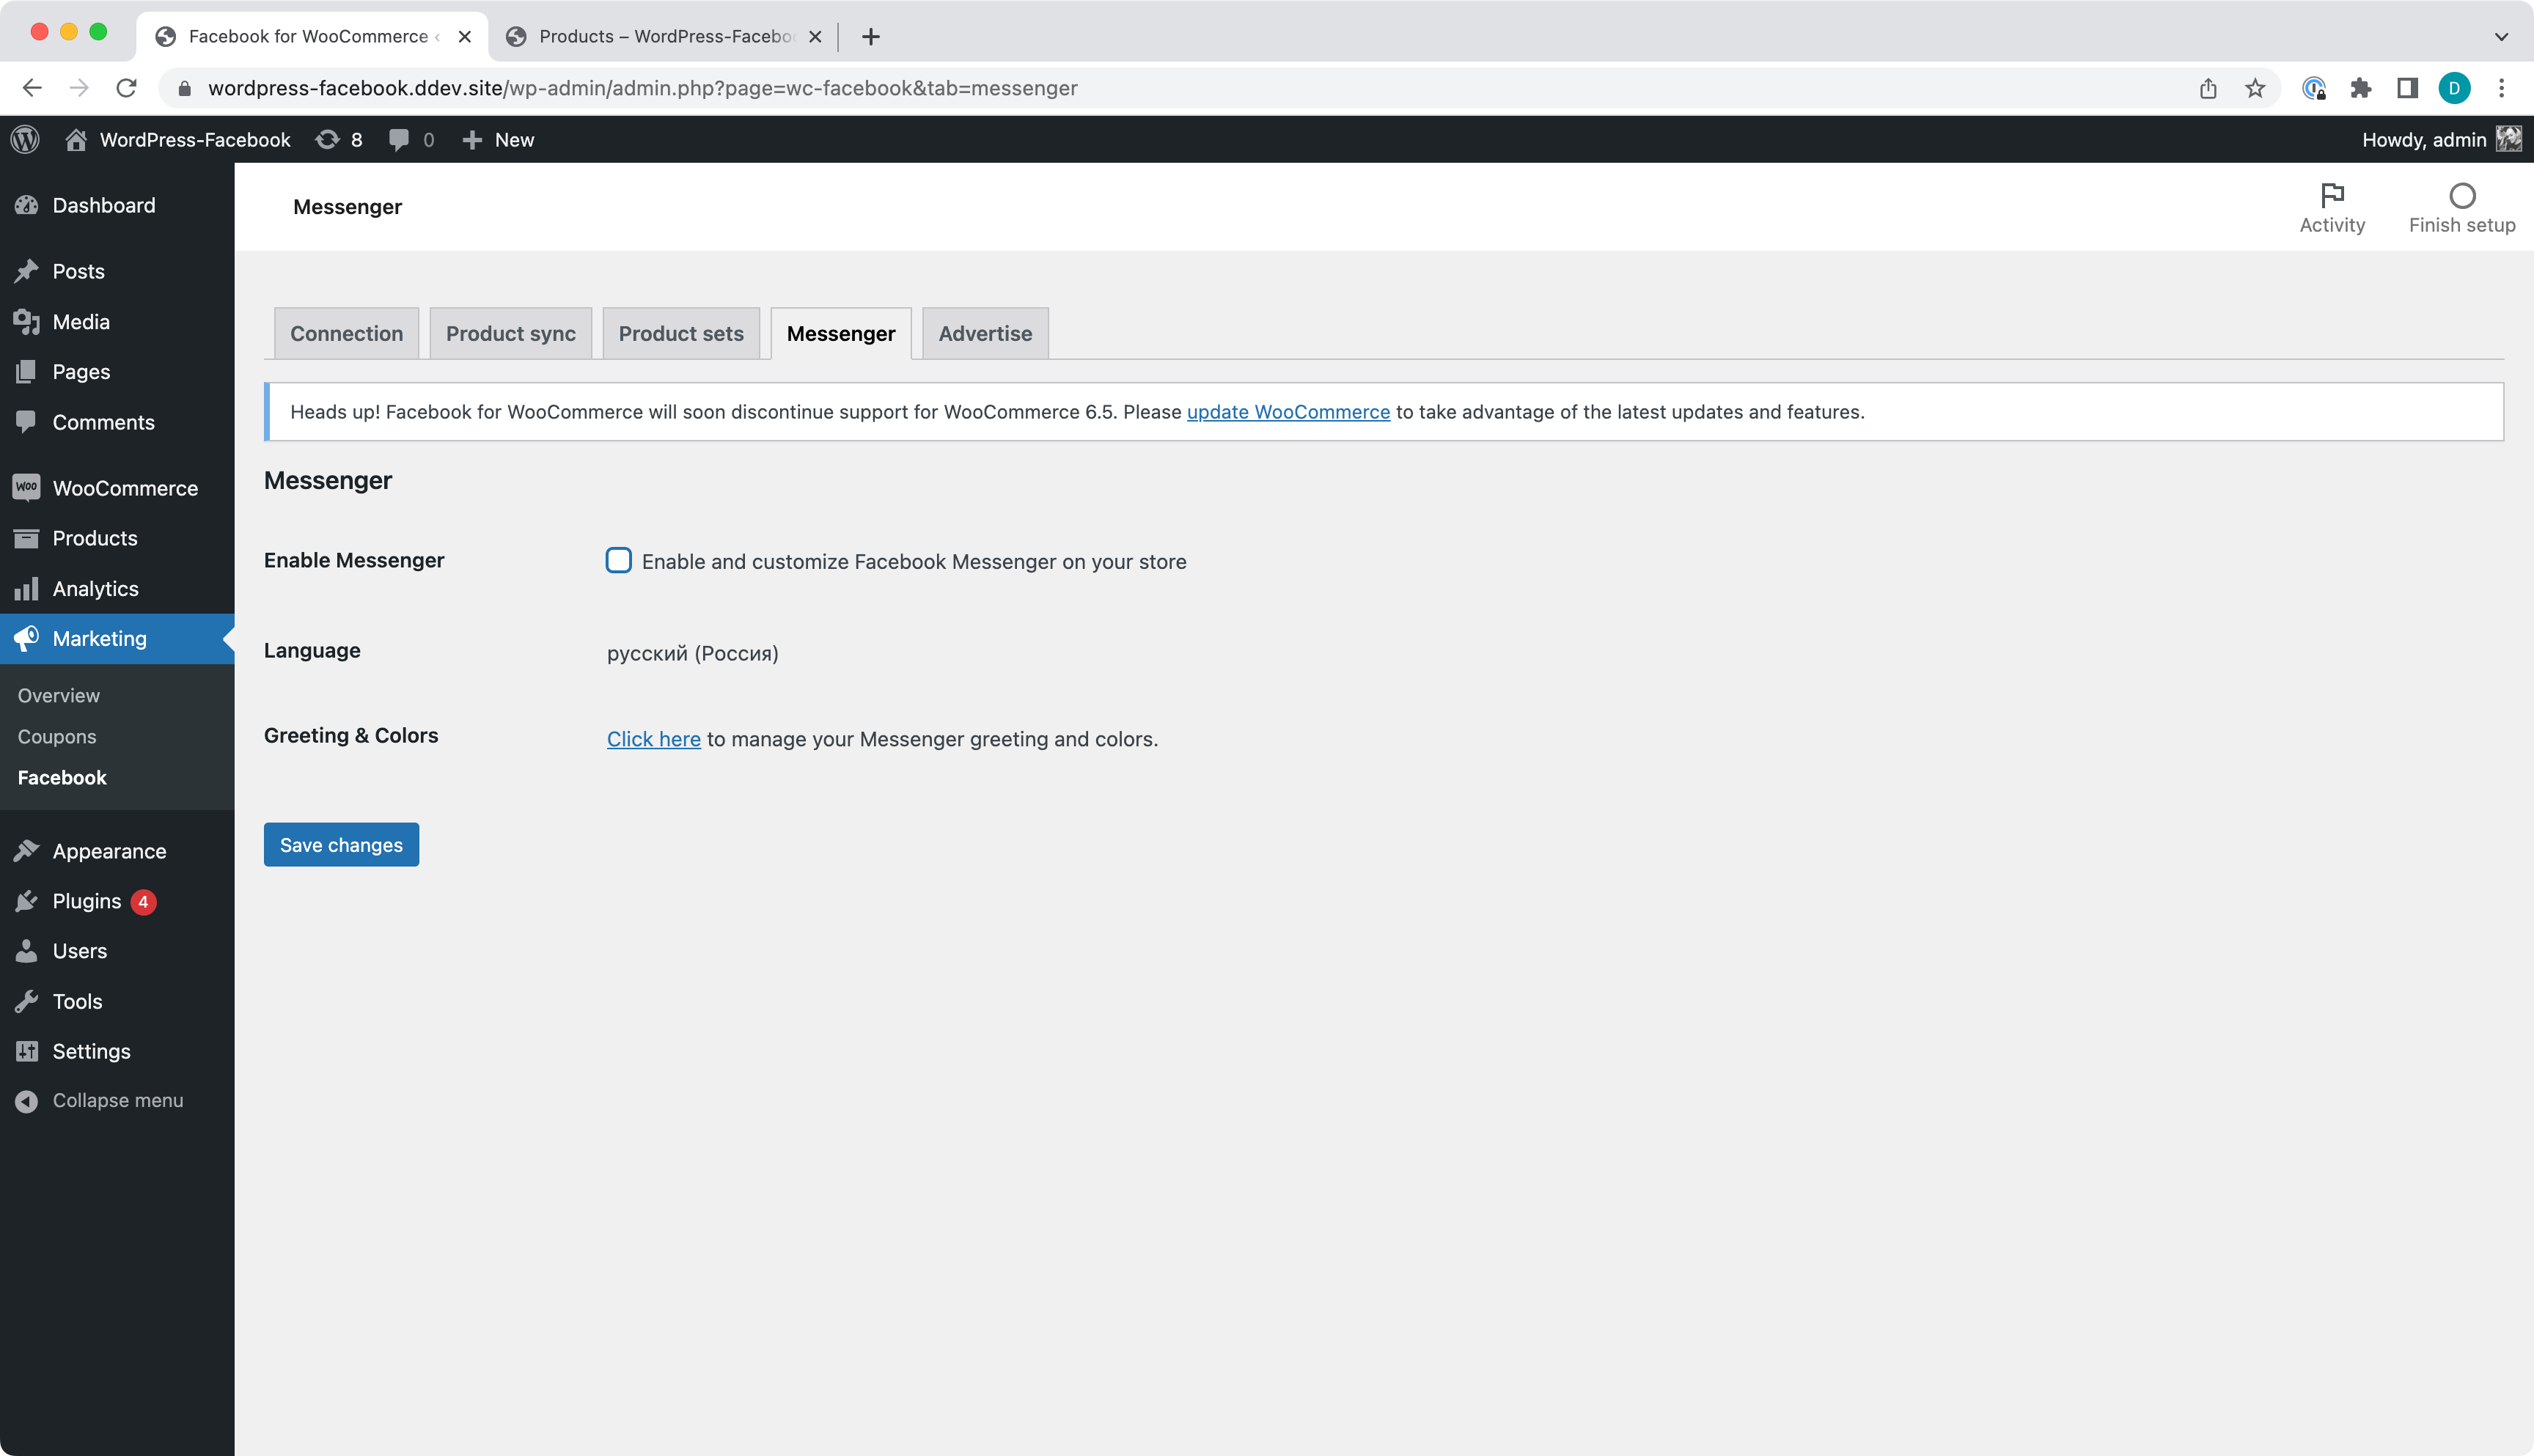
You will see a page with settings saved and no Messenger details present on it.
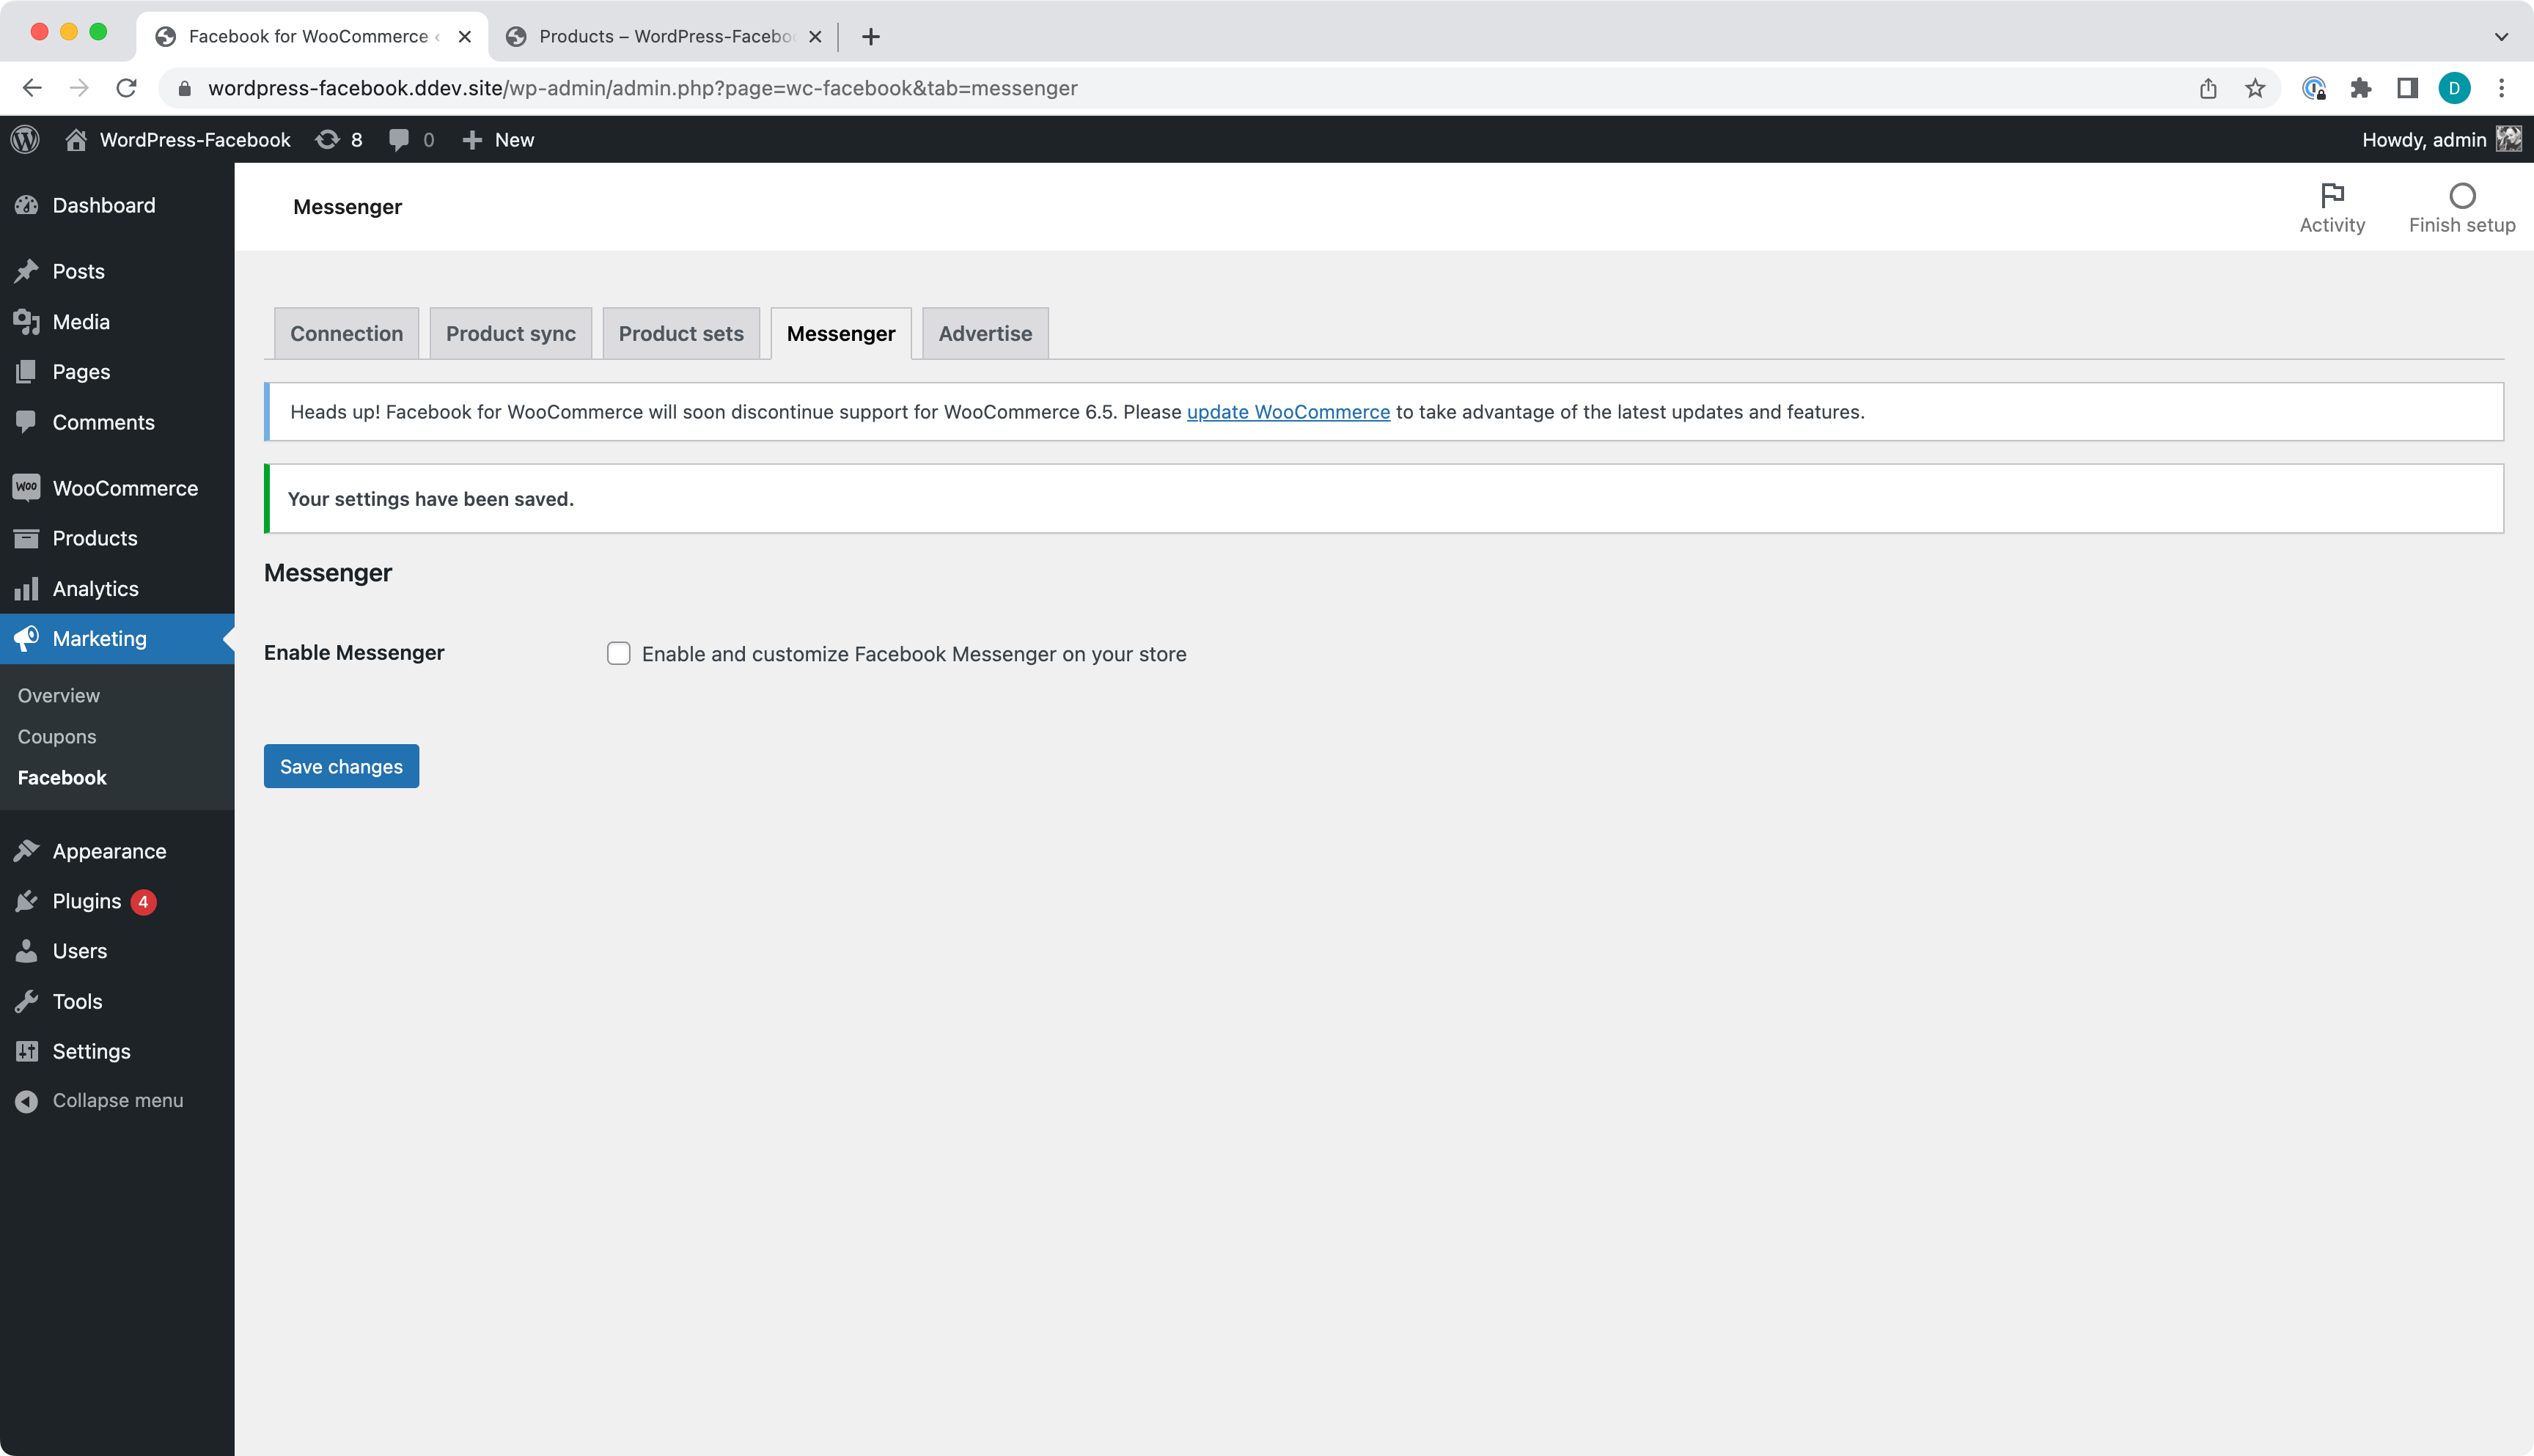
Confirm public store pages do not have Messenger widget (bottom right).
Having a Category with no products synced.
You should see an alert message.
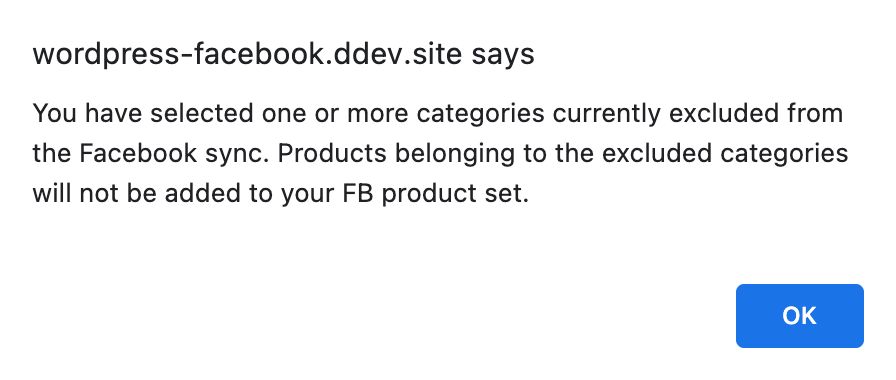
But Facebook Product Set created and products synced to Facebook.
