Files and documentation on how to use the Shinobi Open-Source Video Management Software for Robotics Research.
This documentation are meant for installing a Shinobi instance on a private network, and do not convert the security implication of exposing a Shinobi instance on the public web.
- Install Shinobi
- Access Shinobi and add Cameras
- Automatic Start and Stop of Video Recording through Shinobi HTTP API
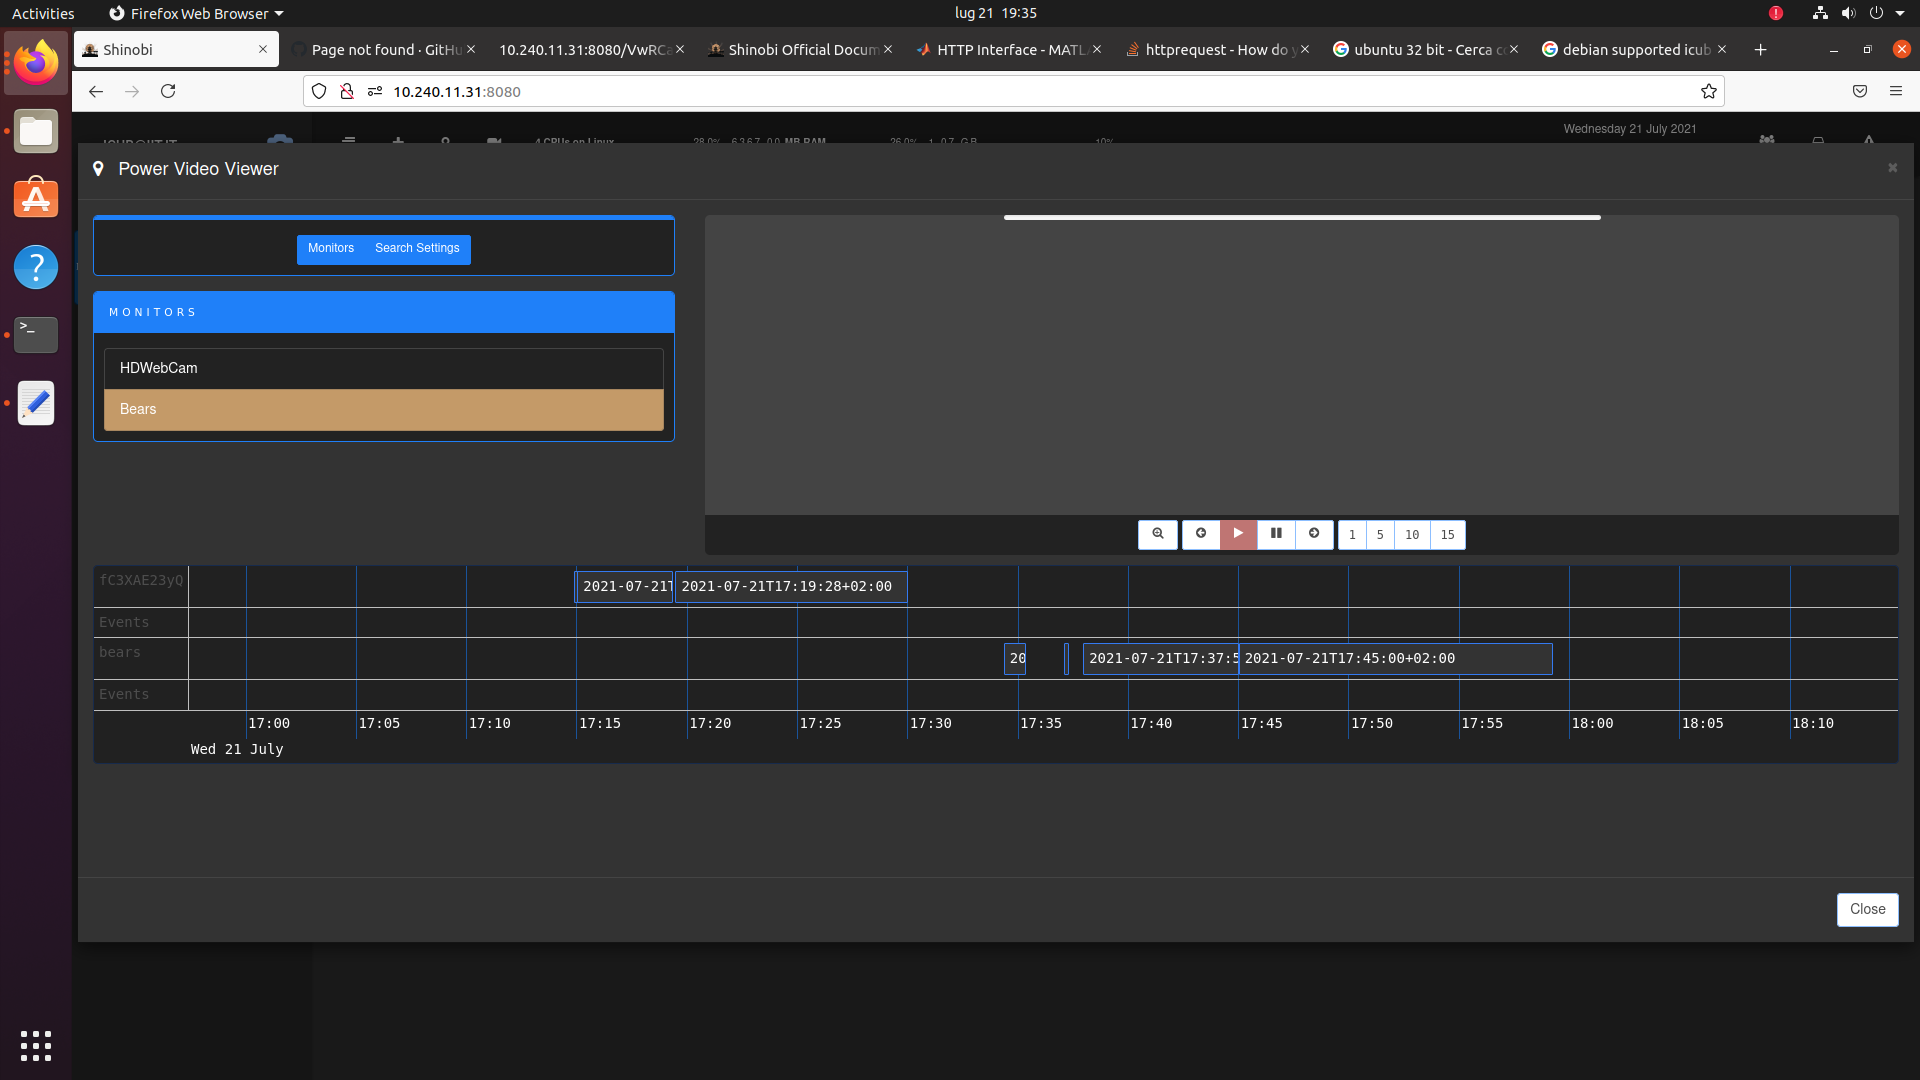
- Access Recorded Videos
First of all, select a machine that will act as a NVR (Network Video Recorder). As Shinobi is quite an invasive software as it requires to install custom dependencies at the system level, it is extremly recommended to use a dedicated machine, and to start from a vanilla installation of Ubuntu 20.04. To install Ubuntu 20.04 on a new machine, please check the docs in https://ubuntu.com/tutorials/install-ubuntu-desktop .
Once you installed Ubuntu 20.04 on the machine, install Shinobi following the docs in https://shinobi.video/docs/start . The recommended installation strategy ("The Ninja Way") involve downloading and executing a script from the network, so make sure that the script is not doing anything dangerous from the safety and the security point of view. For all options, choose the default choice.
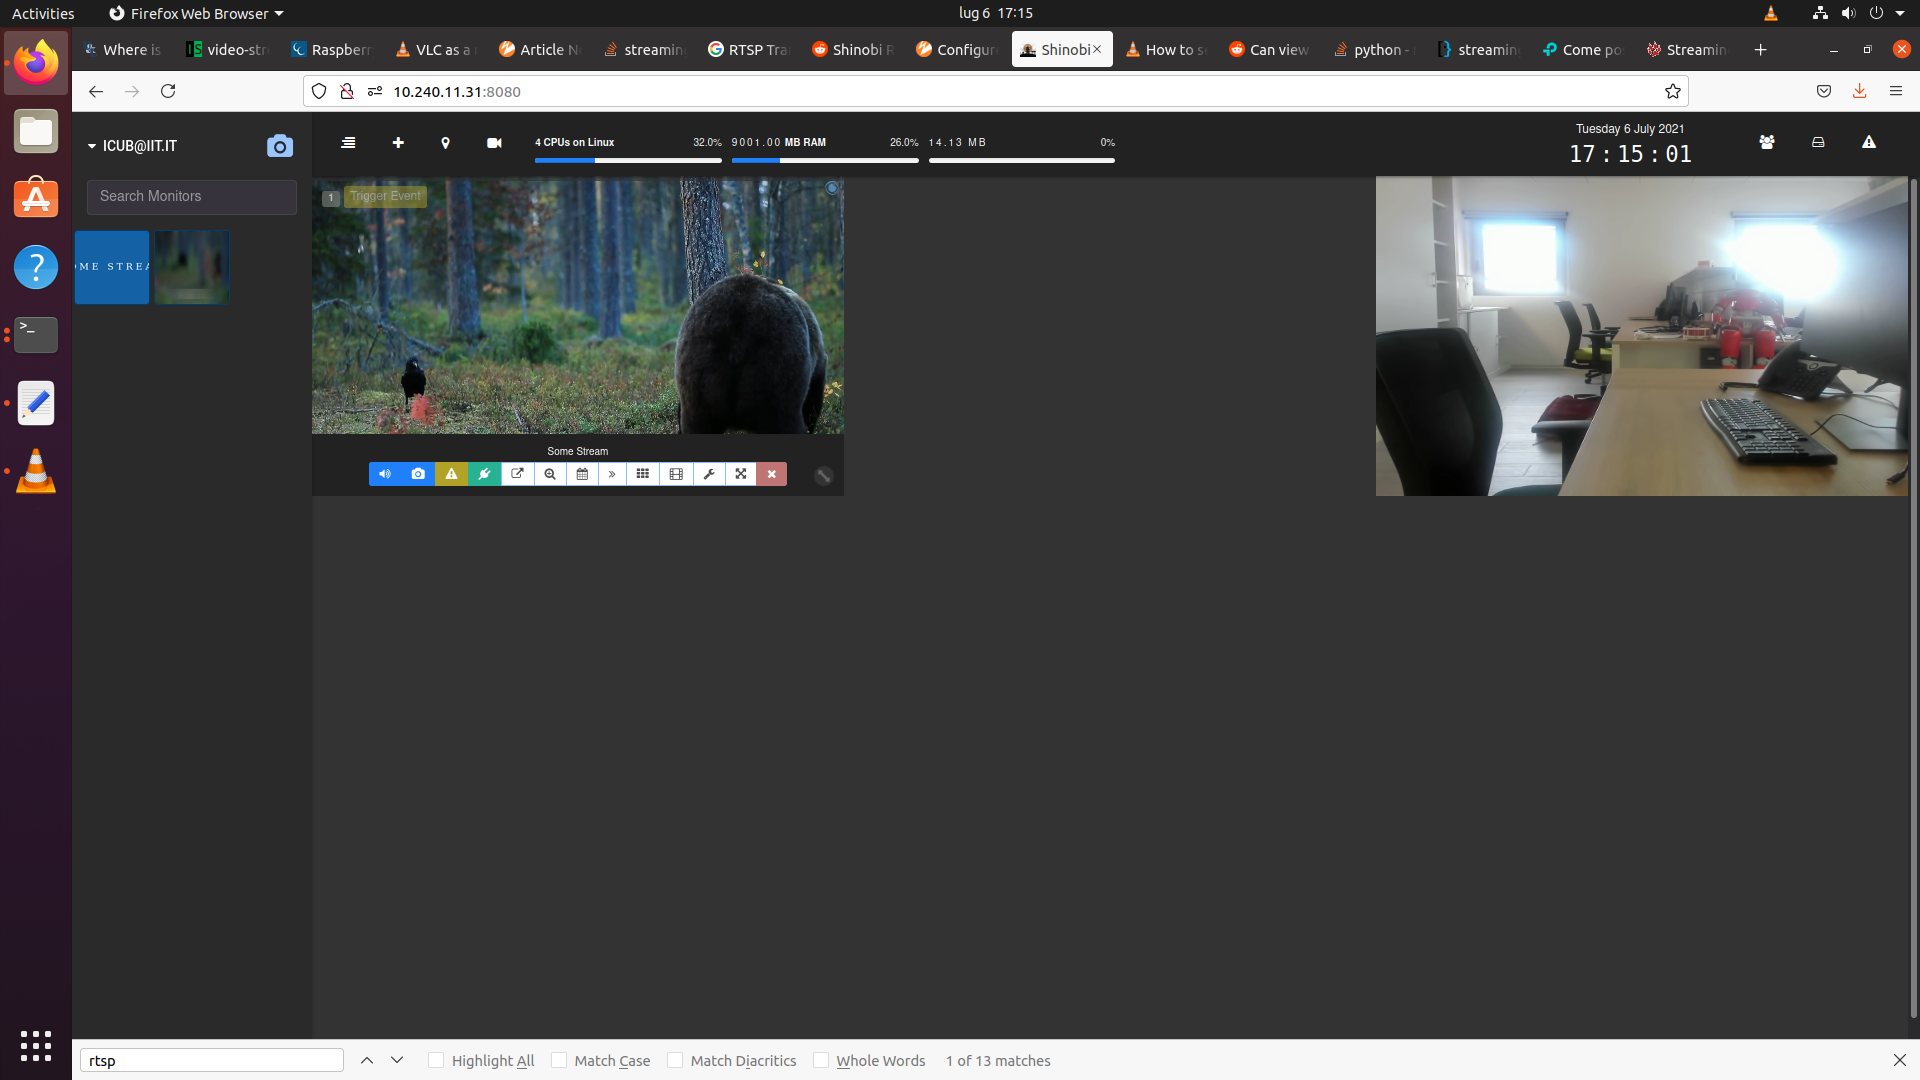
Once you installed Shinobi you should be able to access it on http://<ip_address>:8080 if you used the default settings, and you can access the admin interface at http://<ip_address>:8080/super. At this point, you can add to Shinobi all the cameras (that are called monitors, in Shinobi/CCTV jargon) that you want to use, following the official Shinobi docs at https://shinobi.video/docs/configure . If you correctly added two cameras and you enabled them, you should see something like this in Shinobi interface:
Once you setup your cameras in Shinobi, you can then configure the Shinobi API to enable remote control of recording of the camera.
The Shinobi API is documented in https://shinobi.video/docs/api . It is a standard HTTP API, that can be access by any system with a working HTTP client, so basically any programming language. It can be used to start and stop recording of the video camera
To access the Shinobi API of a given Shinobi instance, you need the following info:
- IP and Port in which Shinobi is available (
[ADDRESS]). Example:http://10.0.0.1:8080/ - API Key (
[API KEY]). Example:VwRCagLeIypSiEzp9LkKAZnCZ7rb46 - Group Key (
[GROUP KEY]): Example:wuio1HKFc1
The Shinobi URL is the same one used to access Shinobi from the browser, while the API Key can be created and accessed via the API entry of Shinobi menu, while the Group Key can be found in "Settings".
Once you have this info, you can check that they are correct and get the list of active camera (aka monitors, in CCTV/Shinobi jargon) and its details in json format accessing simply from a browser:
http://[ADDRESS]/[API KEY]/monitor/[GROUP KEY]
If that it is working, you can save this info on your system by creating a shinobi-robotics-research-info.json in your Home directory (~ on Unix systems, %HOME% on Windows), with the necessary content:
{
    "shinobi_url": "http://10.0.0.1:8080",
    "shinobi_api_key": "VwRCagLeIypSiEzp9LkKAZnCZ7rb46",
    "shinobi_group_key": "wuio1HKFc1"
}
The Shinobi HTTP API can then be used with this data to automatically start and stop camera recording. While accessing HTTP servers is a capability provided in most programming languages and environments, as part of this repo we provide some helper libraries.
The helper libraries are available in the following languages:
First of all, clone this repo:
git clone https://github.com/dic-iit/shinobi-robotics-research
Then, add the shinobi-robotics-research/matlab directory to the MATLAB search path, using one of the available method. For example, you can simply add the directory to MATLABPATH environment variable and then launch MATLAB:
export MATLABPATH=$MATLABPATH:<location-where-you-cloned>/shinobi-robotics-research>/matlab
matlab
# Get Shinobi instance information from shinobi-robotics-research-info.json file
shinobi_info = srr.load_info();
# Get camera from the Shinobi server
cameras_info = srr.get_available_cameras();

# Start camera recording
srr.start_video_recording(shinobi_info, cameras_info)


# Do experiment
# ...

# Stop camera recording
srr.stop_video_recording(shinobi_info, cameras_info)The information on the specific Shinobi instance can be read from the shinobi-robotics-research-info.json file in the home directory.
>> shinobi_info = srr.load_info()

shinobi_info =

  struct with fields:

          shinobi_url: 'http://10.0.0.1:8080'
      shinobi_api_key: 'VwRCagLeIypSiEzp9LkKAZnCZ7rb46'
    shinobi_group_key: 'wuio1HKFc1'
The values of this structure can also be set directly in the code, even if this is tipically not recommended as this kind of metadata is setup-specific:
shinobi_info_hardcoded.shinobi_url = 'http://10.0.0.1:8080';
shinobi_info_hardcoded.shinobi_api_key = 'VwRCagLeIypSiEzp9LkKAZnCZ7rb46';
shinobi_info_hardcoded.shinobi_group_key = 'wuio1HKFc1';
All other methods will take in input an instance of this info structure.
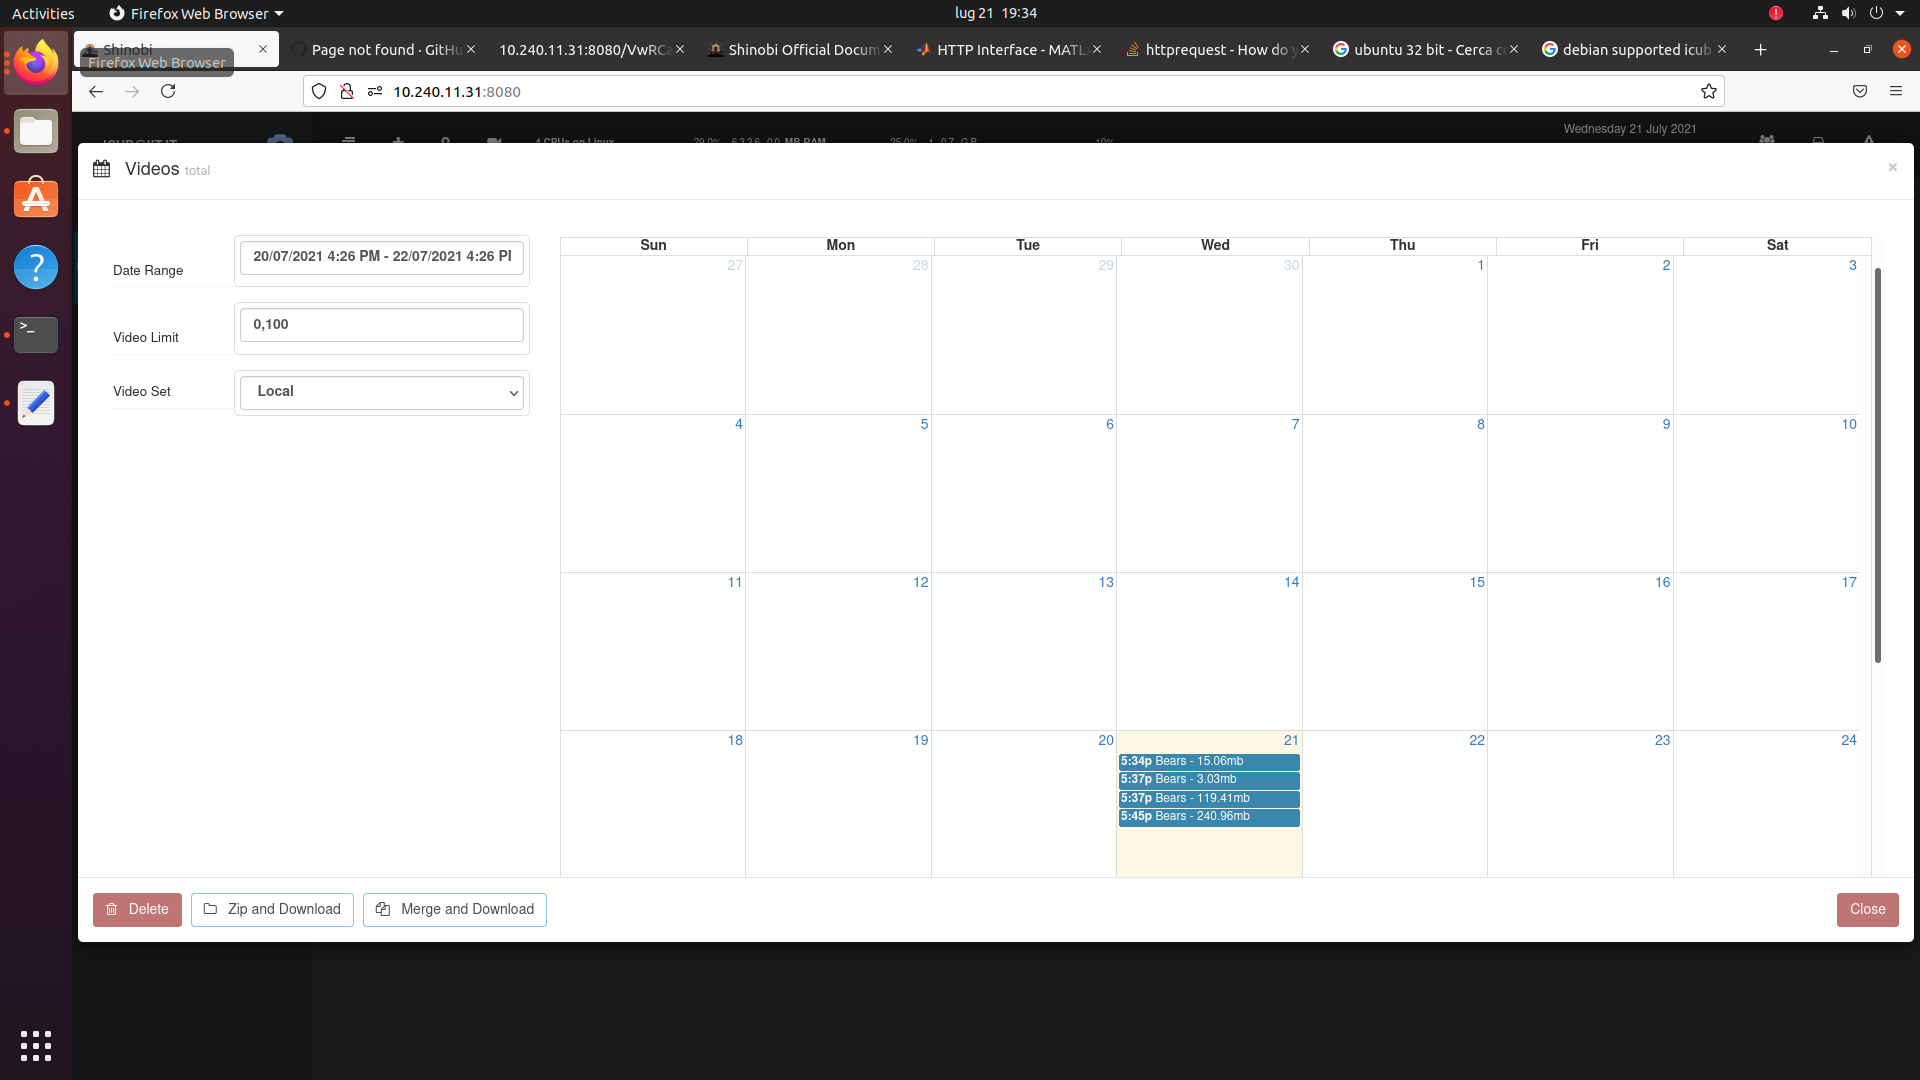
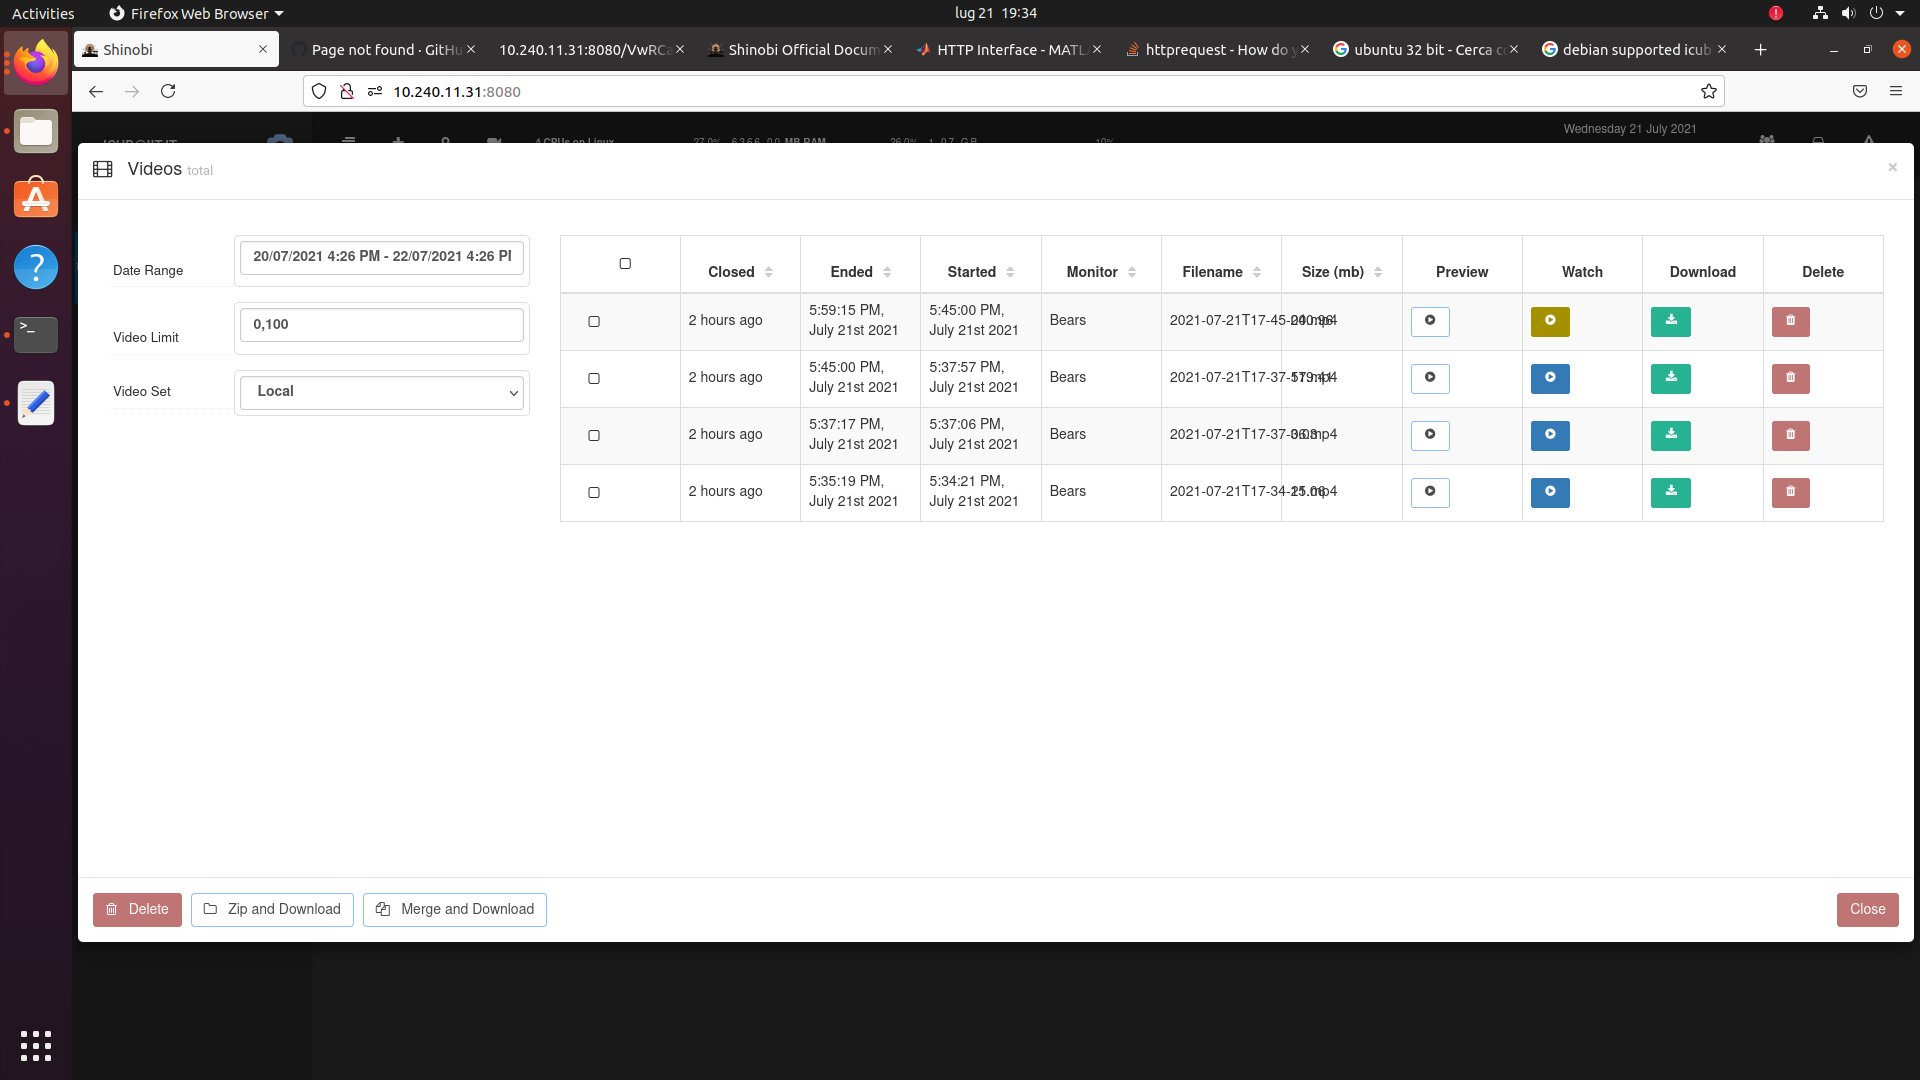
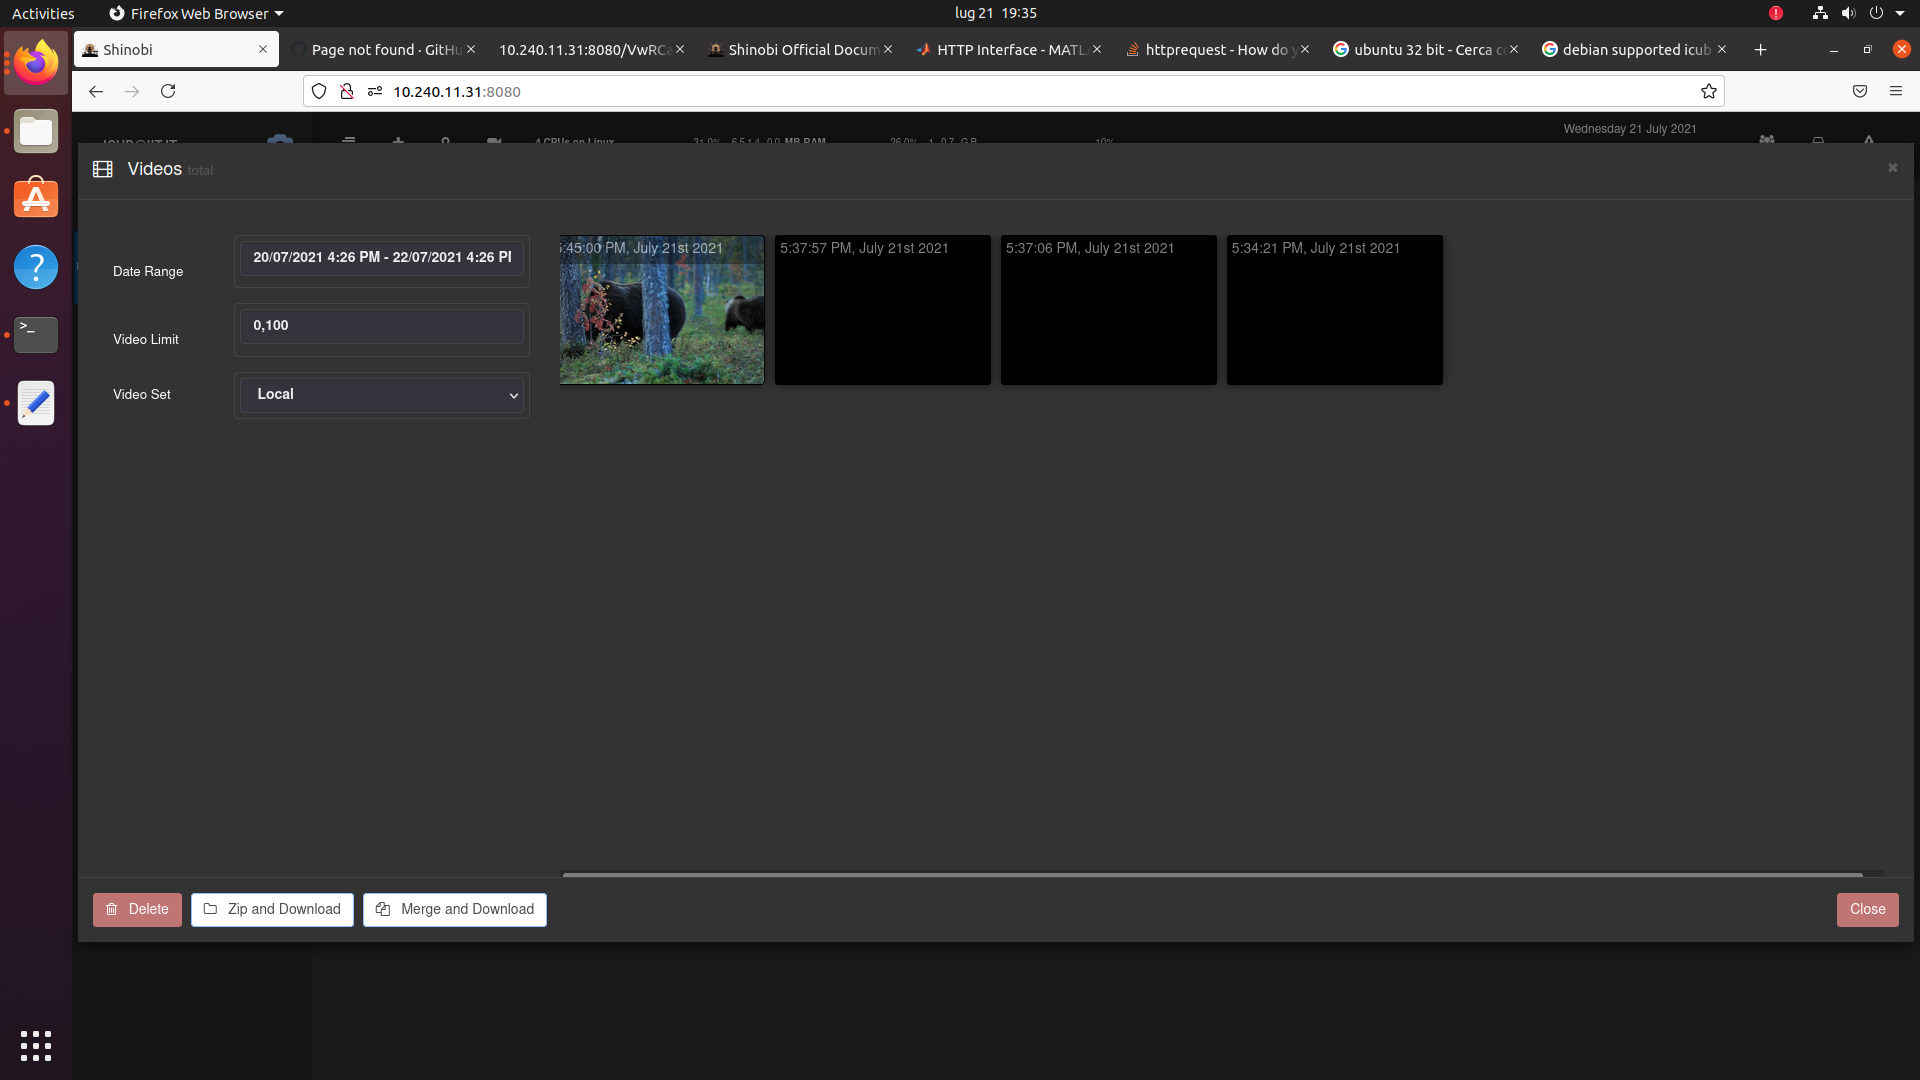
The video recorded by Shinobi are then available directly from the Shinobi web ui, see for example (in this case, I had recorded 4 videos):
Furthermore, the video can be also accessed, downloaded and deleted via Shinobi HTTP API as well, see https://shinobi.video/docs/api#content-modifying-a-video-or-deleting-it . This can be useful to then automatically transfer videos to another location once the experiments are done, but this functionality is not provided in the helper libraries provided in this repo, as tipically the storage backend may vary from research lab to research lab. However, the already provided helper libraries can be used to understand how to access the HTTP API from the selected language.
