-
Notifications
You must be signed in to change notification settings - Fork 35
WiFi
If pISO is attached to a Raspberry Pi Zero W, then it can make use of the wireless capabilities to provide a few services. Setting up these services are documented on this page.
To connect the pISO to an existing wireless network, you must configure the credentials that should be used. To do this, follow the steps below:
- Remove your SD card from the Raspberry Pi and plug it in to your computer
- Open the 'piso.config' file on the SD card.
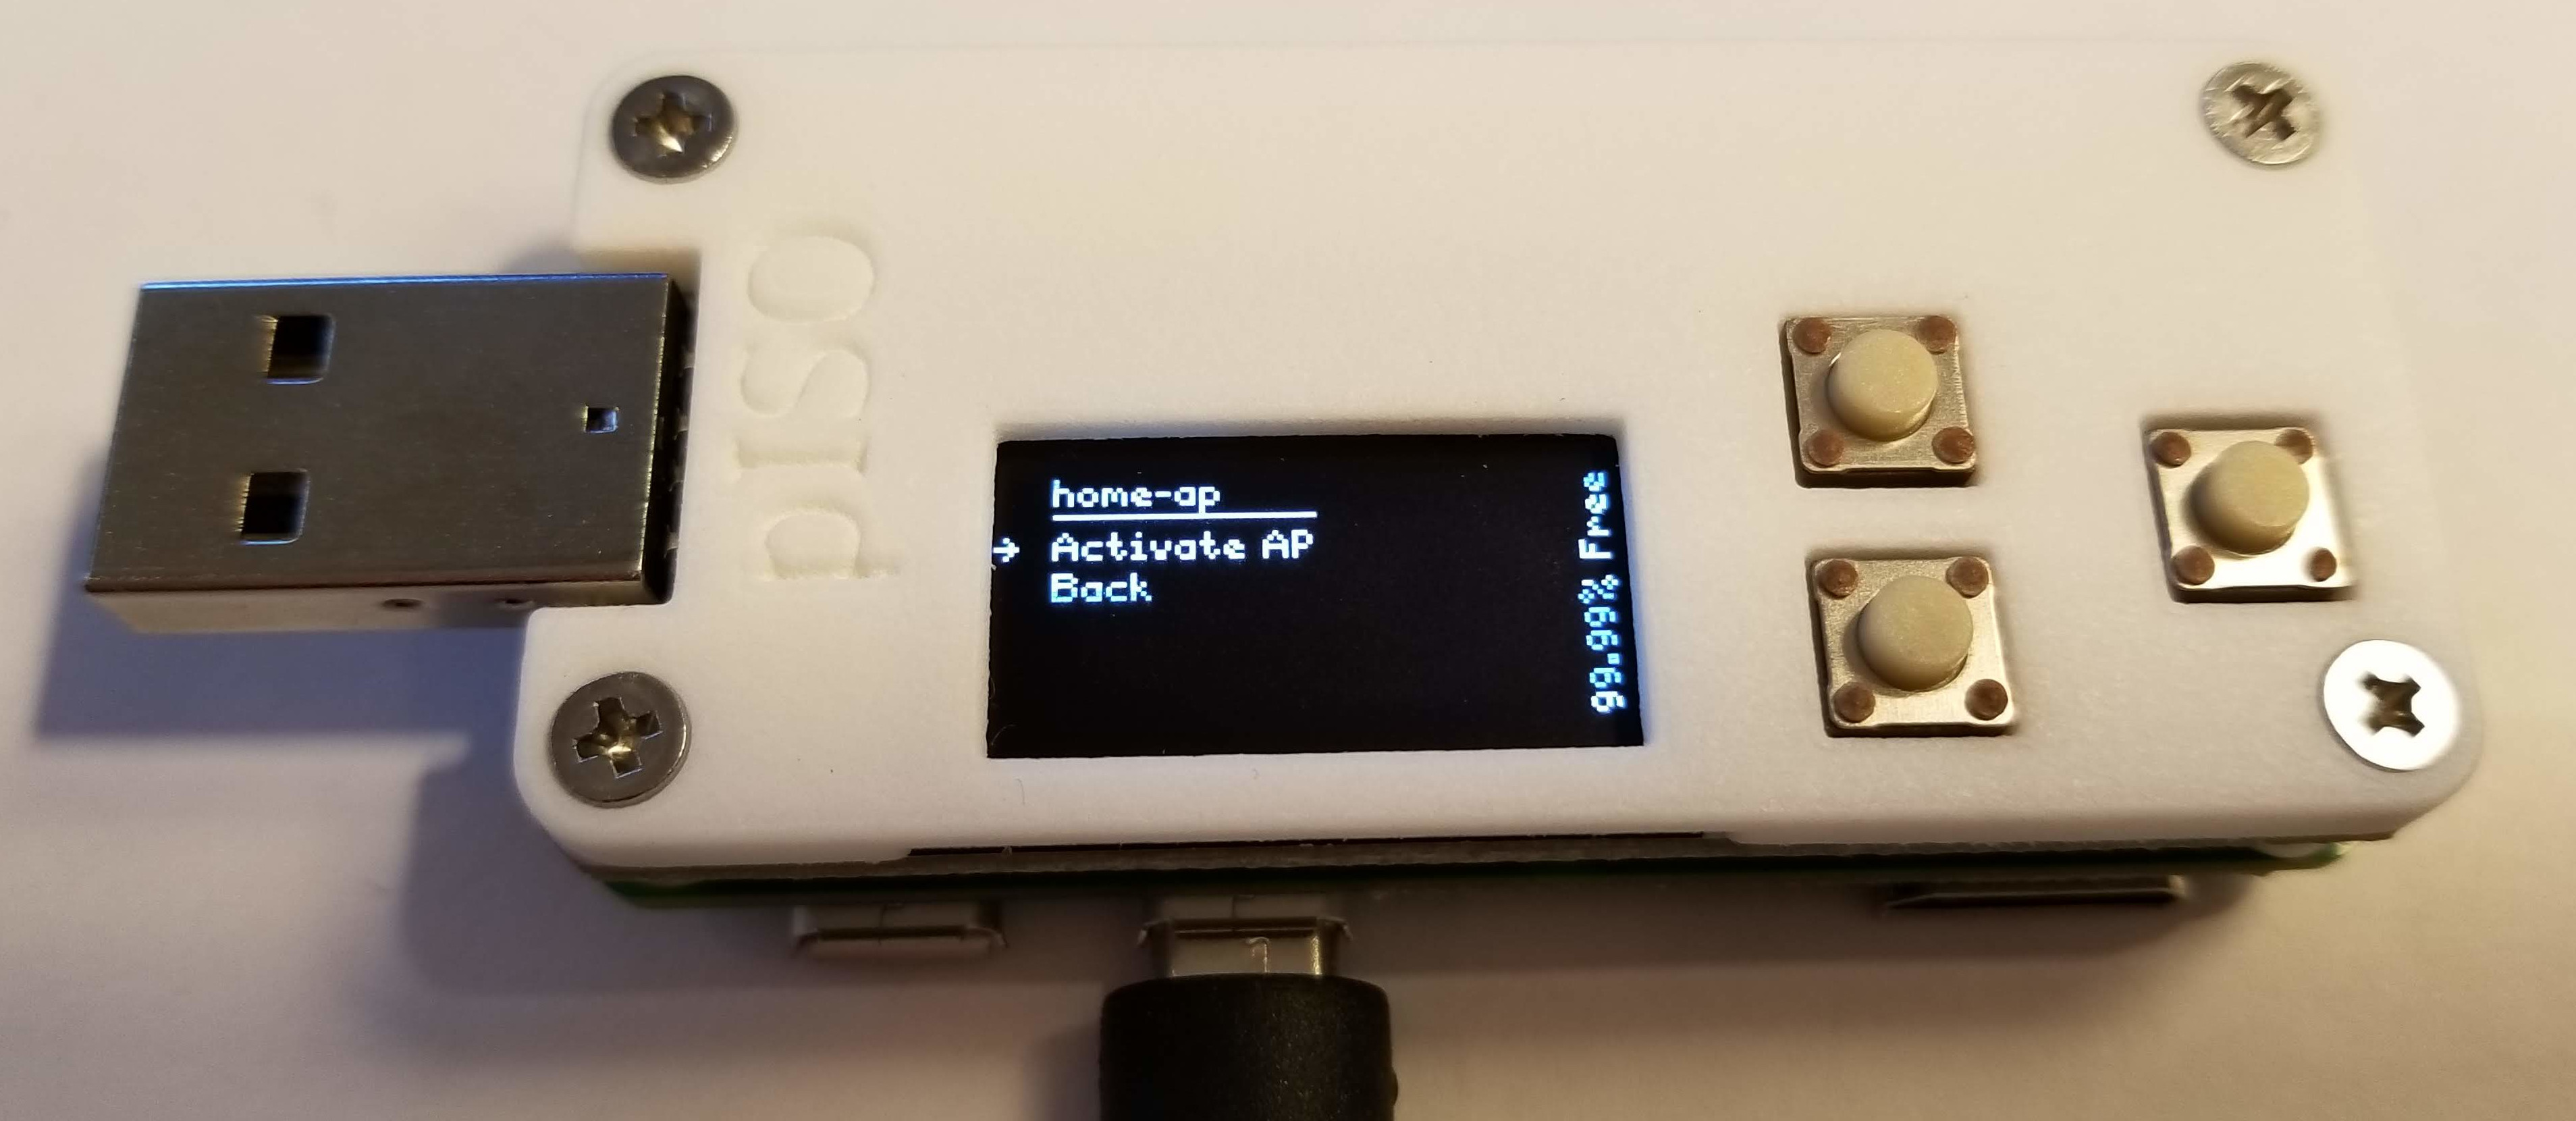
- Add a 'wifi.client' section to the config describing the SSID to connect to and the password to use. For example, you might add (for a network named 'home-ap'):
[[wifi.client]]
ssid="home-ap"
password="somenetworkpassword"
- Plug the SD card back in to your Raspberry Pi and power it on.
- Select 'WiFi' from the main menu

- You will see a list of the networks you have configured. Select the one you want to connect to.

- Once the connection is complete, the screen will show the IP address you have been given on the network.

- You can now access the services documented below at the given IP address.
The pISO is also able to create its own wireless network. Follow the steps below to configure this feature. Be default, the pISO will create a network named 'piso' with a default password of 'password'. If you do not want to change these defaults, you can skip to step 5 below.
- Remove your SD card from the Raspberry Pi and plug it in to your computer
- Open the 'piso.config' file on the SD card.
- Edit the 'wifi.ap' section to contain the SSID (network name) and password you would like to use. For example, you might use something like:
[wifi.ap]
ssid="new-wifi-name"
password="somenetworkpassword"
- Plug the SD card back in to your Raspberry Pi and power it on.
- Select 'WiFi' from the main menu

- Select 'Activate AP' to start the wireless access point

- You should now see the network you configured as available on you devices and be able to connect with the password you selected.
- Once you have connected from a device, you can access the services documented below. The pISO's IP address will be '10.55.55.1' in this configuration.
Most of the network services provided by pISO require credentials to access. By default, the username required will be 'piso' and the password will be 'password'. These can be changed as follows:
- Remove your SD card from the Raspberry Pi and plug it in to your computer
- Open the 'piso.config' file on the SD card.
- Edit the 'user' section so that it contains the username and password you want. For example, you might change it to:
[[user]]
name="adam"
password="mystrongpassword"
- Plug the SD card back in to your Raspberry Pi and power it on. You can now access you network services with your configured username and password.
pISO provides a few network services. To access these, you will need to know you username and password (see 'User Configuration' above), and the IP address of the pISO. Currently, pISO will start the following servers:
- An FTP server
- A SMB (windows file server)
These services allow the user to add/remove files to the pISO without unplugging it from a host device. Note however, that a given virtual drive cannot be in use in two places at once (as this would cause corruption). So you must 'unplug' the virtual drive (by selecting it from the main screen) before it is visible in the FTP or SMB servers.