The first thing you need to know is that this project includes frontend (UI) and backend. I strongly recommend using Docker for deployment.
If you just want to try it out instead of using it in a production environment, you can deploy it using Vercel + Railway.
Fork the repository and clone the code to your local machine.
Warning
Please check if you can access OpenAI in your region, you can refer to the issue for more information.
- Create .env
Create a .env file and copy the contents of .env.example to modify it.
- Run App
docker-compose up -dPlease add --build to rebuild the image after each code update.
docker-compose up -d --buildnow you can access the app at http://localhost:8081
All data will be saved in the ./data directory.
Warning
❗❗❗ if you want to use this project in a production environment, do not deploy it in this way. All data will be cleared when you redeploy.
We will deploy the code separately to Vercel and Railway.
Please follow the steps one by one.
Deploy the backend using the following template.

Do not check Private repository.
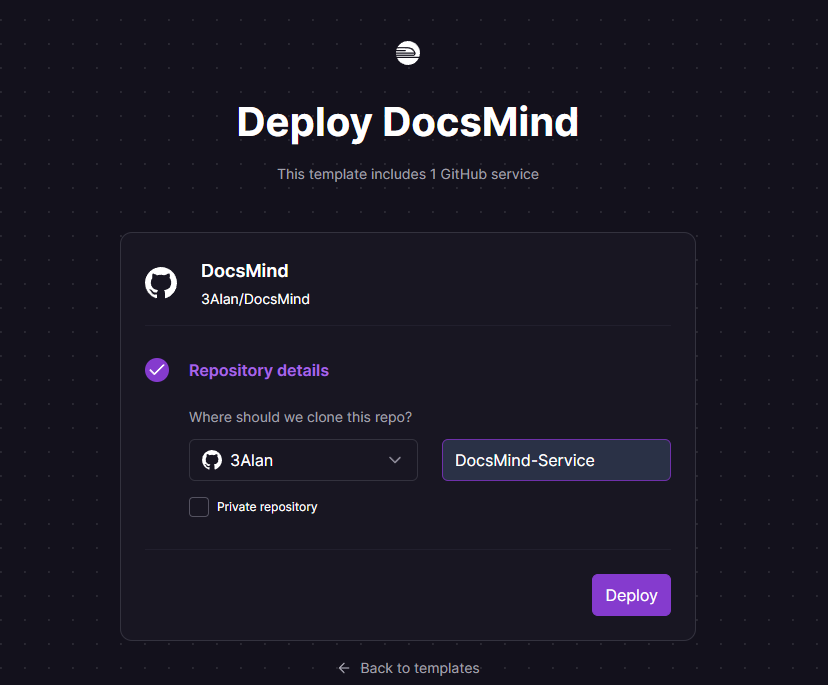
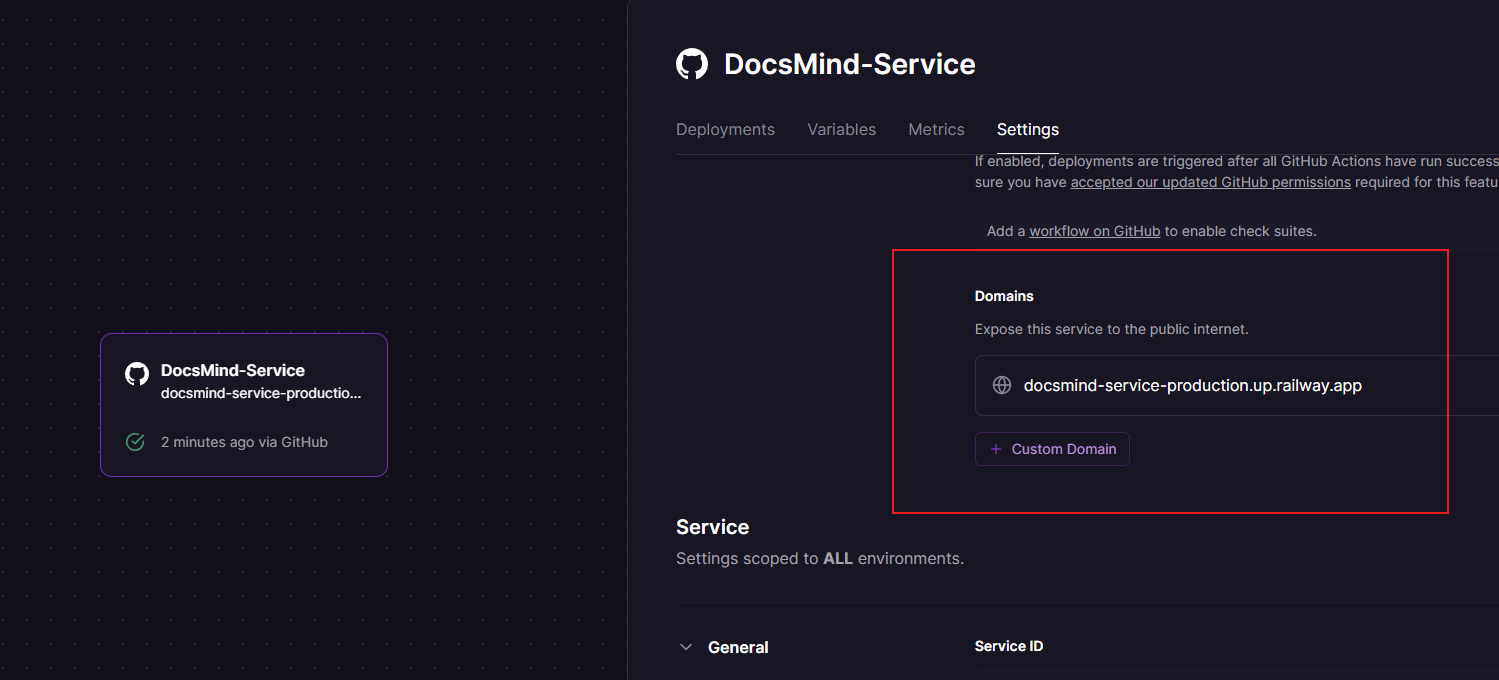
After deployment, you will receive a domain. Copy it as it will be used later.
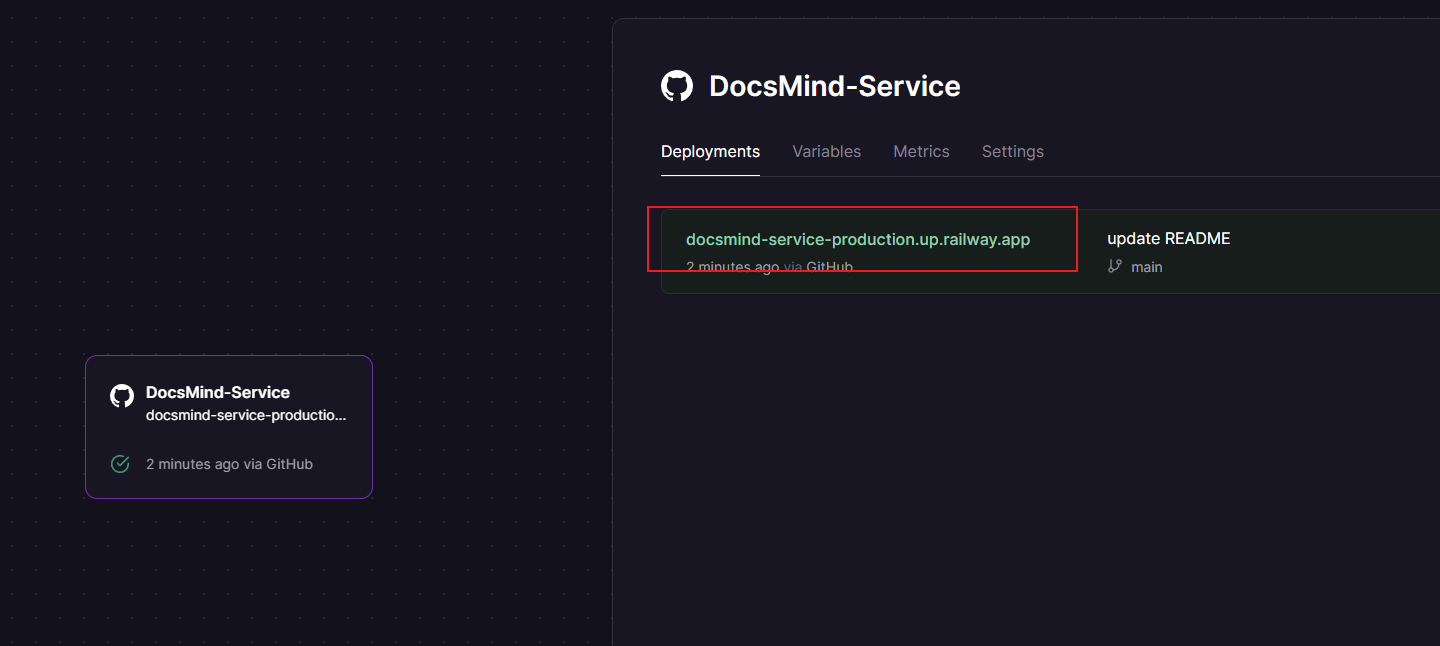
You can also customize the domain.
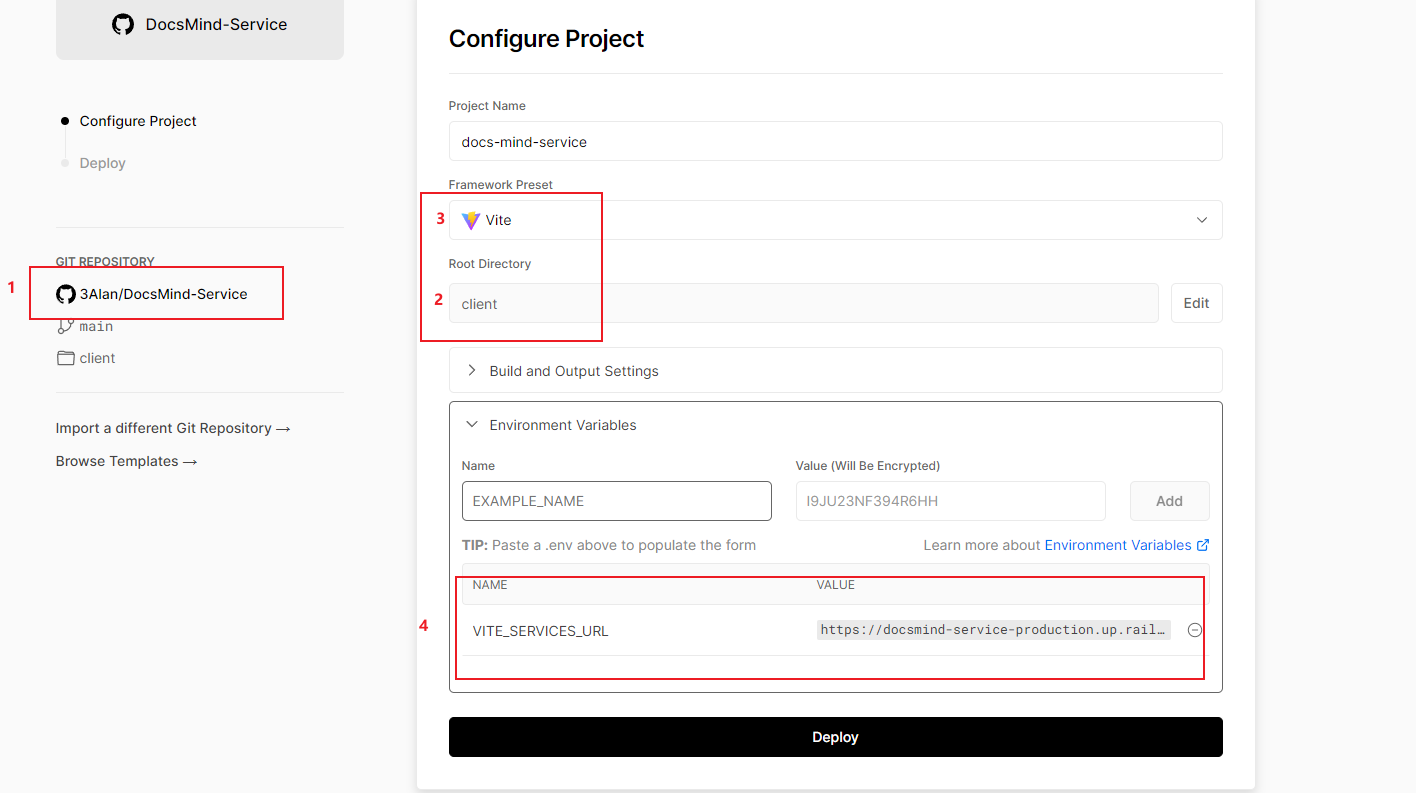
- Select the repository created by Railway.
- Change the Root Directory to "client".
- Change the Framework Preset to "Vite".
- Add an environment variable
VITE_SERVICES_URLwith the value of Railway's Domain.
Now you can upload your files, ❗❗❗ but please be reminded that all data will be cleared once you redeploy.
If you have a better deployment method, please feel free to share the tutorial and submit a pull request.